Quick start for DSPMLight Users
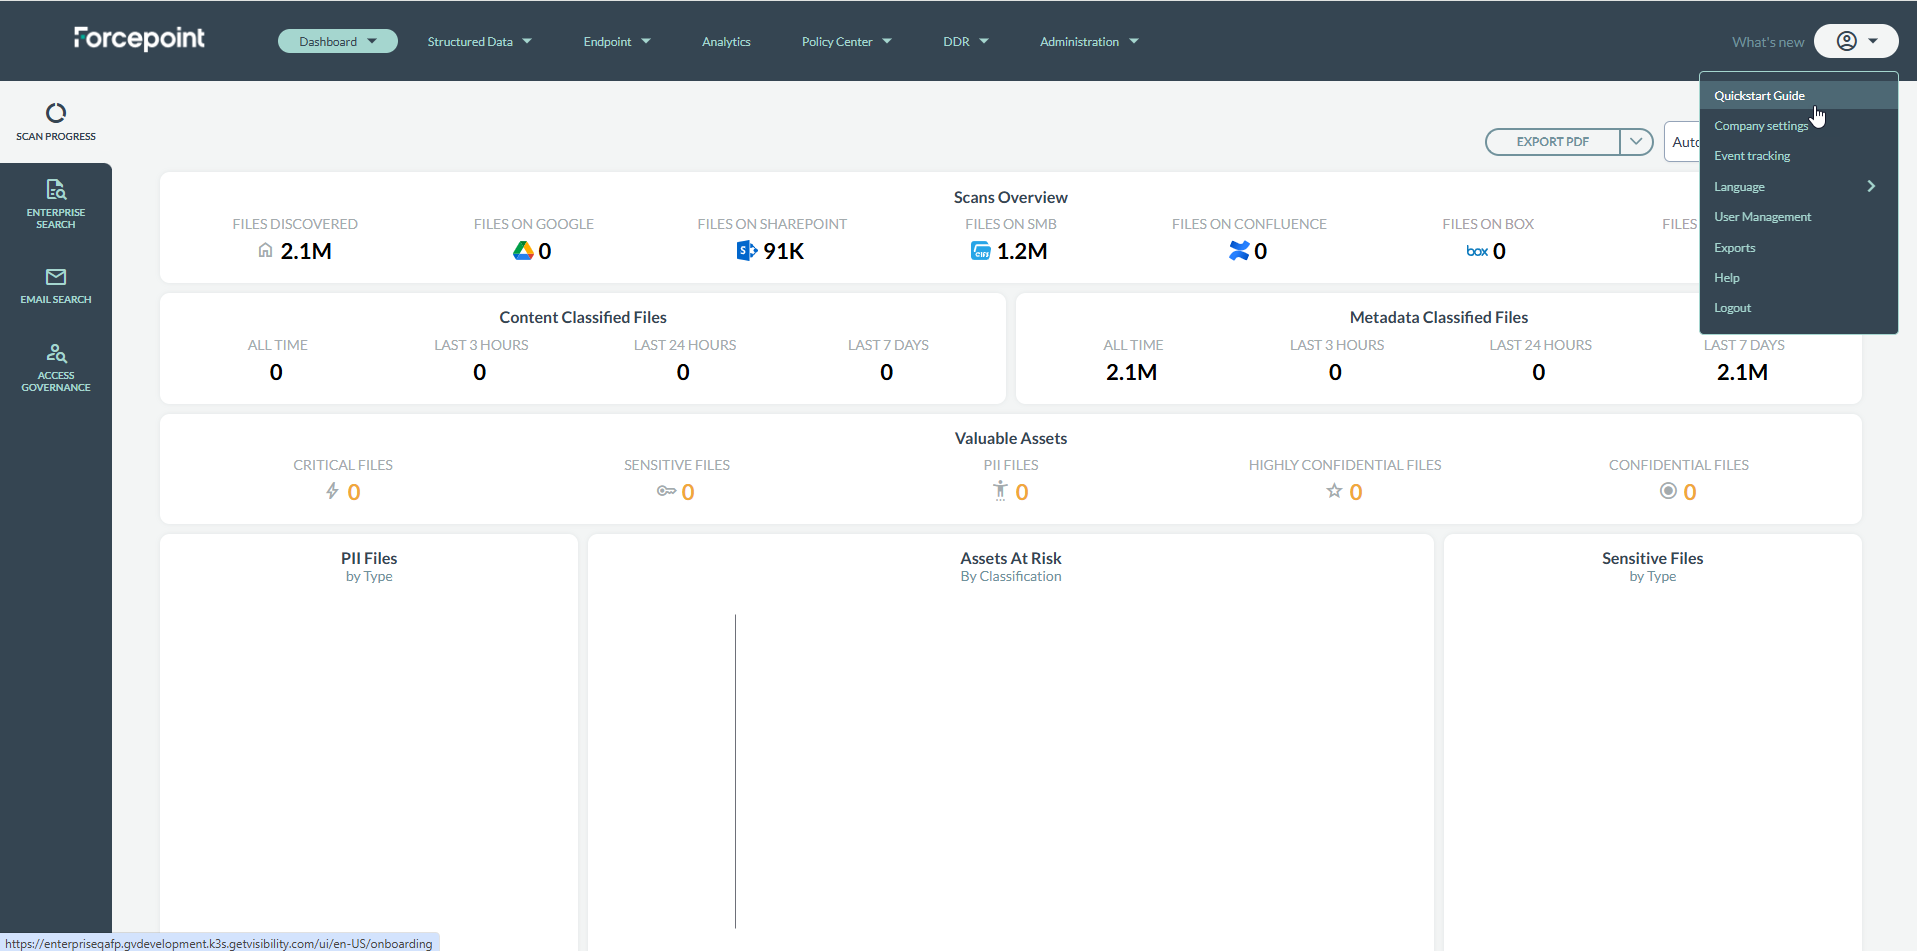
Forcepoint DSPM provides a Quick Start Guide and this will be shown during the first login in all clusters where the product will be deployed after the release, and can be launched manually from the top right menu ("Quickstart Guide"). The Quick Start Guide walks you through important steps that are required to configure DSPM and prepare it for scanning your data. It also automatically imports your configurations including data detectors, and dashboards with pre-built use cases enabling you to quickly get up and running. The guide helps users to be aware of regulations that may impact their data thereby ensuring compliance from start.
Example1: Structured Data Source
Following is an workflow for a structured data source.
- From the user drop-down menu select Quickstart Guide.
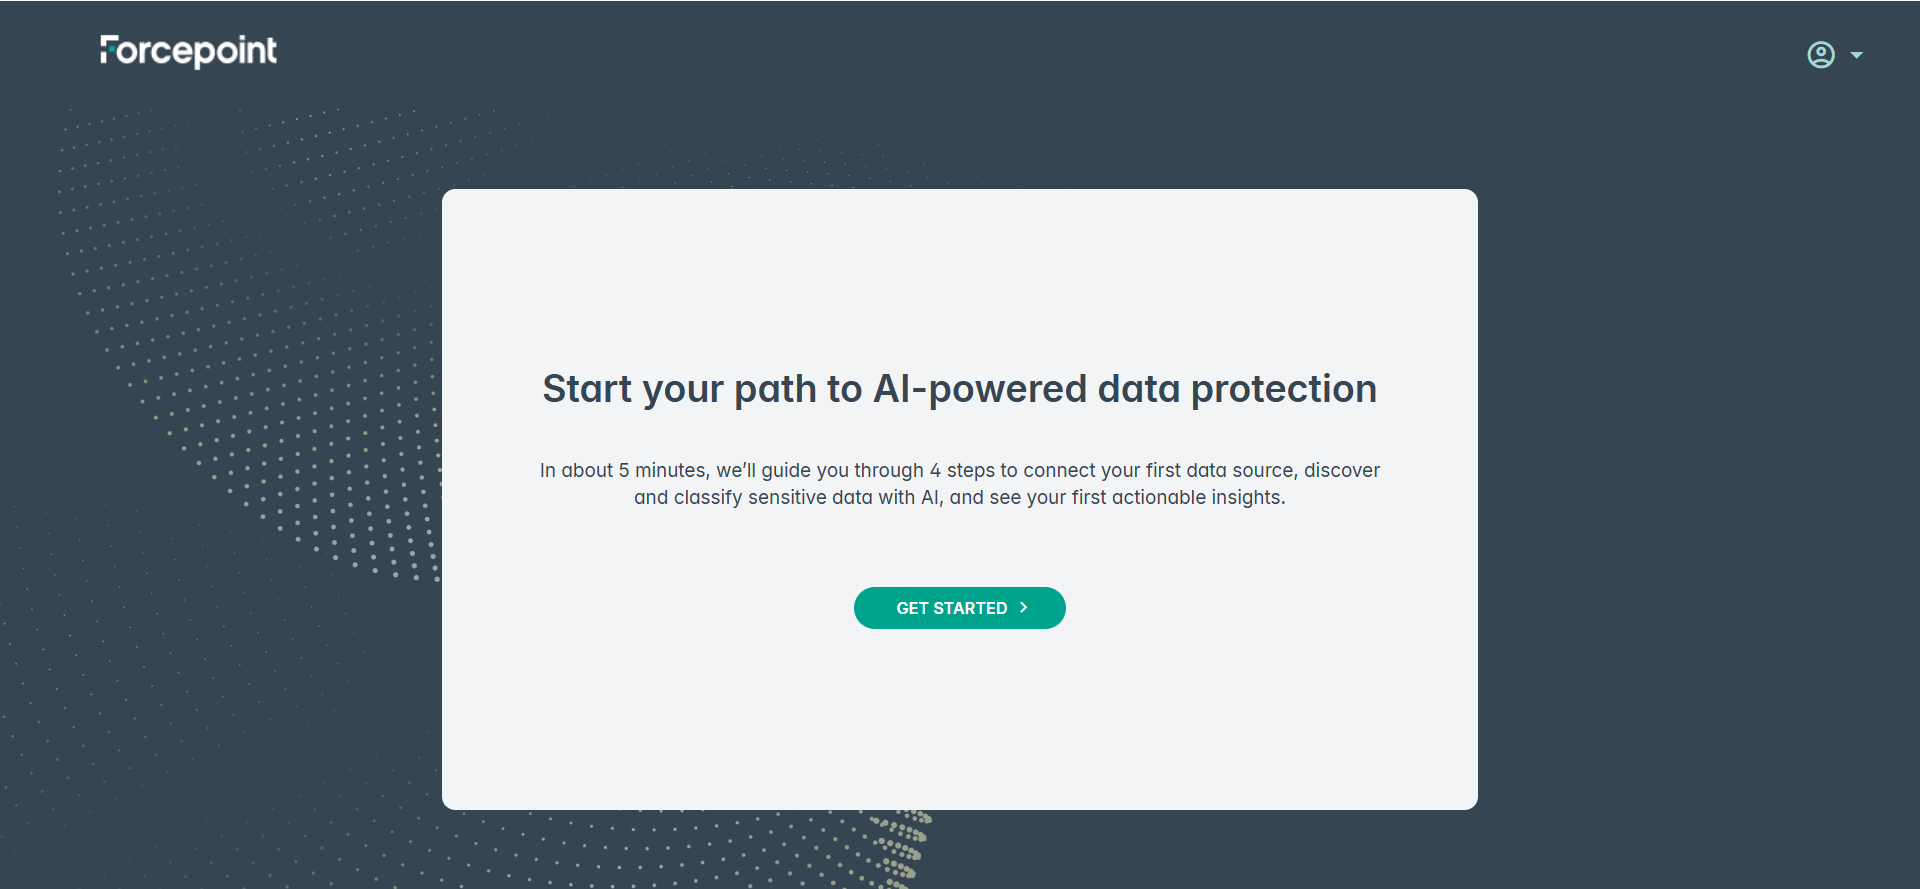
- On the next screen, click Get Started.
- NOTE: The following steps apply to users on the dspmLight configuration only. If you do not see the Classification Settings screen after clicking Get Started, skip to step
3.
2. a On the first login, after clicking Get Started, the Classification Settings screen is displayed. Choose the Region, Country, and Industry that apply to your organisation. These selections determine which DLP policy groups and compliance rules are loaded for your environment.
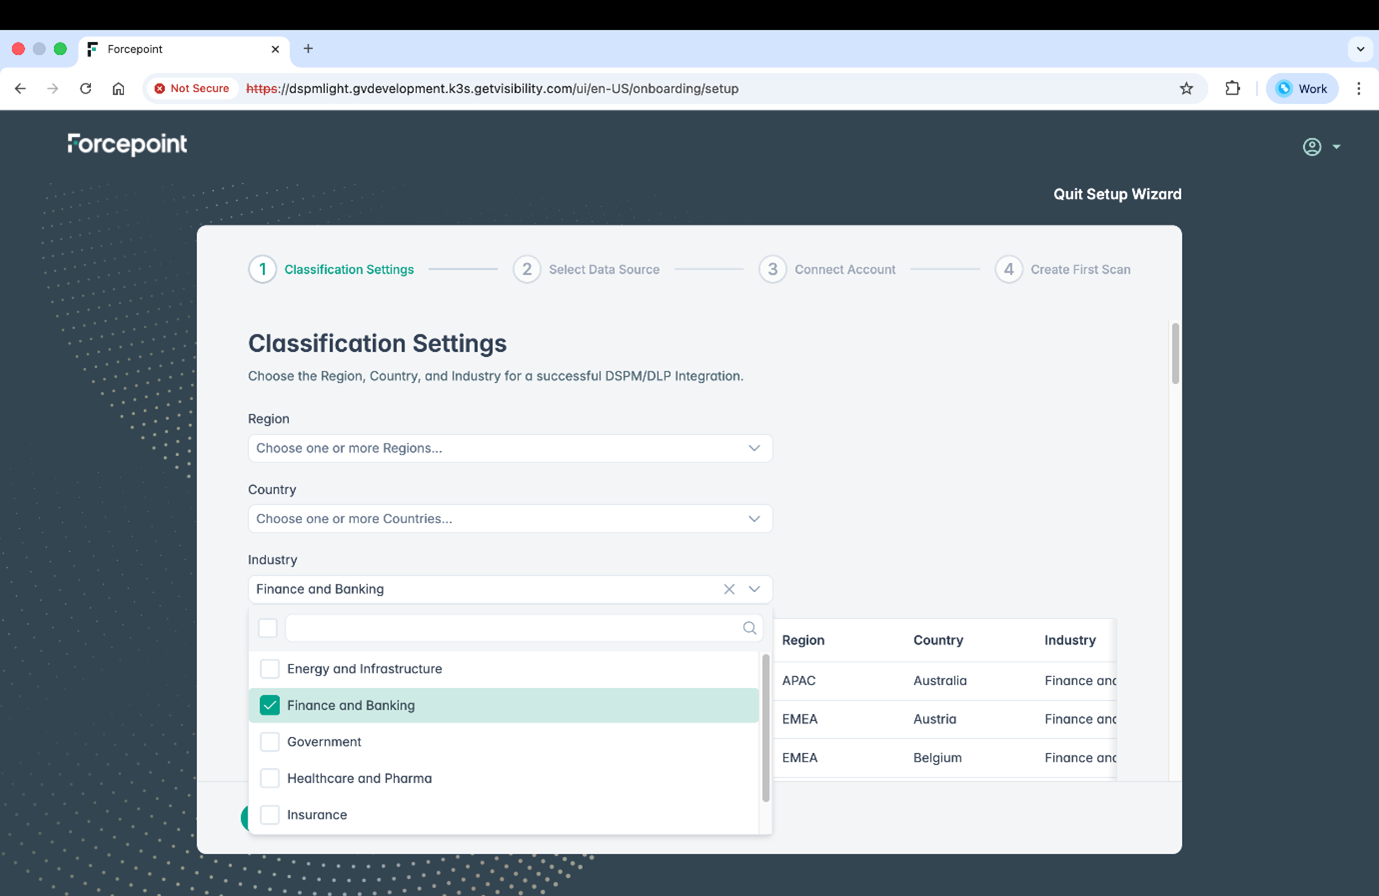
Select one or more options from each dropdown. As you make selections, the preview table on the right updates to show the Region, Country, and Industry combinations that will be enabled. Available industries include Energy and Infrastructure, Finance and Banking, Government, Healthcare and Pharma, and Insurance.
-
2. b After making your selections, the wizard displays all the DLP policy groups and individual rules that will be activated. Review the list by scrolling through it. Click the arrow on the left of any policy group to expand it and see the individual rules it contains. Hover over a rule name to see a tooltip describing what that rule detects.

Use the checkboxes to include or exclude specific policy groups. When you are ready, click Enable Selected to confirm and continue.
Note
This screen appears only on the first login, when all policies are disabled by default. Once you enable at least one policy and click Enable Selected, this screen will not appear again on subsequent launches of the Quick Start wizard. On future launches, the wizard will begin directly at the Select Data Source step.
- 2. c After clicking Enable Selected, the wizard advances to the Select Data Source screen. A confirmation message appears briefly at the top of the screen confirming that DLP policy groups have been updated successfully.
- NOTE: The following steps apply to users on the dspmLight configuration only. If you do not see the Classification Settings screen after clicking Get Started, skip to step
3.
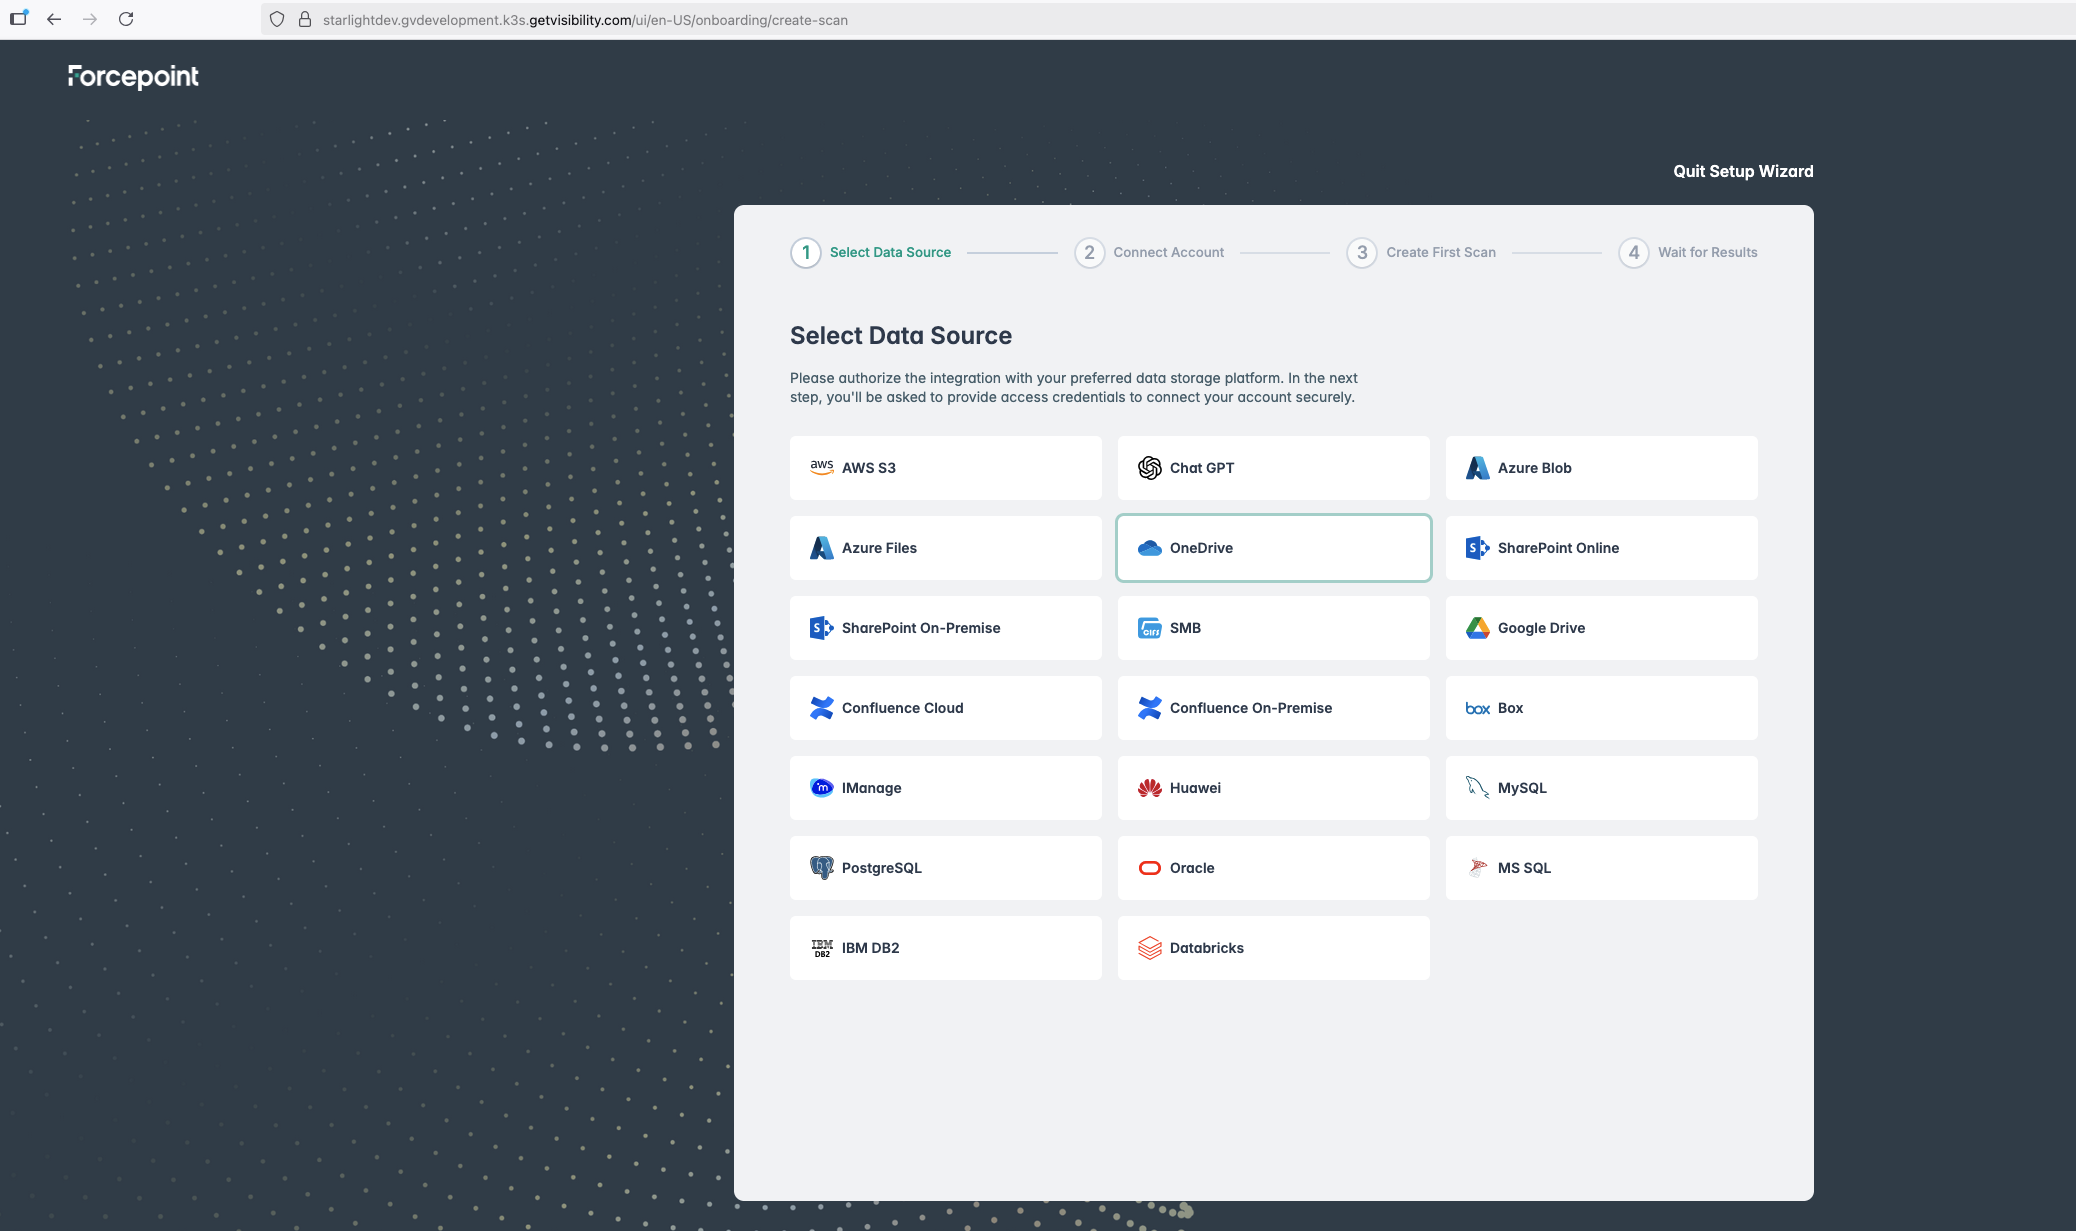
- Select any one data source from the tiles. For example, here we have selected OneDrive:
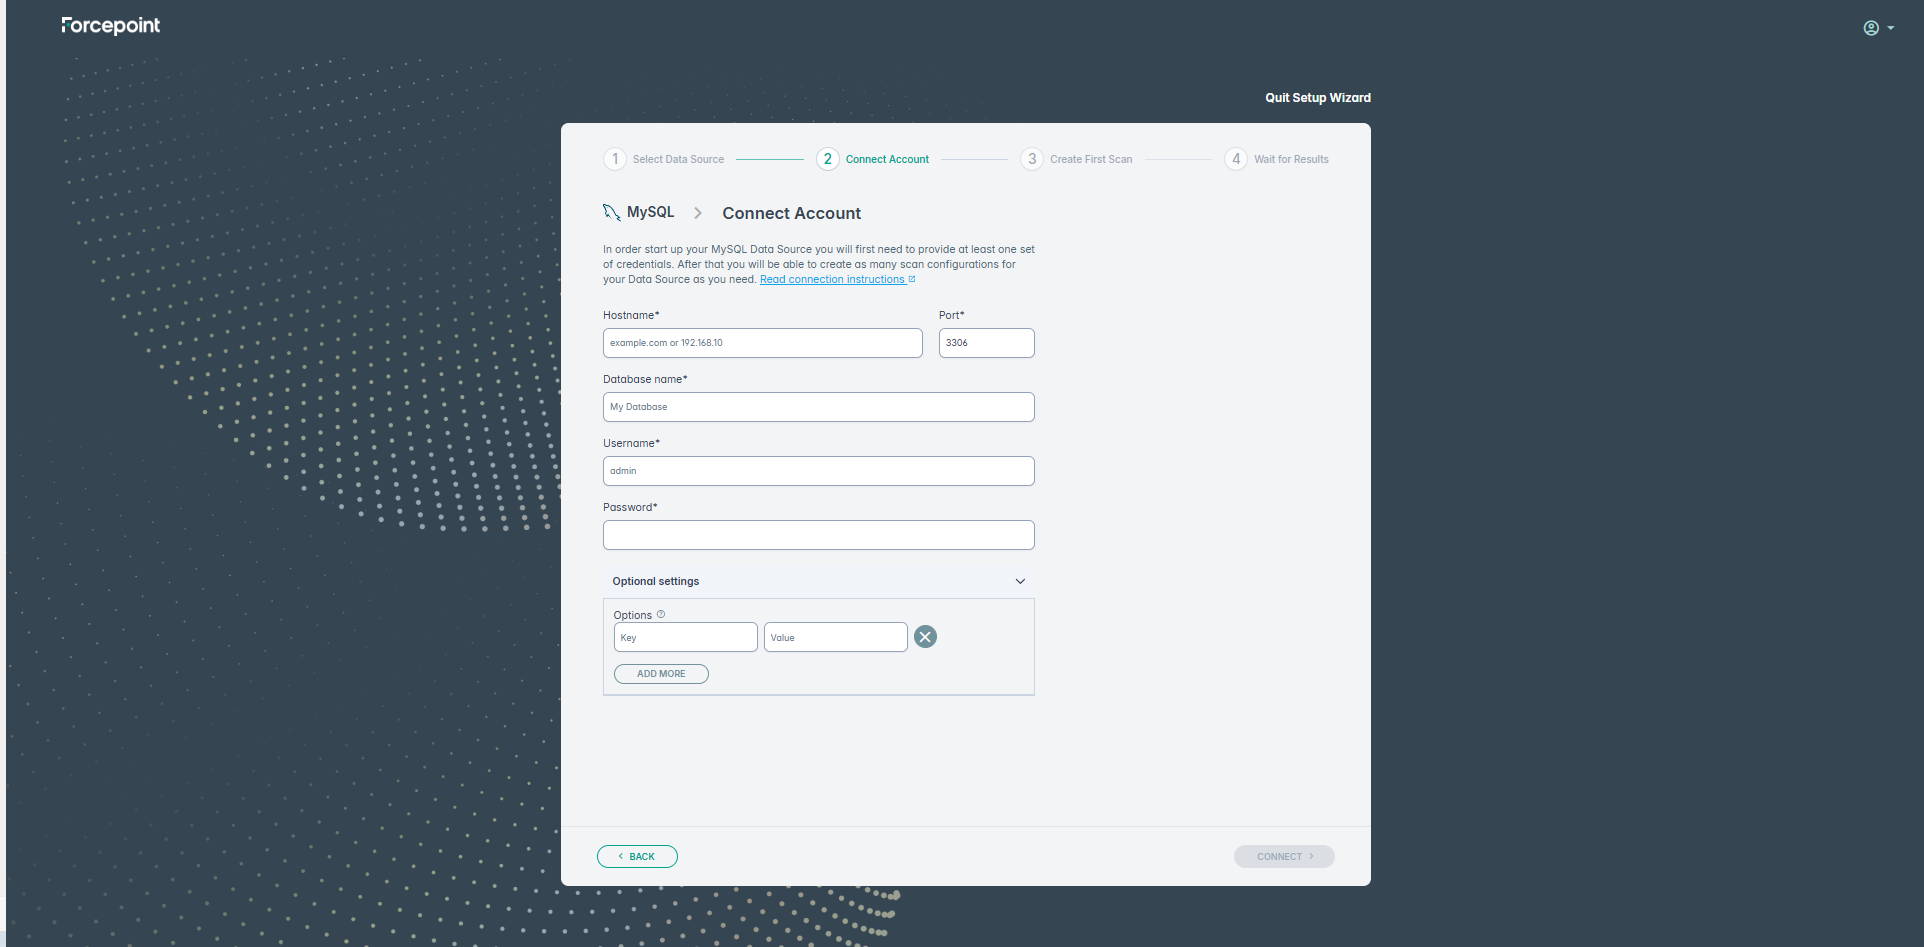
- In our example, we selected MySQL as the data source. Enter the Hostname, provide a database name, username, and password.
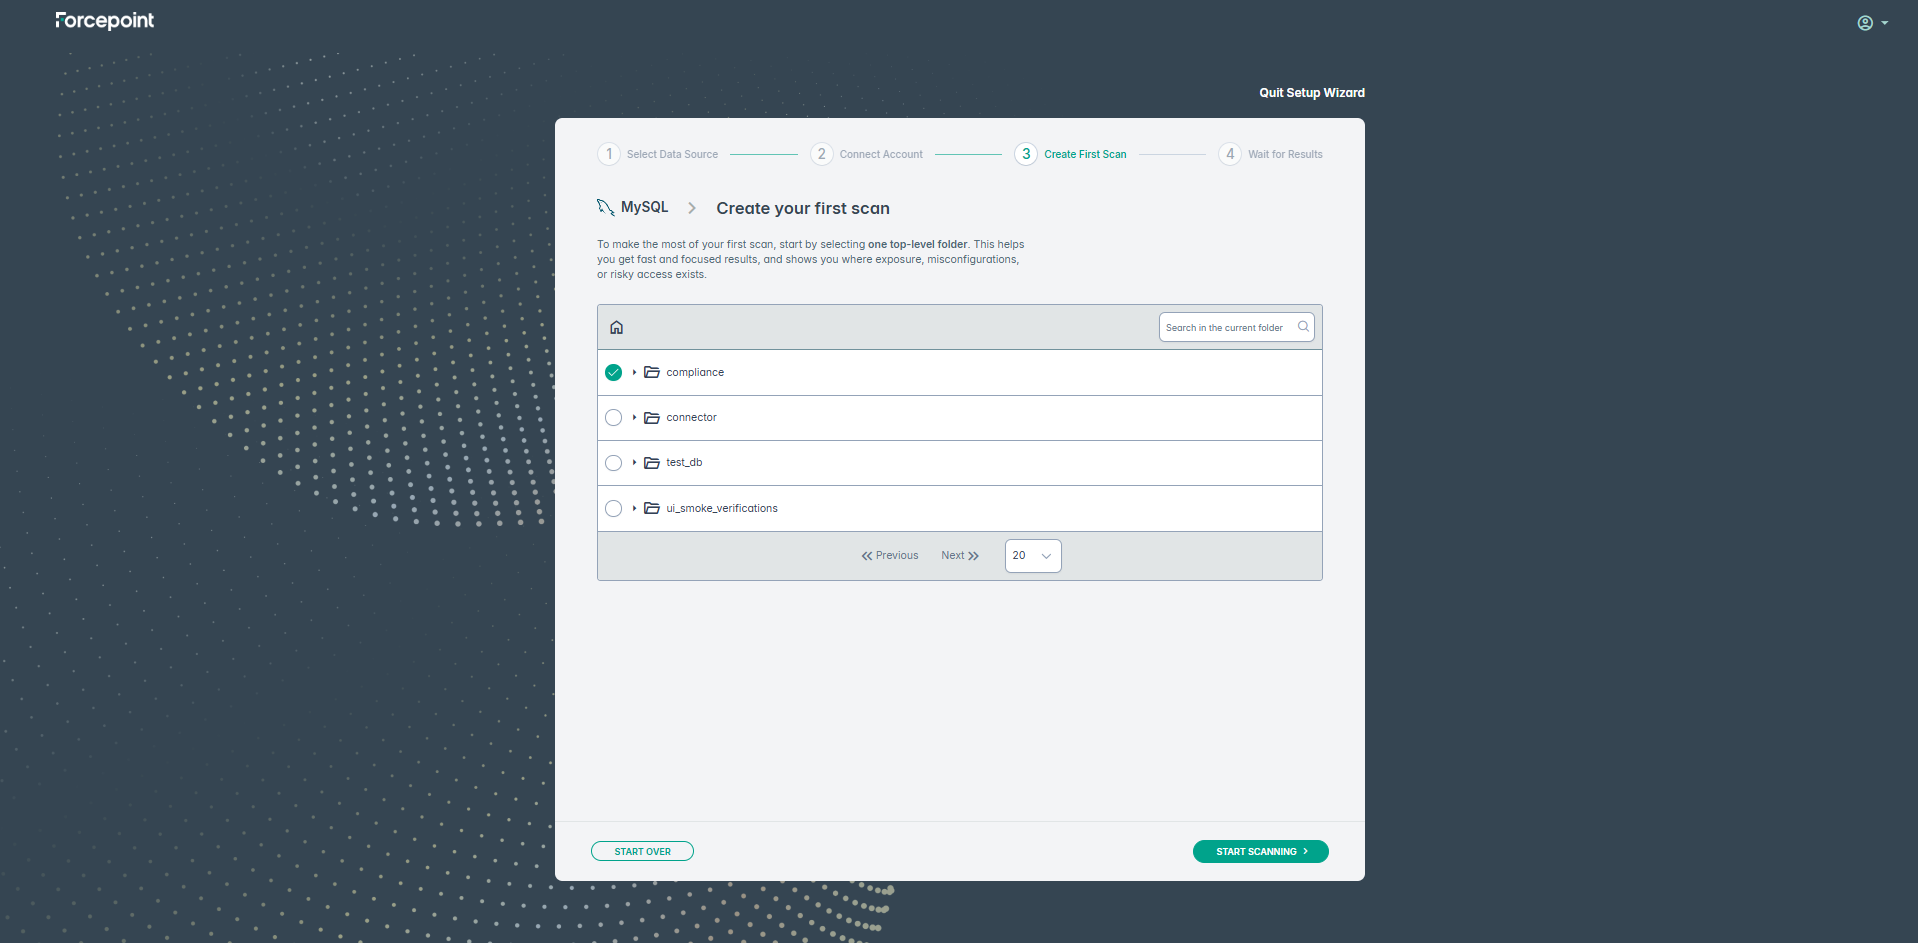
- Next, select a schema for scanning:
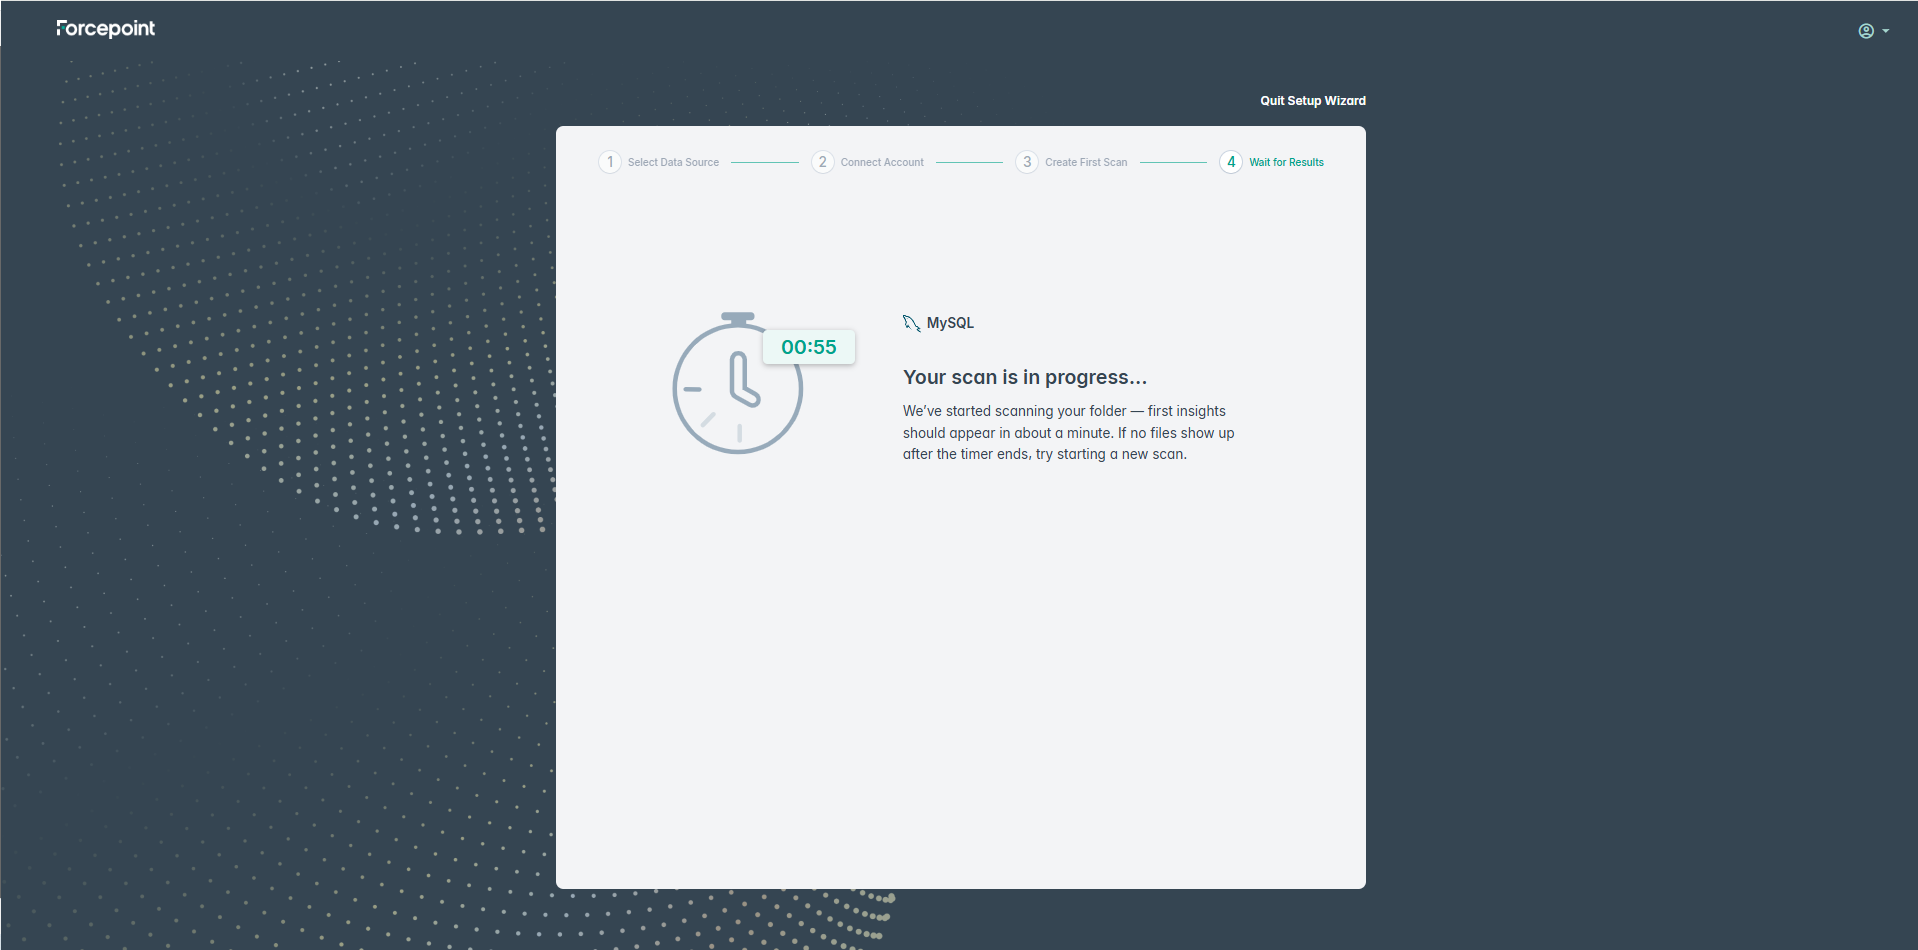
- Click START SCANNING. The system will show the timer as the scan progresses.Note: If the scan takes less than one minute - you will be redirected to Data Base discovery page. If the scans runs longer, most likely it won't happen because scanning usually takes more than 1 minute
- Once the scan completes, the dashboard is displayed:
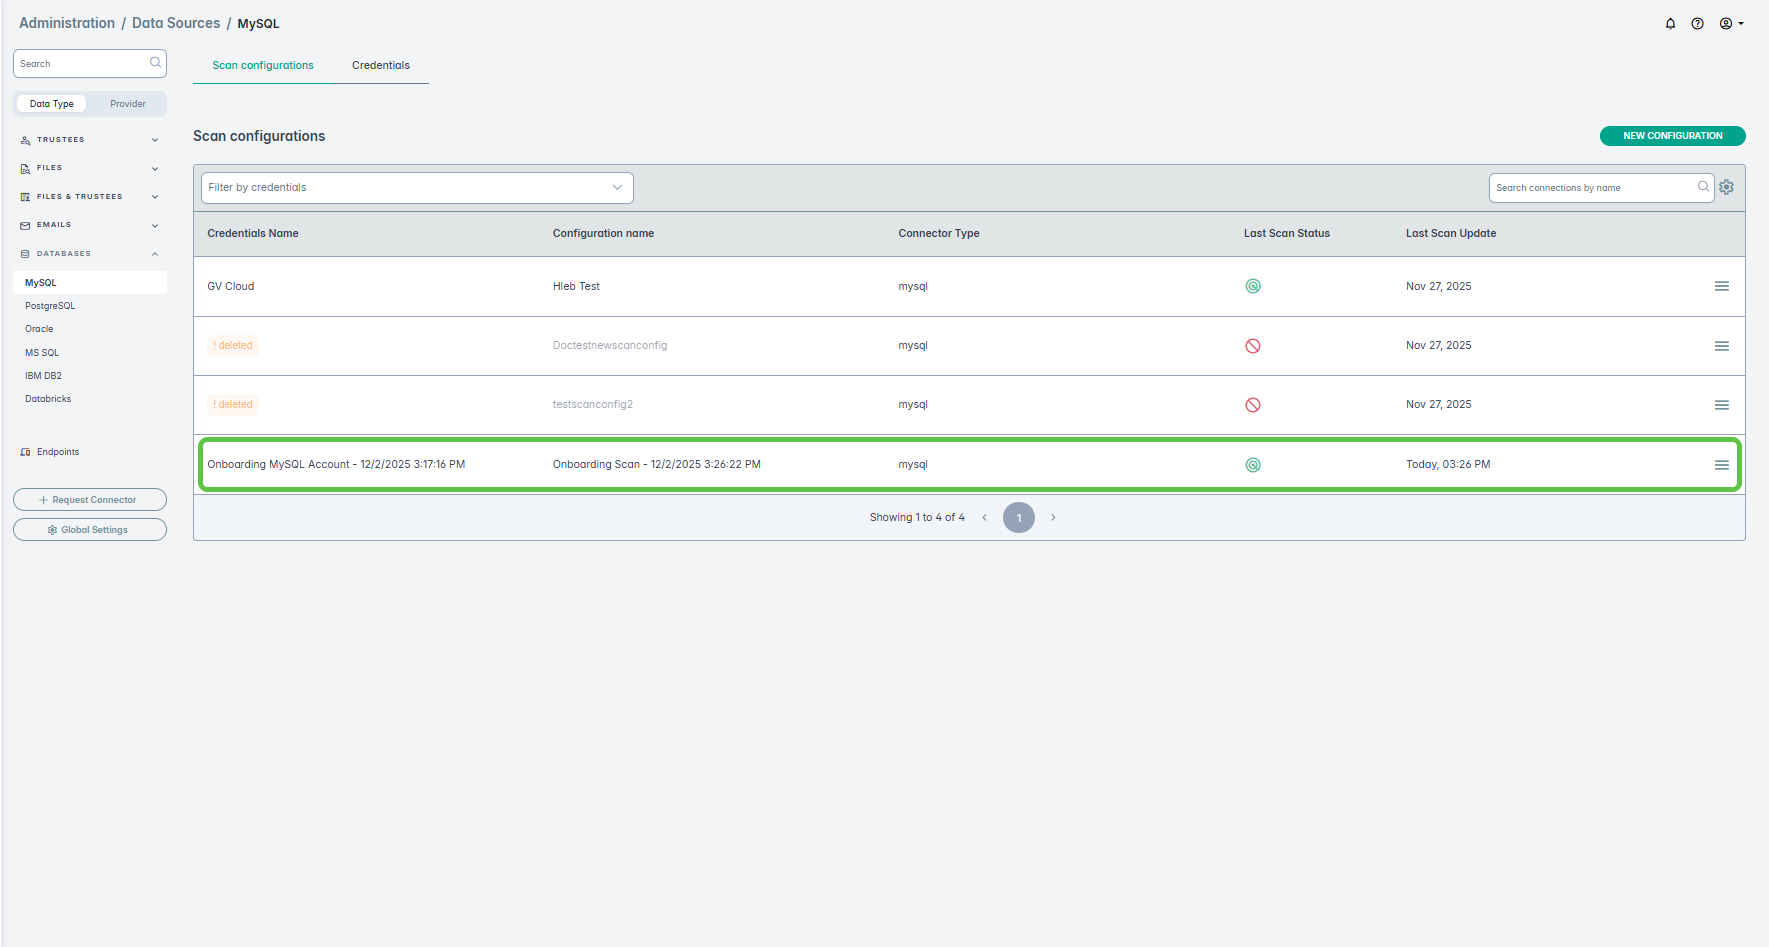
Also, the credentials used to create the scan can be viewed can be viewed and edited on the Credentials tab:
Example2: Unstructured Data Source
Following is an workflow for a unstructured data source.
- From the user drop-down menu select Quickstart Guide.
- On the next screen, click Get Started.
- NOTE: The following steps apply to users on the dspmLight configuration only. If you do not see the Classification Settings screen after clicking Get Started, skip to step
3.
2. a On the first login, after clicking Get Started, the Classification Settings screen is displayed. Choose the Region, Country, and Industry that apply to your organisation. These selections determine which DLP policy groups and compliance rules are loaded for your environment.
Select one or more options from each dropdown. As you make selections, the preview table on the right updates to show the Region, Country, and Industry combinations that will be enabled. Available industries include Energy and Infrastructure, Finance and Banking, Government, Healthcare and Pharma, and Insurance.
-
2. b After making your selections, the wizard displays all the DLP policy groups and individual rules that will be activated. Review the list by scrolling through it. Click the arrow on the left of any policy group to expand it and see the individual rules it contains. Hover over a rule name to see a tooltip describing what that rule detects.
Use the checkboxes to include or exclude specific policy groups. When you are ready, click Enable Selected to confirm and continue.
Note
This screen appears only on the first login, when all policies are disabled by default. Once you enable at least one policy and click Enable Selected, this screen will not appear again on subsequent launches of the Quick Start wizard. On future launches, the wizard will begin directly at the Select Data Source step.
- 2. c After clicking Enable Selected, the wizard advances to the Select Data Source screen. A confirmation message appears briefly at the top of the screen confirming that DLP policy groups have been updated successfully.
- NOTE: The following steps apply to users on the dspmLight configuration only. If you do not see the Classification Settings screen after clicking Get Started, skip to step
3.
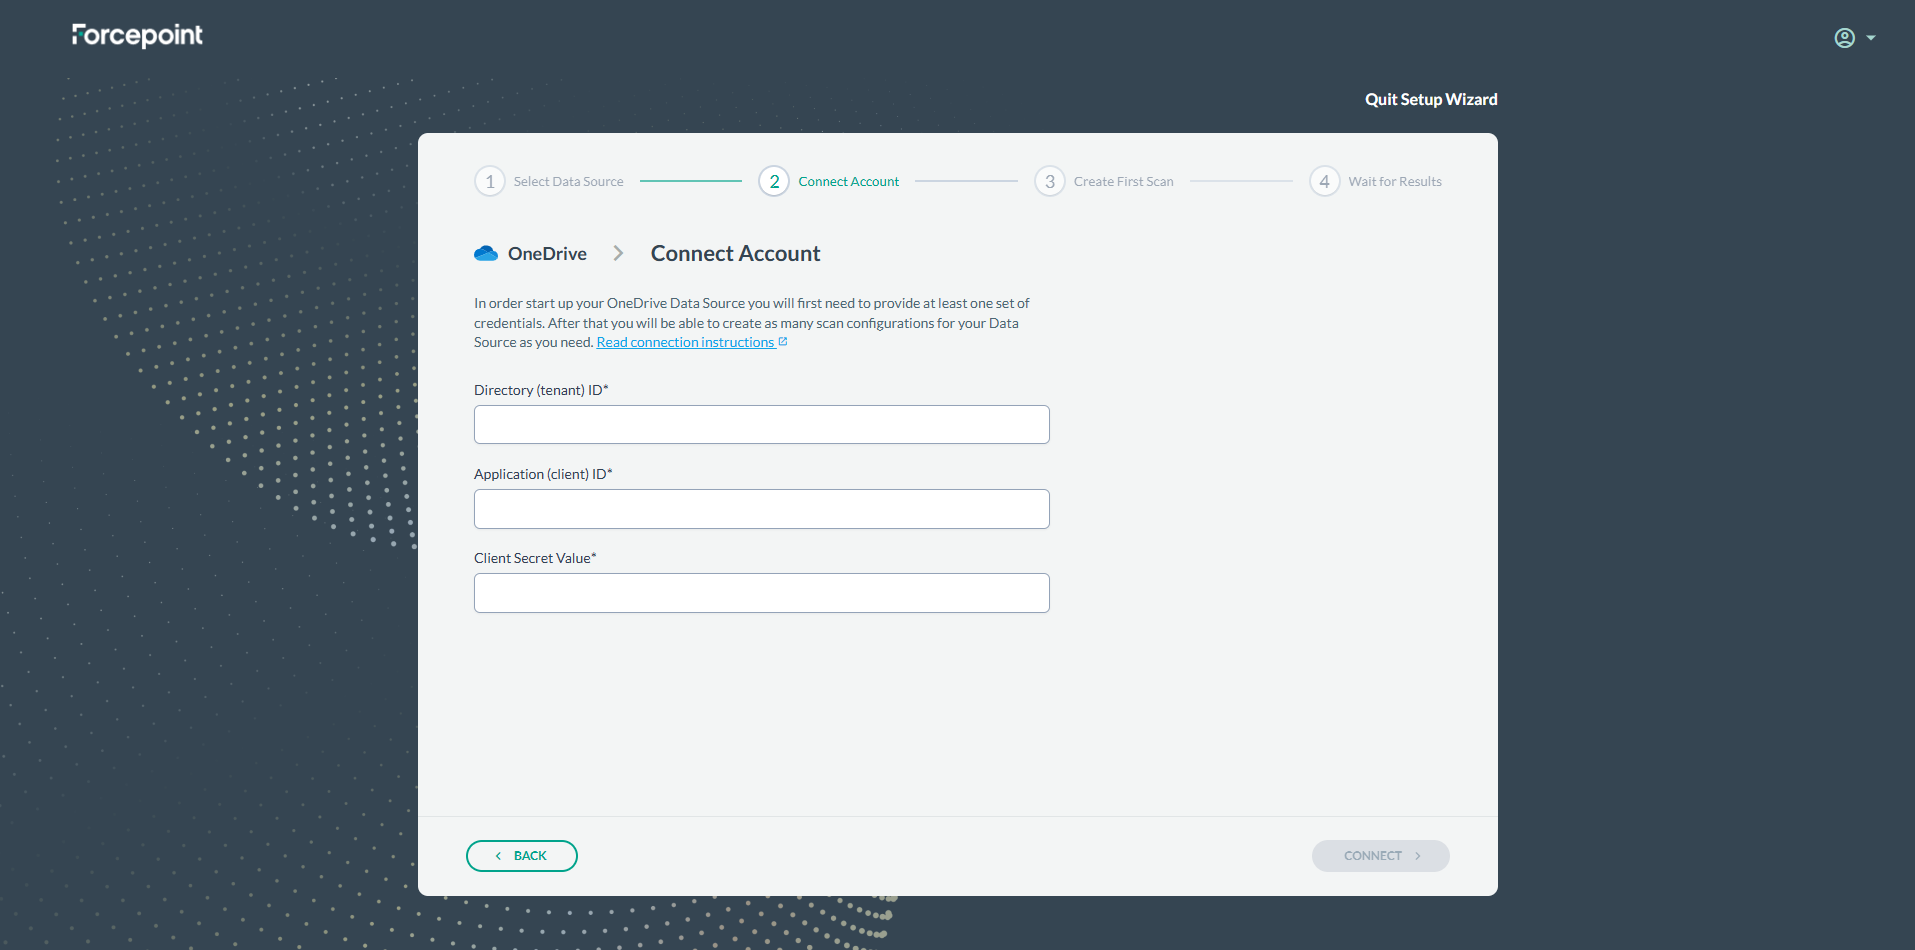
- Select any one data source from the tiles. For example, here we have selected OneDrive:
- In our example, where we selected Onedrive as the data source, on the following screen enter the Details for the fields: Directory(tenant) ID, Application
(client) ID, and Client Secret Value:
- Next, select a folder for scanning:
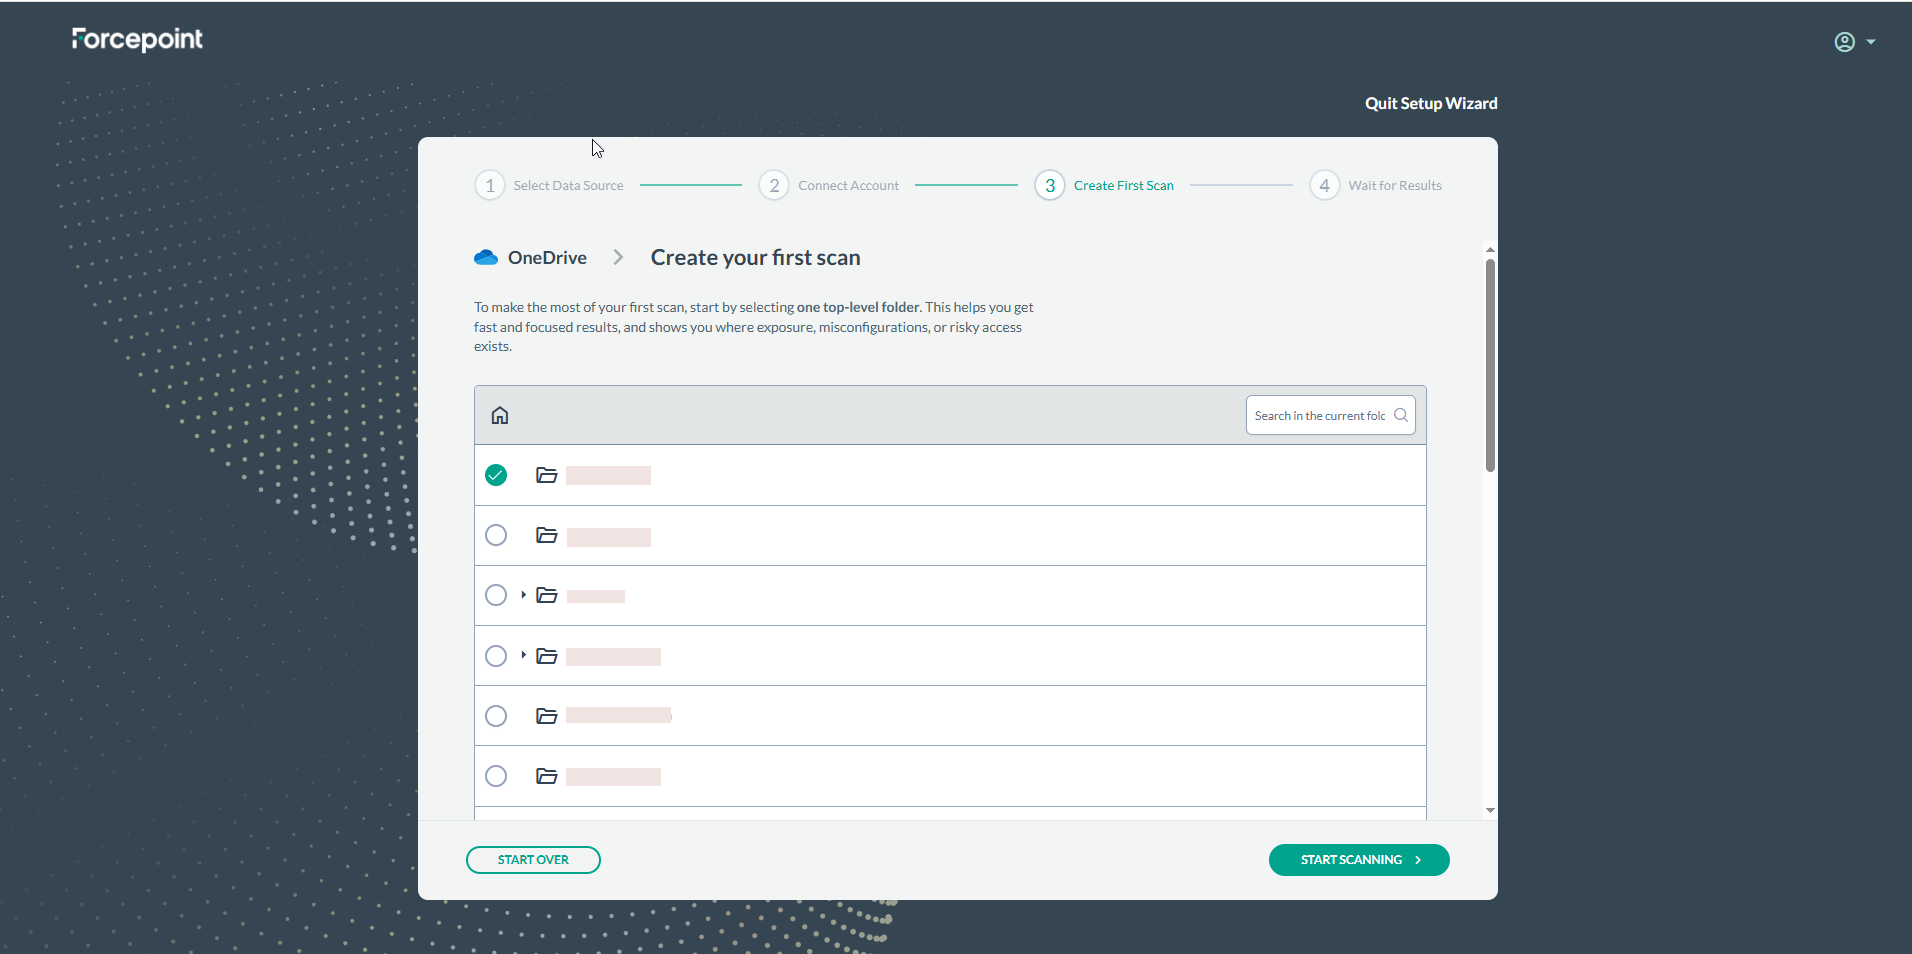
- Click START SCANNING. The system will automatically open the dashboard once the scan results are available.