Configure a certificate authority
Under Certificate Authority:
- If you are adding a new appliance, use the drop-down list to indicate whether to Upload certificate files now, or Provide certificate
later.Important:
It is recommended that you define certificates when you add an appliance, in order to avoid browser warnings regarding SSL termination block, authentication, or quota/confirm operations. Some browsers, for example later versions of Chrome, may block the transaction and display an error message.
Be sure to:- Generate a CA certificate. Each appliance should have a valid X.509 identity certificate with an unencrypted key. This certificate can be generated using a variety of tools, for example OpenSSL. For details and an example, see Generating an appliance certificate.
- Import this certificate to all relevant browsers.
- Upload this certificate to each appliance as described below.
To use the cloud service SSL decryption feature, you should also install the Forcepoint root certificate on each client machine. See Enabling SSL decryption for details.
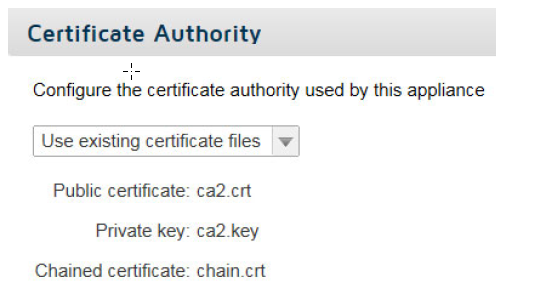
- If you are editing an existing appliance, indicate whether to Use existing certificate files or Upload certificate files.
To upload the certificate files: