Setting up Microsoft Entra ID reverse proxy for Microsoft 365 starts with enabling the AzureAD RP cutoff method and selecting a AzureAD RP domain for the Microsoft 365 application in Forcepoint ONE SSE.
Steps
-
On the Office 365 settings page, select your App Instance or create a new Office 365 Instance to open the Office 365 Instance dialog.
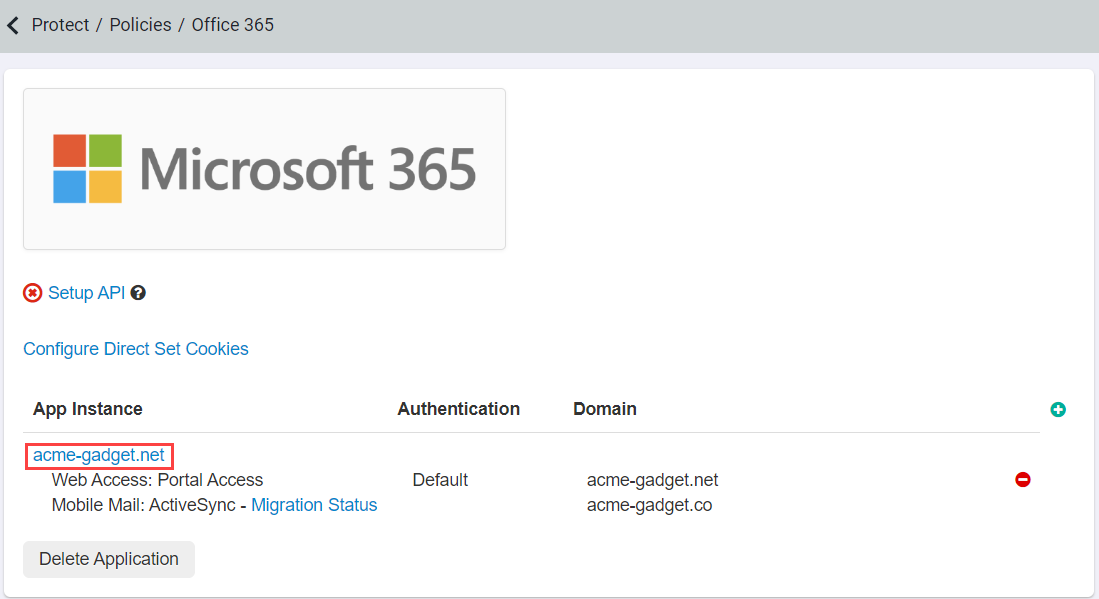
-
On the Office 365 Instance settings page:
-
Click OK to save the Office 365 instance changes.
 The application setup page displays the Setup Azure AD RP link when Azure AD RP is selected as the Cutoff Method.

-
Click OK to save the Office 365 instance changes.
-
Click the Setup Azure AD RP link to open the Reverse Proxy Setup page.
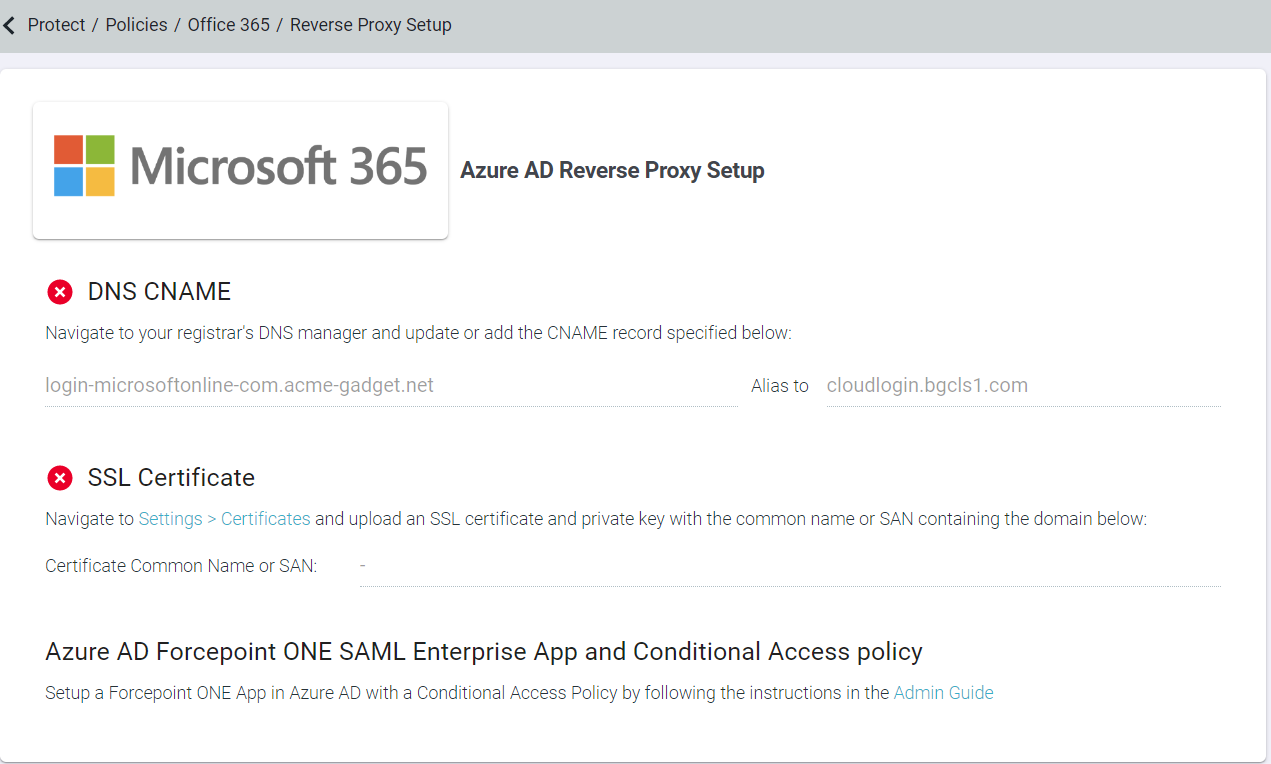
The Reverse Proxy Setup page provides instructions to setup the following items:
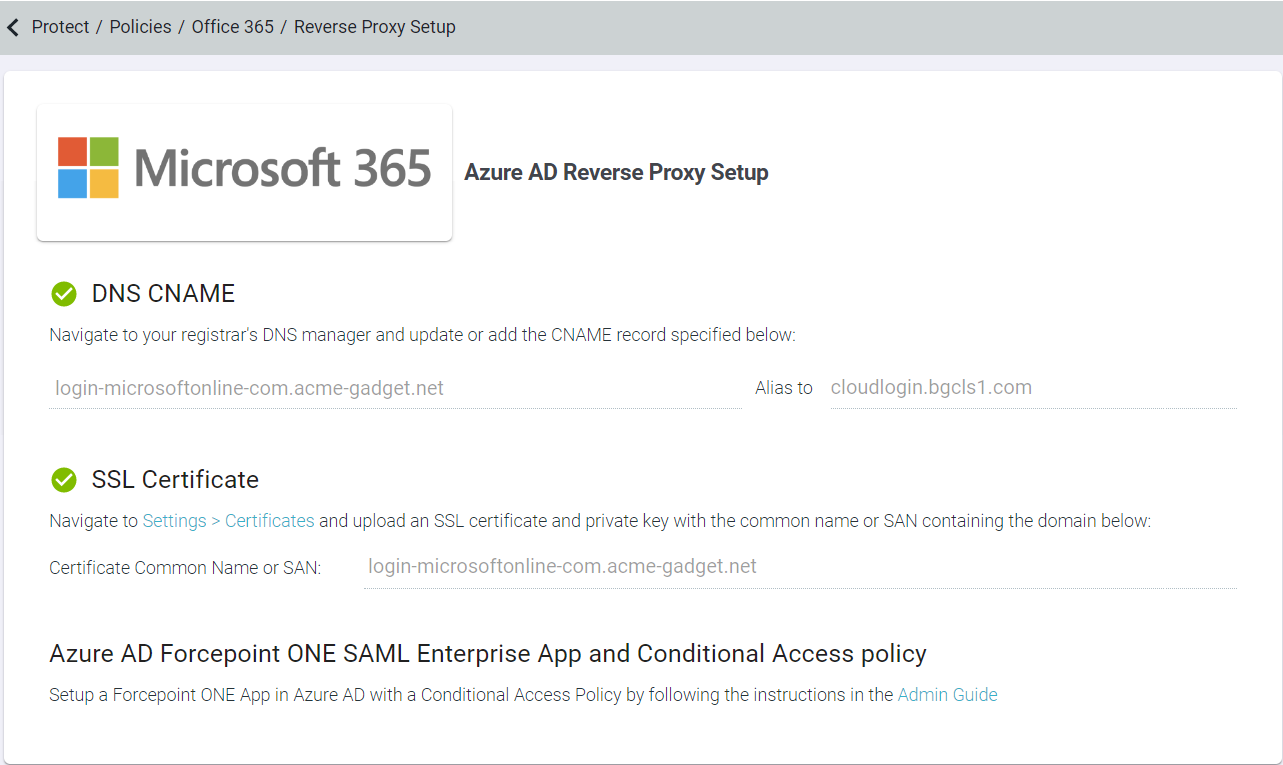
- DNS CNAME - On your registrar's DNS manager, add or update the CNAME record for your Microsoft domain displayed. Once you
have updated the CNAME record on your registrar's DNS manager, you may need to wait for couple of hours to allow DNS changes to take effect
across the internet. On successful DNS propagation,
 appears next to the DNS CNAME only if the DNS CNAME setup is validated via a DNS
check.
- SSL Certificate - Upload a certificate and private key for cloudlogin-app-f91827364p subdomain. The traffic from unmanaged
devices is redirected through this reverse proxy URL. Refer to AzureAD Reverse Proxy Certificate to create SSL certificate. appears
next to the SSL Certificate if a valid certificate and key for the domain specified on the page has the AzureAD Reverse
Proxy checkbox selected.
- Azure AD Forcepoint ONE SAML Enterprise App and Conditional Access policy - Provides a link to the Admin Guide where you can
find instructions to:
- Configure Forcepoint ONE SSE application in Microsoft Entra ID
- Configure Conditional Access Policy for configured Forcepoint ONE SSE application in Microsoft Entra ID.
Even the Office 365 settings page indicates a
next to the Setup Azure AD RP link once the setup is
complete in Forcepoint ONE SSE.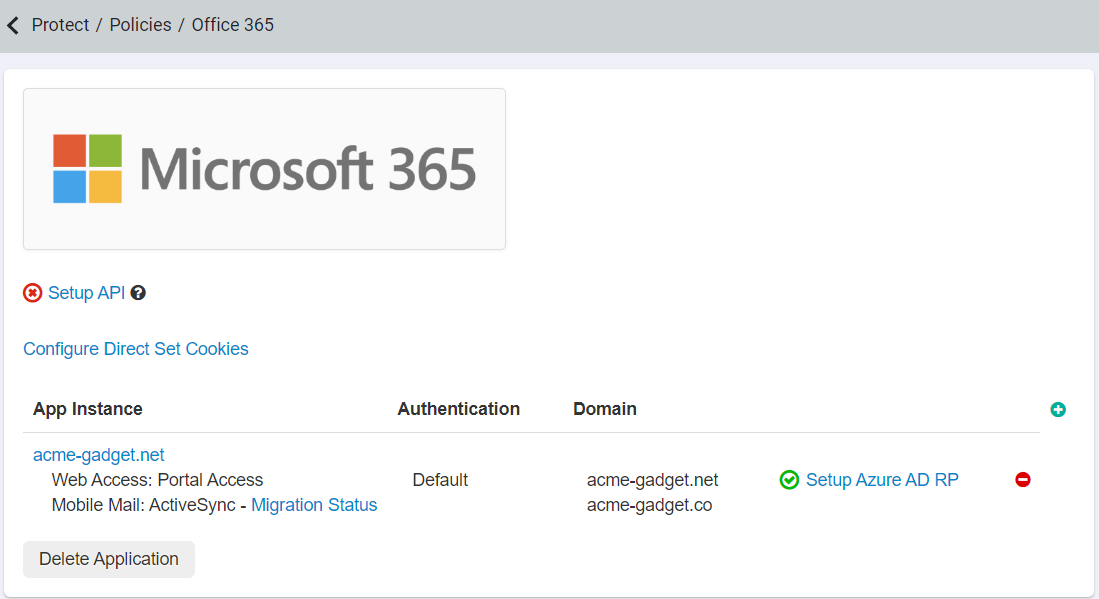
- DNS CNAME - On your registrar's DNS manager, add or update the CNAME record for your Microsoft domain displayed. Once you
have updated the CNAME record on your registrar's DNS manager, you may need to wait for couple of hours to allow DNS changes to take effect
across the internet. On successful DNS propagation,