Exchange Online 365
Steps
-
Grant the account one of the following roles. This is necessary so that the system can discover messages and display results.
- Organization Management
- View Only Organization Management
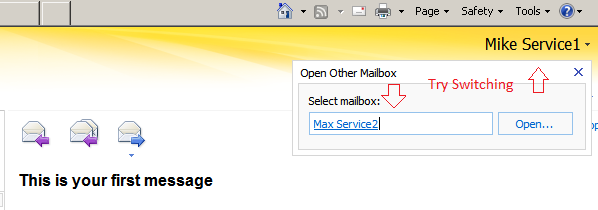
The service account should now be able to access Exchange via Outlook Web App (OWA) and move between the mailboxes intended to be scanned during the discovery. Log onto OWA with this account and try switching between mailboxes as shown below:
-
Configure Exchange impersonation. Exchange impersonation needs to be enabled for the service account used for the discovery.
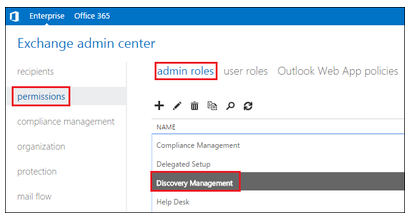
- Log into the Microsoft Exchange admin center; for example, https://<server name>/IP/ecp/
- Click permissions, then admin roles.
- Under Name, double-click Discovery Management.
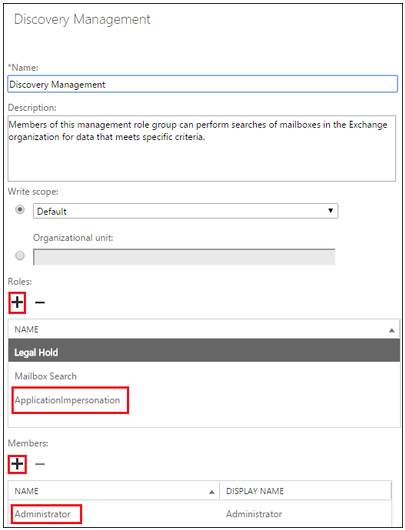
- Under Roles, click the plus sign and add a new role named “ApplicationImpersonation” to the Roles table.
- Under Members, click the plus sign and add the Service Account you will be using in the Exchange discovery task, such as Administrator, to the Members
table.
-
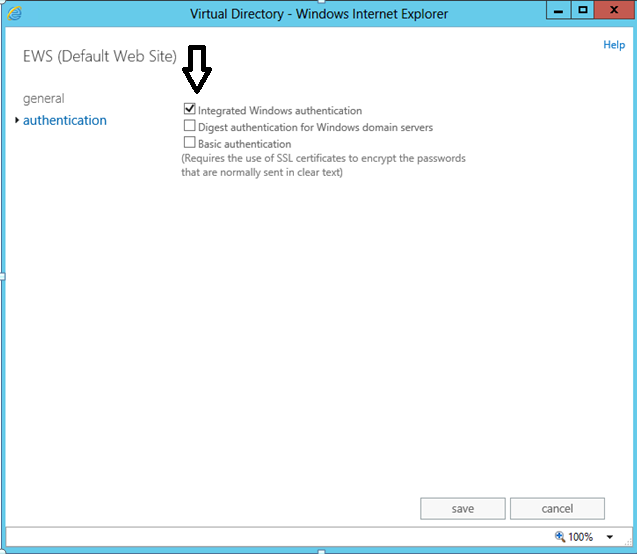
Check that Integrated Windows authentication is turned on (it should be on by default). If it is not:
- In the Exchange admin center, go to .
- Select Integrated Windows authentication.