Setting up an OAuth token
Forcepoint Data Security Cloud | SSE supports OAuth 2.0 for REST API authentication. Admins can setup a config API for user/group provisioning via a SCIM or Forcepoint Data Security Cloud | SSE API, a log export API, or an IP API to pull Forcepoint Data Security Cloud | SSE IP addresses for firewall or proxy configurations.
Steps
-
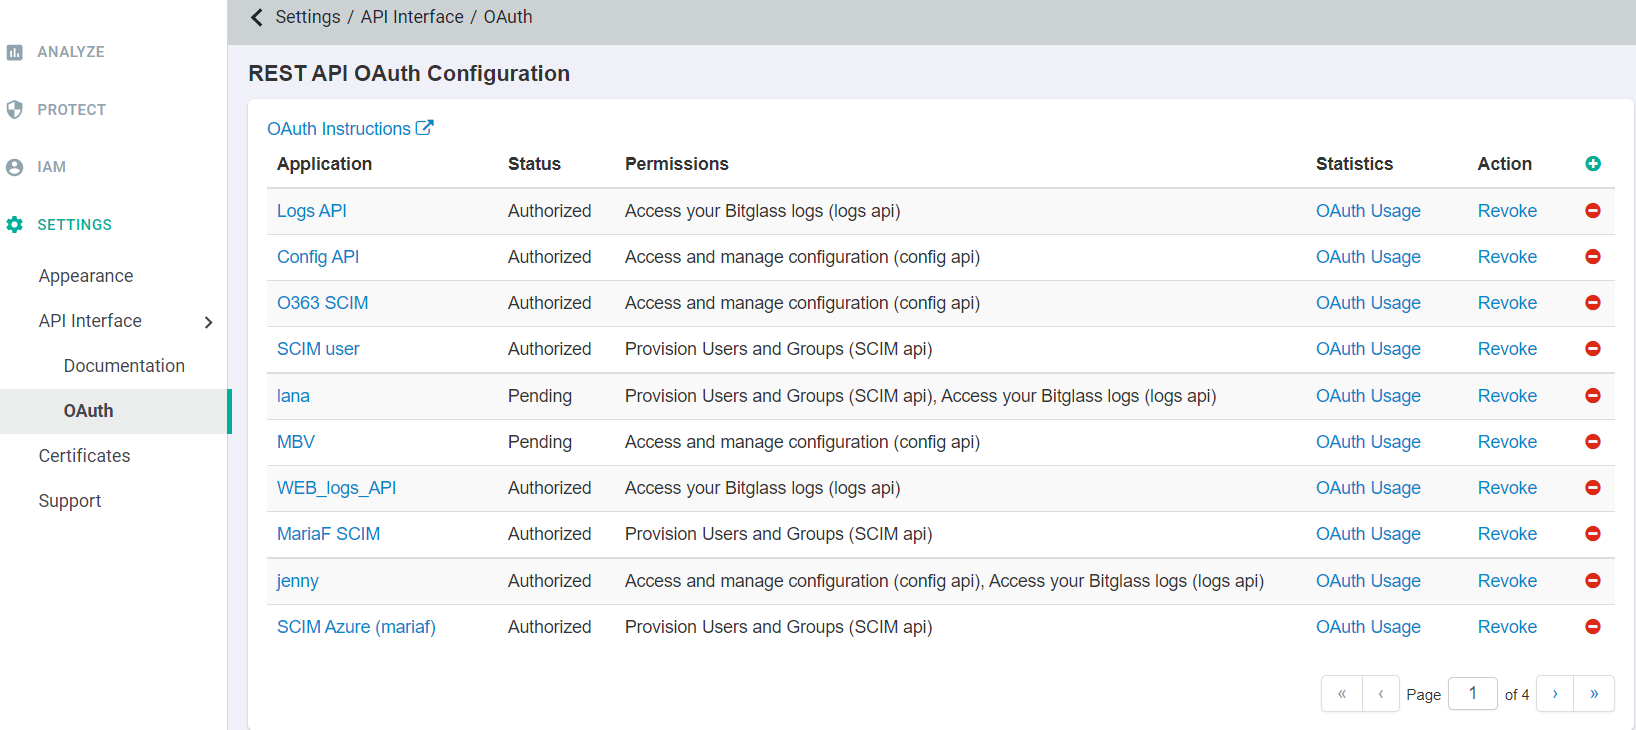
Navigate to .
REST API OAuth Configuration page opens which allows you to add and configure different levels of API permissions.
-
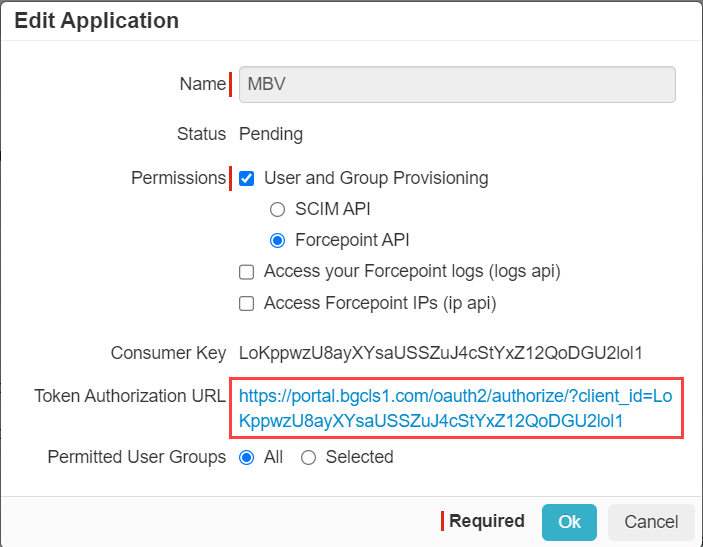
Select the name of your application in the Application column to go into the Edit Applications.

-
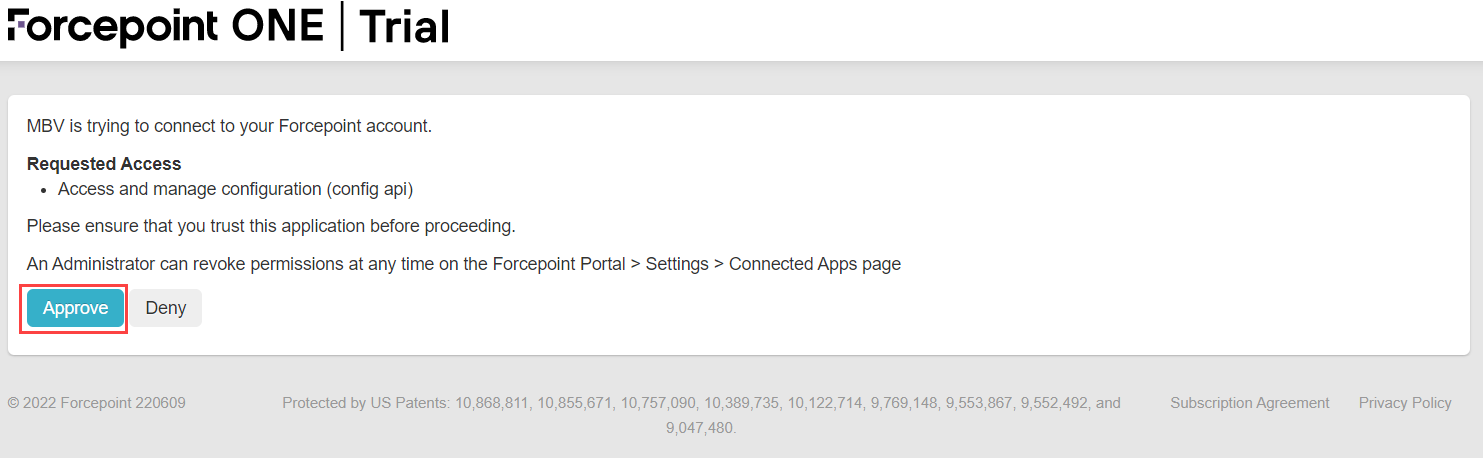
Selecting the URL will take you to the Requested Access page allowing you to Approve or Deny the
application permission settings. Again you will need to send this URL to each permitted user and have them Approve their access.
-
Selecting the URL will take you to the Requested Access page allowing you to Approve or Deny the
application permission settings. Again you will need to send this URL to each permitted user and have them Approve their access.
-
After you approve, you will be given an Access Token that is unique to that user and that the user must keep. The token is valid forever and must be
included in each request for authorization.
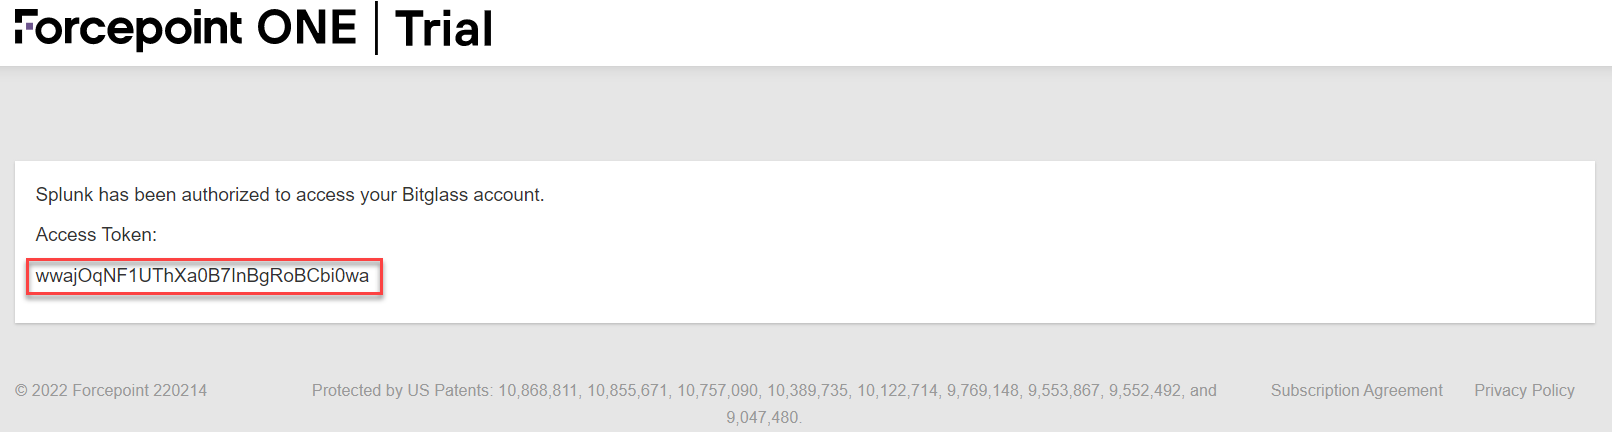 Note: If RBAC permissions change for the user, those permission changes will carry over with the same token. The only time a new token will need to be generated is if scopes are added to the application.
Once access has been approved, you will notice that Status is changed to Authorized.
-
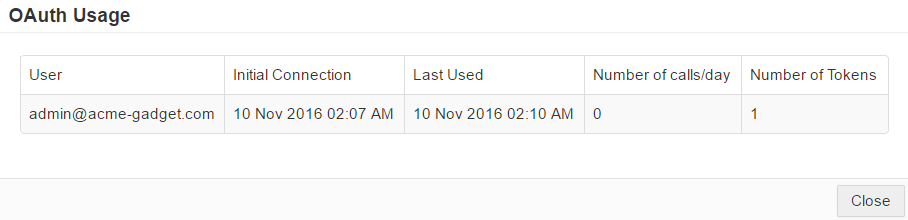
Once users begin to authorize the application, that information will be tracked and you can view it under the Statistics column by select OAuth
Usage for the particular application.
It will also identify their Initial Connection (date and time in the admin's timezone), Last Used (date and time in the admin's timezone), Number of calls/day, and Number of Tokens.

Example
-u <username> <password> with -H "Authorization: Bearer:
<your_token_here>".curl -H "Authorization: Bearer TZGS5cnWjR2D0YHdfPmJwH2OZlrCFm" "https://portal.btglss.net/api/bitglassapi/logs?type=cloudsummary&responseformat=csv&startdate=2016-09-10T04:25:05Z&cv=1.1.5"