Once the installation and configuration of the ZTNA is complete, you can now add your internal apps to Forcepoint Data Security Cloud | SSE to provide contextual access
controls.
Follow the below steps to provide access internal app via ZTNA over TCP proxies:
Steps
-
In the Forcepoint Data Security Cloud | SSE portal, click .
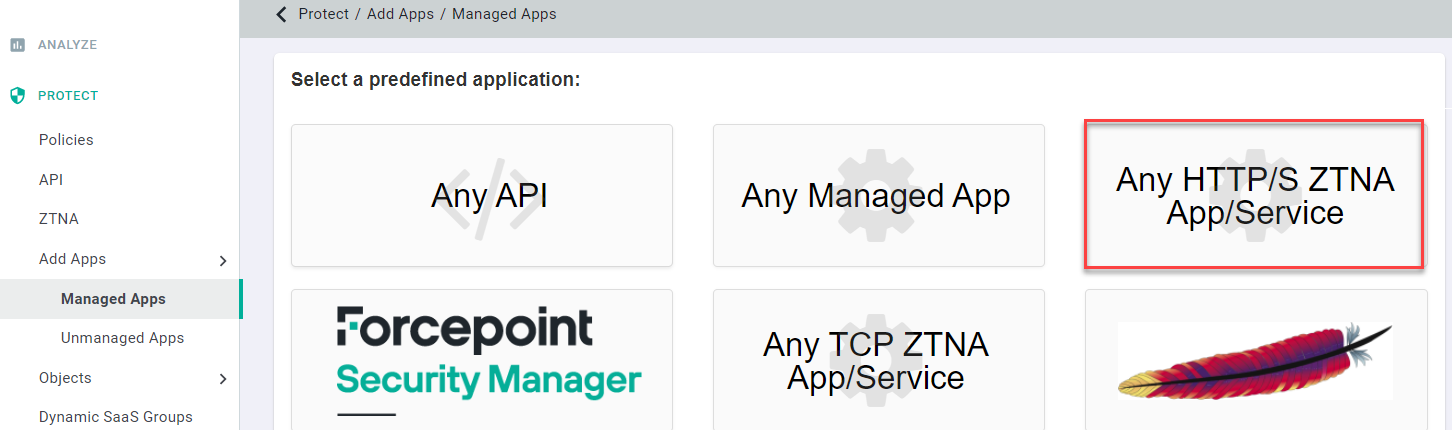
-
On the Managed Apps page, select the Agent TCP ZTNA App/Service option.
-
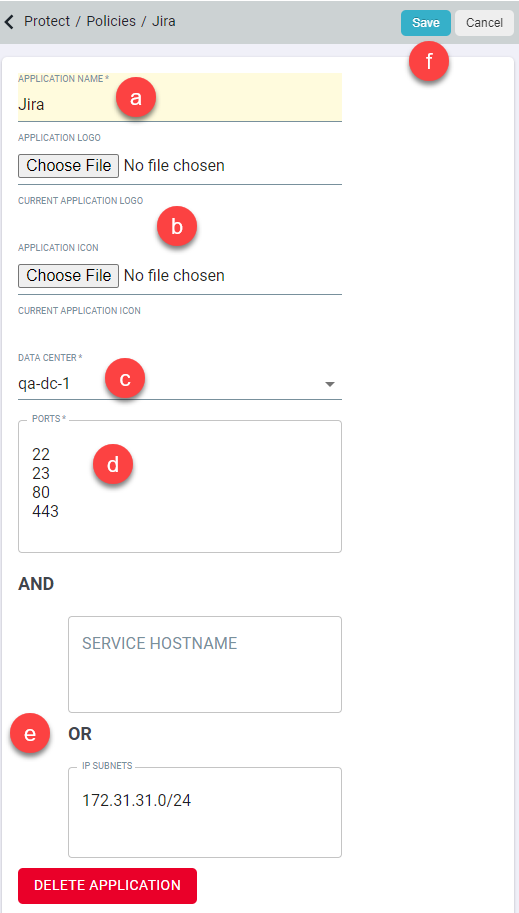
In the new window, fill out the fields to configure your app:
-
Provide a name for the application.
-
You can (optionally) upload an image that will appear on the policies page as well as a small icon that will be used on logs and Dashboard pages.
-
Select the datacenter name that you configured. This name will be used in logs to identify the location of the app, such as the 'Campbell, CA' office.
-
Enter the TCP proxy ports that the internal application can be accessed over. This field supports individual ports and ports ranges.
-
Enter either Service Hostname or IP Subnets. However, you can enter both Service Hostname and IP Subnets simultaneously.
Following is the behavior when Service Hostname and IP Subnets are entered:
- The SmartEdge agent provides connectivity to all possible combinations of both the Port(s) and Hostname(s) as well as the Port(s) and IP_Subnet(s) set groupings.
- Connectivity is matched against the ZTNA apps' policy rules.
-
To save the details, click Save.
Result
A default rule is created with Action set to Deny and other fields to Any in page. For agent-based ZTNA apps, you will see ZTNA TCP in the top left of the app logo and data center name in the bottom left of the app logo.