Start the NGFW Manager
The NGFW Configuration Wizard allows you to configure settings for the Forcepoint NGFW appliance. Start the NGFW Manager from the web browser version of the NGFW Configuration Wizard.
Steps
-
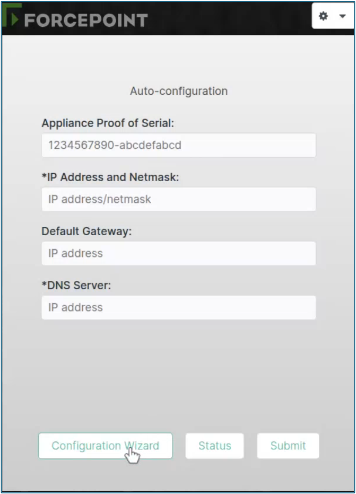
On the Auto-configuration dialog box, click the Configuration Wizard button.
-
From the Select Engine Management Type drop-down list, select one of the following options:
- Locally Managed Security Engine: Allows you to locally manage a single NGFW Engine. In this mode, elements and options related to the VPN Broker are not shown.
- Locally Managed VPN Broker: Allows you to configure the VPN Broker. In this mode, elements and options related to the VPN Broker are shown in addition to elements and options related to the management of the NGFW Engine.
- Auto-configuration: When selected, takes you back to the Auto-configuration dialog box.
Note: The Centrally Managed Security Engine option is not relevant for setting up local management.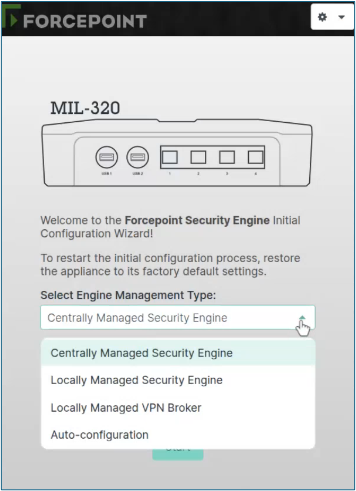
-
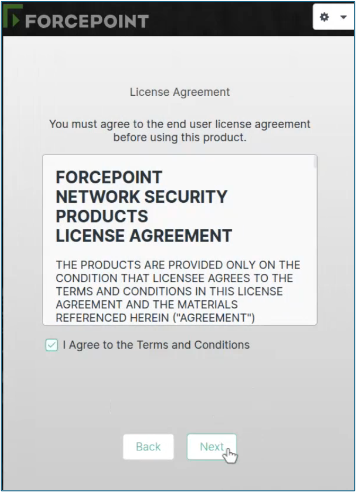
Select I Agree to the Terms and Conditions, then click Next.
-
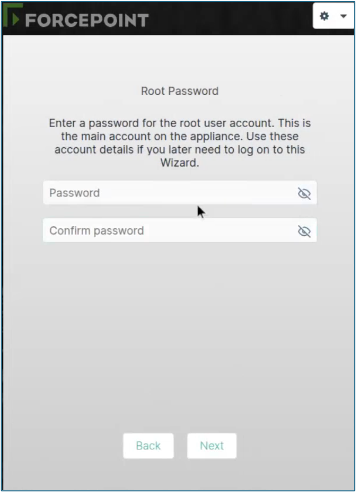
Enter and confirm the password for the root account, then click Next.