Configuring Okta SSO with SAML 2.0 protocol
Forcepoint Security Manager supports Single Sign-On (SSO) via SAML 2.0 protocol, and certified for Okta identity provider. This helps the user to login to the Forcepoint Security Provider using SSO.
Complete the following steps to configure Okta with SAML 2.0 protocol.
Steps
-
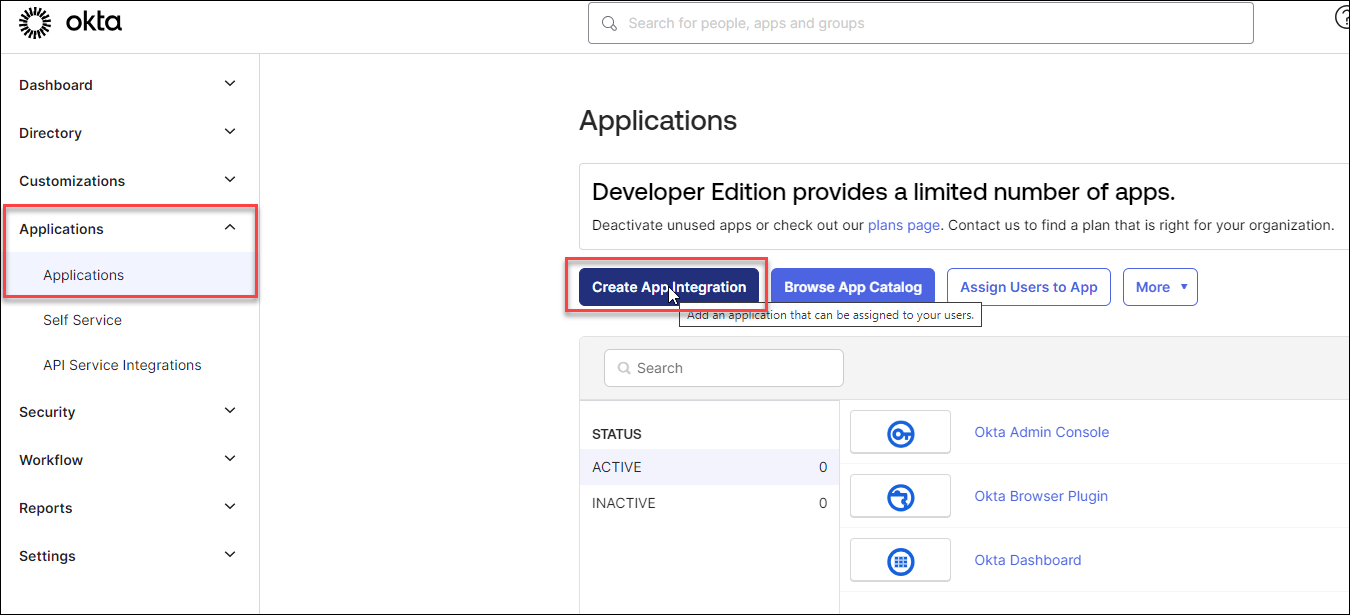
Click the Create App Integration button.
-
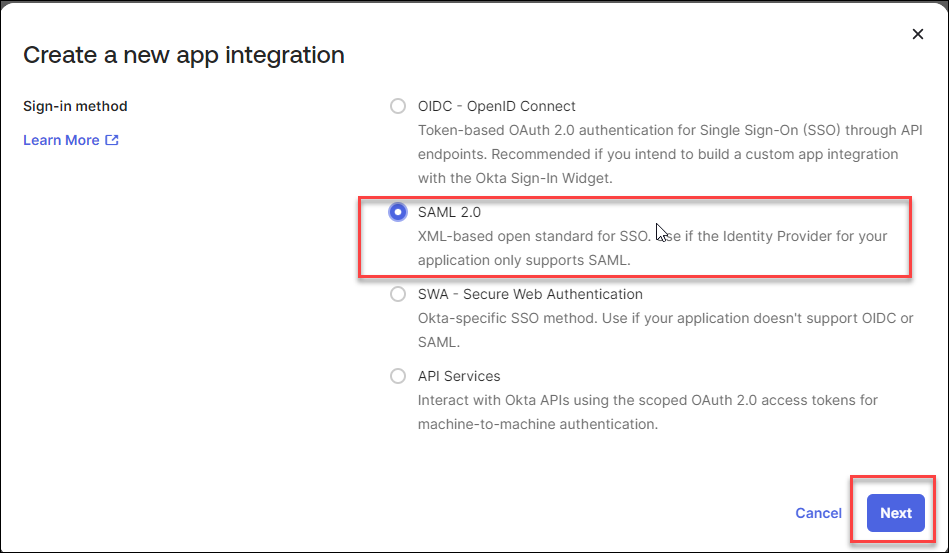
On the Create a new app Integration dialog, select the SAML 2.0
option, and then click the Next button.
The Create SAML Integration page opens.
-
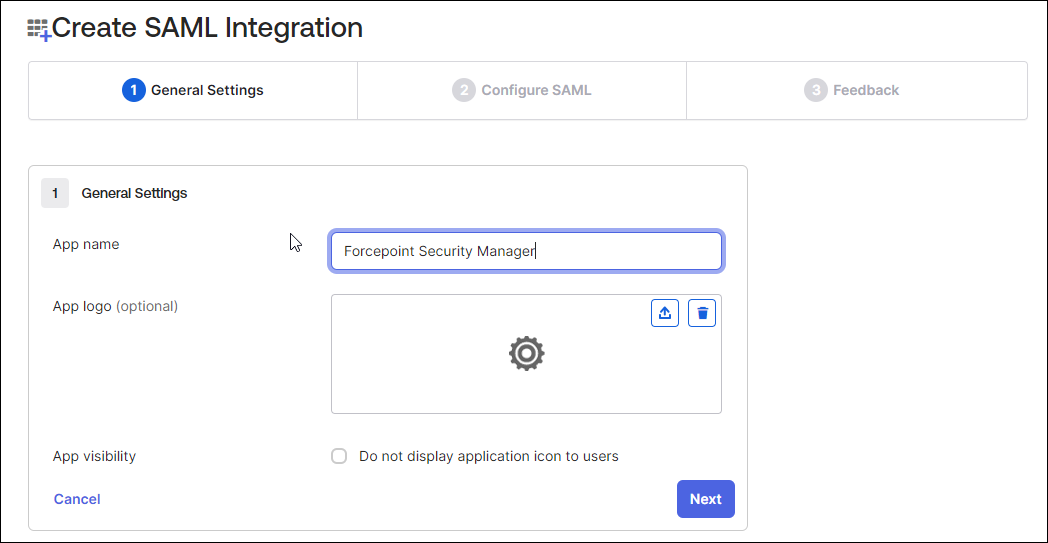
In the General Settings tab:
- In the App name field, enter the name of application e.g. Forcepoint Security Manager.
- (Optional) Add the logo into App logo box.
Click here to download Forcepoint Security Manager logo
- Click the Next button.
-
Open Forcepoint Security Manager and navigate to .
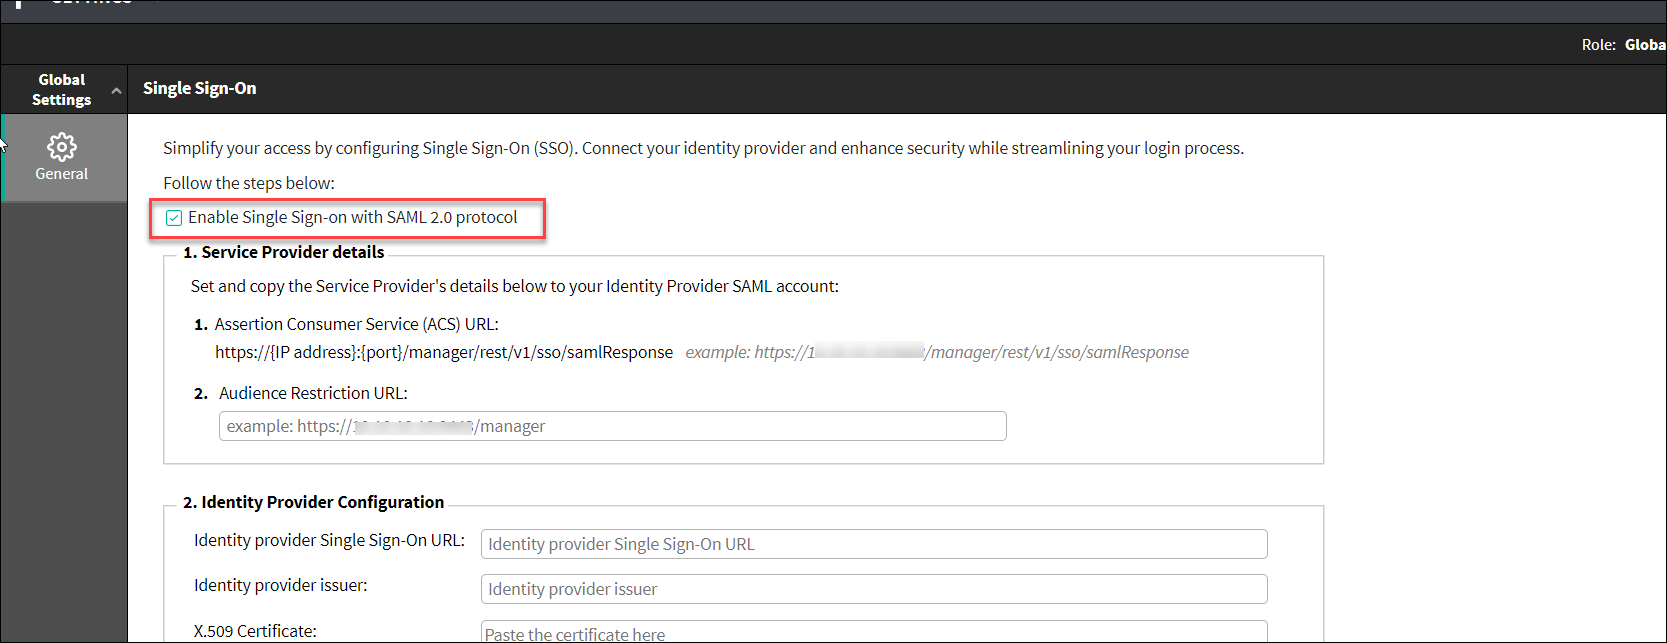
In Single Sign-On page:
- Enable the SSO feature by selecting Enable Single Sign-on with SAML 2.0 protocol checkbox.
-
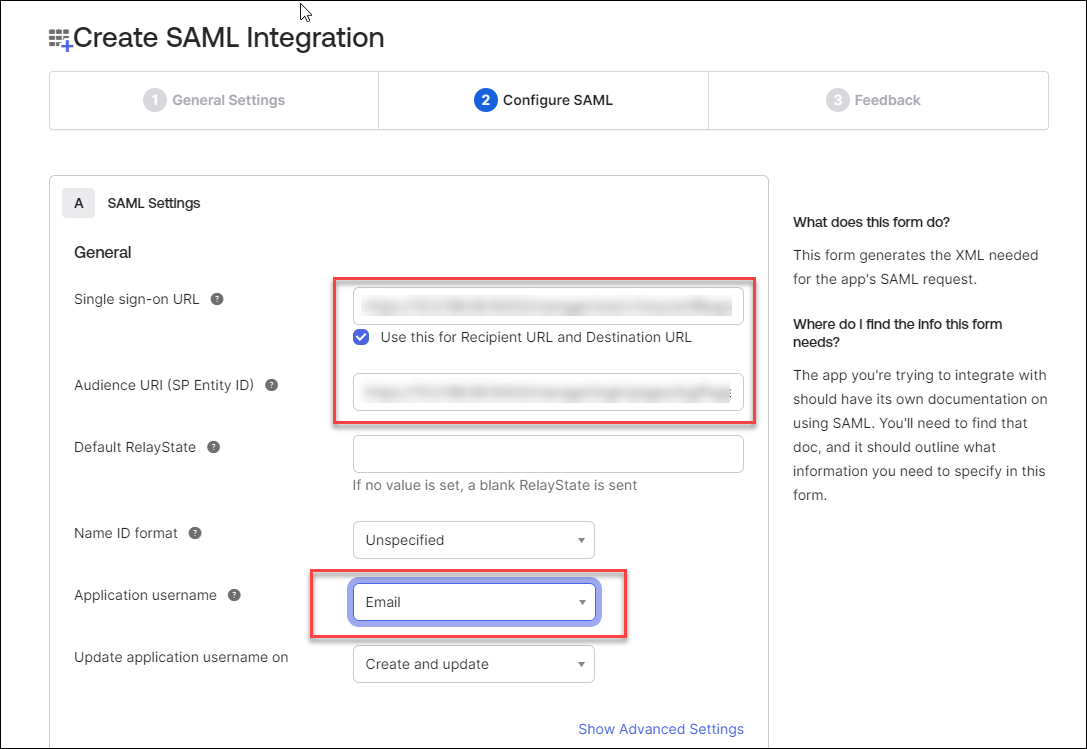
Go back to Create SAML Integration page.
Under the SAML Settings section:
- Enter the Single sign on URL and Audience URI (SP Entity ID).
- Check the Use this for Recipient URL and Destination URL checkbox.
- Select Email from drop-down as the Application username.
-
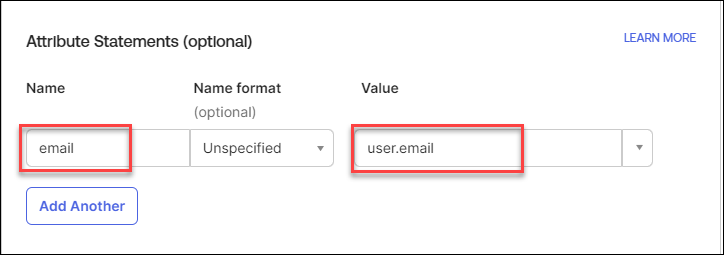
Navigate to the Attribute Statements (optional) section:
- Add 'Email' for Name and 'user.email' for Value.
- Click Next button.
-
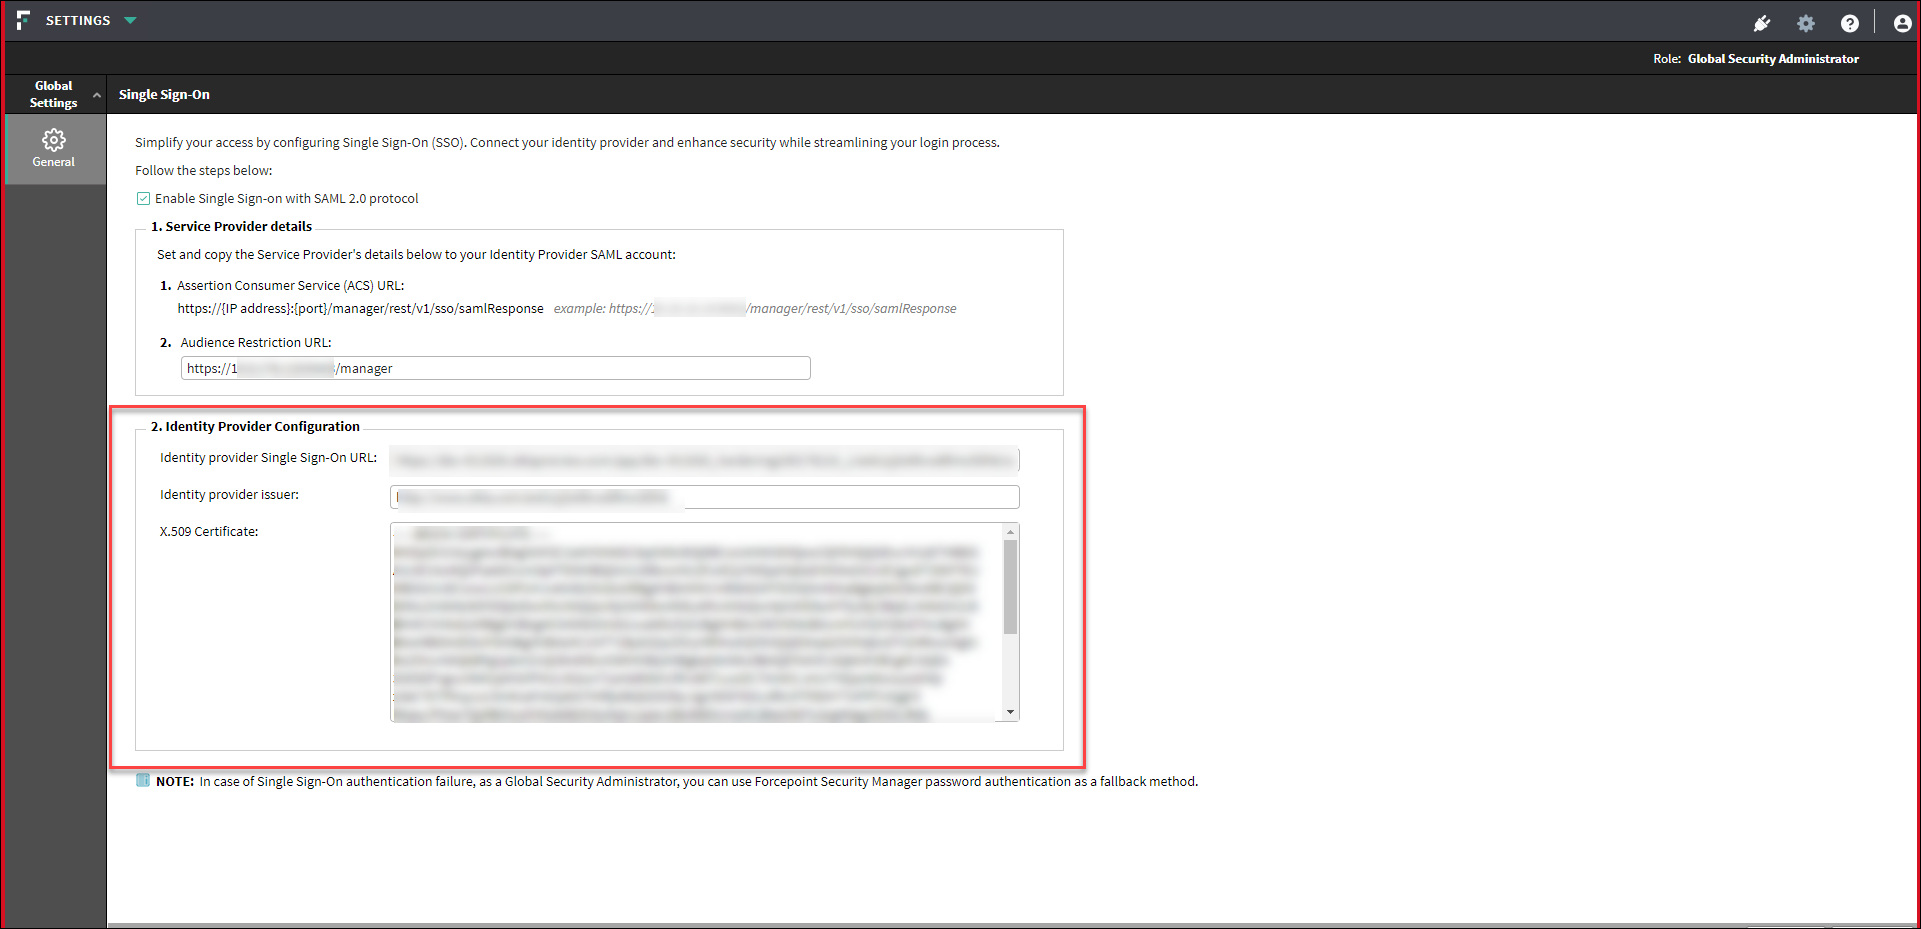
Open Forcepoint Security Manager and navigate to .
In Single Sign-On page:
- In Identity Provider Configuration section, enter Identity Provider Single Sign-On URL, Identity Provider Issuer, and X.509 Certificate copied from previous step.
-
In Okta, navigate to .
- Go to My Apps, a new application Forcepoint Security
Manager will be available.
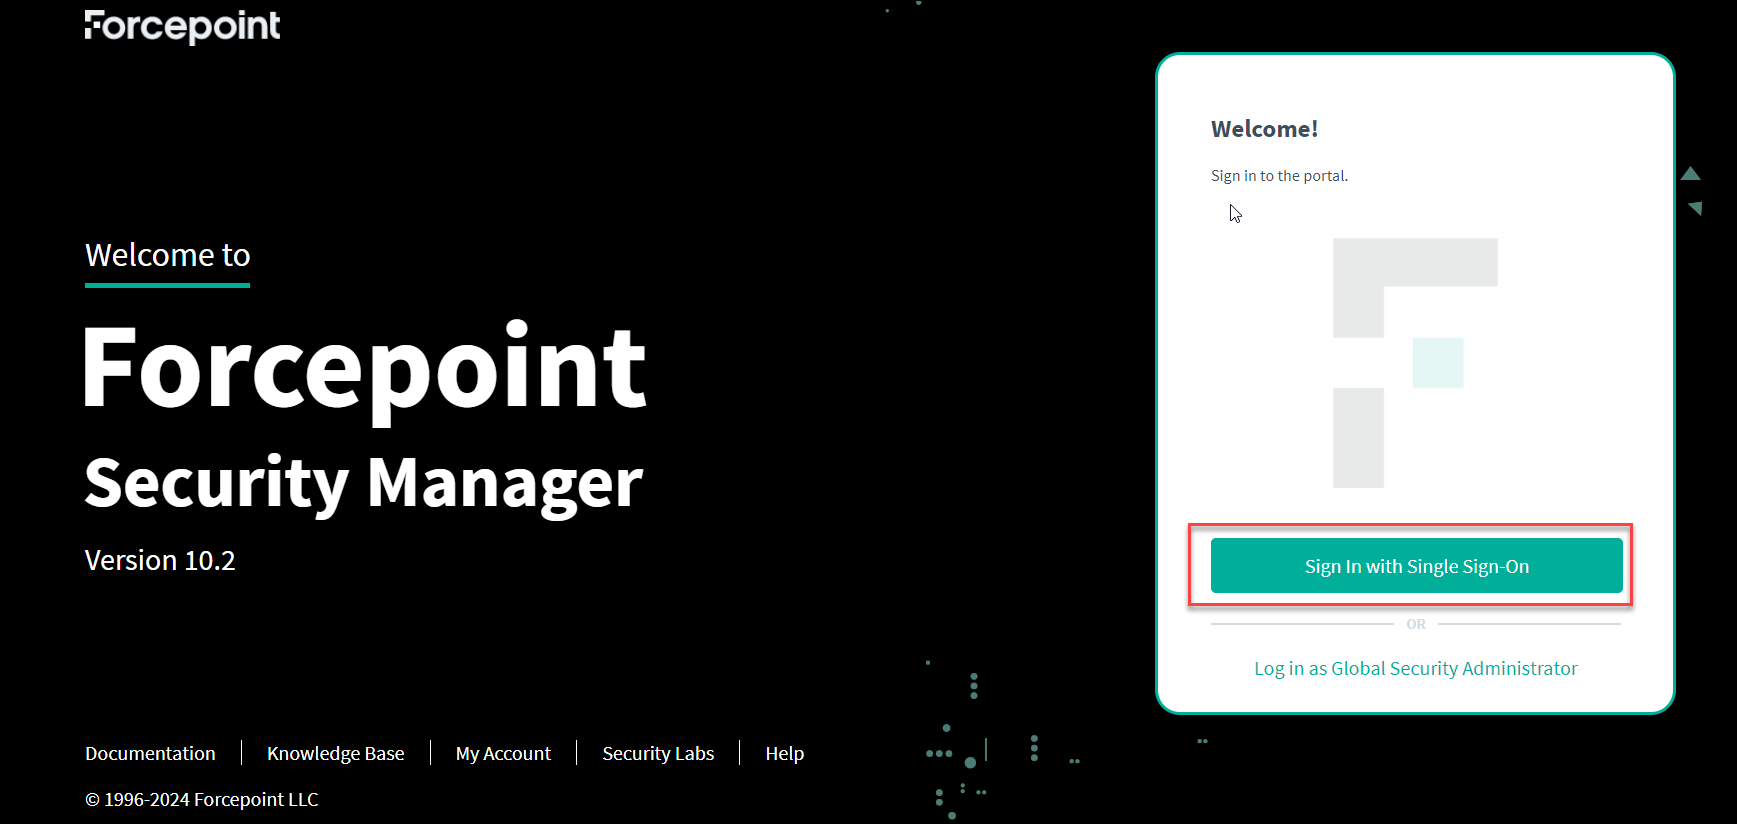
By using this Forcepoint Security Manager application in Okta, the user can login to the Forcepoint Security Manager using SSO.
When the user click on the newly added Forcepoint Security Manager application, the system redirects you to the Forcepoint Security Manager portal from the Okta account.
- Go to My Apps, a new application Forcepoint Security
Manager will be available.