Create Custom Profile
The Create Profile editor can be used to create custom profiles. If the administrator wants, then they can select the Inherit default profile option provided with each widget to apply the values from the default profile.
Profile Details
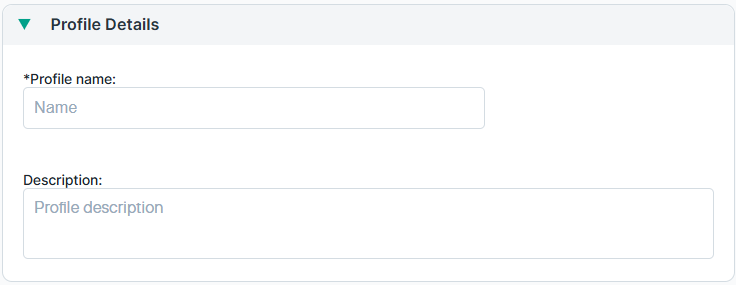
Profile name: Each profile is stored using the provided name.
Description: Brief description of the profile.
Applies to:
Use this section to define the scope to exclude or include in the profile. The scope defines the endpoints or organizational units which should be subjected to this profile.
The selection list is limited to 100 entries. Use search to find additional endpoints or OUs.
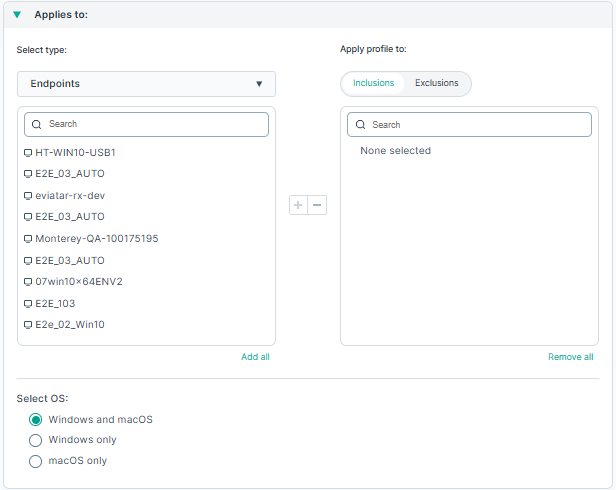
In the Search option, enter the resource name, then click  to add to the list
for either inclusion or exclusion. You can also use the Add all or Remove all options to remove or add multiple entries. Similarly, you can use
the
to add to the list
for either inclusion or exclusion. You can also use the Add all or Remove all options to remove or add multiple entries. Similarly, you can use
the  to remove entries that were added earlier for either exclusion or inclusion.
Also, from the Select OS: option select the operating system running on the endpoint machine.
When including an OU or endpoint in the "Include" list all other OUs and endpoints are excluded. The "Exclude" list overrides the "Include" list. It is used, for example, to select an OU but exclude specific endpoints that belong to this OU.
General
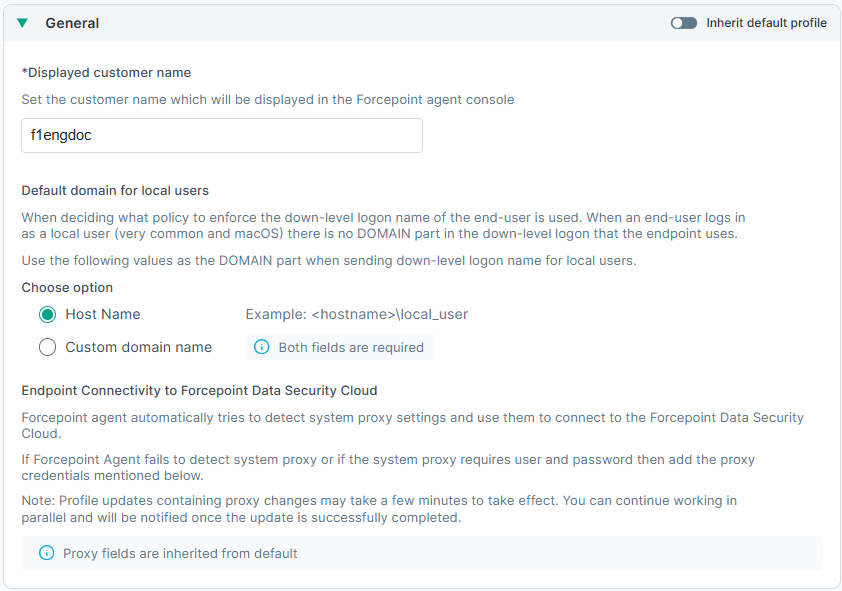
- Displayed customer name: Set the customer name that is displayed on the Forcepoint Agent console.
- Endpoint Connectivity to Forcepoint Data Security Cloud: Allows manual configuration of proxy settings for proxies that require authentication.
Customer Logo (Applies to Default Profile Only)
You can add a custom company logo for Forcepoint Data Security Cloud | DLP agent installs using this widget.
Uploading the Logo
- Click Select logo to select and upload the image file.
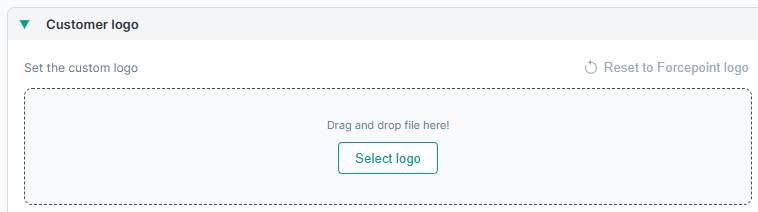
- After the file explorer opens, browse and select the image you want to upload. Only PNG images of dimensions of 300 x 50 pixels and a maximum size of 50 KB are supported.
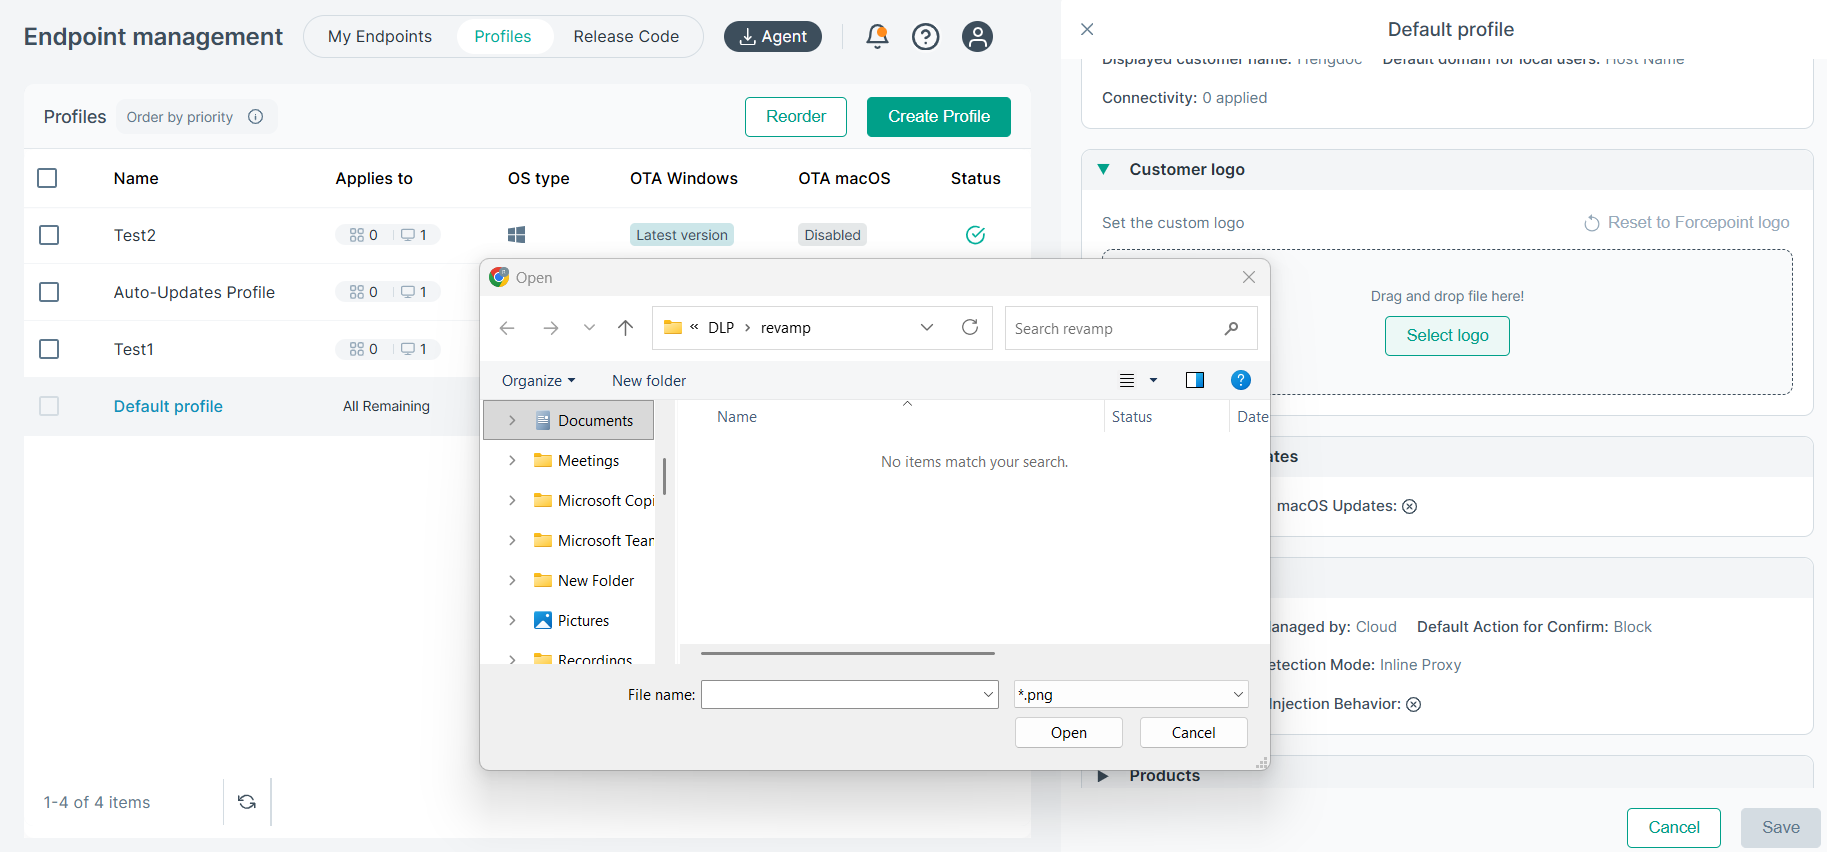
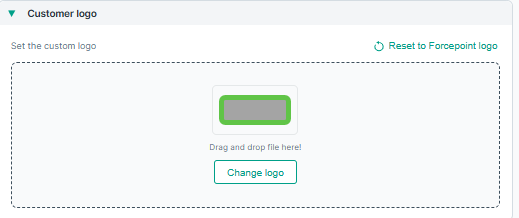
Only one logo is allowed per tenant. Uploading a new logo replaces the previous one.
The uploaded logo will appear both in the agent coaching dialog and in alert email notifications.
- To update or remove the previously uploaded logo, click the Change logo button and upload the new logo.
Over the air updates
Displays which agent software versions are pushed to the endpoints. Values are inherited from default profile settings. Over the air updates can be enabled or disabled from the Default profile. Also, administrators can either opt for automatic updates or select specific agent versions to update from the Default profile. If Update to a specific version is selected, then the drop-down can be used to select the exact agent version of the Windows or macOS agent to update to.
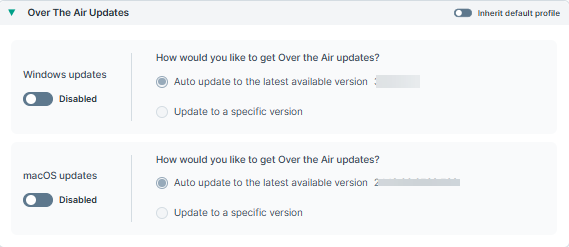
Administrators can choose to enable the option Inherit default profile if they want to inherit the settings from the default profile.
Data Protection
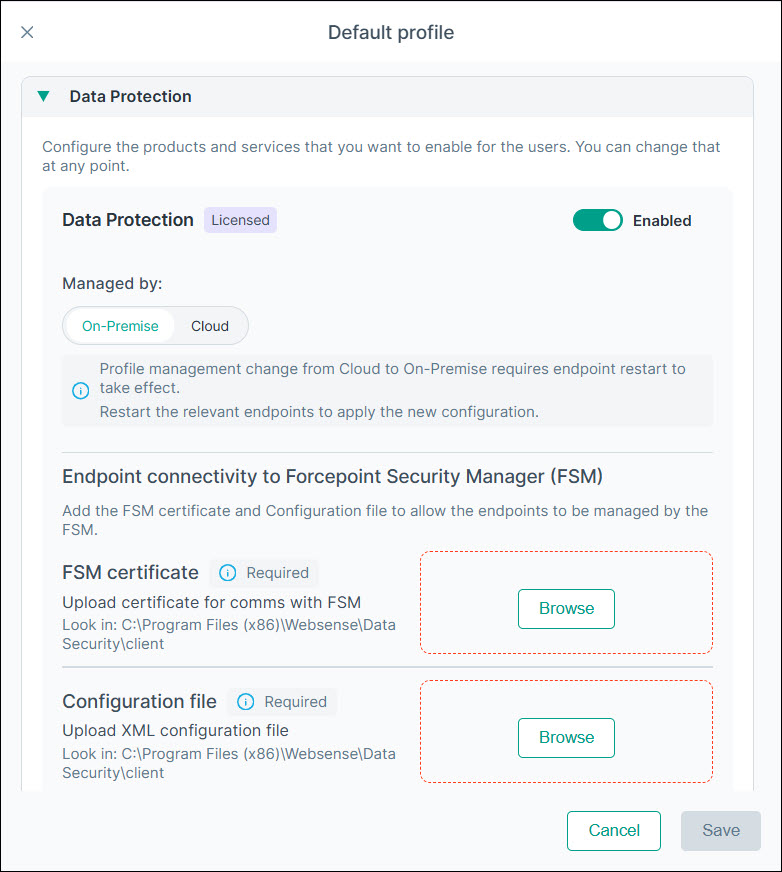
The Data Protection widget enables users that have Data Protection license to disable or enable it. Administrators can choose to enable the option Inherit default profile if they want to inherit the settings from the default profile.
- FSM certificate - ca.cer certificate used for communication with FSM.
- Configuration file - localconfig.xml file.
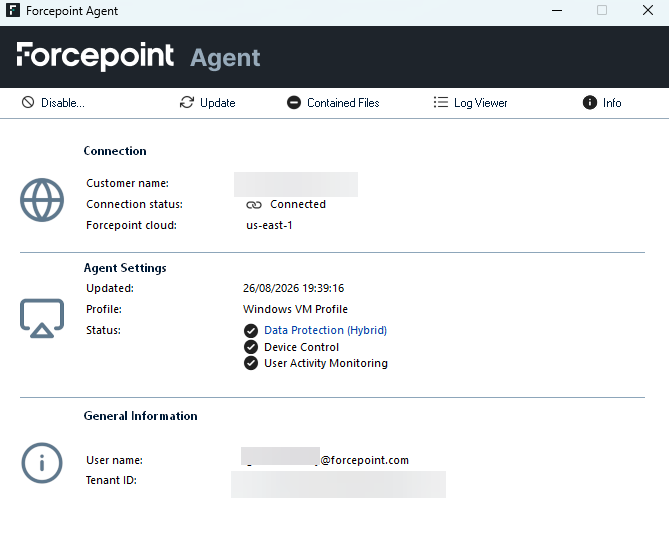
- Connection: The customer name, the connection status, and the Forcepoint cloud region that the agent connects to.
- Agent Settings: The date and time the agent settings were last updated, the profile applied to the endpoint, and the Status list of the products that are enabled on the endpoint. When Data Protection is deployed in Hybrid mode, the entry is displayed as Data Protection (Hybrid).
- General Information: The user name and the tenant ID.
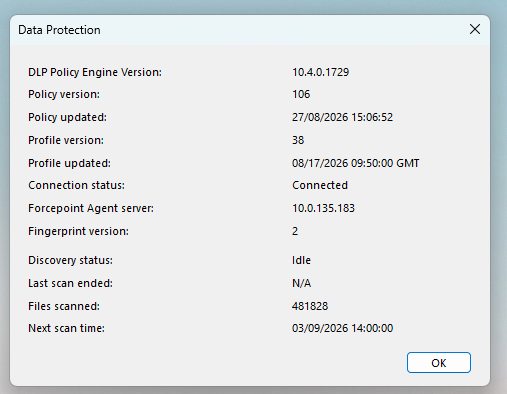
- DLP Policy Engine Version: The version of the DLP policy engine installed on the endpoint.
- Policy version: The version of the DLP policy that the endpoint currently enforces.
- Policy updated: The date and time the policy was last updated.
- Profile version: The version of the profile applied to the endpoint.
- Profile updated: The date and time the profile was last updated.
- Connection status: Whether the endpoint is connected to the server that manages Data Protection.
- Forcepoint Agent server: The address of the Forcepoint Agent server that the endpoint is connected to. This is displayed when Data Protection is managed by On-Premise.
- Fingerprint version: The version of the fingerprint repository on the endpoint.
- Discovery status: The current state of endpoint discovery, for example Running or Idle.
- Last scan ended: The date and time the last discovery scan finished.
- Files scanned: The number of files scanned by discovery.
- Next scan time: The date and time the next scheduled discovery scan starts.
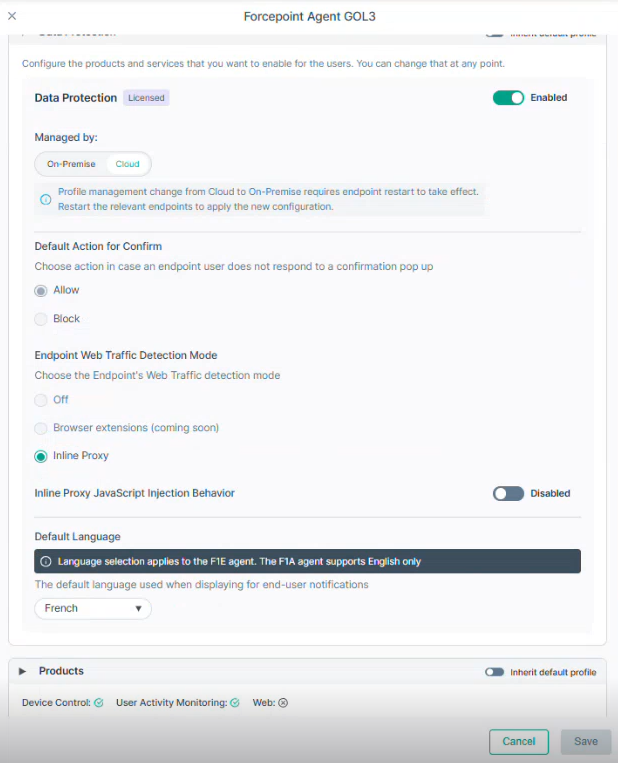
This Windows agent does not support inline proxy or browser extension. It uses a different web inspection method called application and SSL hooking.
Administrators can choose to enable the option Inherit default profile if they want to inherit the settings from the default profile.
- English
- Dutch
- French
- German
- Italian
- Japanese
- Korean
- Portuguese
- Russian
- Simplified Chinese
- Traditional Chinese
- Spanish
Products
Lists the features available and the license requirements.
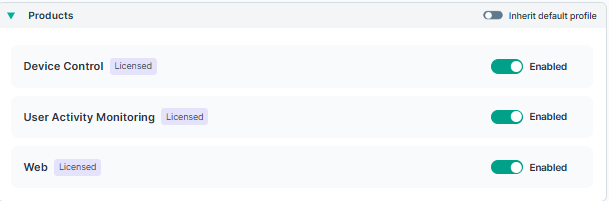
- Device Control
- User Activity Monitoring
- WebNote: An endpoint reboot may be required for the product disablement/enablement to take effect.
If the customer does not have a license for one of the above products, the respective enable/disable toggle will be disabled.
Administrators can choose to enable the option Inherit default profile if they want to inherit the settings from the default profile.
Application Monitoring
Administrators can select applications whose traffic should be monitored for Windows endpoints.
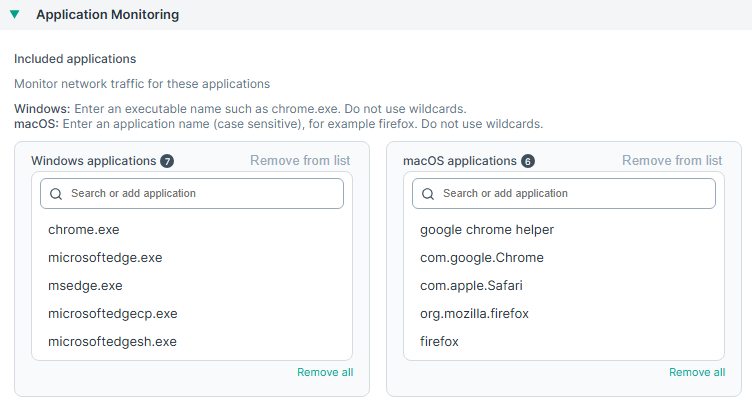
- For Windows, enter an executable name such as chrome.exe.
- Do not use wildcards.
Select the application name from the list and click Remove from list to remove the application.
Administrators can choose to enable the option Inherit default profile if they want to inherit the settings from the default profile.
Application Bypass
Administrators can exclude specific applications from DLP monitoring on Windows endpoints.
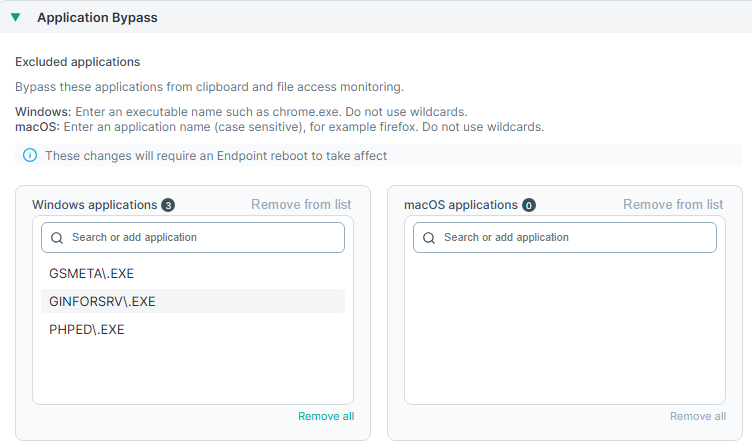
In the Search option, enter the application name, then click Add <app> to list to add applications to the list.
- For Windows, enter an executable name such as chrome.exe.
- Do not use wildcards.
Select the application name from the list and click Remove from list to remove the application.
Administrators can choose to enable the option Inherit default profile if they want to inherit the settings from the default profile.
Scanning Inspection Bypass
Administrators can add domains on which submitted content should not be scanned. This applies to the Windows Forcepoint agent. The Windows Forcepoint agent does not perform SSL decryption, but this setting can be used to limit scanning on the specified domains.
This does not change how the configuration is used by older Windows agents or Mac agent installs.
Use the toggle button to enable or disable the SSL Inspection Bypass.
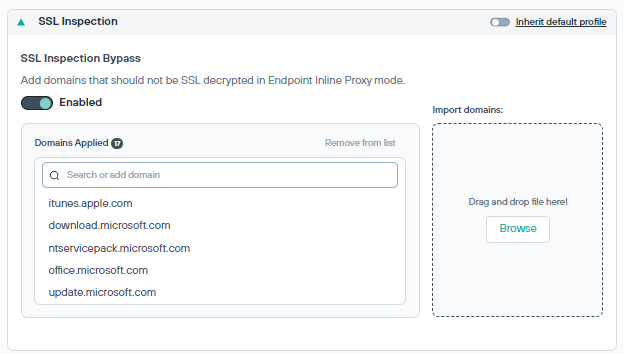
Enter the domain name in the search option and click the search icon and then click Add <domain> to list or you can drag and drop or browse a .txt file with comma-separated domains to add domains to the list.
Administrators can choose to enable the option Inherit default profile if they want to inherit the settings from the default profile.