(Manual) Installing the agent for Web Security
This section outlines the steps to manually install the Forcepoint Agent on a macOS endpoint system for Web Security Proxy Connect (PCEP) or Direct Connect (DCEP) with no existing agent installations.
Steps
-
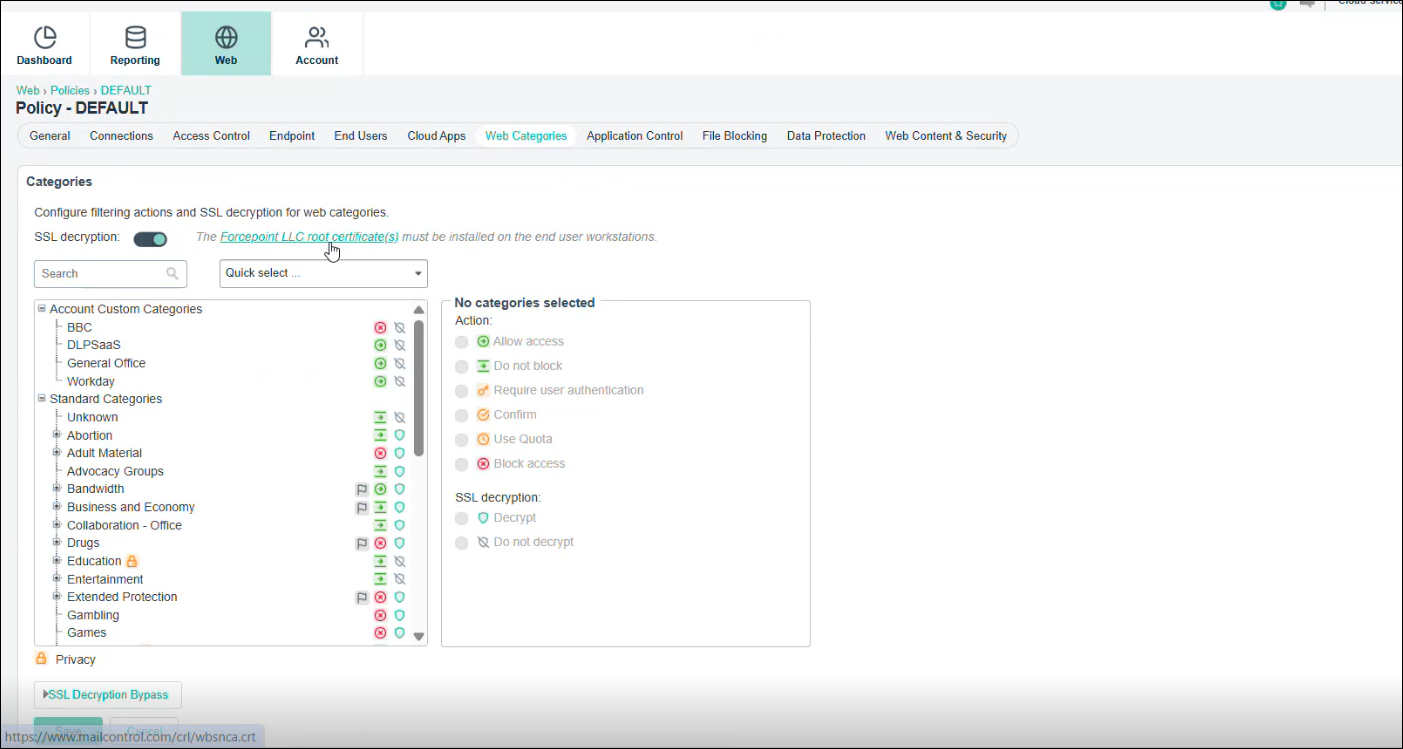
For Web Security PCEP installations, obtain the Forcepoint Cloud CA certificate:
-
Click Forcepoint LLC root certificate(s), and save the certificate.
-
Click Forcepoint LLC root certificate(s), and save the certificate.
-
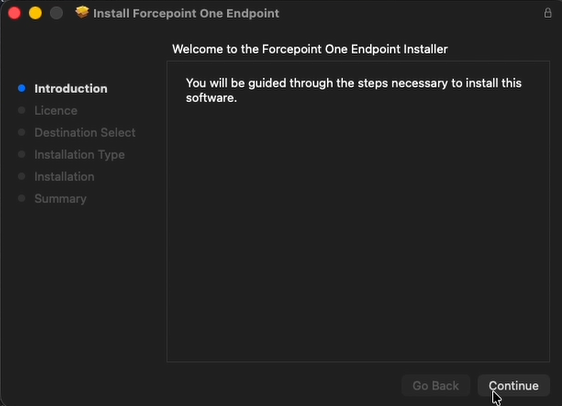
To begin the installation, click Continue.
-
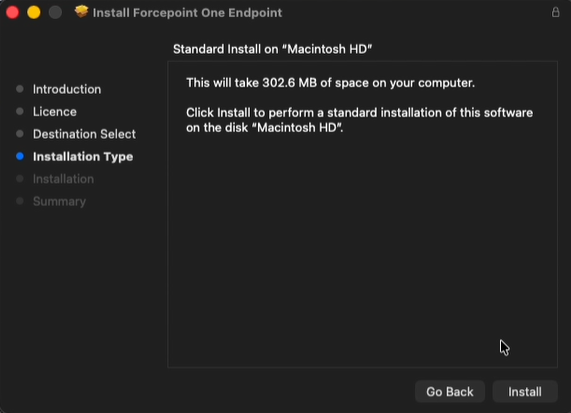
On the next screen, click Install.
-
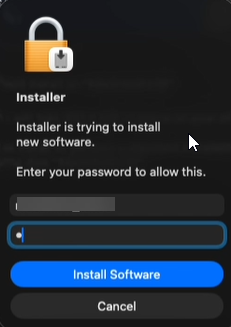
When prompted, enter the admin password and click Install Software:
-
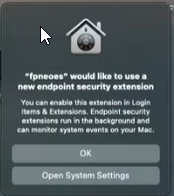
Click Open System Settings on the following window which opens the windows to enable the Network Extensions:
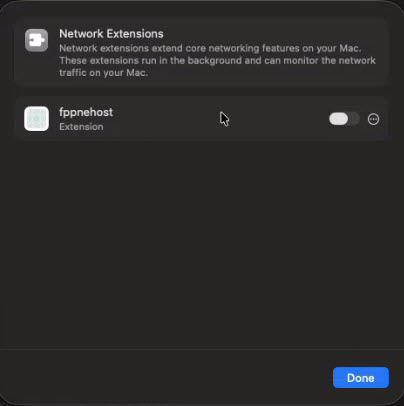 Turn on fppnehost and enter the credentials to enable it.
 -
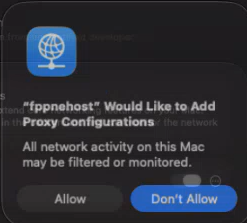
To add proxy configurations, click Allow.
-
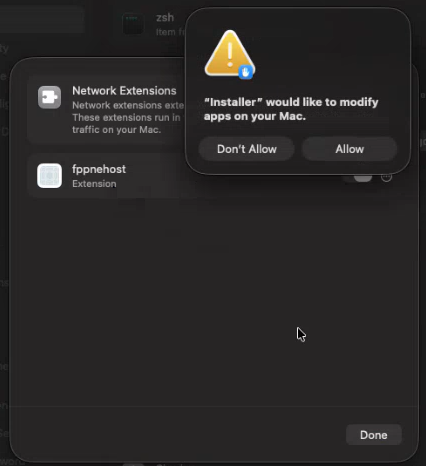
Click Allow to modify apps on your mac and then click Done.
 A message appears to enable full disk access to the required files.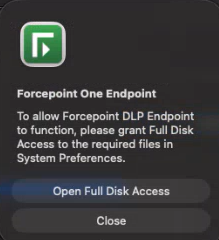
-
On the Full Disk Access tab enable the following applications:
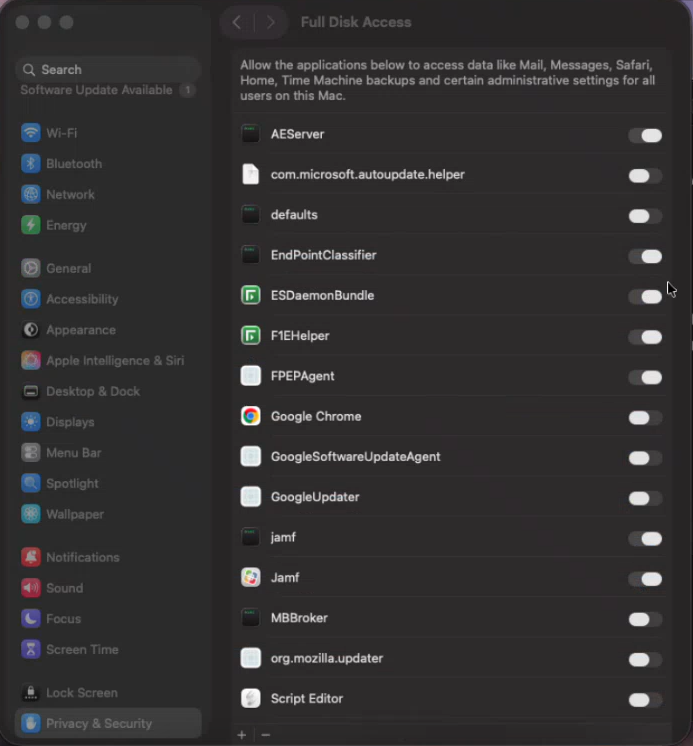
Application Path ESDaemonBundle Library/Application Support/Websense Endpoint/DLP/ESDaemonBundle.app AEserver System/Library/Frameworks/CoreServices.framework/Versions/A/Frameworks/AE.framework/Versions/A/Support/AEServer FPEPAgent Library/Application Support/Websense Endpoint/Cloud/FPEPAgent F1EHelper Library/Application Support/Websense Endpoint/F1E/F1E Helper.app Websense Endpoint Helper Library/Application Support/Websense Endpoint/DLP/Websense Endpoint Helper.app wepsvc Library/Application Support/Websense Endpoint/DLP/wepsvc fpprotectiond Library/Application Support/Websense Endpoint/Cloud/fpprotectiond fpbrokerd Library/Application Support/Websense Endpoint/Cloud/fpbrokerd -
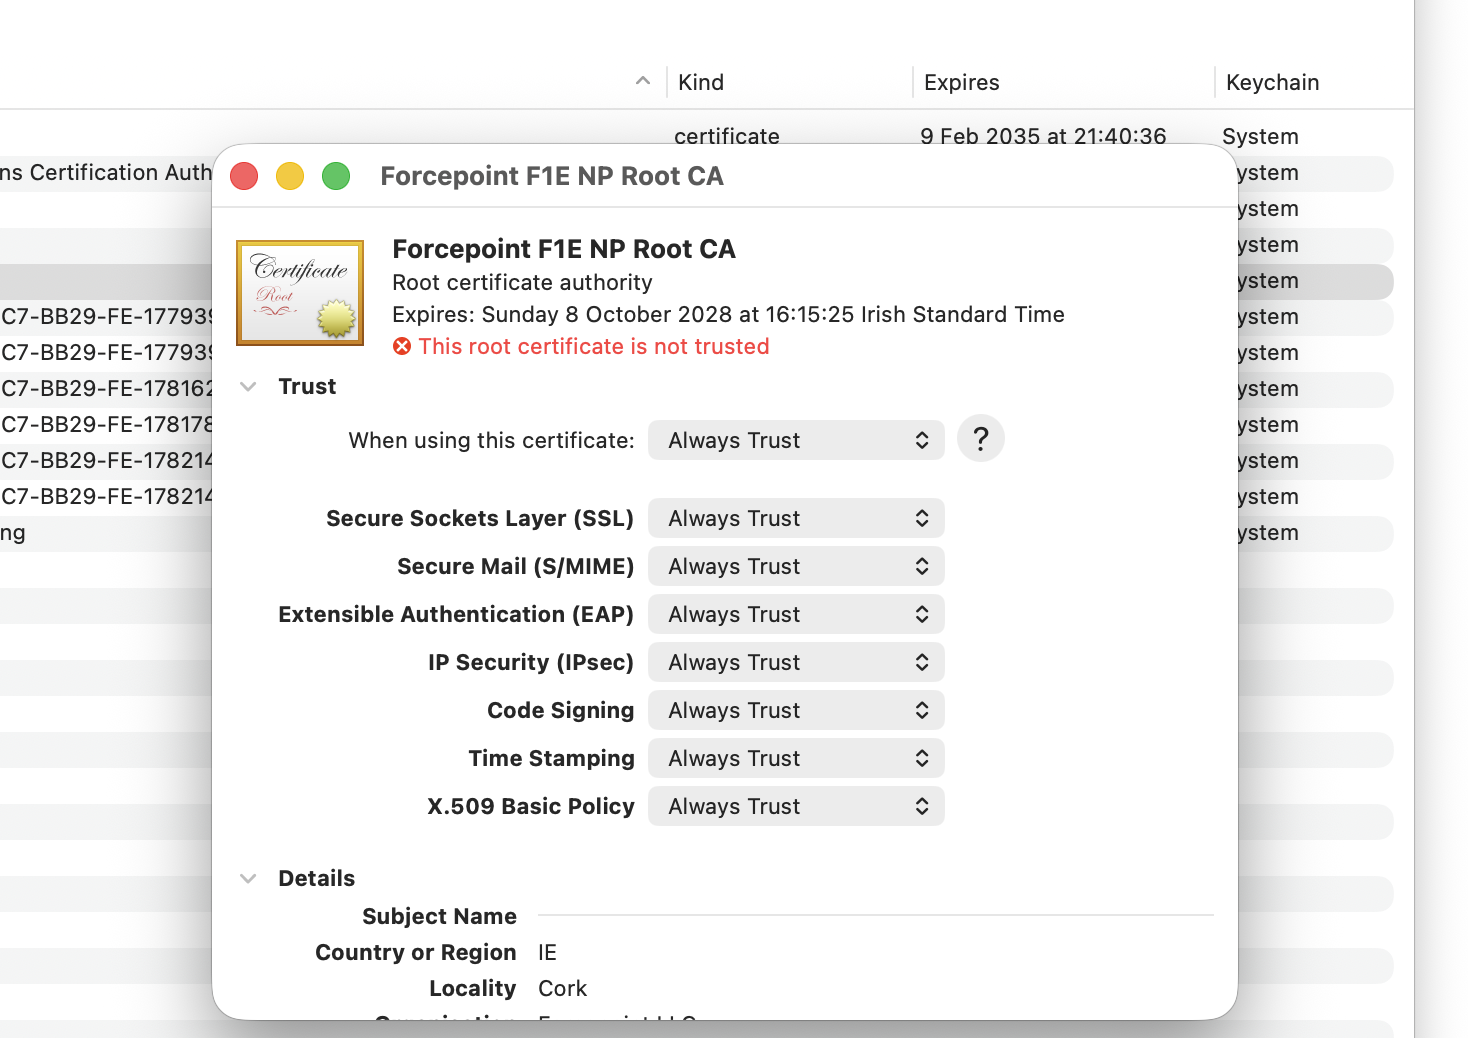
Once the agent is successfully installed, open the Keychain Access application, and trust the localhost certificate Forcepoint F1E NP Root
CA and the Forcepoint Cloud CA certificate:
-
Double-click the localhost certificate, Forcepoint F1E NP Root CA, and then select Always Trust for all.
-
Double-click the Forcepoint Cloud CA certificate, and then select Always Trust for all.
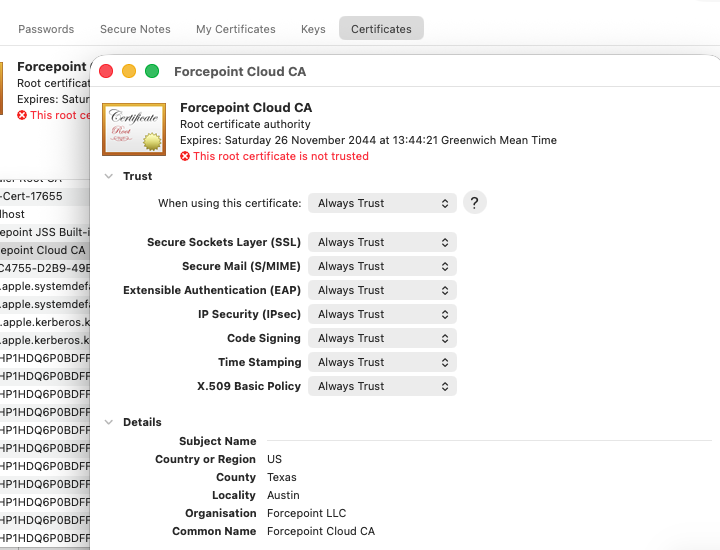 Note: If the Forcepoint Cloud CA certificate does not appear in the Keychain Access application, you will need to add it manually. Download the certificate from the Forcepoint Cloud Security Gateway portal (as described in Step 2) and then drag it into the tab of Keychain Access before proceeding with trusting it.
-
Double-click the localhost certificate, Forcepoint F1E NP Root CA, and then select Always Trust for all.