Setting Okta ACS proxy
Use the provided Forcepoint Data Security Cloud | SSE Python script which calls the Okta API to setup the ACS Proxy.
Before you begin
- The bitglass_continue in the ACS proxy URL is optional. It is only required and used when the SAML response does not contain the SubjectConfirmationData section. Otherwise, Forcepoint Data Security Cloud | SSE will take the URL to send the response from the Recipient.
- Forcepoint Data Security Cloud | SSE supports UTF-8 characters. However, the SAML assertion only supports low-ASCII characters as attribute values. If an attribute value contains characters that are not low-ASCII, then SAML sign-in failures occur.
This is helpful for customers who have Okta currently deployed (set up as the IdP) with protected applications and do not want to remove/change that integration to deploy Forcepoint Data Security Cloud | SSE in our normal SSO workflow (app points to Forcepoint Data Security Cloud | SSE as IdP and then Forcepoint Data Security Cloud | SSE points to Okta as IdP for source of authentication).
In ACS Proxy mode, Okta is set as the IdP for the protected cloud app and then Forcepoint Data Security Cloud | SSE is set as the IdP for Okta. A user attempting to login to the protected cloud app will be redirected to Okta for authentication like they are used to. After authenticating, Okta will send the SAML request with approved authentication to Forcepoint Data Security Cloud | SSE where Forcepoint Data Security Cloud | SSE can then assess the user's authentication and apply policy (that is check for context of access such as managed or unmanaged device, apply MFA, provide inline policy action, etc).
- Okta only supports setting the ACS proxy via API for predefined apps. This will not work on a custom app you have created in Okta.
- For M365, if the IdP does not send back the emailAddress attribute (Okta has no way of doing that currently), you should lookup the user based on UPN. In this mode, users cannot be auto provisioned.
Steps
-
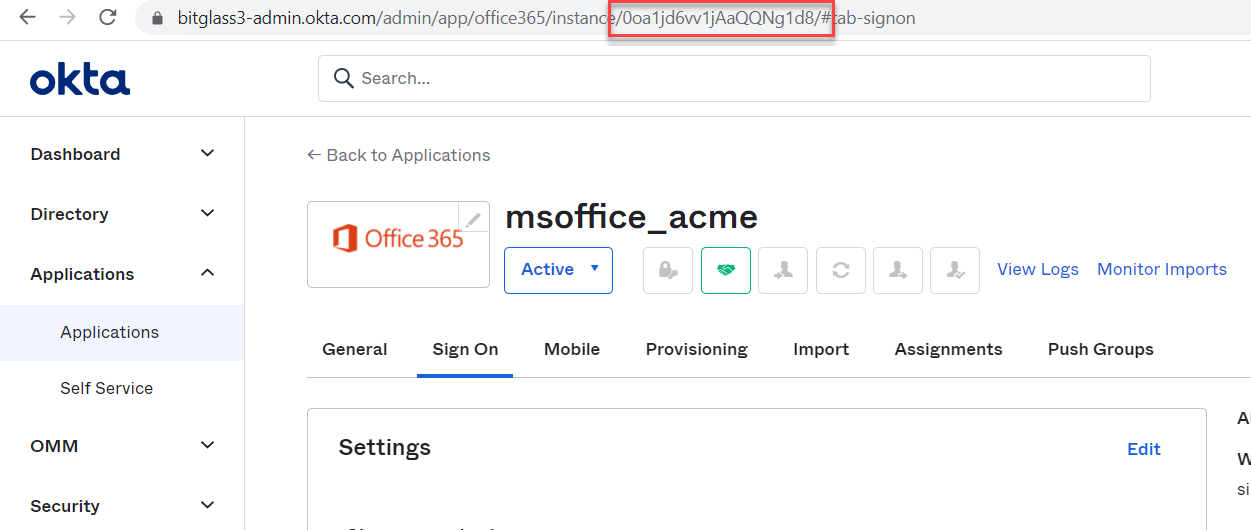
Make sure you know the application's Okta ID before you start.
You can find this information by logging into the Okta admin portal and navigating to your app and locating the App ID in the URL:
-
Create an OAuth Token in Okta and save the token to be used in the Python script below. In Okta, navigate to , click Create Token. Provide a recognizable name.

-
Enter the name of the token and click Create Token. Copy the token value and save it somewhere.


-
After you have run the Python script, the ACS proxy field should be set. The final thing you will need to do is copy the Okta app cert over into the Forcepoint Data Security Cloud | SSE IdP setup and then set the app instance auth to Okta. If you have not
created Okta as an IdP object in Forcepoint Data Security Cloud | SSE, you can follow Okta:
Configuring Forcepoint Data Security Cloud | SSE as a SAML SP to add it. This will ensure that
Okta is associated with the application and that you send the proper cert (for example Okta sends a different cert than M365).
-
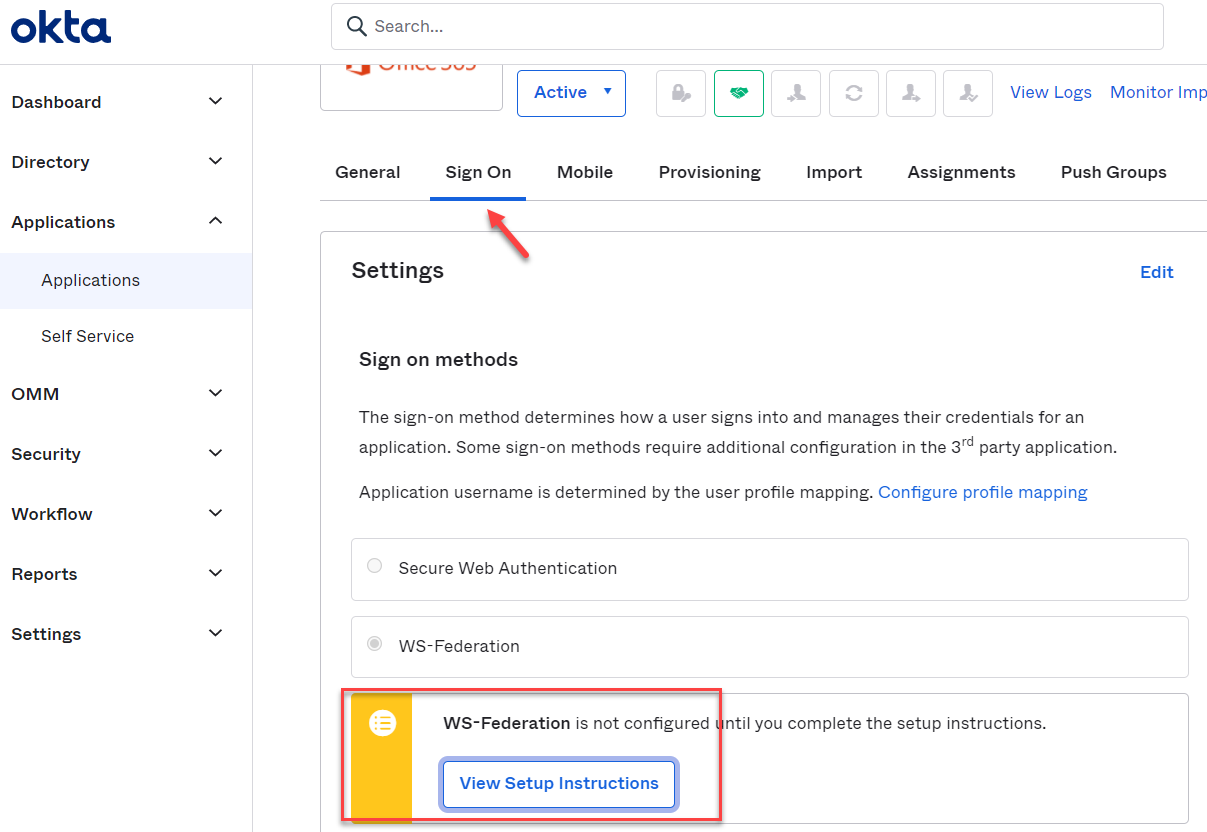
In your Okta admin portal, select the app and click on Sign On tab. Click Setup Instructions under the WS-Federation
card.
-
Copy the text from the not federated domain section and create a certificate.
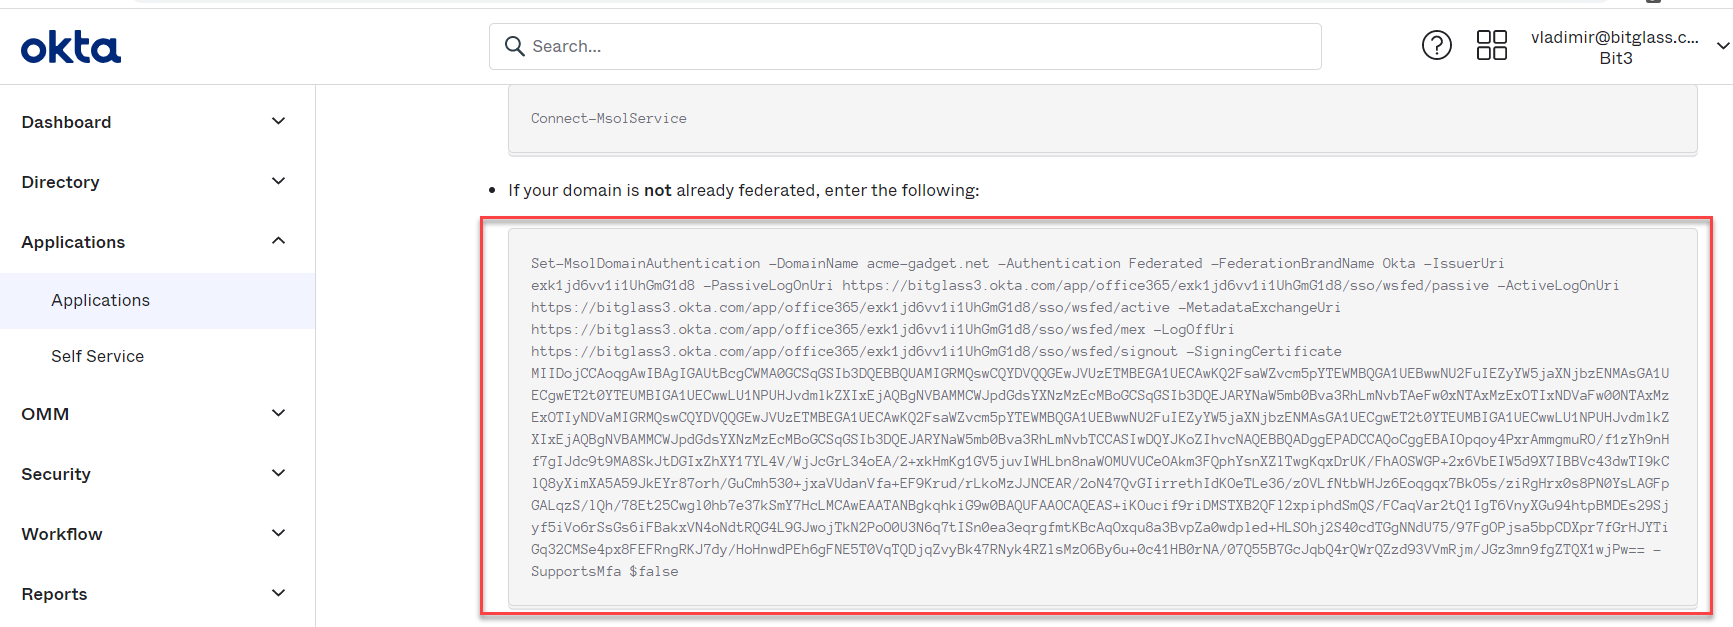
-
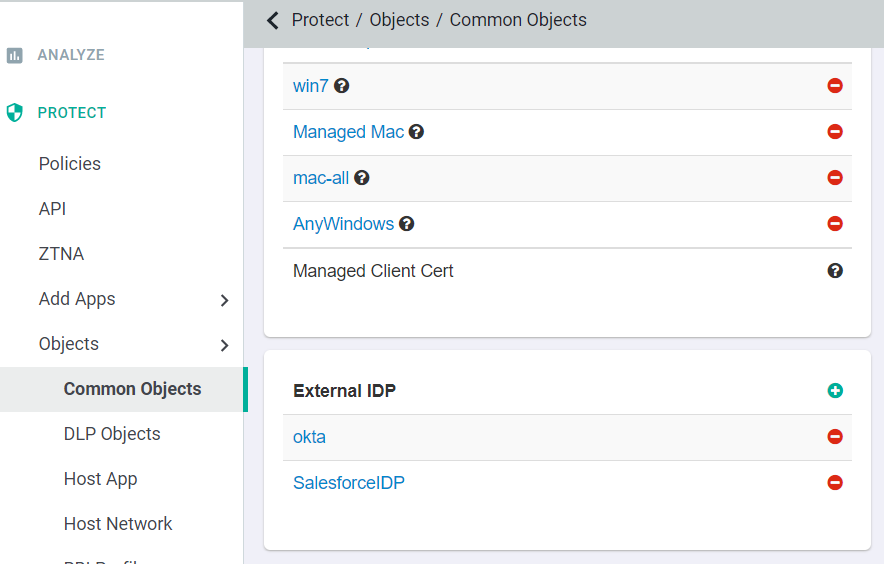
In a new window, login to the Forcepoint Data Security Cloud | SSE admin portal and navigate to and select the Okta IdP object you have already created. Upload the certificate that you just created in Token Signing Certificate (PEM or DER format).
Also, make sure you enable the checkbox for Use Assertion Consumption Service proxy for app login. Finally, click Save at the top to save your
changes.

-
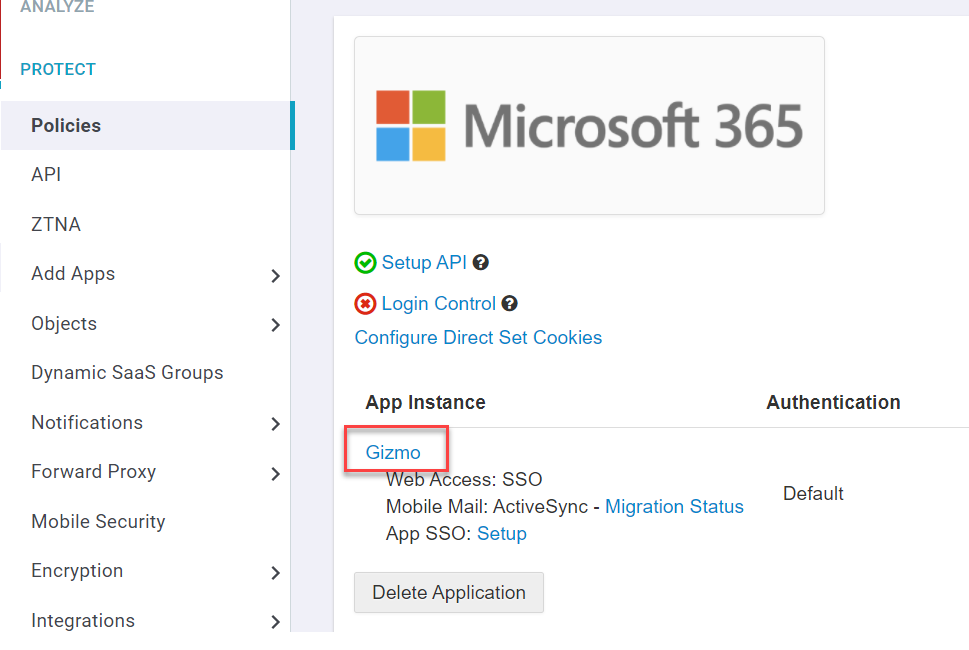
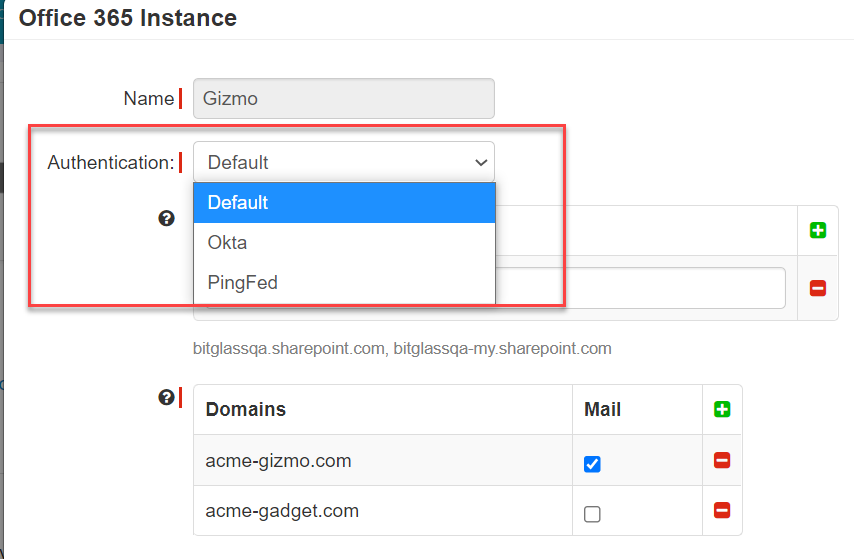
Once done, you will also need to make sure that the authentication within the Forcepoint Data Security Cloud | SSE app instance setting is set to Okta. You can do this by navigating to the page and select the application in question you are setting up to ACS proxy. Once on the app settings page, click on the domain instance to open up the instance dialog window and
on the Authentication field, click the drop-down to select Okta.
Note: This step helps in case the IdP sends different certs for different apps. For example, Okta sends a different cert for M365 (wsfed). This way it ensure that the IdP object is directly associated with the app and will send the proper cert.
-
In your Okta admin portal, select the app and click on Sign On tab. Click Setup Instructions under the WS-Federation
card.