Connecting PingFed to Forcepoint Data Security Cloud | SSE
You can integrate PingFed with Forcepoint Data Security Cloud | SSE. You will need to create an SP connection in PingFed to add Forcepoint Data Security Cloud | SSE and also need to add an IdP object inside of Forcepoint Data Security Cloud | SSE for PingFed. It is best to have two windows open logged into PingFed and Forcepoint Data Security Cloud | SSE for this setup.
Steps
-
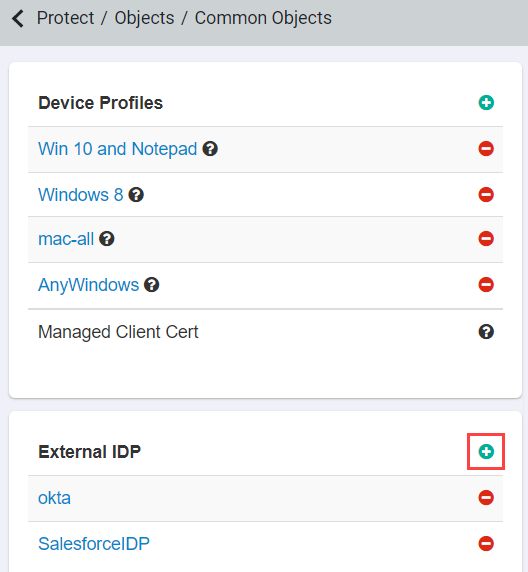
Start in the Forcepoint Data Security Cloud | SSE admin portal and navigate to and create a new IdP Object by clicking the green plus icon.
-
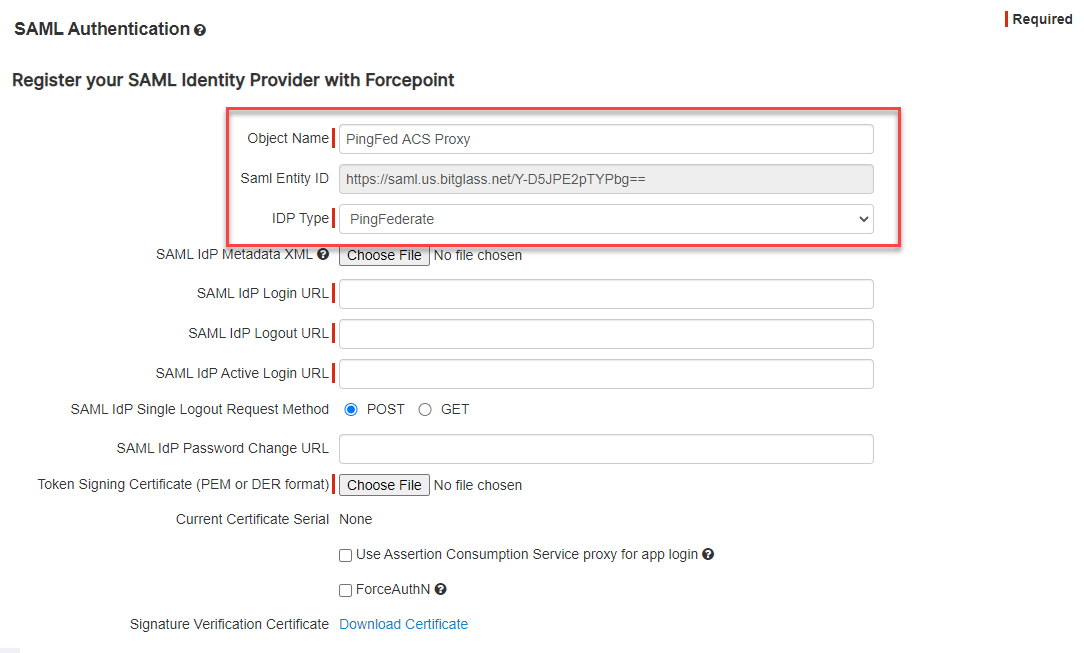
Provide a name for your IdP object and then select PingFed from the IDP Type drop-down. Keep this window open as you will need the
SAML Entity ID for the PingFed management portal setup.
-
In other browser window, login to PingFed. On the management portal homepage, select SP Connections. On the next page, select Create
Connection and then do not use a template and proceed.


-
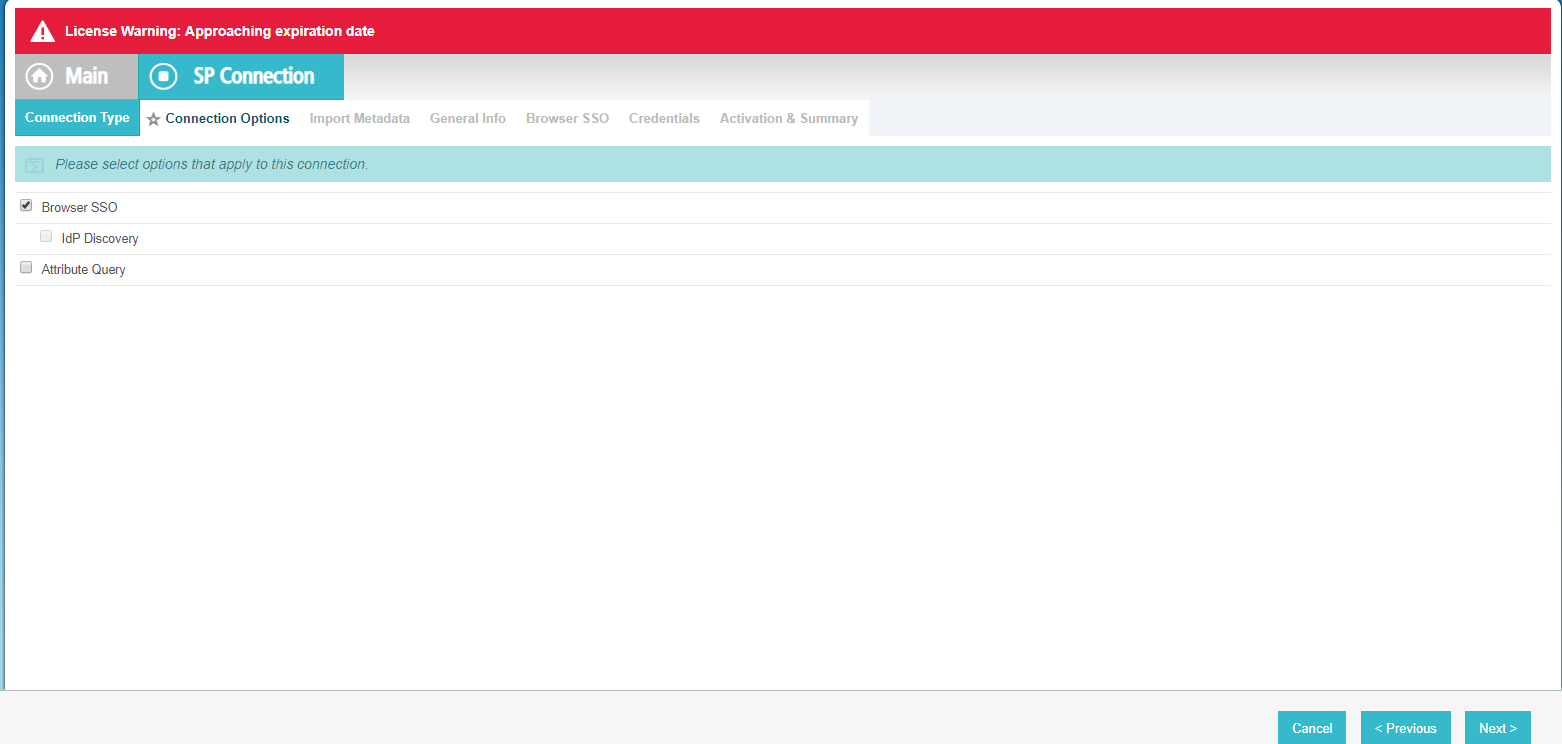
Select Browser SSO Profile and select SAML 2.0 for the Connection Type. Click Next.
Leave the Connection Options page as is and click Next.

-
As you need to created info manually, so you can leave Metadata set to None. Click Next to progress.

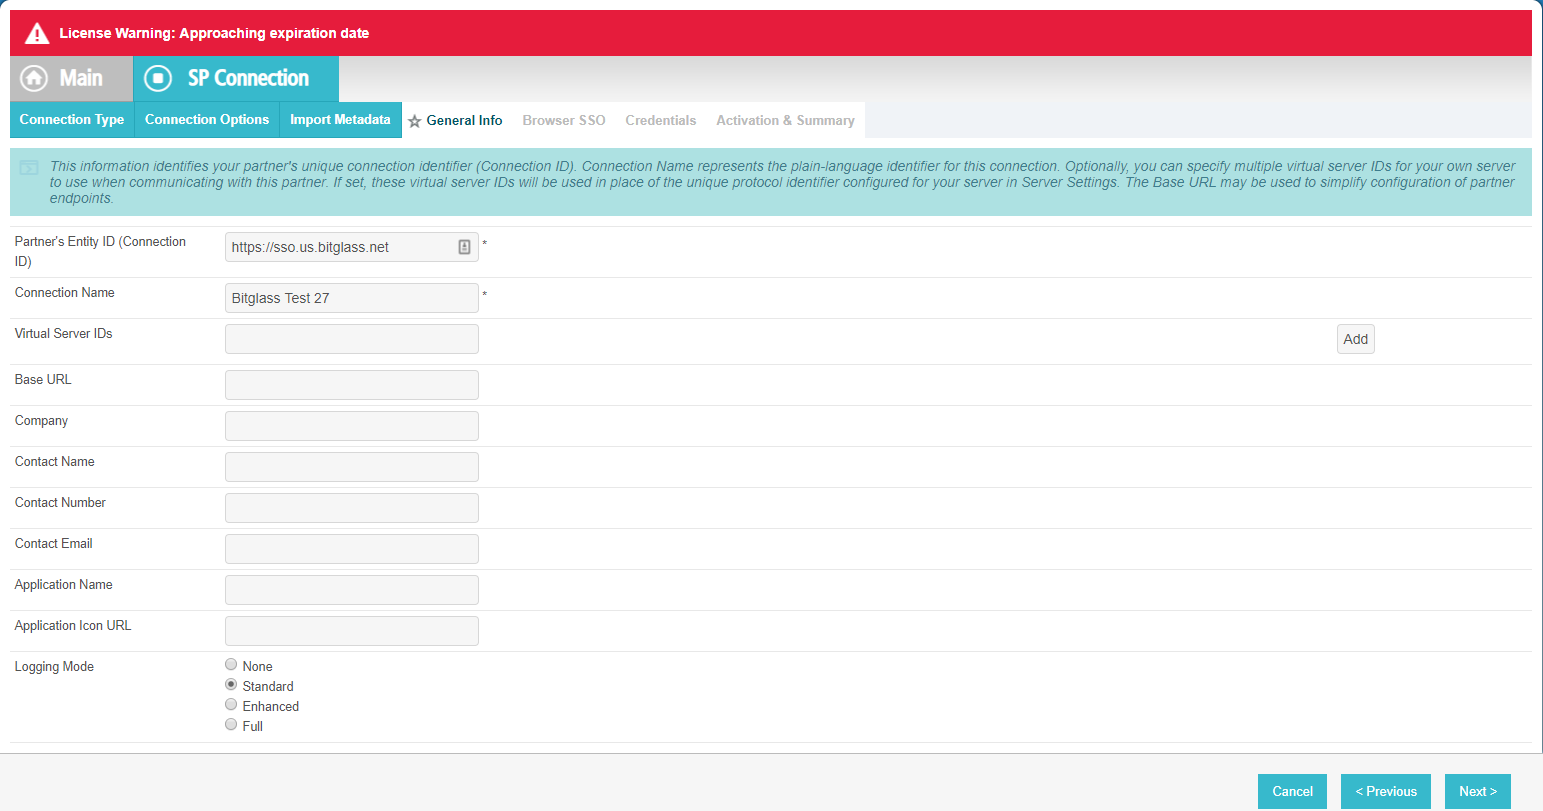
-
Copy the Entity ID from the Forcepoint Data Security Cloud | SSE IdP Object page that
you opened in step 2 into the Partners Entity ID field. Provide a recognizable name and then enter the main Forcepoint Data Security Cloud | SSE URL https://portal.bitglass.com in the Base URL.
-
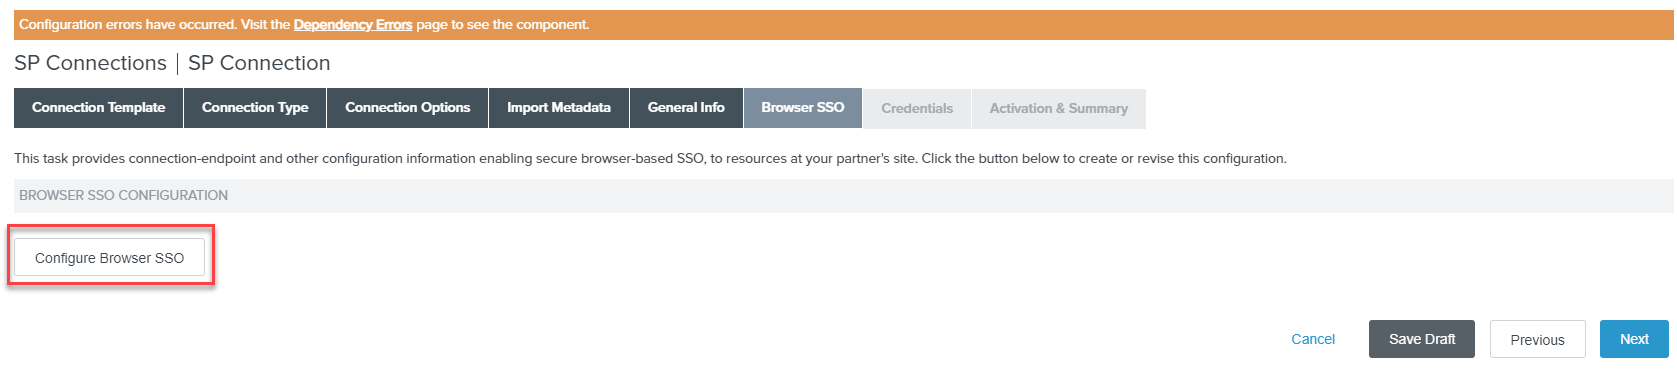
On the next page, click Configure Browser SSO button and then enable IdP-Initiated SSO and SP-Initiated SSO.
Click Next and then click Next again to leave Assertion Lifetime as default.

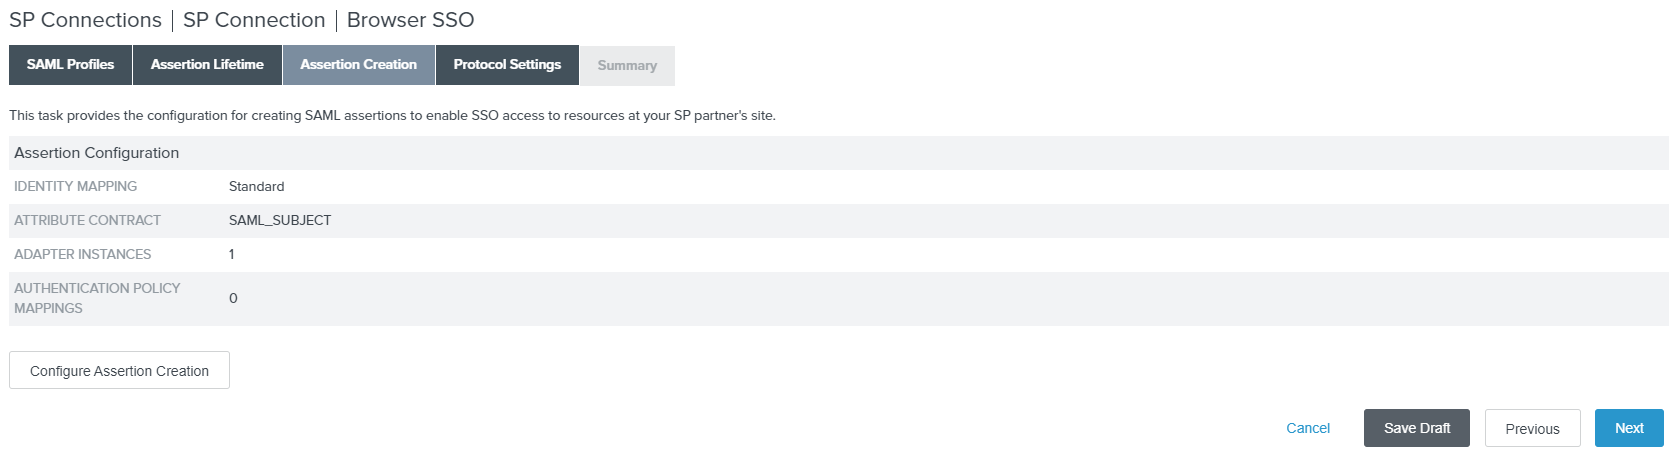
-
On the next page, click Configure Assertion Creation and then leave Identity Mapping as Standard.


-
On the Attribute Contract tab, set the Subject Name Format to the emailaddress attribute.

-
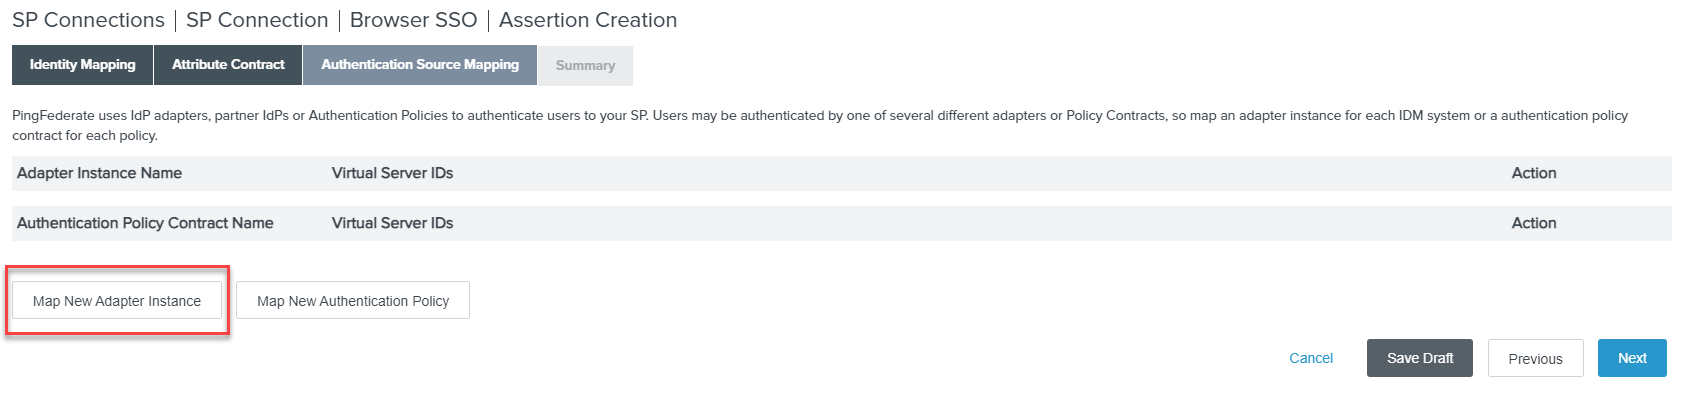
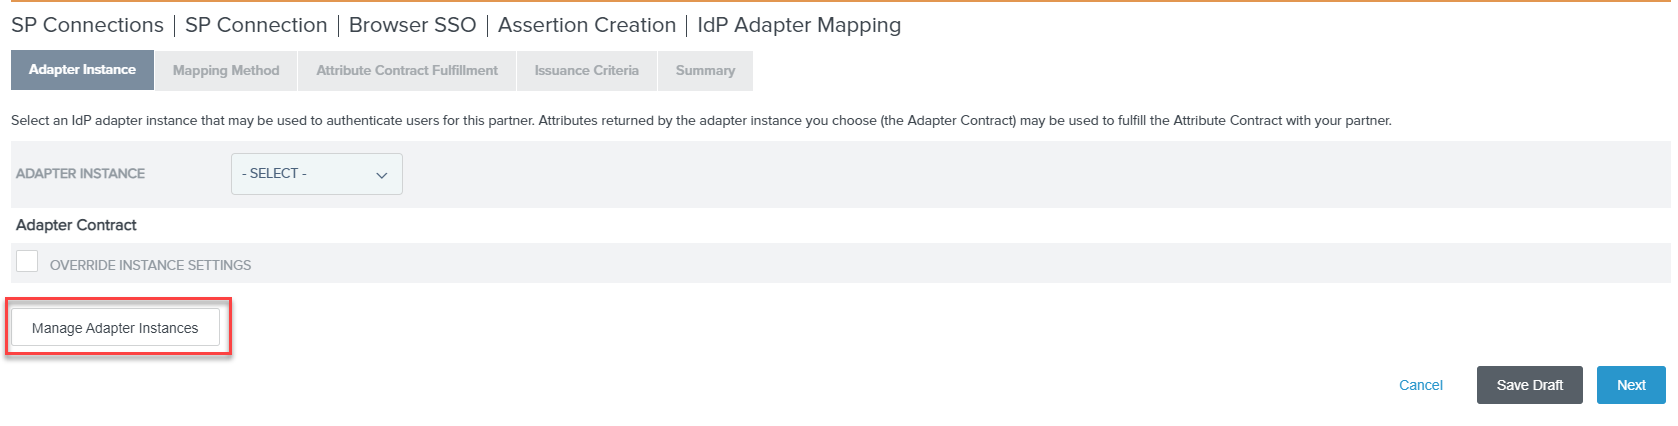
On the Authentication Source Mapping tab, click Map New Adapter Instance. If you do not have one created already, click
Manage Adapter Instances and then click Create New Instance to create a new one.

-
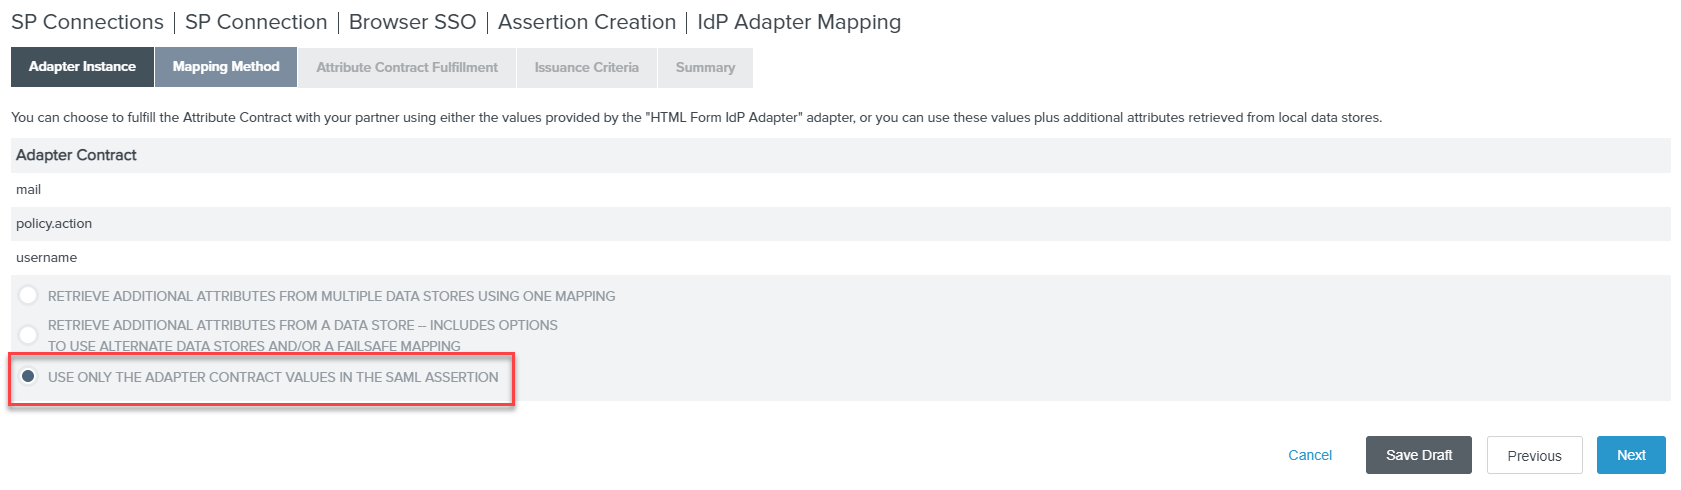
Once you have created your adapter instance, select it and click Next. Leave the Mapping Method as default for USE ONLY
THE ADAPTER CONTRACT VALUES IN THE SAML ASSERTION.

-
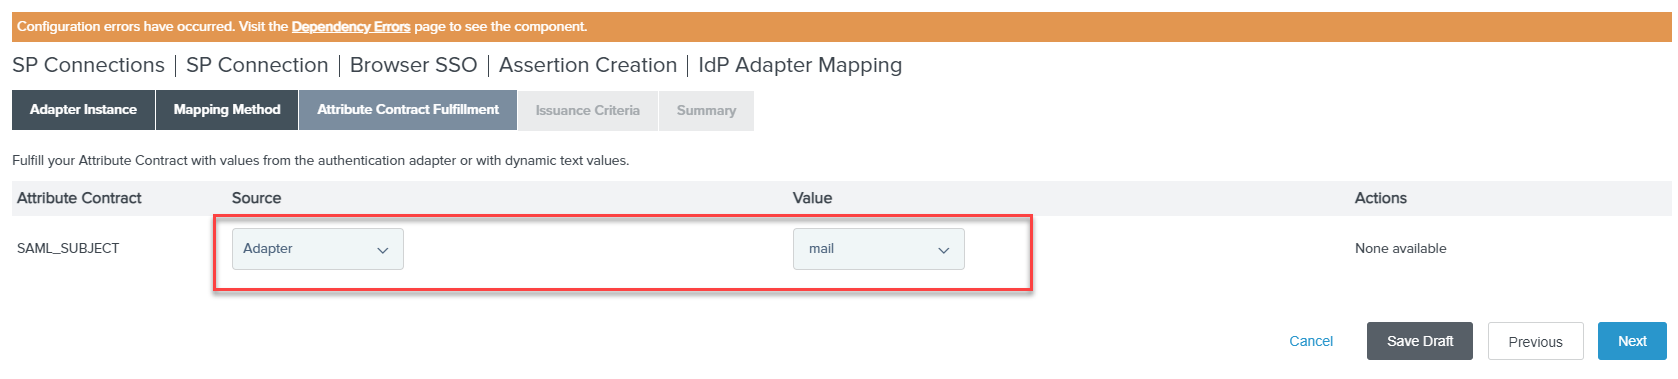
On the Attribute Contract Fulfillment, select Adapter for the Source and mail for the
Value and then click Next. Leave Issuance Criteria blank as default and then confirm your summary by clicking
Done.


-
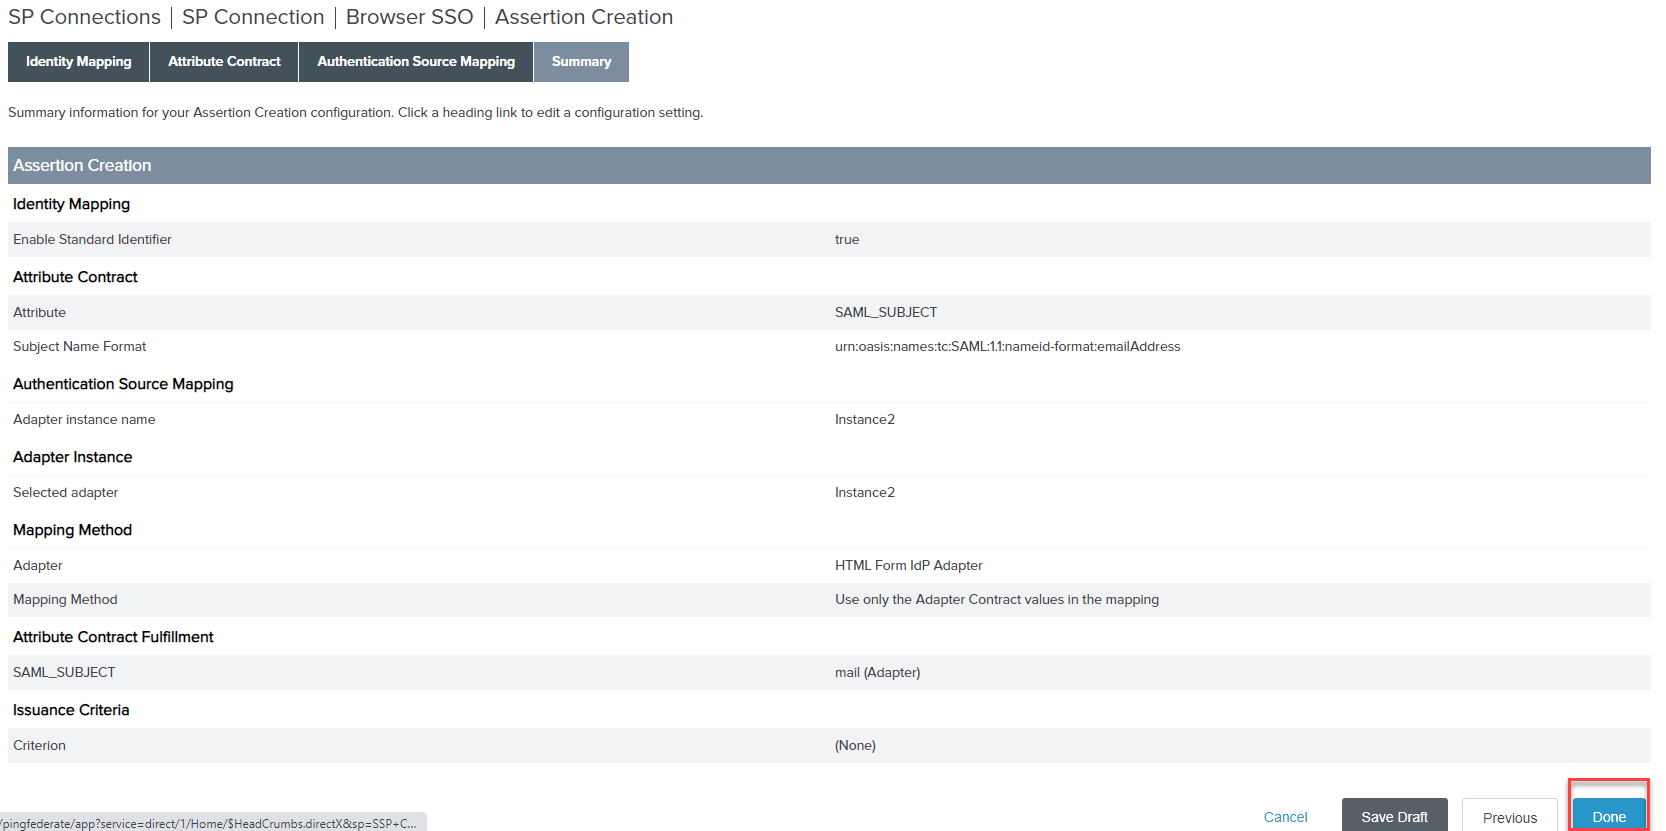
Click Done on the mapping and confirm the Assertion Creation Summary.

-
Click Next again when you are back on the Browser SSO setup steps and then