Configuring the LDAP/LDAPS connection
Integrate Active Directory either through an LDAP or LDAPS connection.
Steps
- Sign in to Forcepoint ONE Platform.
- Select Admin from application waffle.
-
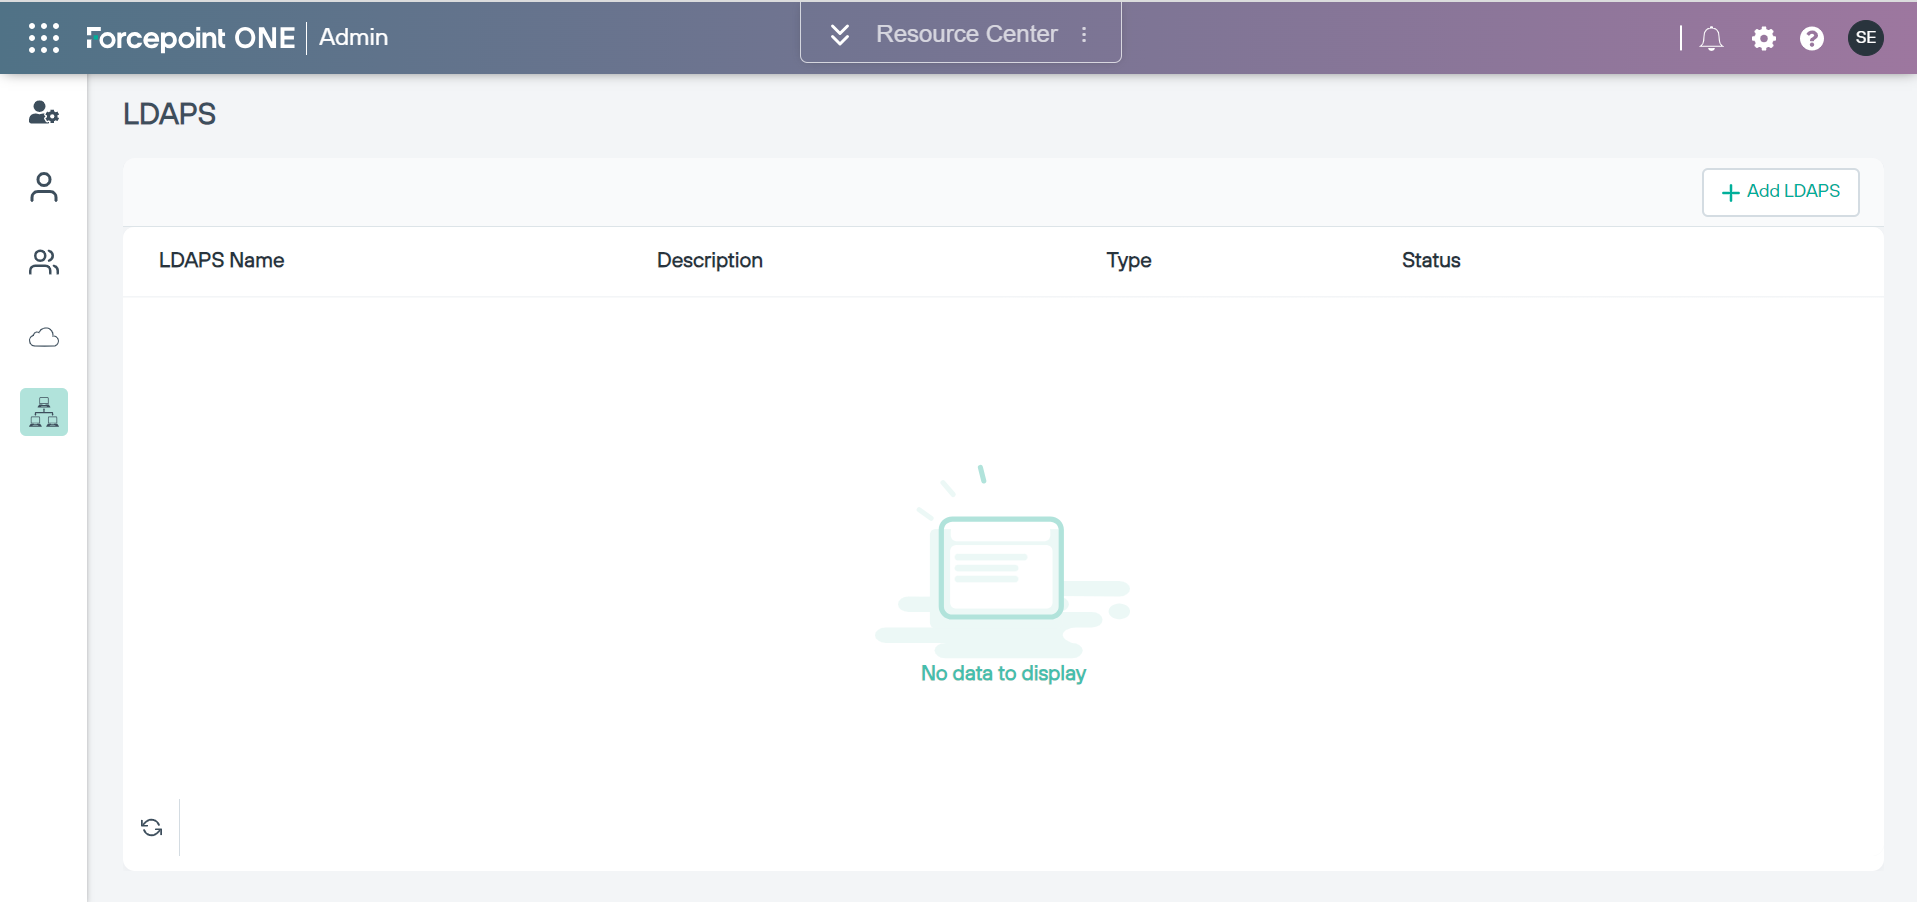
Click the LDAP icon
 on the left navigation top open the following screen.
-
Next, click the +Add LDAPS button to open the editor.
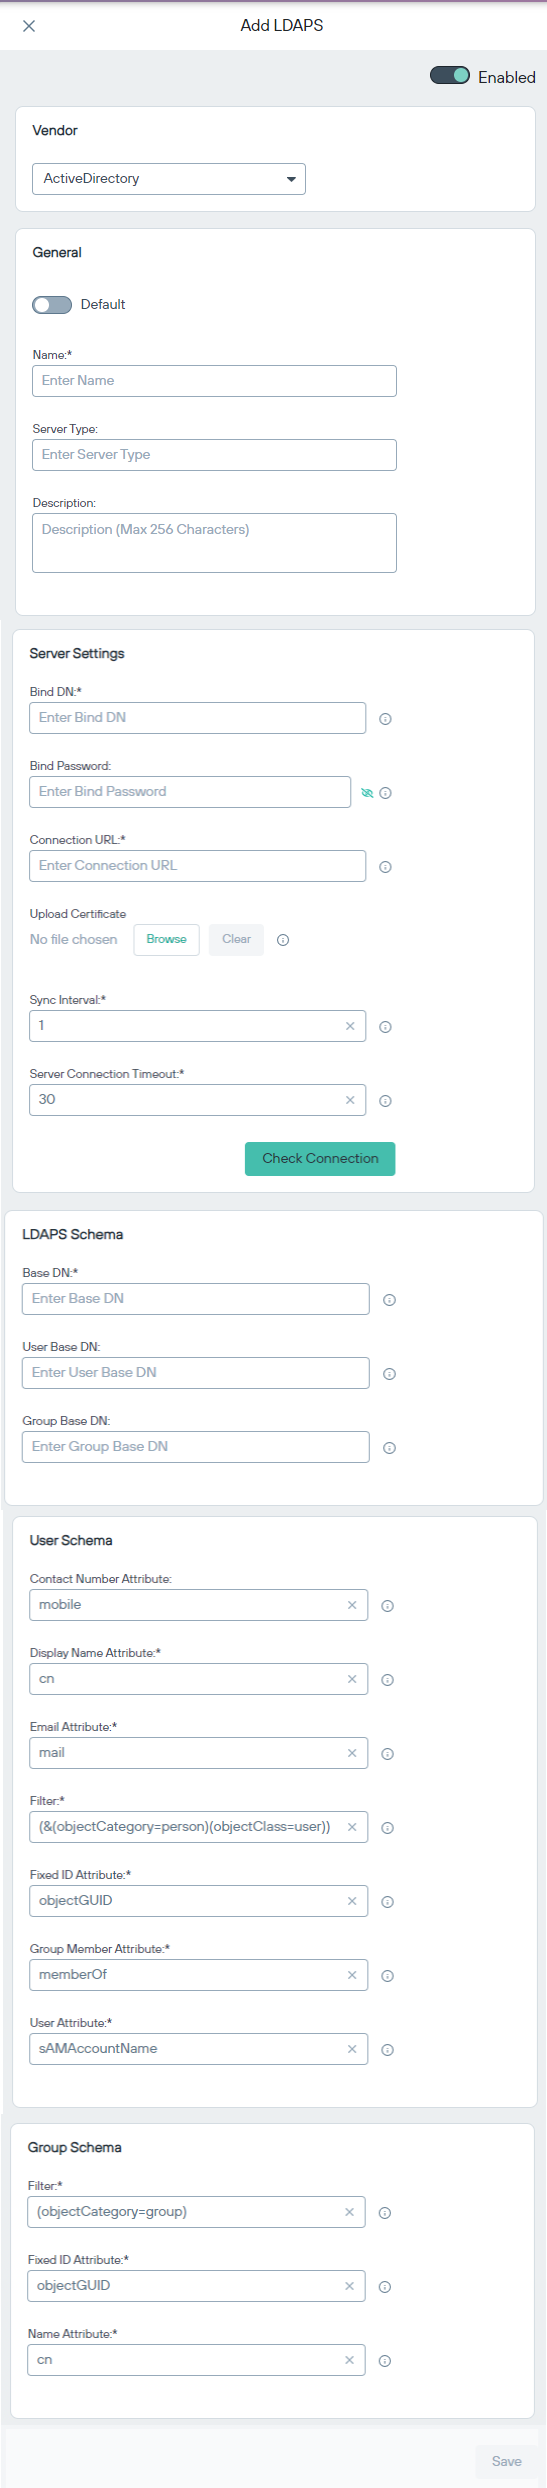
- Click the toggle switch to enable the configuration (LDAP or LDAPS).
- By default, ActiveDirectory is selected in the Vendor drop-down menu.
-
Configure the General fields:
Parameter Description Default Toggle Switch Toggle switch to enable the configuration. Server Type Specifies the server type. Description Brief description on the configuration. -
Configure the Server Settings:
Parameter Values Description Bind DN CN=Administrator, CN=Users, DC=pnq, DC=aps Required parameter. The usernames that will be used for searching and requesting authentication. Bind Password Password used by the LDAP user specified in the Bind DN. Connection URL LDAP/LDAPS Required parameter. The hostname or IP address of the Active Directory server. Note: LDAP connection is not available for cloud tenants.
Certificate Configure the CA client certificate for LDAPS. Note: This is not applicable for LDAP connection.
Start TLS Enabled/Disabled Enable or disable LDAP over SSL/TLS. Sync Interval (In Hours) Default value is 1 hour Required parameter. The time in hours to wait between directory updates. Server Connection Timeout (In Seconds) Default value is 30 seconds. Required parameter. The duration in seconds that Forcepoint RBI waits before considering the Active Directory server is unreachable. - Click Check Connection to verify that the connection to the Connection URL works.
-
Configure the LDAPS Schema:
Parameter Values Description Base DN CN=John.Smith, CN=Users, DC=MyDomain, DC=com Required parameter. Proper base for the Active Directory where Forcepoint RBI starts searching the directory structure. Starting point to look for a user. Group Base DN "CN=Users, CN=Builtin, DC=MyDomain, DC=com" Starting point to look for a group. -
Configure the User Schema:
Parameter Values Description Contact Number Attribute CN=Telephone-number Contact number of the user. Display Name Attribute cn=Display-Name Required parameter. The user attribute whose value is the display name. Email Attribute cn=E-Mail-Address Required parameter. The user attribute whose value is the email address. Filter (&objectCategory=person)(objectClass=user)) Required parameter. Select the users that match the filter. This can be used to limit the number of users with access to Forcepoint RBI. Fixed ID Attribute sAMAccountName Required parameter. This is a fixed attribute in LDAP. It is used to search user/group in the database and based on the availability of a match, the user or user groups are updated or created. Group Member Attribute memberOf Required parameter. This attribute defines the members of users in the user group. User Attribute sAMAccountName or userPrincipalName Required parameter. The attribute whose values match with the username part of the credential entered by the users when logging into Forcepoint RBI. -
Configure the Group Schema:
Parameter Values Description Filter (&objectCategory=group) Required parameter. Criteria to filter or limit the number of groups that are imported to Forcepoint RBI. Fixed ID Attribute cn for OpenLDAP, name for AD Required parameter. This is a fixed attribute in LDAP. It is used to search user groups in the database and based on the availability of a match, the user groups are updated or created. Name Attribute cn for OpenLDAP, name for AD Required parameter. Select the groups that match the filter. - Click Save to sync the settings and click Update to save the Active Directory settings.