Create the NGFW Engine in the Management Client
If you are deploying using the single NGFW, add and configure a placeholder Single Firewall element for each NGFW Engine that you deploy in the Azure cloud.
These steps provide an overview of the NGFW Engine configuration process. For detailed instructions, see the following documents:
- Forcepoint Next Generation Firewall Installation Guide

- Forcepoint Next Generation Firewall Product Guide
![]() For more details about the product and how to configure features, click Help or
press F1.
For more details about the product and how to configure features, click Help or
press F1.
Steps
- Add a Single Firewall element.
- Browse to the General branch of the Engine Editor, then select the Location element for elements outside of the local network of the SMC servers from the Location drop-down list.
-
Browse to Interfaces, then add a layer 3 physical interface and a dynamic IP address.
- Add a layer 3 physical interface.
- Add an IPv4 address to the interface.
- From the IP address type drop-down list, select Dynamic.
- From the Dynamic Index drop-down list, select First DHCP Interface.
- Select Automatic Default Route.
- Browse to , then add the following loopback IP address: 127.0.0.1.
-
Browse to , then make the following selections:
-
Browse to Routing, then add a default route through Interface 0.
- Right-click the network under Interface 0, then select Add Router.
- Right-click the Router element, then select Add.
- Browse to , click Add, then click OK.
-
Click
 Save to save and validate changes, then close the Engine Editor.
- (Bring your own license only) Install a license, then bind the license to the Single Firewall element.
-
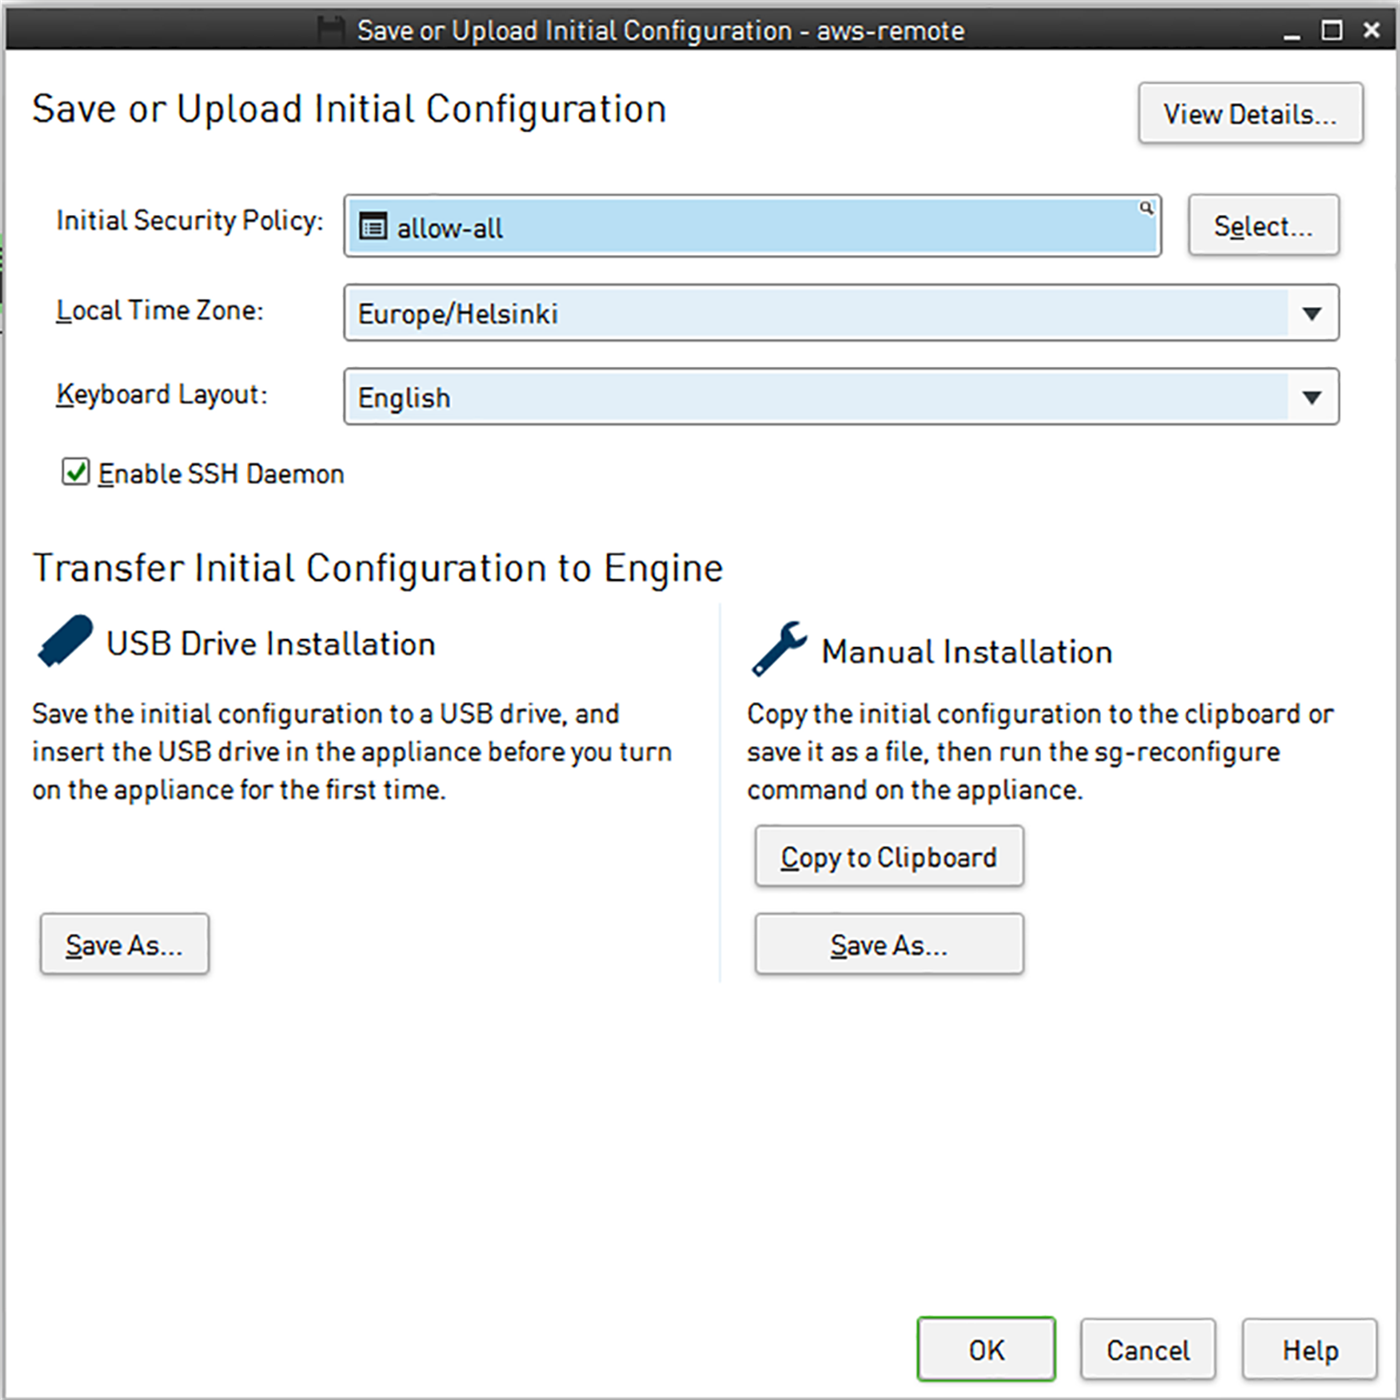
Save the initial configuration.
-
Right-click the NGFW Engine, then select .
-
Right-click the NGFW Engine, then select .