Enterprise Search
Accessing the Enterprise Search page
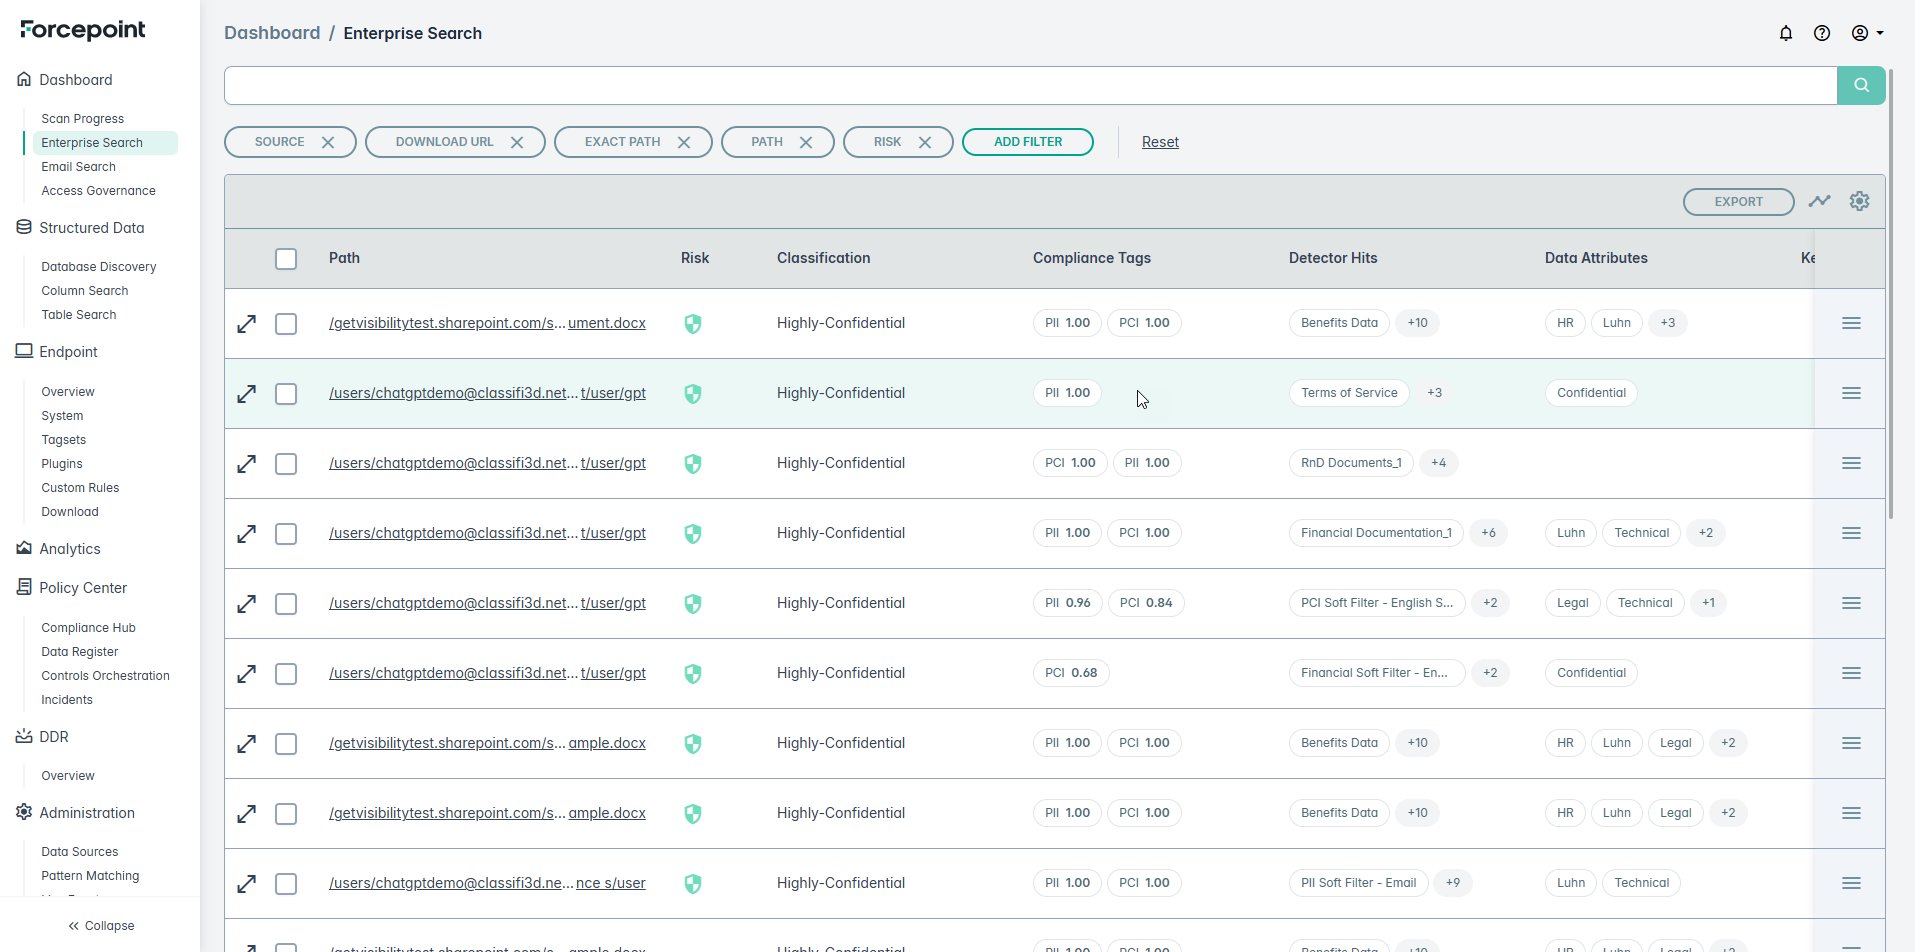
By default, the Enterprise Search page gives a listing of all the files that were scanned and cataloged. By utilizing the GetVisibility Query Language (GQL), you can filter this data to focus on a more manageable subset. This allows you to narrow your search, making it easier to analyze and take appropriate action.
The Enterprise Search page also enables you to access recently used filters, save frequently used filters as bookmarks, and customize the column headings to create more meaningful reports.
From the left navigation under Dashboard select the Enterprise Search section.
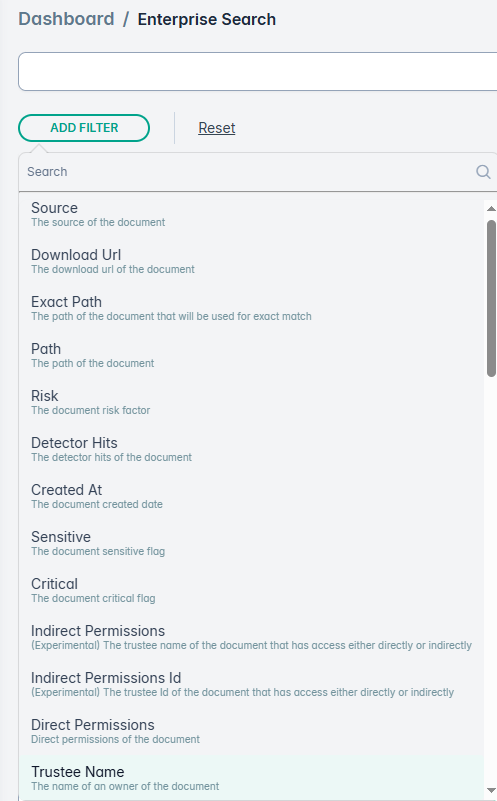
Filtering Data

Click on the Add Filter button, to chose from multiple available filters:
Advanced Filtering using GQL
You can also write advanced filters using GQL Query. An example is shown below. For more details refer to GQL.

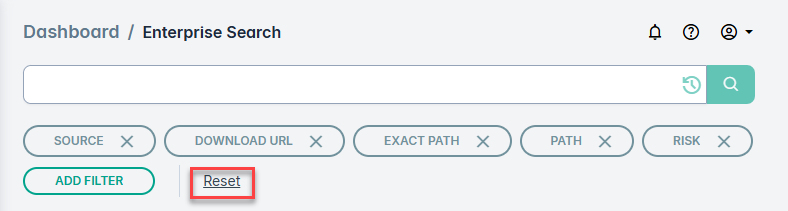
Reset Filters
You can reset the filters using the Reset button.
File Details
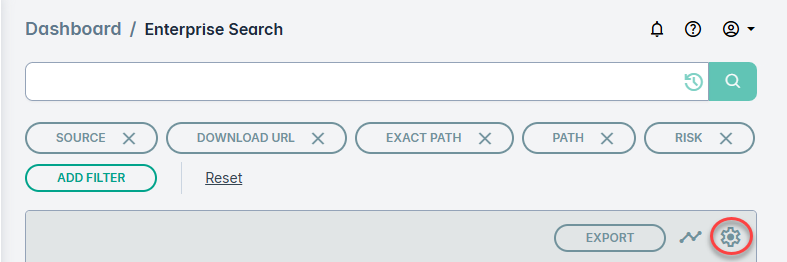
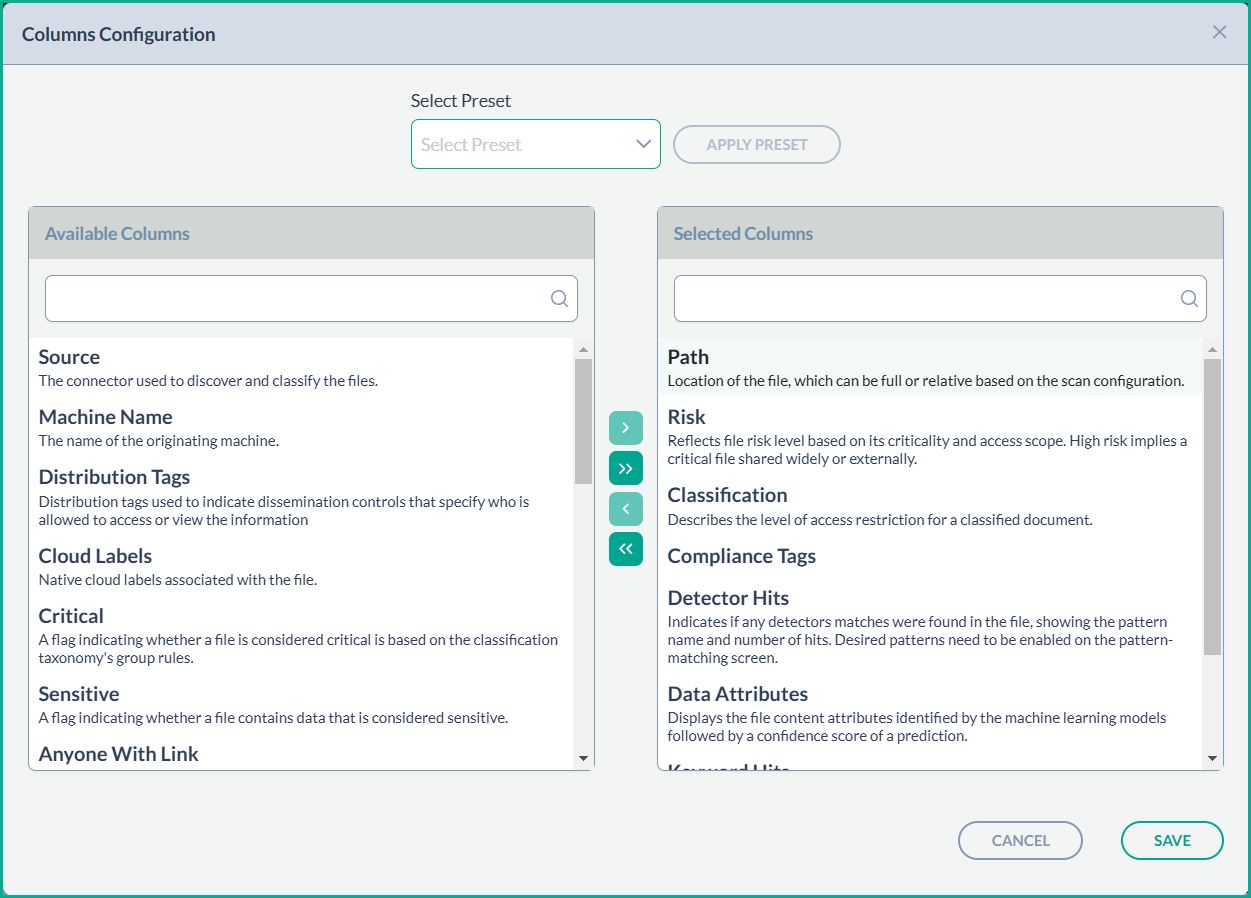
Each file listed in the result has details mentioned in columns. You can select columns to display by selecting the specific column from the Column Configuration menu. Open the Column Configuration by clicking the wheel icon as shown below:
The Column Configuration menu also captures details on the purpose of each column.
Exporting Data
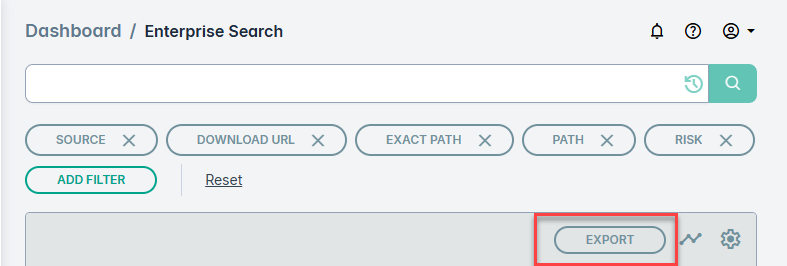
- Use the EXPORT button to create a CSV or JSON download of the filtered data.
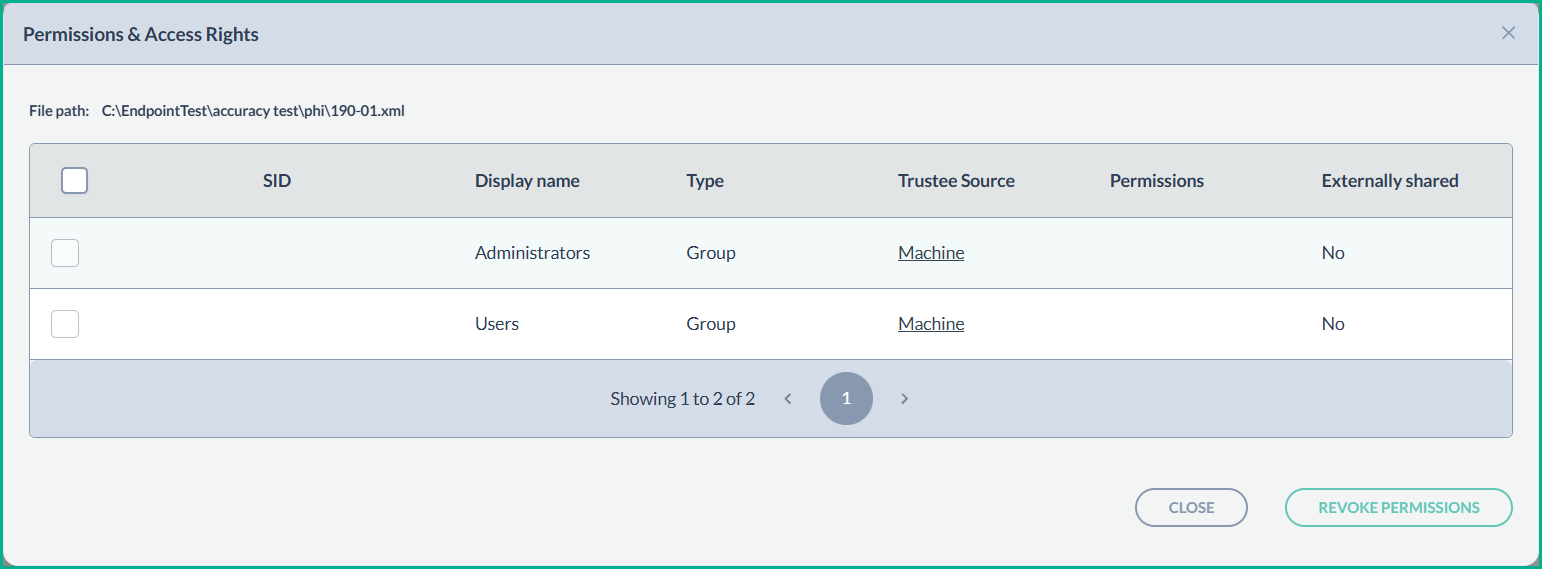
Permissions & Access Rights
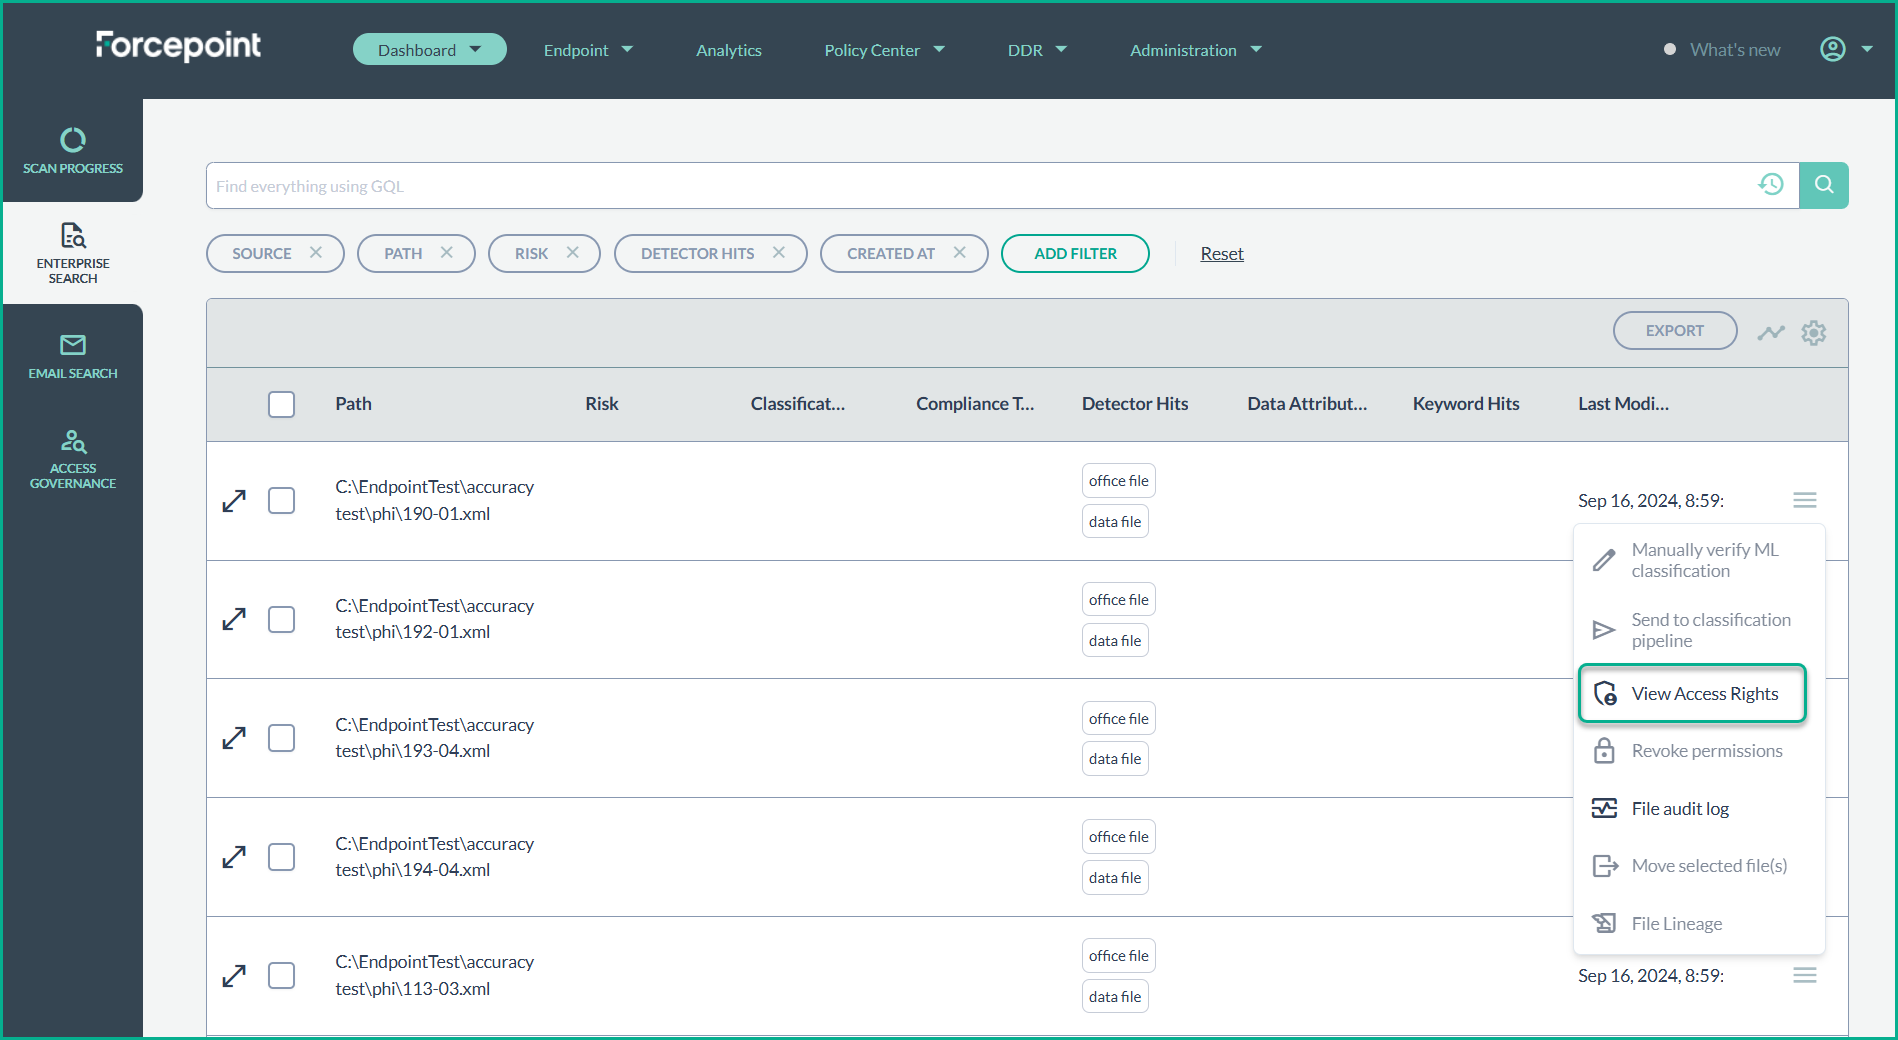
- To view or modify the permissions and access rights of a file, click on the Actions menu.
- A detailed list will appear showing the Security Identifier (SID), the common name associated with that SID, the organizational unit, domain, and the specific permissions granted.
Other Menu Options
Under the hamburger menu, further menu options are supported:
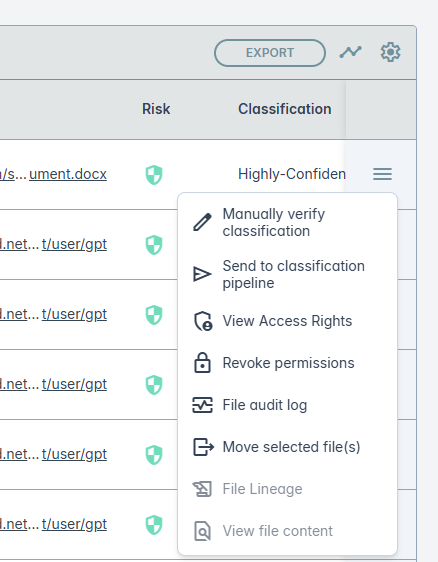
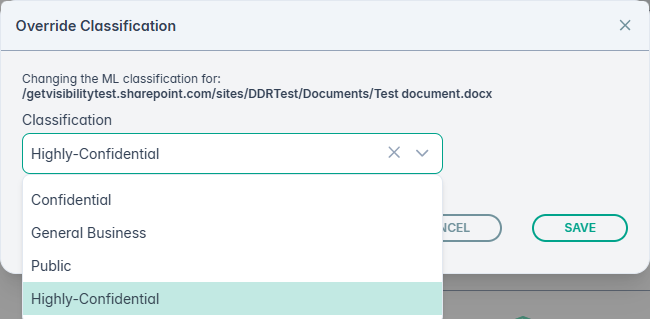
Manually override classification
To adjust the machine learning classification of a file, click on the option Manually verify classification option from the hamburger menu. This opens the following window where you can modify the classification suggested by ML manually. After modifying the classification click SAVE.
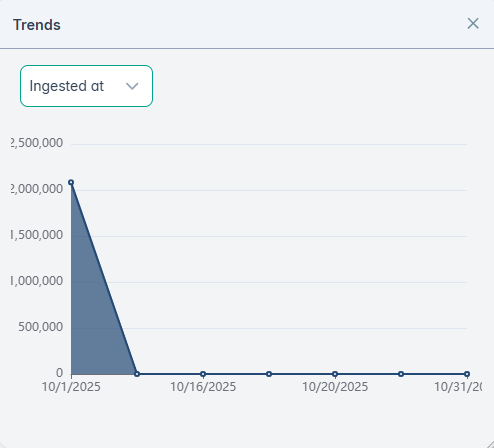
View Trends
You can further view the classification trends by clicking the  icon. An example, is shown below: