Install Neo agent manually on macOS
Install Neo agent on macOS endpoints to get started with user activity monitoring.
Note: Following manual installation instructions should only be used for POC and Demo environments.
Following instructions detail how to install Neo agent manually. Preferably,
Neo agent should be deployed using a distribution server, such as Jamf. See the product documentation Forcepoint Neo macOS Installation (Using JAMF).Requirements for Neo agent installation:
- System requirements
- Administrator credentials on the endpoint machine.
Note: From Neo endpoint v21.11 onwards, macOS Monterey 12.0 is supported.
If you are a Forcepoint Cloud Security Gateway customer who wants to install Neo agent, then download Neo agent from the Cloud Security Gateway Portal ().
Steps
-
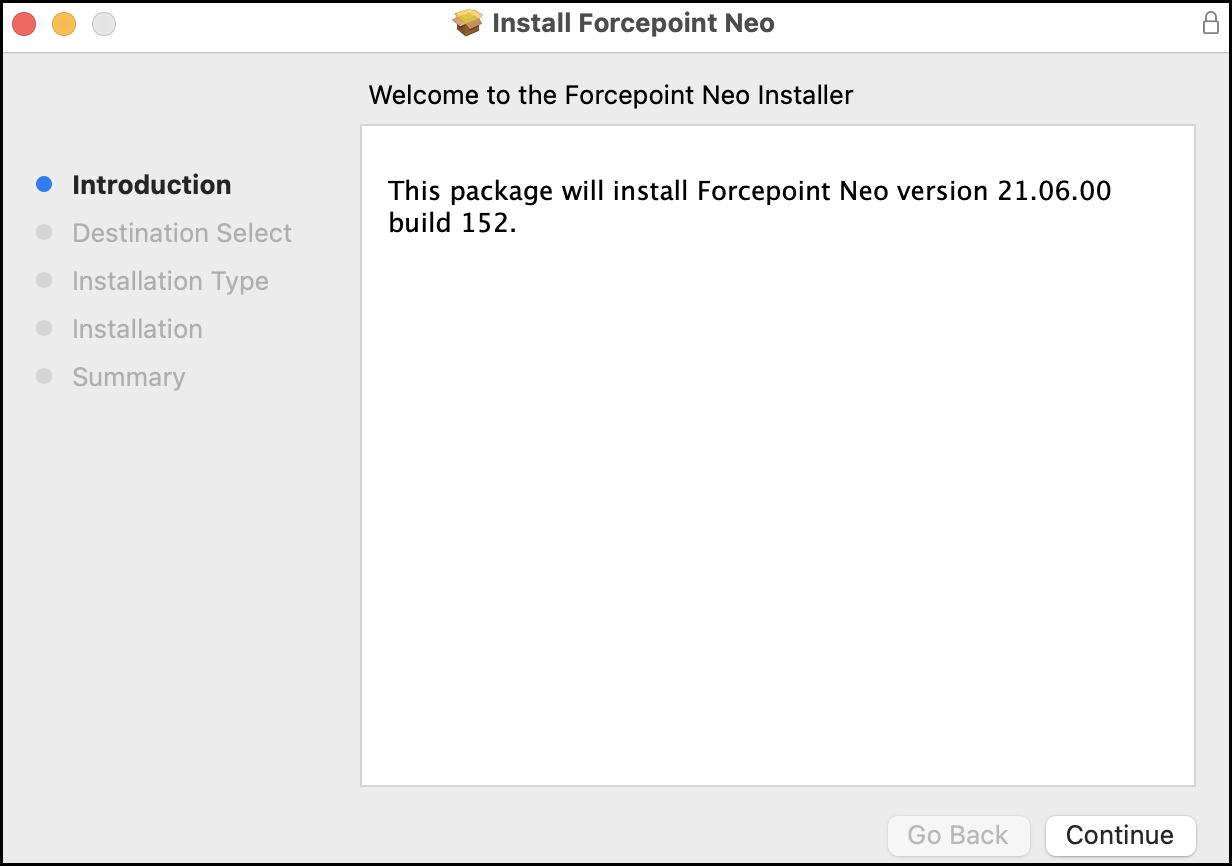
Double-click neo_installer.pkg, then click Continue.
-
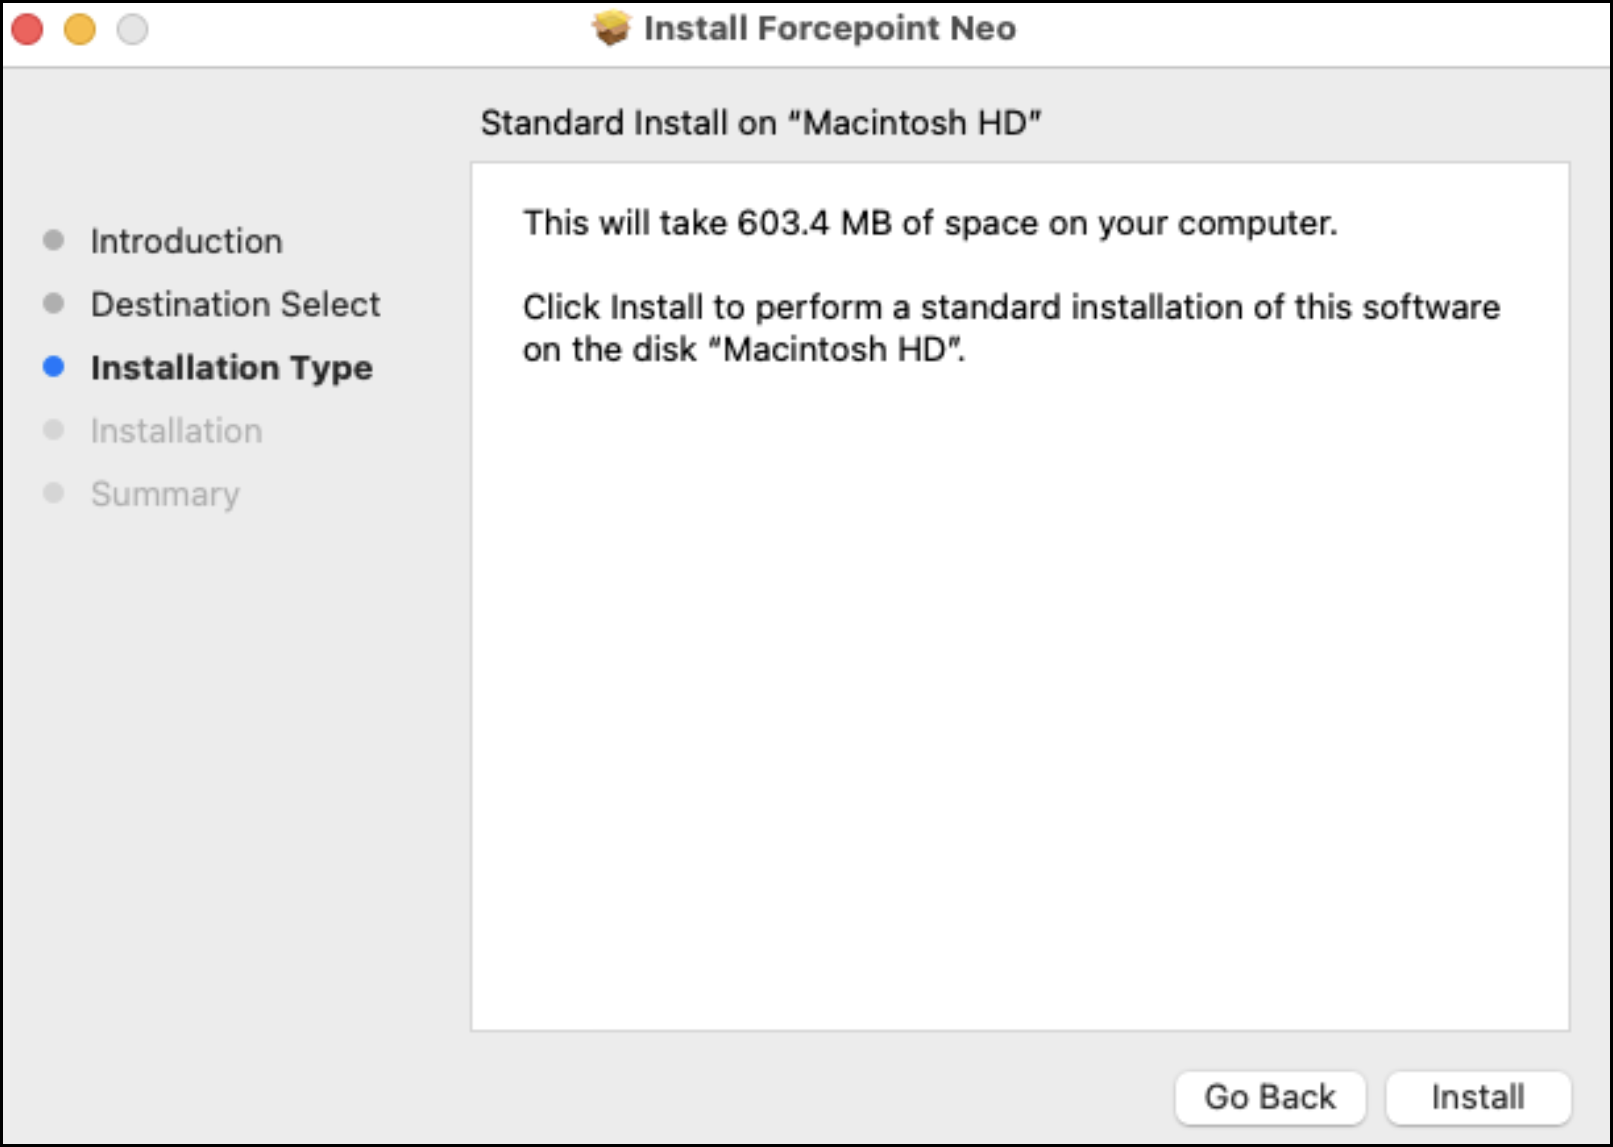
Click Install.
-
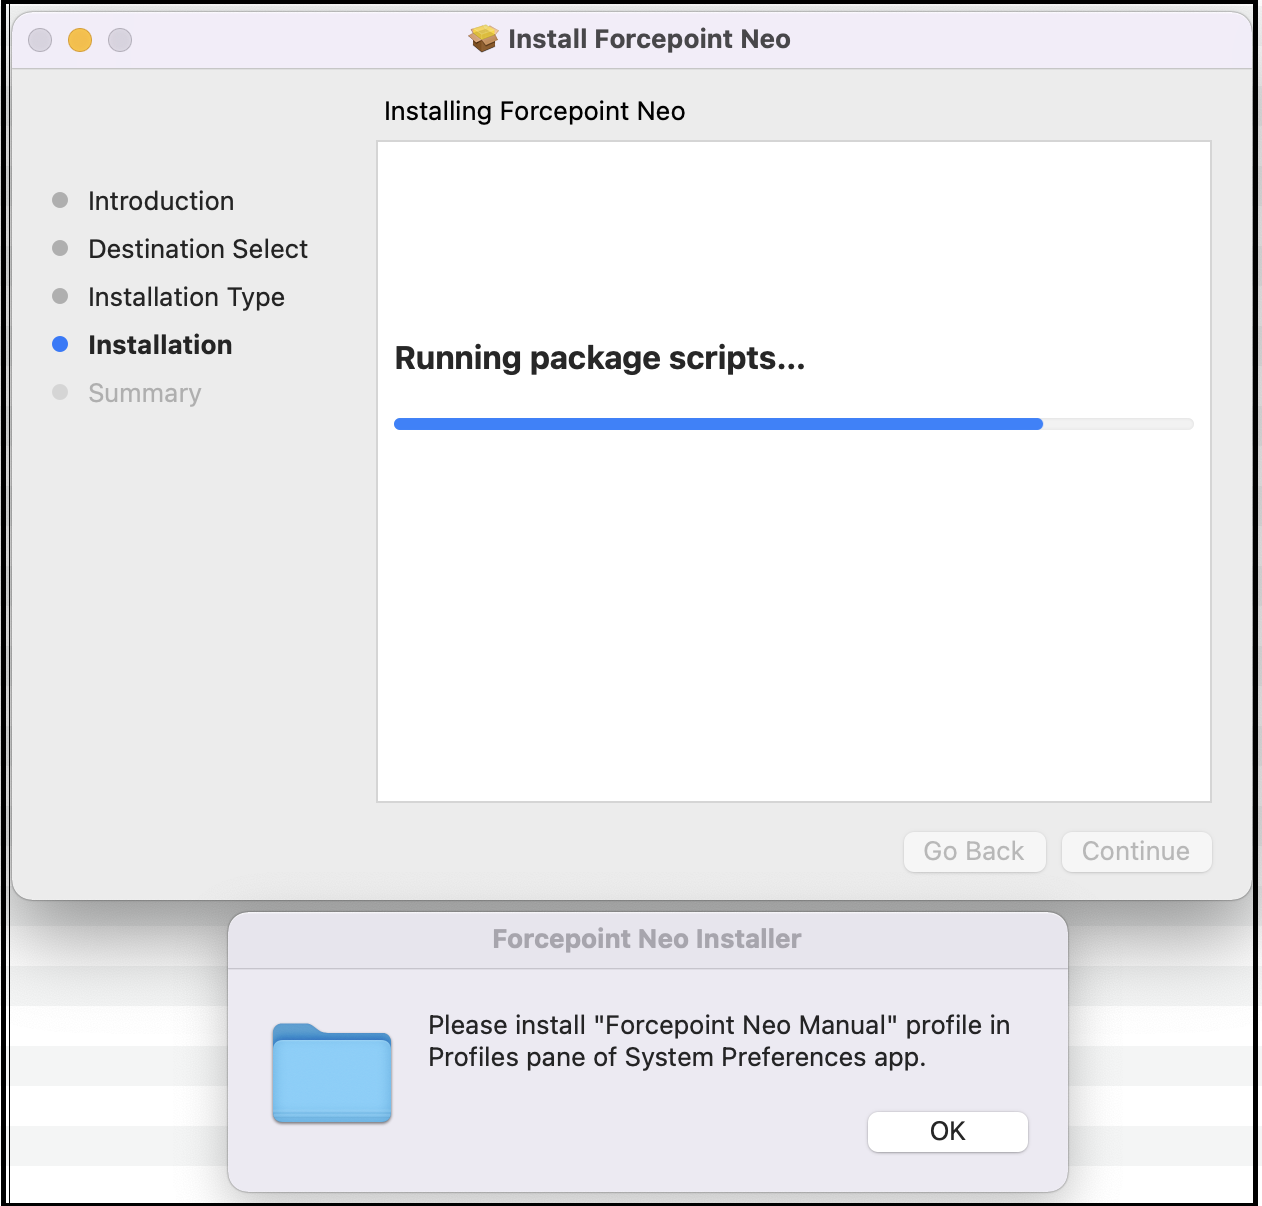
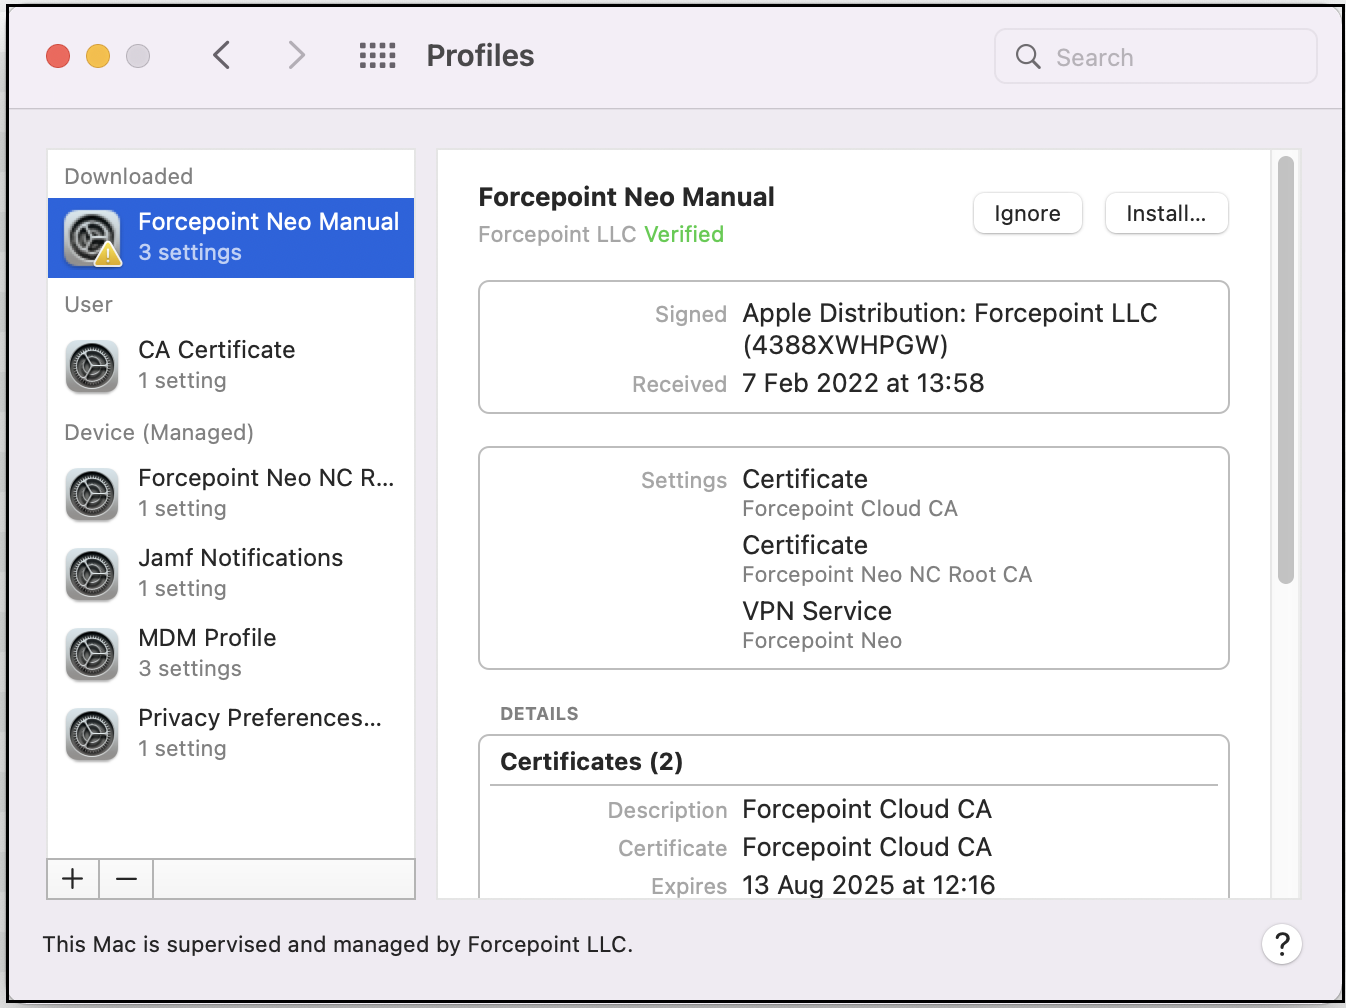
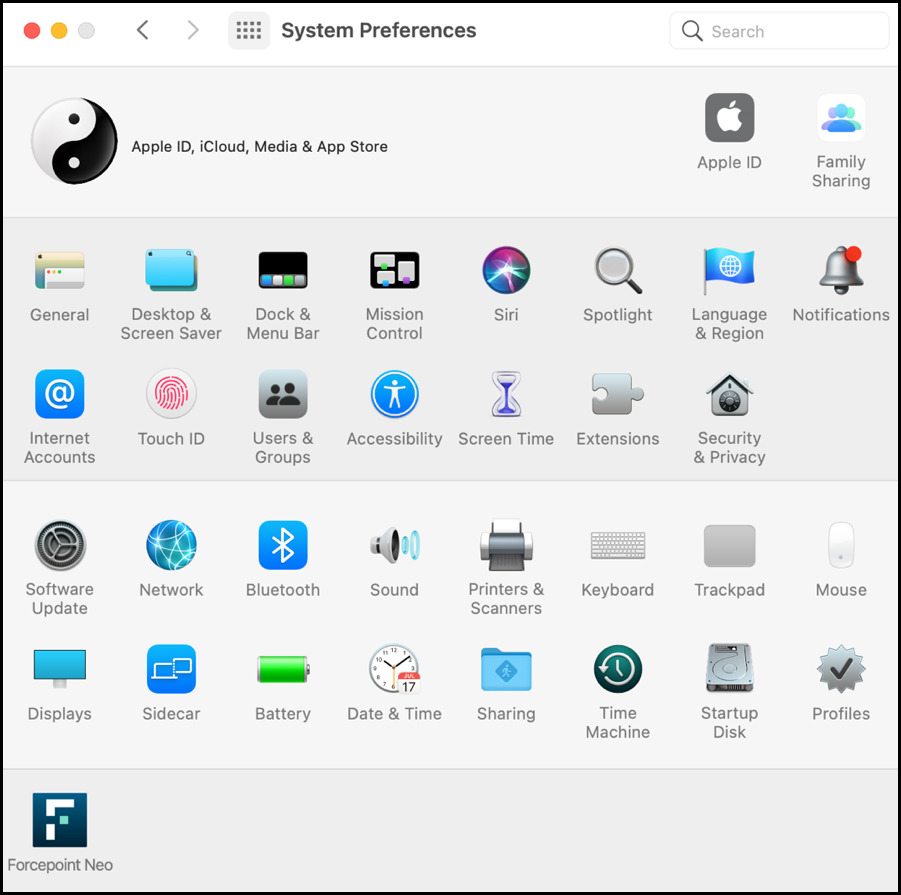
Open System Preferences, select Profiles, then install the Forcepoint Neo Manual profile.
-
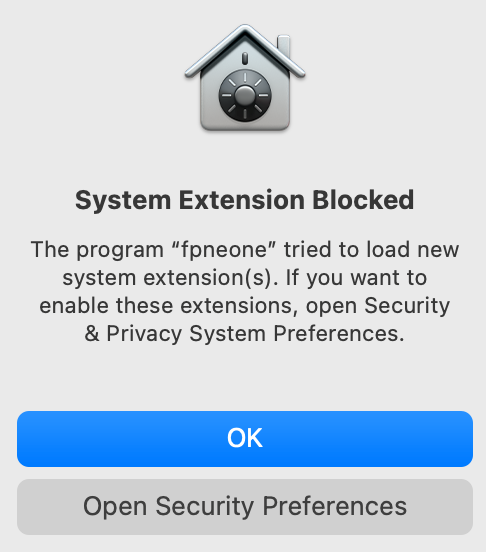
On the System Extension Blocked dialog boxes, click Open Security Preferences to open the System Preferences box.
If you click OK, the dialog box closes and you need to manually open Security Preferences.

-
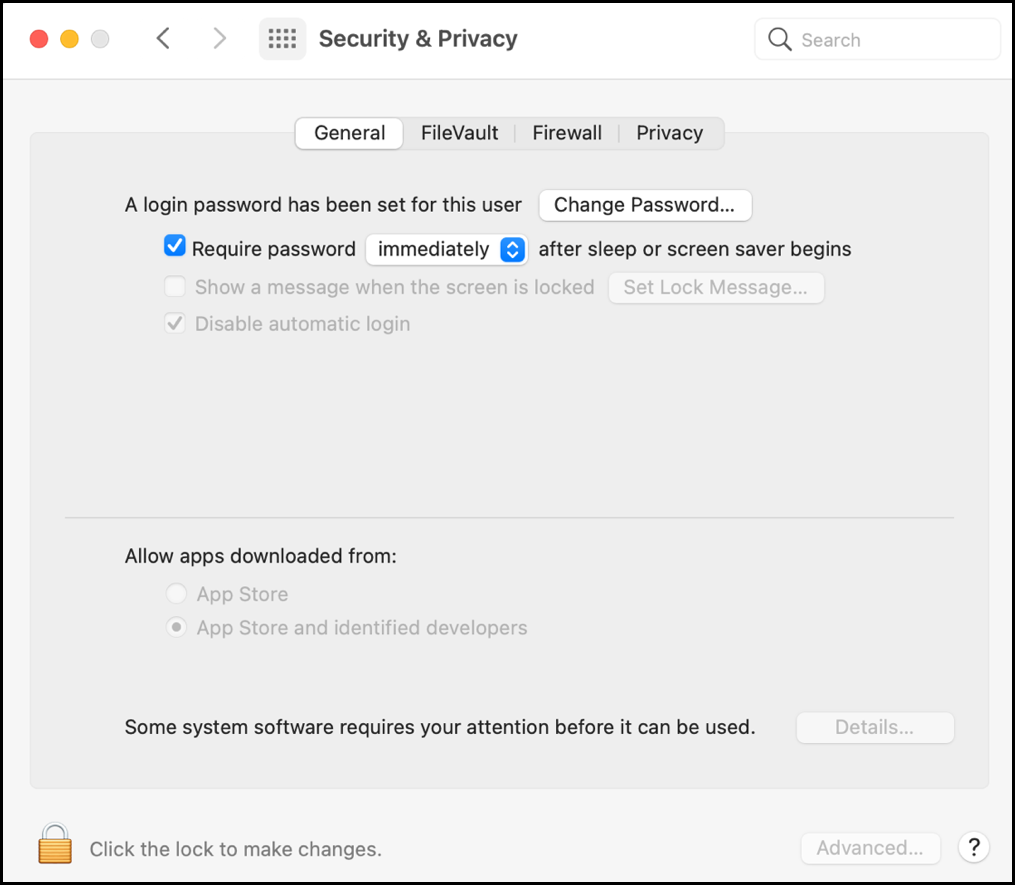
In Security Preferences, click Security & Privacy. On the General tab, click the
lock.
-
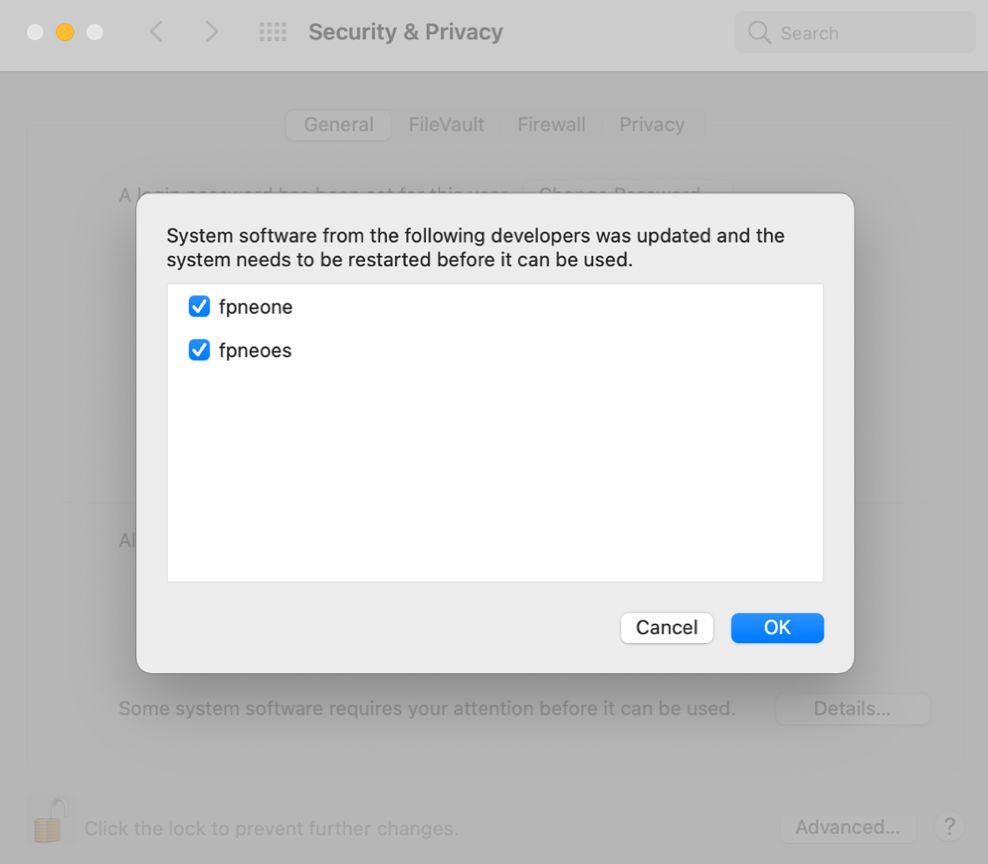
Select fpneone and fpneoes, then click OK.
-
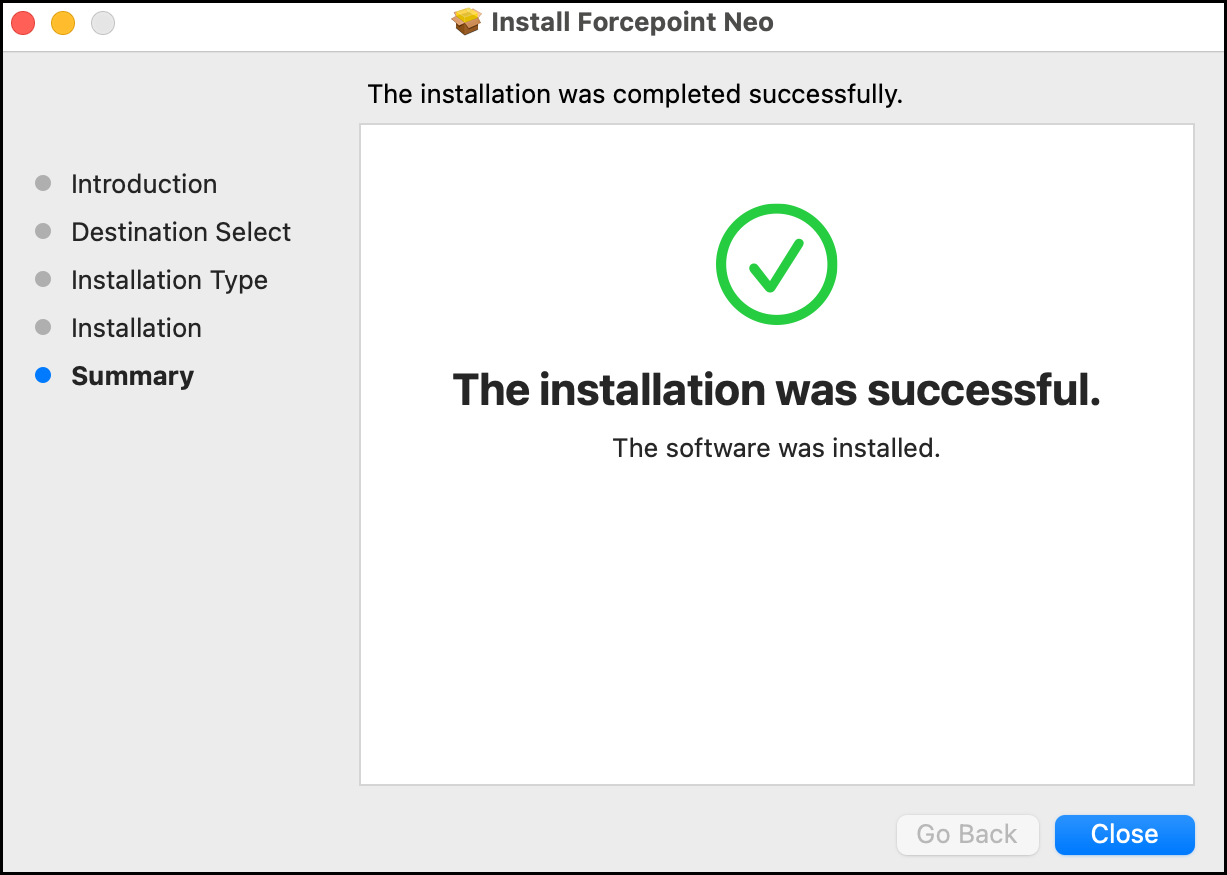
Click Close.
-
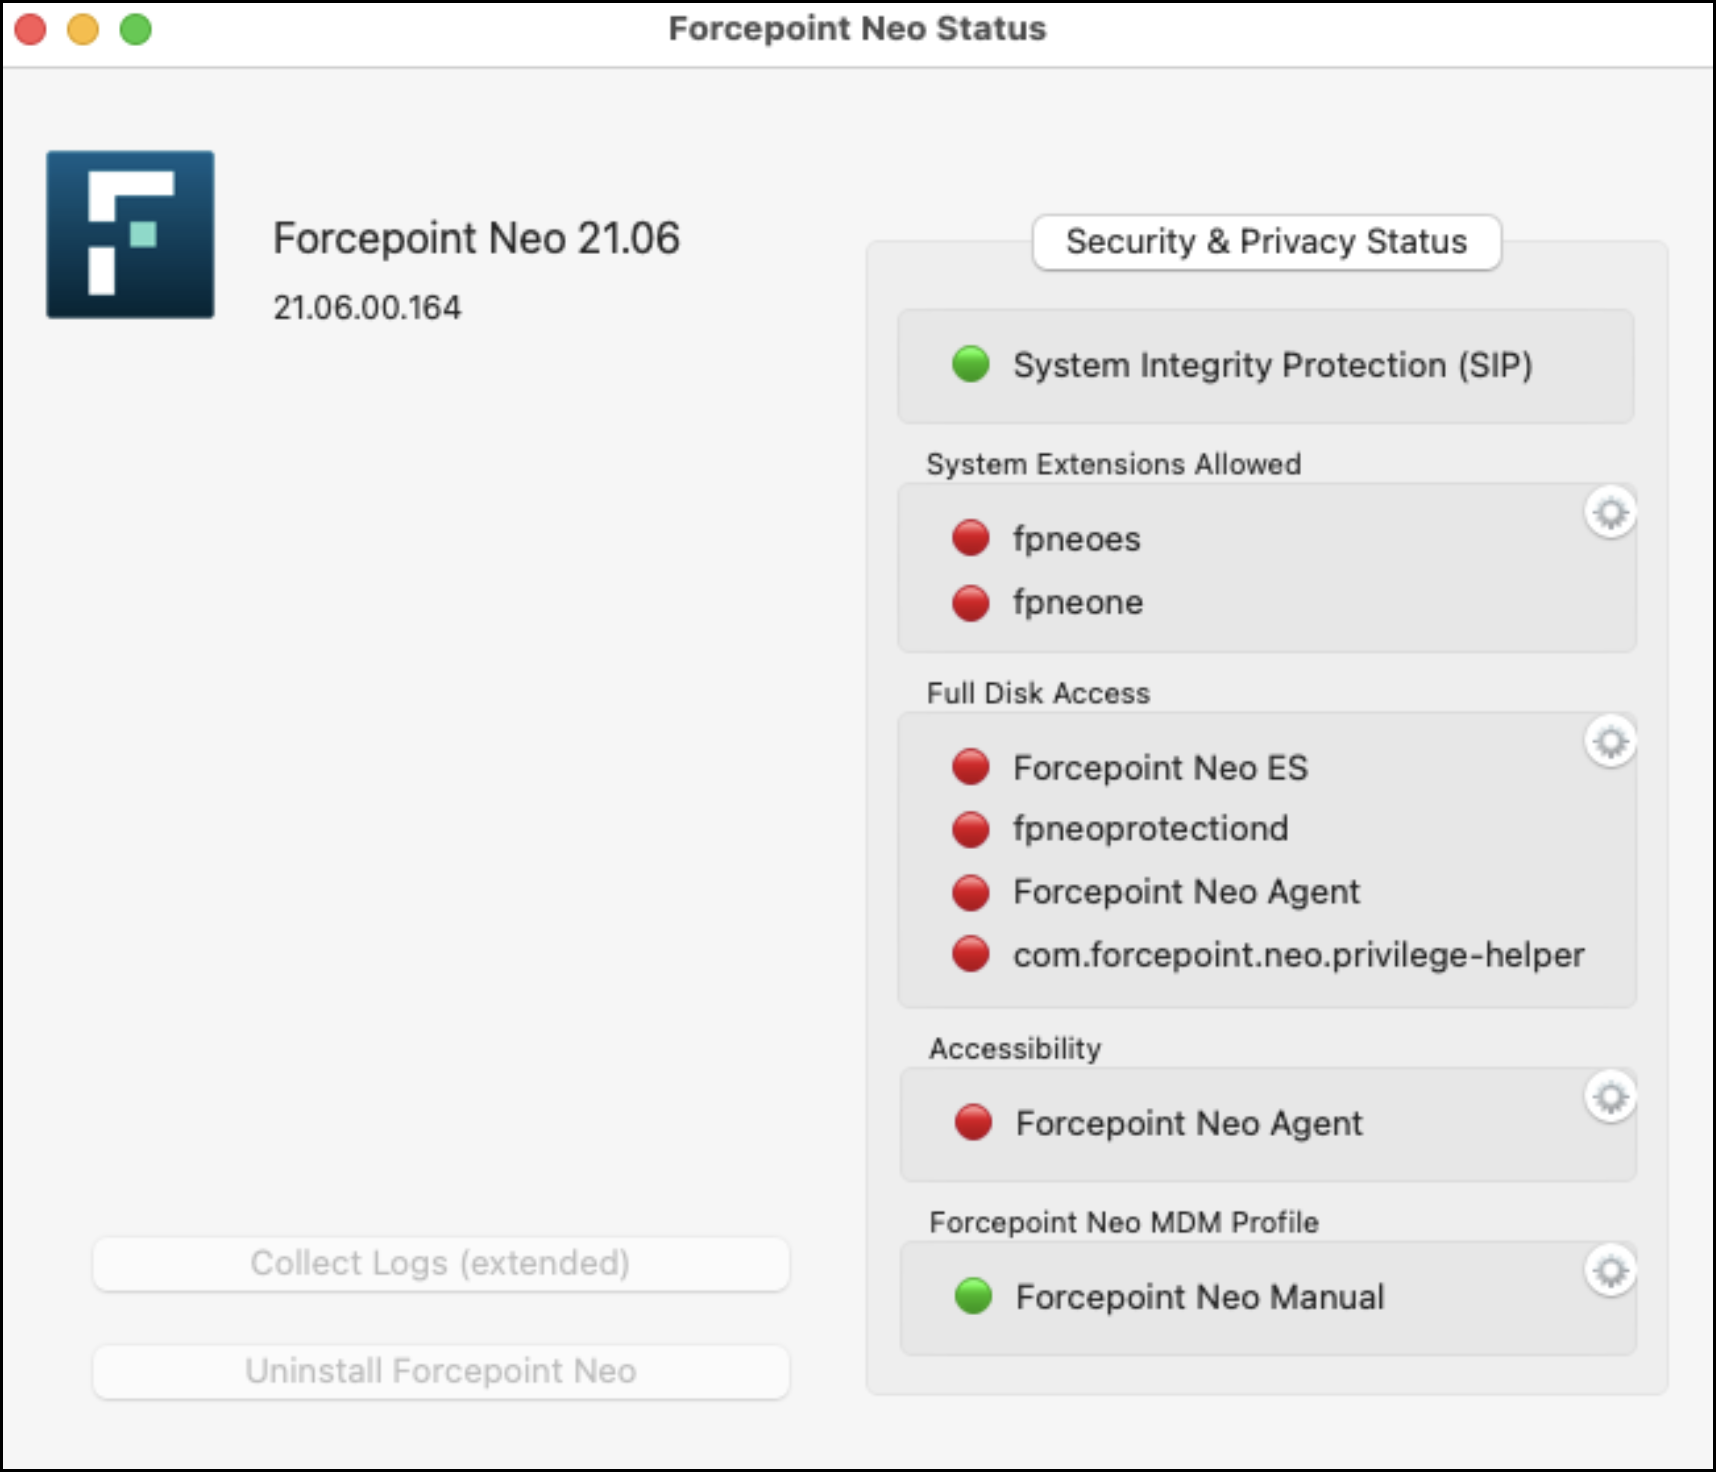
To verify successful installation, open System Preferences, then click Forcepoint Neo.
-
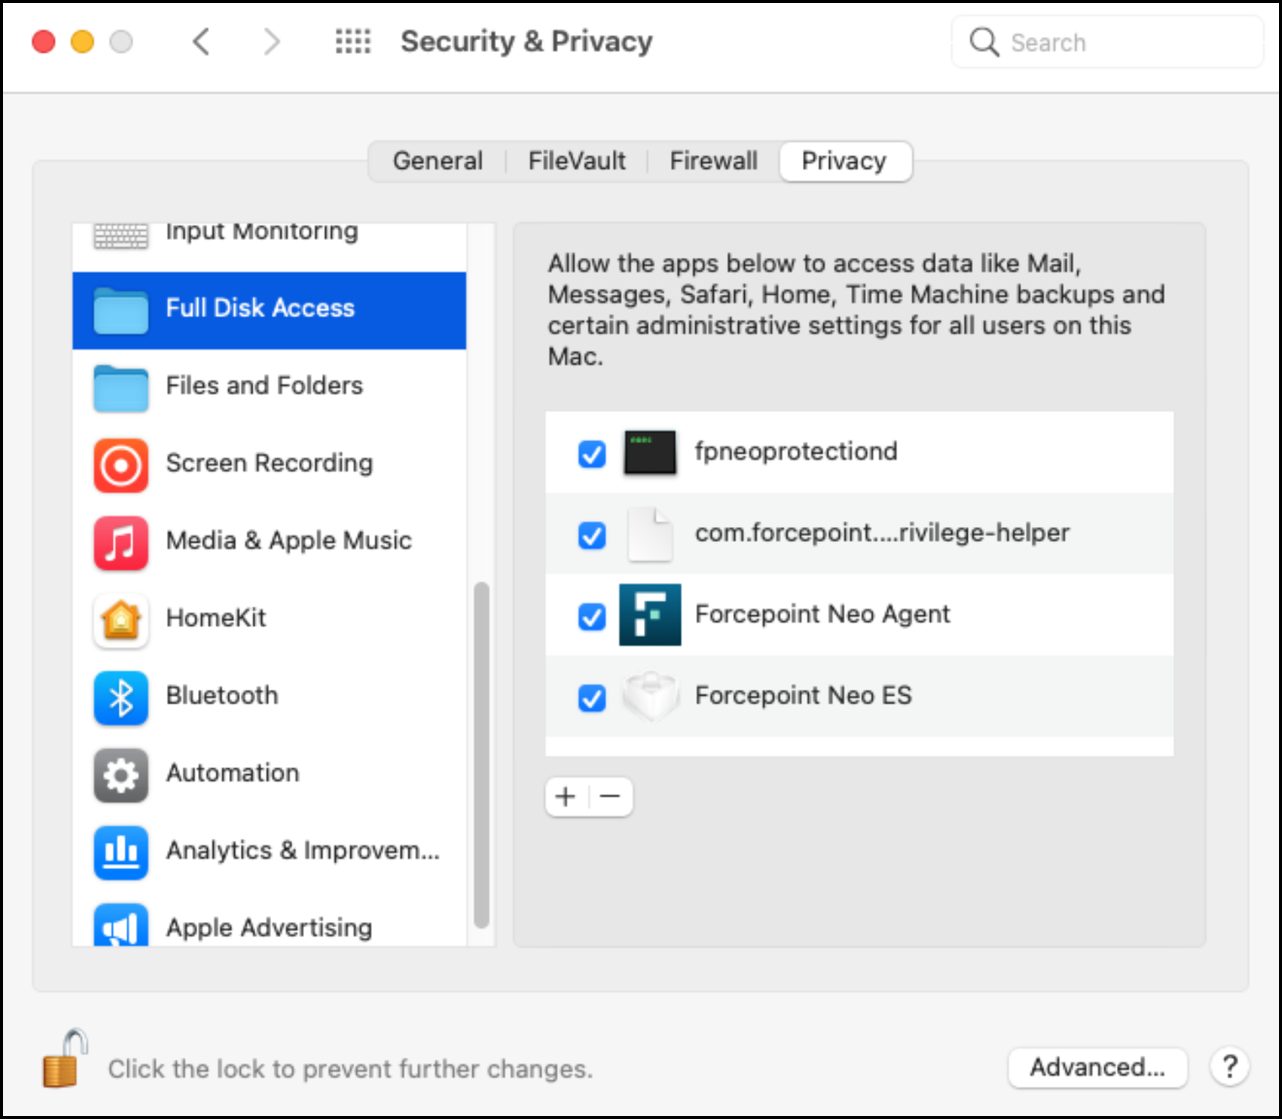
Add privacy permissions for Neo components.
-
Select the following check boxes:
- fpneoprotectiond
- com.forcepoint.neo.privilege-helper
- Forcepoint Neo ES
- Forcepoint Neo Agent
-
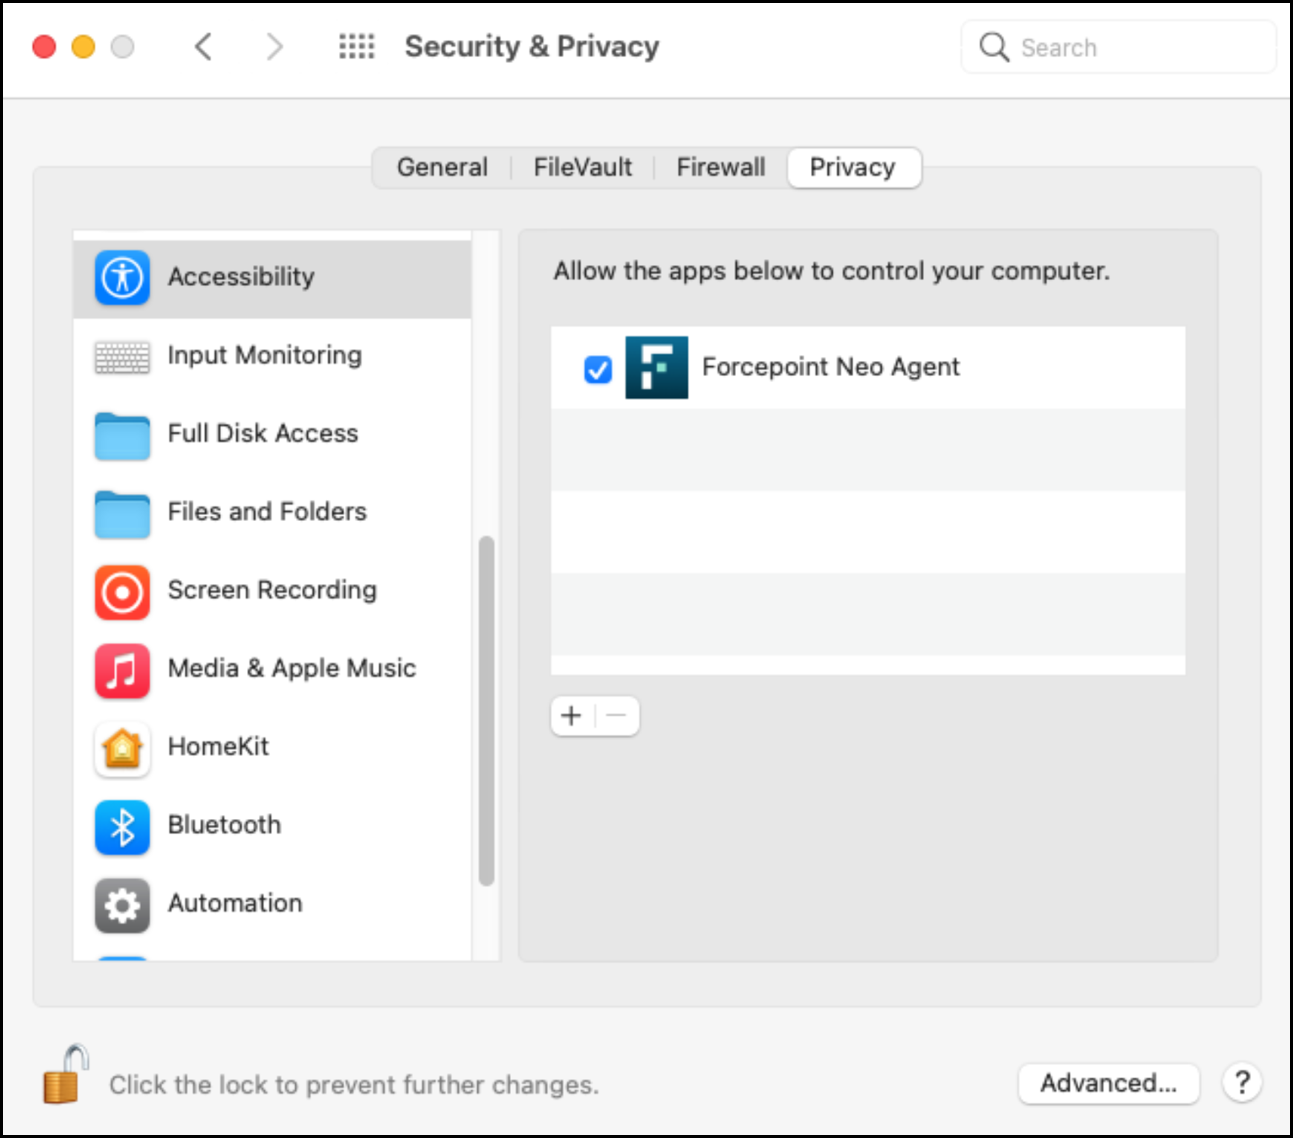
Select the check box for Forcepoint Neo Agent.
-
Select the following check boxes:
-
Verify the privacy permissions.
-
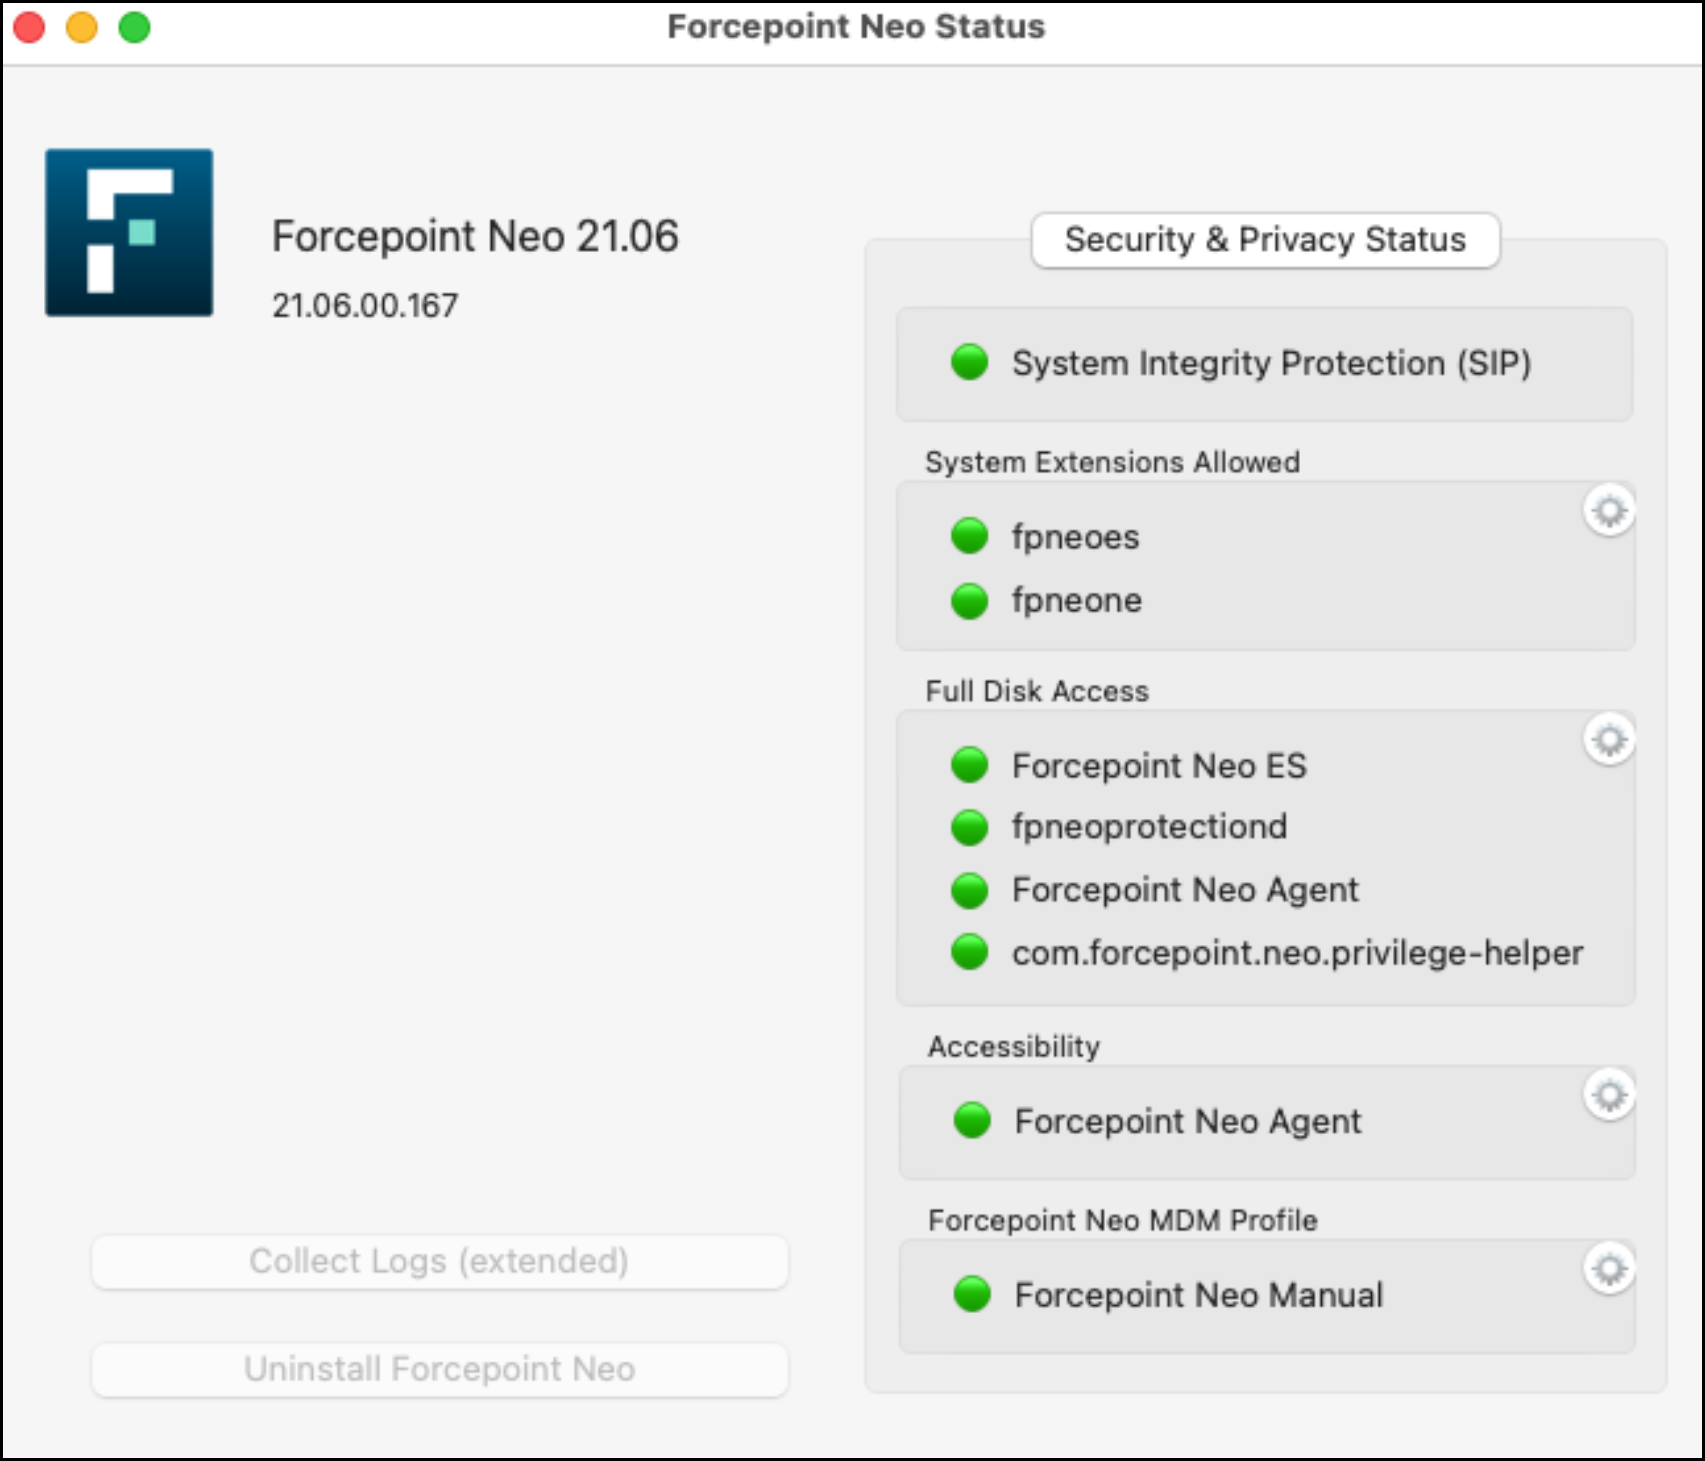
Reopen System Preferences, then click Forcepoint Neo.
-
Verify that all indicators are green.
-
Reopen System Preferences, then click Forcepoint Neo.