Create Web Portal User accounts
The accounts for the optional Web Portal are defined with Web Portal User elements. It is highly recommended to create a unique Web Portal User account for each Web Portal User.
Figure: Elements for Web Portal User accounts
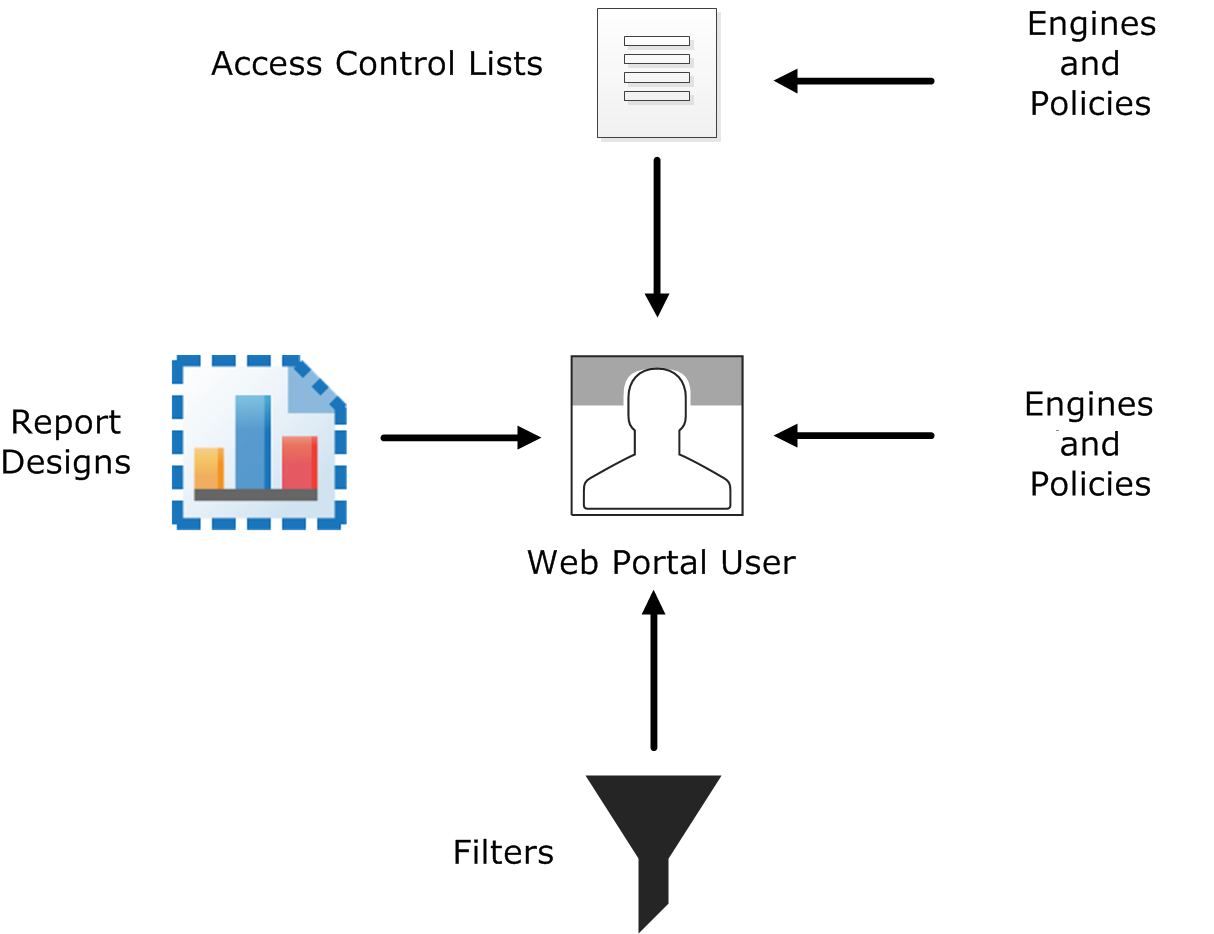
- Engine elements define which logs, reports, or policy snapshots are displayed.
- Policies, sub-policies, and template policies define which parts of the Policy Snapshots are displayed.
- Report Designs define which reports are displayed. The Web Portal user is allowed to view all generated reports that are based on the granted Report Designs.
- Filters define which logs are displayed. You can also add Filters that the Web Portal User can choose to apply when browsing logs.
Web Portal Users can also use internal authentication or external RADIUS authentication.
If administrative Domains are used, there are some more considerations:
- Each Web Portal User account is limited to a single Domain.
- The Web Portal User is allowed to see all information in the Policy Snapshots from the granted engines. If a policy’s template is in the Shared Domain, the Web Portal User can also see the rules inherited from the template in the Policy Snapshot.
- The Web Portal Users might be allowed to view reports generated in the Shared Domain depending on their granted elements.
![]() For more details about the product and how to configure features, click Help or
press F1.
For more details about the product and how to configure features, click Help or
press F1.
Steps
-
Select
 Administration.