Creating badge labels
Configure the badge labels in the Google Admin Console before enabling them in App Security.
Before you begin
Steps
-
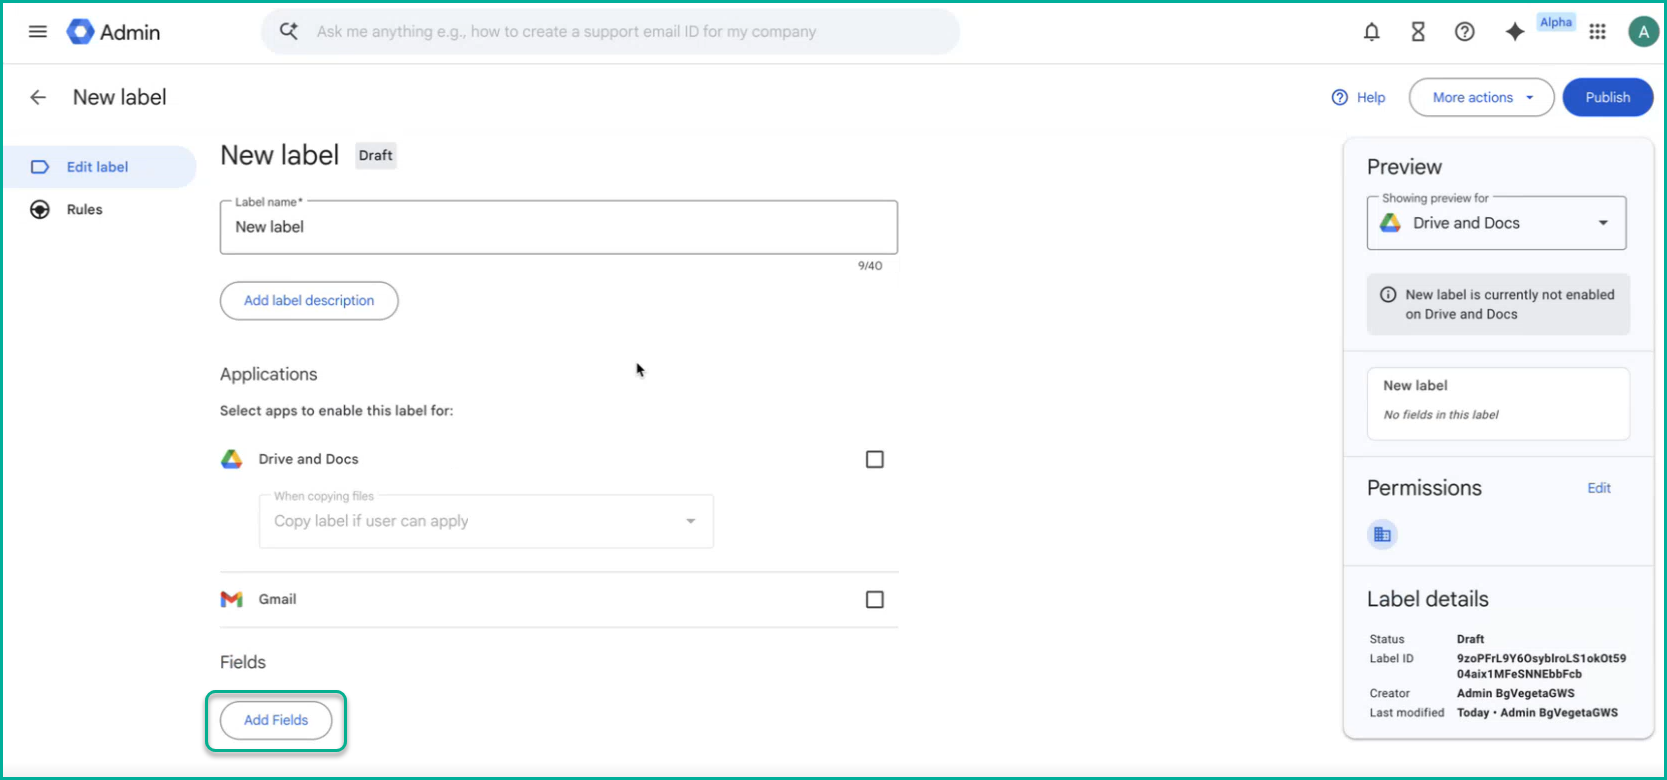
Click + New label to create a new label.

-
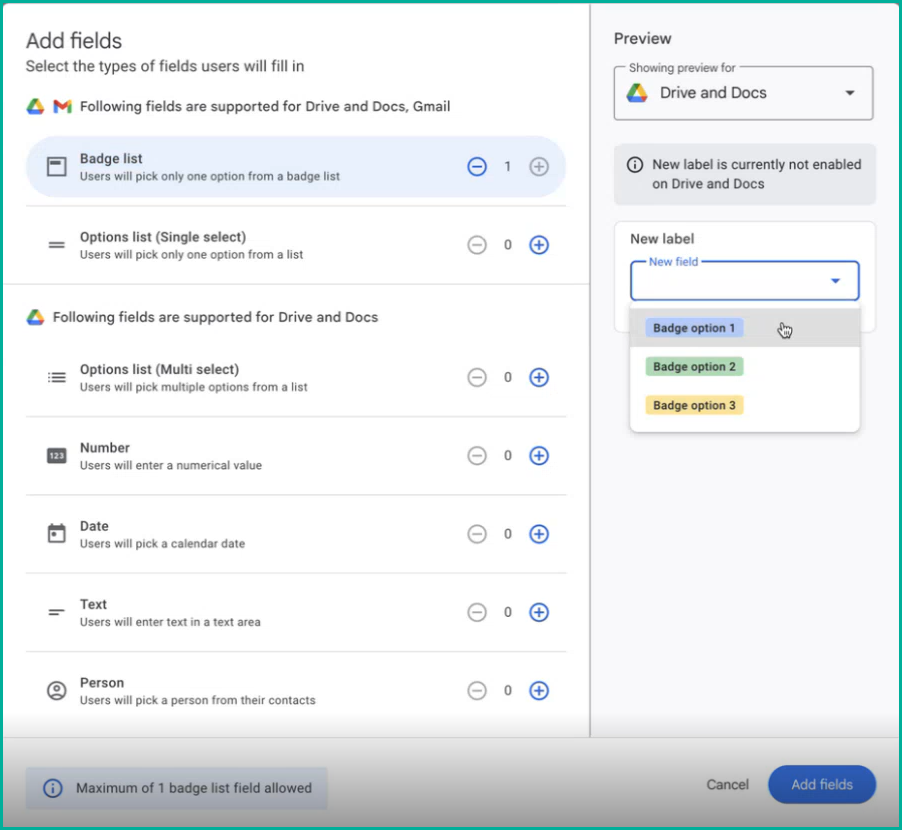
In the Add fields dialog, select Badge list as the field type, and click +.
Note: Each label supports a maximum of one Badge list field. Only Badge list field types are supported by App Security.
-
On the label editor page:
-
Under Options, click Add option or edit the existing label.
Enter the following:
Table 1. Setting Description Option name Enter the label value (for example, TLP:RED). Badge Select a badge color. Note: An option without a badge color is a standard label option and is not supported by App SecurityOption Description Optional. 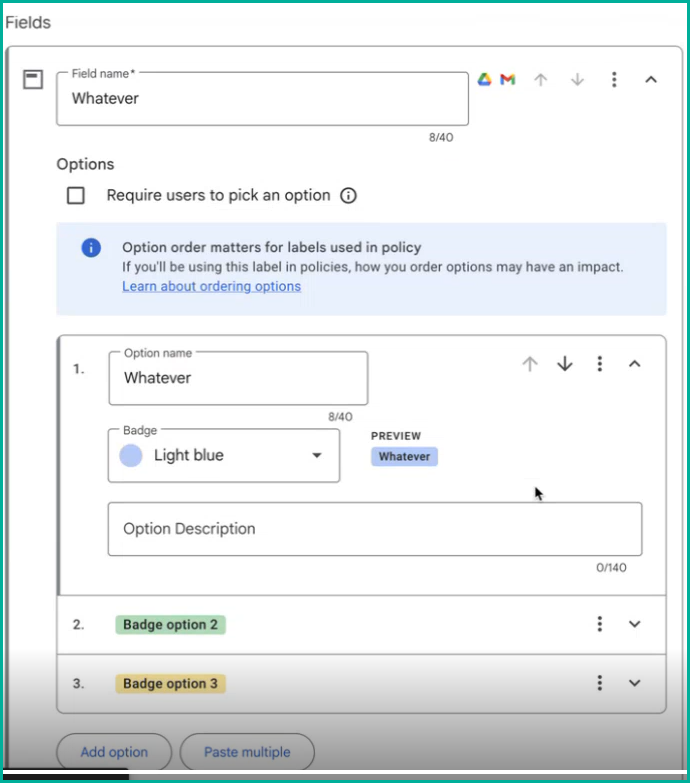 Note: Options order matters for labels used in policy. If you plan to use this label in App Security policies, review the option order carefully before publishing.
To add multiple options at once, click Paste multiple.
-
Under Options, click Add option or edit the existing label.