Assigning Custom Continue Pages to Policies
Steps
- Navigate to Web > Policies in the admin portal.
- Click on the policy name you want to edit.
- Go to Web Categories and choose the category where you want to apply the Continue button.
- Under Action, select Confirm.
-
You will see a new drop down under Confirm that lists all the custom Continue pages you created. To create custom continue page, refer Creating a custom continue page.
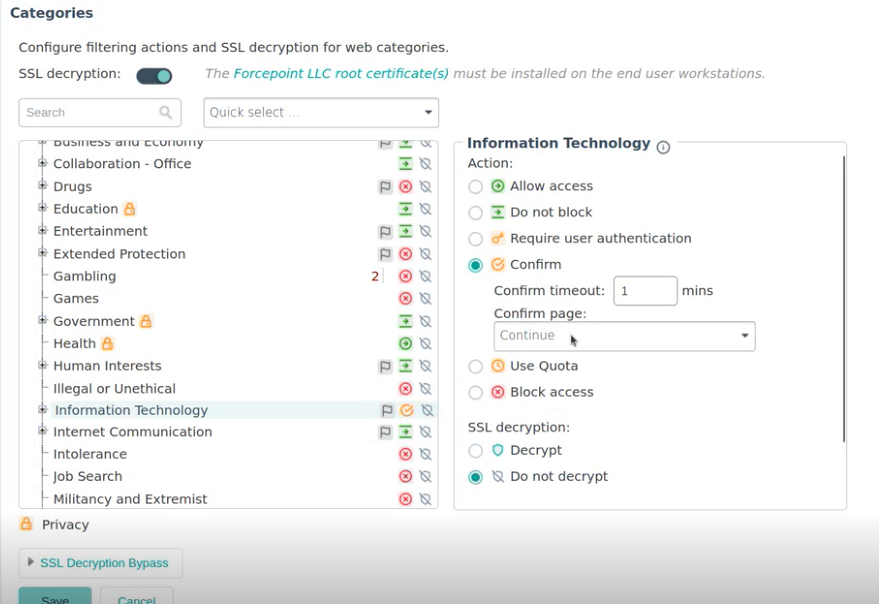
- Select the desired page and Save the policy.