Creating a custom location object
Before installing ZTNA Connector on client server, you should create a custom location object with the external IP range of your office location or data center in Forcepoint Data Security Cloud | SSE as this is needed during ZTNA connector installation.
Steps
-
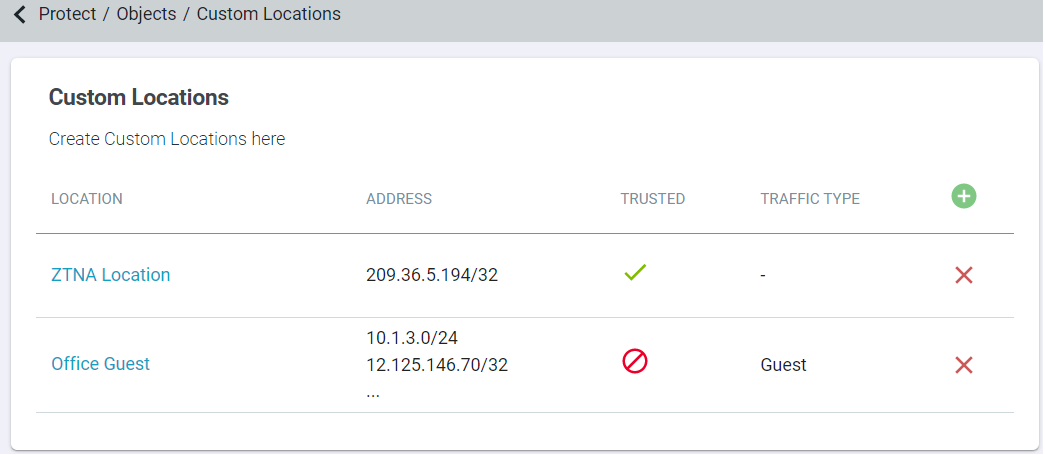
In Forcepoint Data Security Cloud | SSE, go to . Create a custom location object with the external IP range of your office location where the ZTNA connector (or connectors) are installed. This way Forcepoint Data Security Cloud | SSE will recognize the locations and not attempt to block these IP addresses.
-
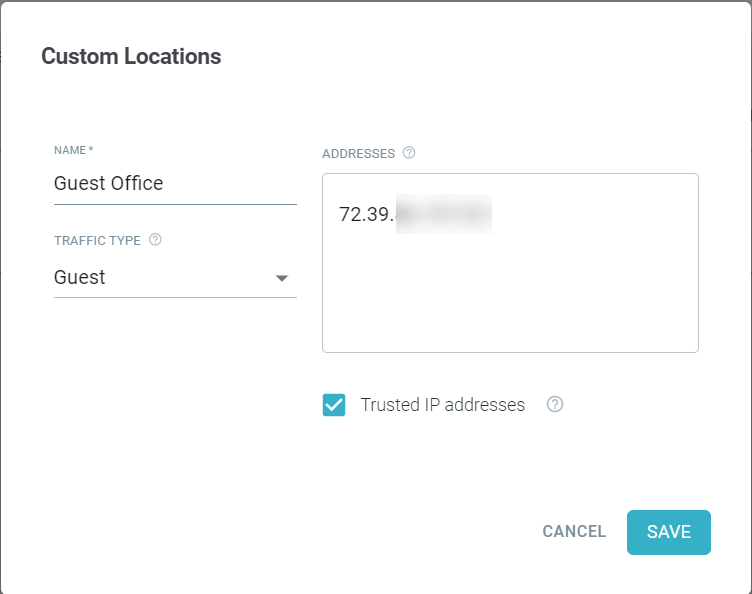
Click the green plus icon to enter a new custom location and add your IP range. You can create multiple location objects, one per location where your ZTNA connectors will be
installed.
-
Under Data Center Selection, select the appropriate option based on overlapping IPs in your ZTNA data centers:

- Automatic (Non-Overlapping IPs) - Select this option if your ZTNA data centers do not have overlapping IP addresses. The SmartEdge agent will automatically route
the request to the appropriate ZTNA data center, which is configured as the destination data center in the agent's ZTNA application setup.
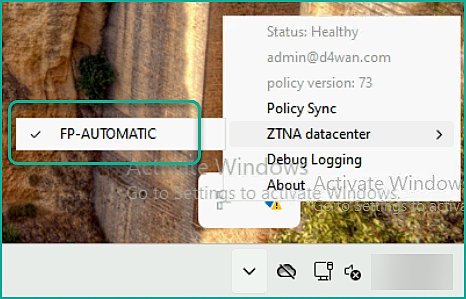
The SmartEdge agent tray will indicate that FP-Automatic is selected. No changes are needed.
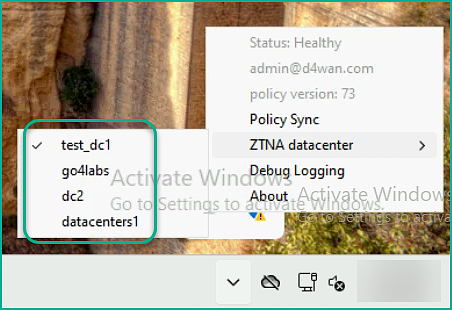
- Manual (Overlapping IPs) - Select this option if your ZTNA data centers have overlapping IP addresses.
The SmartEdge agent tray will display all configured data centers for the end-user to select.
By default, the Automatic (Non-Overlapping IPs) option is selected for new tenants.
Note: The Data Center Selection feature is supported only with the SmartEdge agent 3.0.0 or newer version. - Automatic (Non-Overlapping IPs) - Select this option if your ZTNA data centers do not have overlapping IP addresses. The SmartEdge agent will automatically route
the request to the appropriate ZTNA data center, which is configured as the destination data center in the agent's ZTNA application setup.
-
Under Data Center Public IP Locations, click the green plus icon and then select the location(s) you just created to allowlist them. Then on the right side, you can
enter any name for the datacenter.
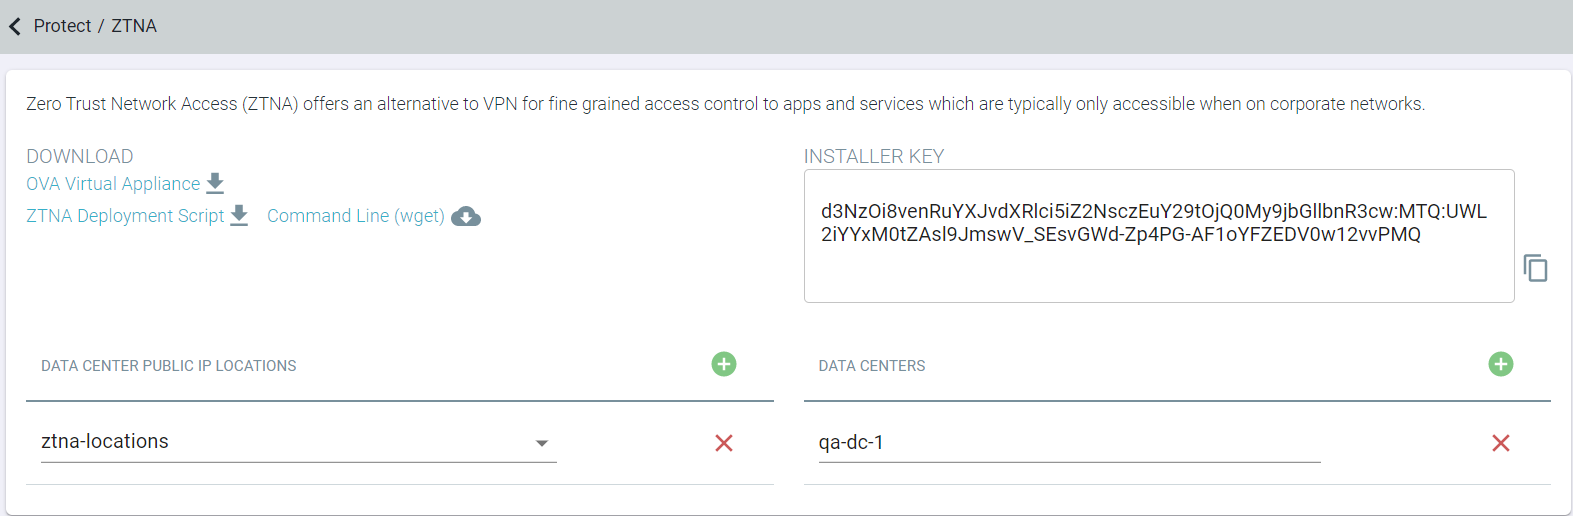
This name will be added to the ZTNA app later and used for logging purposes to make it easier for you to identify where the app that users are accessing is located (if you have multiple locations).
Attention: After adding or updating the locations under Data Center Public IP Locations, you need to wait for 5 minutes before you configure the ZTNA connector. If you configure the ZTNA connector before 5 minutes, you may face an error at the Configure Data Center Name and Installer Key step while configuring it.