Adding FSM application based on FSM template

Steps to add an FSM application based on FSM template.

Steps

  1. In the Forcepoint ONE SSE portal, navigate to Protect > Add Apps > Managed Apps.
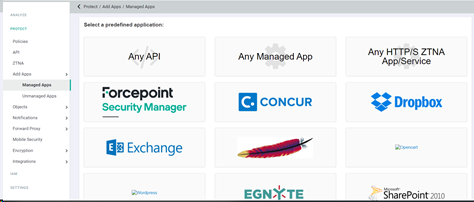
  2. On the Managed Apps page, select the Forcepoint Security Manager option.


    The FSM page opens populating the Application Name, Current Application Logo, Current Application Icon, Service, and Port details.


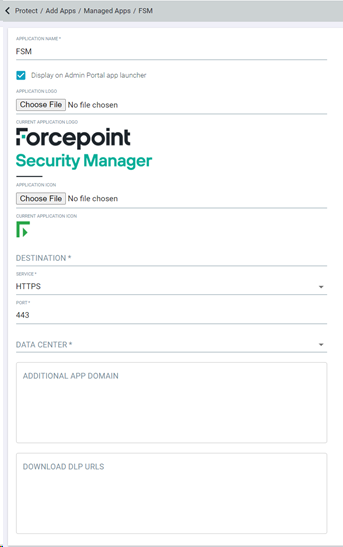
    Note: You can modify these fields, if required.
  3. Enter the Application Name.
  4. Select the Display on Admin Portal app Launcher to display the Application Name on Admin Portal app Launcher.
  5. To change the Application Logo, click the Choose File and navigate to the application logo from your machine and then click Ok to upload it.
  6. To change the Application Icon, click the Choose File and navigate to the application icon from your machine and then click Ok to upload it.
  7. Enter the internal hostname for your app. The hostname of app should also include domain name.
  8. Select Server Type. For FSM, this field should be set to HTTPS.
  9. Enter the Port that is accessed over. For FSM, this field should be set to 9443.
  10. Select the Data Center name that is applicable for FSM. This is a name that is used in logs.
  11. Enter any other additional domains associated with the app to ensure full functionality when a user is being proxied to the app.
  12. Once you are done with the changes, click Save.

    A default ZTNA app gets created in Protect > Policies > FSM with the Groups set to Bitglass Admins. You can apply contextual access controls and inline DLP policies just like any other cloud app (notice it will indicate the app as being ZTNA in the top left of the app logo). You can learn about policy configuration on the Configuring contextual access control and Configuring proxy policy actions.