Configuring the Forcepoint Data Security Cloud | SSE Identity Provider in the Atlassian Application
After you have added the application, you will need to configure the Atlassian application to use the Forcepoint Data Security Cloud | SSE Identity Provider for user authentication.
Steps
-
On the Forcepoint Data Security Cloud | SSE, navigate to to access the applications' policies.

-
On the Atlassian page, select the Setup Web SSO for the domain in question.

The Atlassian Single Sign-On Setup page opens displaying required information needed while configuring Atlassian. Keep this page open.

-
Locate the Other provider tile and click Choose.
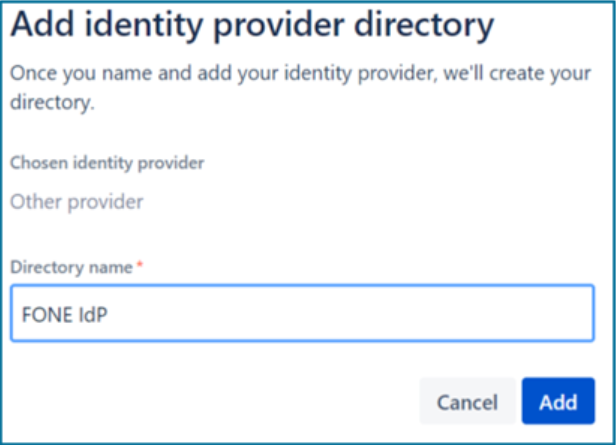
The Atlassian presents the Add identity provider directory section.

-
Enter a unique value for the Identity provider Directory name and click Add.
-
On the Authenticate users section, click Set up SAML single sign-on.
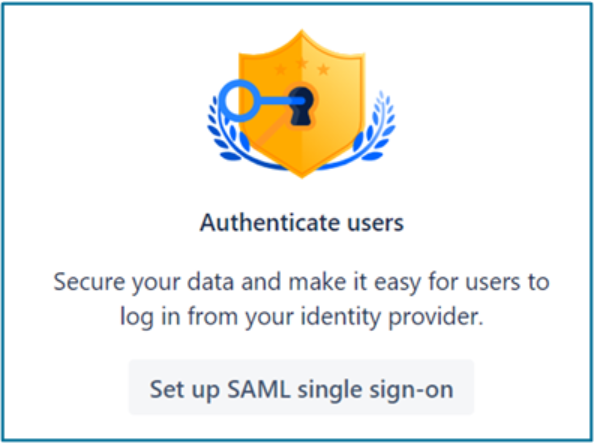
Atlassian presents the Before you begin section.
-
On the Add SAML details section, enter the corresponding URLs from the Forcepoint Data Security Cloud | SSE Atlassian application
Single Sign-On Setup page opened in Step 3.
- Copy Issuer/ID field to Identity provider Entity ID.
- Copy Login URL to Identity provider SSO URL.
- Download the Assertion Signing Certificate and open it in a text editor. Copy the text to Public x509 certificate and then
click Next.

Atlassian presents the Copy URLs to your identity provider section. Keep this page open.
-
Return to Forcepoint Data Security Cloud | SSE and navigate to the page:
-
Locate the App SSO section and click Setup to open the Atlassian SSO Config page.
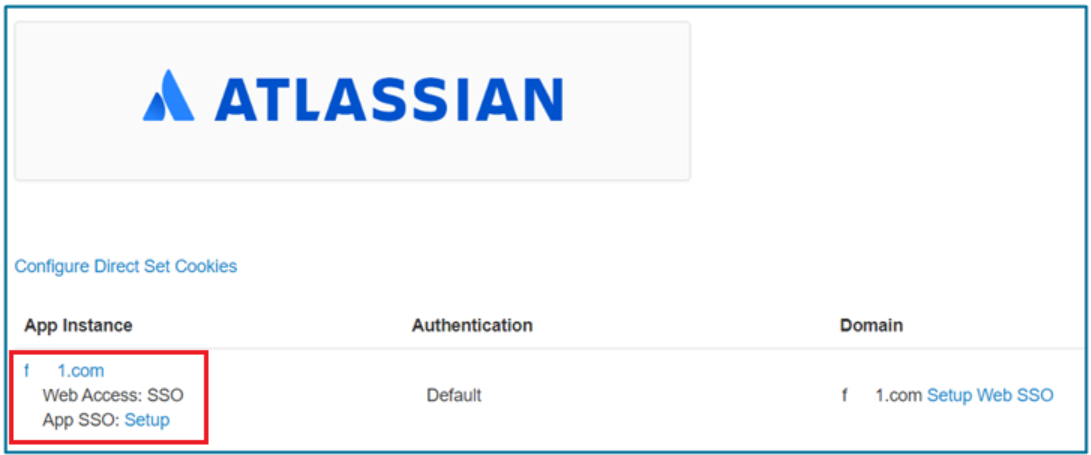
-
Locate the App SSO section and click Setup to open the Atlassian SSO Config page.
-
Click the identity provider name under the Directory name.

-
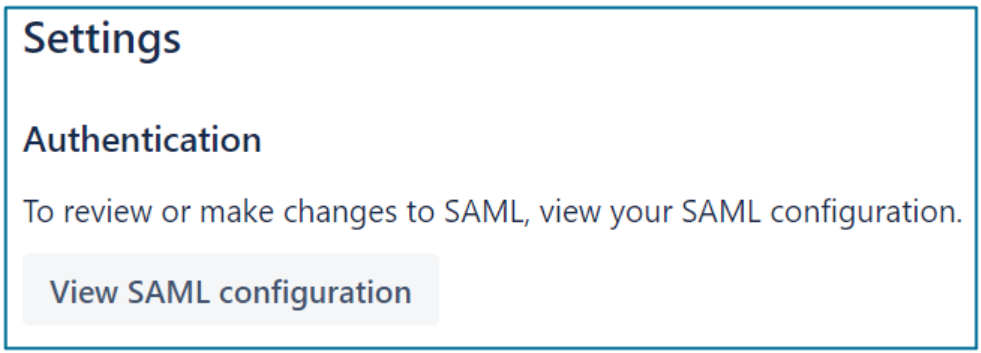
Locate the section and click View SAML Configuration.
-
Locate the Copy service provider URLs section and copy the URLs from Atlassian to the Forcepoint Data Security Cloud | SSE
App SSO settings in step 10.


- Copy Service provider entity URL to SP (Application) Entity ID.
- Copy Service provider assertion consumer service URL to Single Sign On URL.
- Enable Force IdP Authentication
- Enable Redirect to URL in RelayState
-
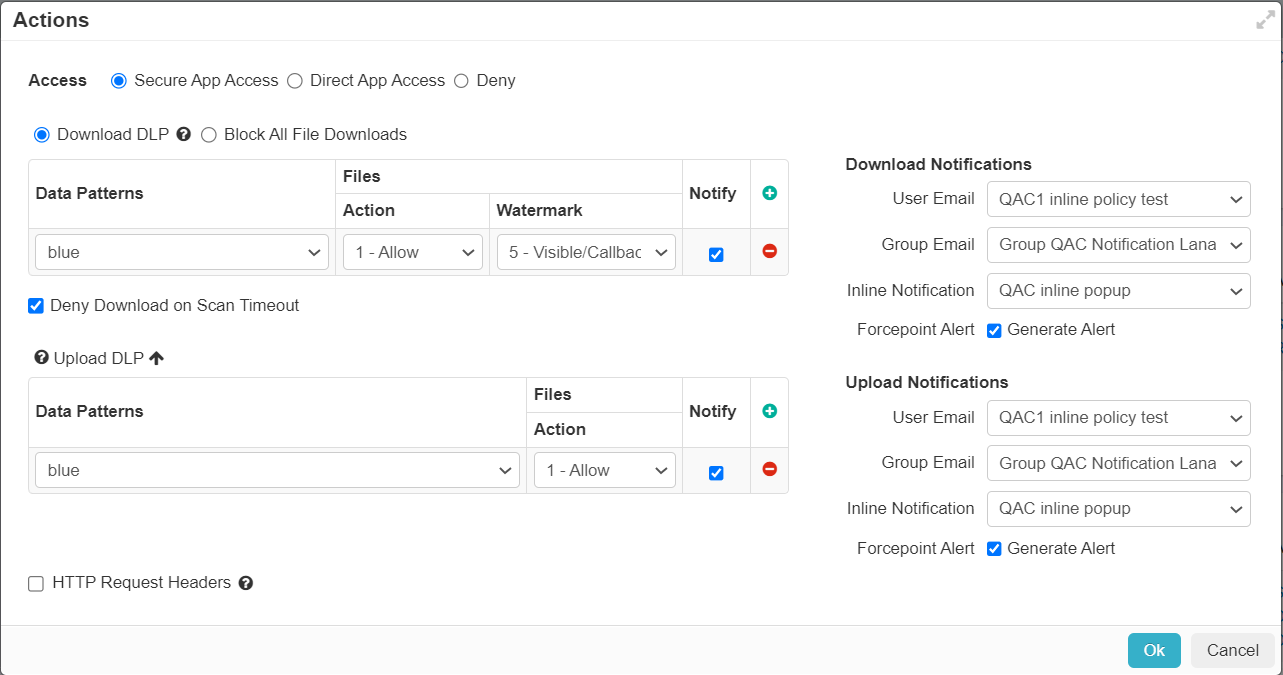
Configure access and DLP policy for the application. You can provide policy control over data being downloaded or uploaded.
See the Proxy Policy Actions to learn more about policy actions.
Note: Due to a known bug with Confluence and the Export to Word feature (bug issue documented here on Atlassian's site), Forcepoint Data Security Cloud | SSE is unable to properly support encryption of Export to Word files until they resolve their bug.