Adding Cisco Spark and authorizing API
You will first need to add the application on the page and then you can setup the API.
Steps
-
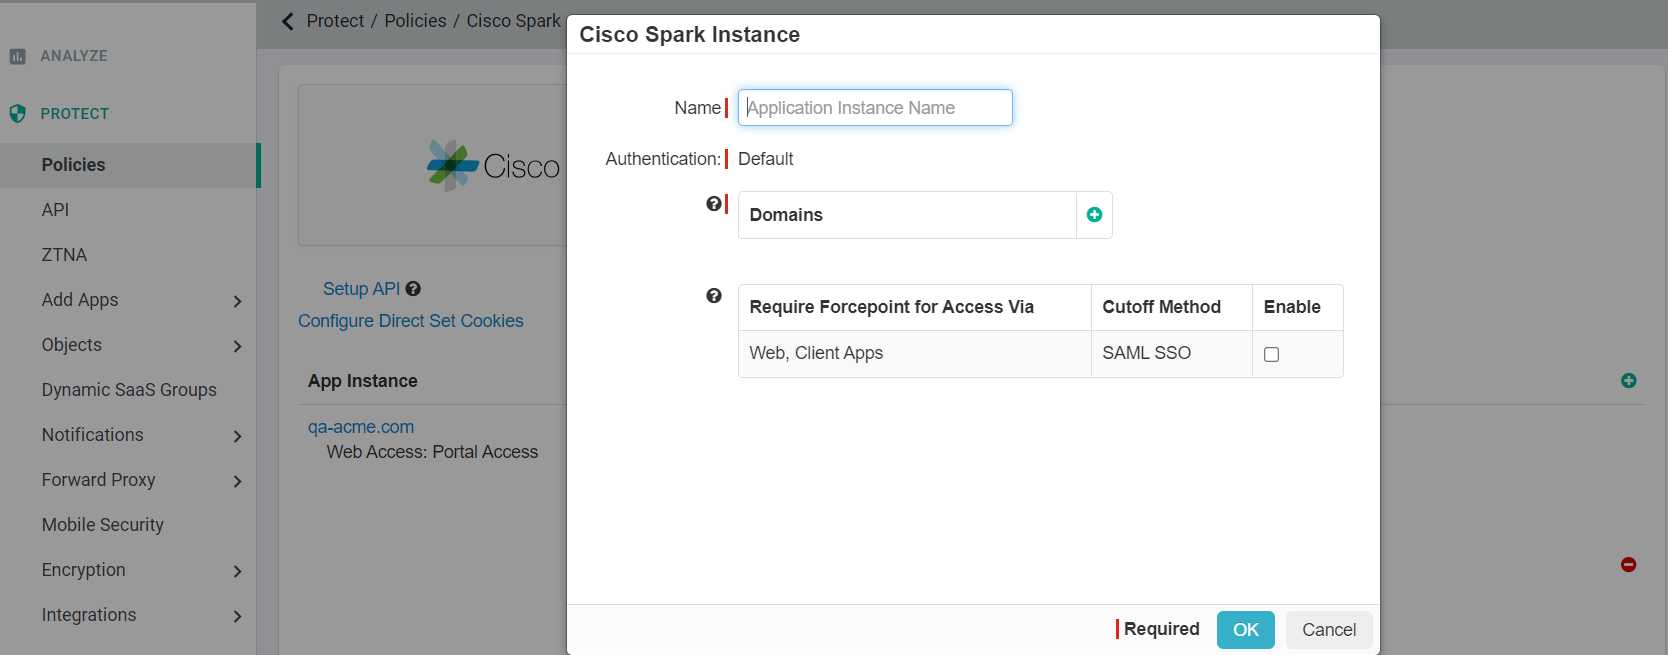
Provide a name for the app instance and add the domains that will be associated with your Spark app instance. Click Ok and then click
Save on the Cisco Spark application page.
-
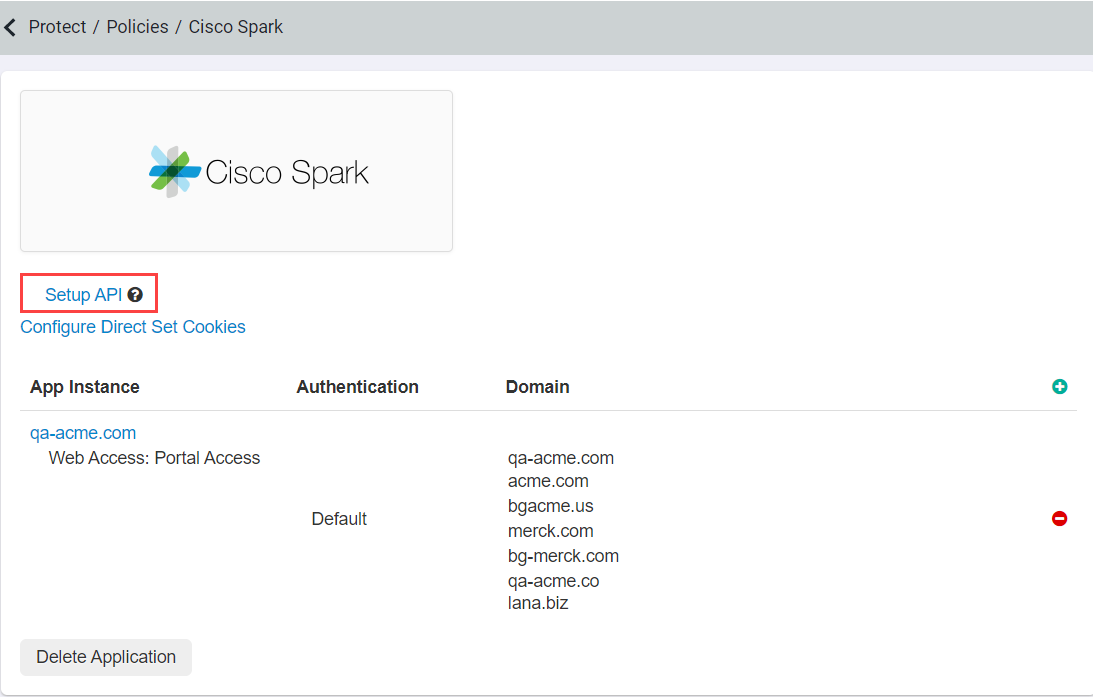
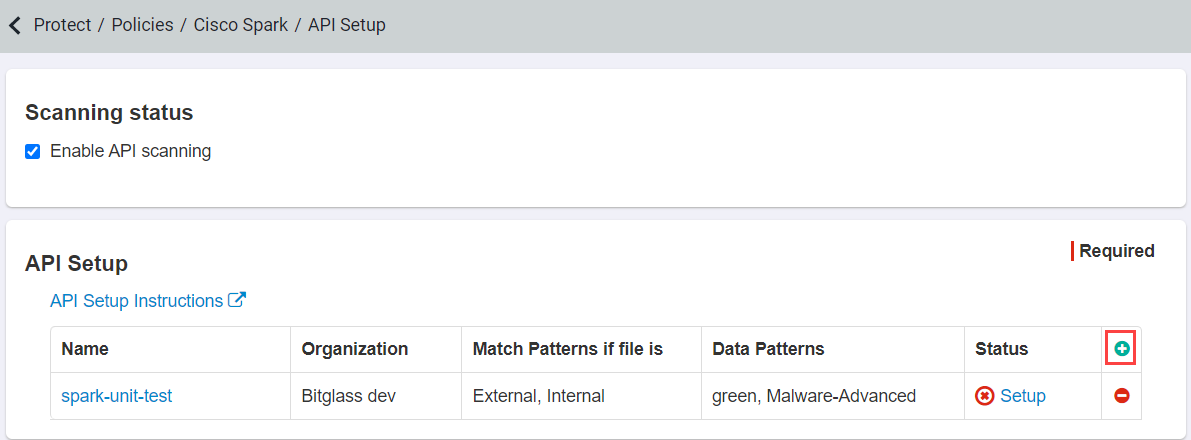
Click on Setup API to configure the API scanning options and authorize Forcepoint Data Security Cloud | SSE's access to Cisco Spark.
-
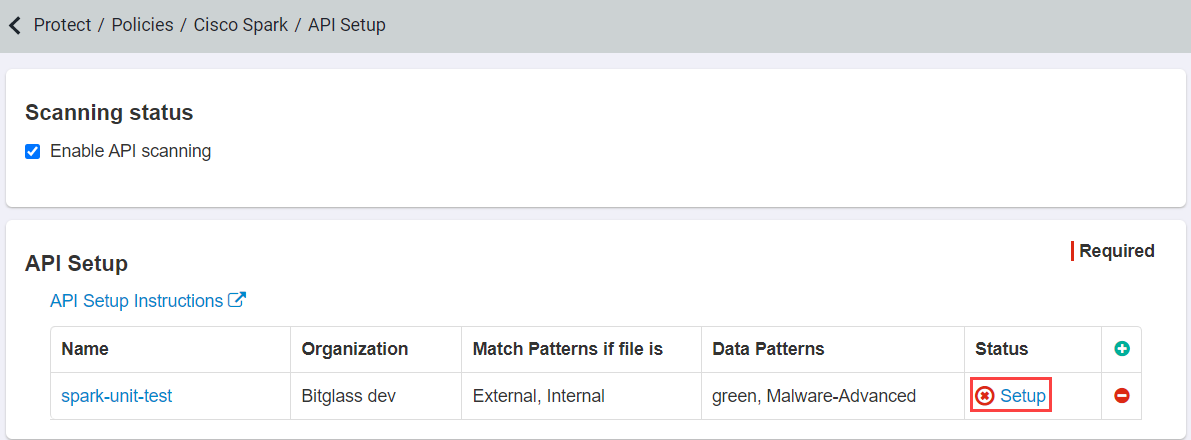
On the API Setup page, click the Green Plus icon to add a new connection to your Cisco Spark organization. In
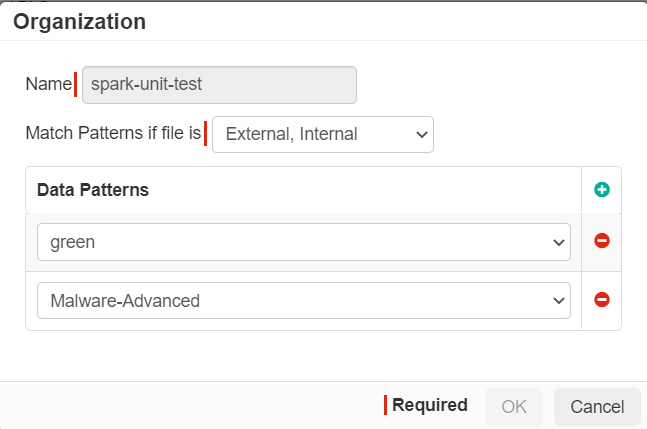
the new dialog provide a name (Forcepoint Data Security Cloud | SSE recommends
providing the same name as your Spark Organization you are connecting to) and then select what Data patterns to look for. To learn more about creating and managing Data Patterns,
refer to the Configure DLP data patterns.
- You can select which sharing status's you want to identify and then add the number of Data Patterns you want to scan for.
Note: To configure API policies with the Forcepoint DLP data pattern, refer to Configuring FSM controlled policies for CASB and SWG channels.
- You can select which sharing status's you want to identify and then add the number of Data Patterns you want to scan for.
-
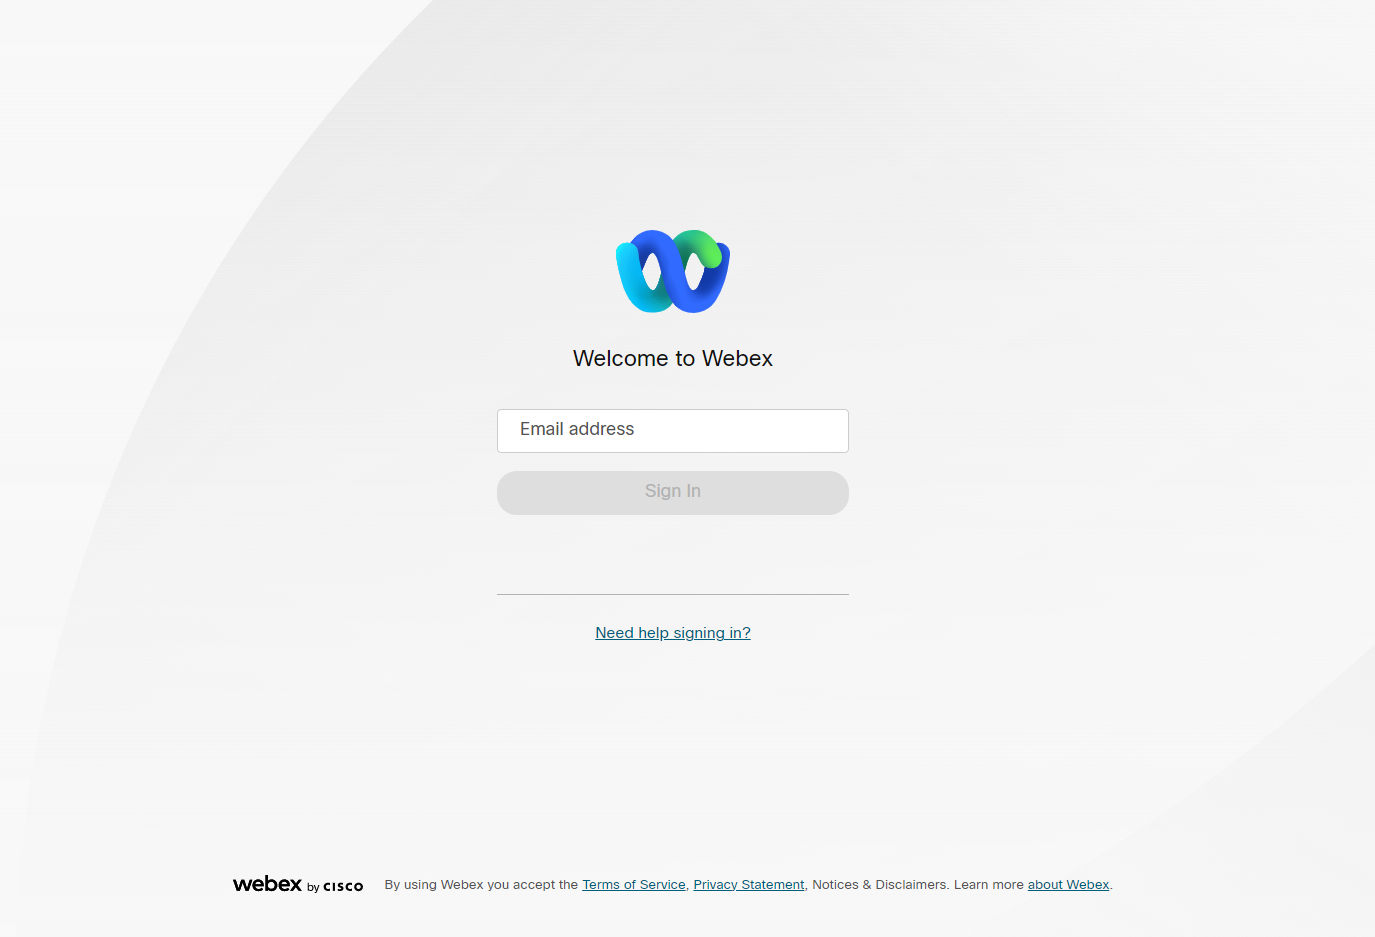
Once you have selected your scanning patterns and click Ok, you can then click on the Cisco Spark link in the
Status column. This will take you to a Cisco Spark login page where you will need to authenticate with the admin account for the
Cisco Spark organization you are connecting to.