You should create at least two administrator accounts, that is one for nominal tasks and the other as a backup, with System Administrator role or the custom administrator role which is
equivalent to the one that you just created.
Follow the below steps to create local admin account:
Steps
-
Navigate to .
-
To create a local account, click the green plus icon at the top of the Users section.

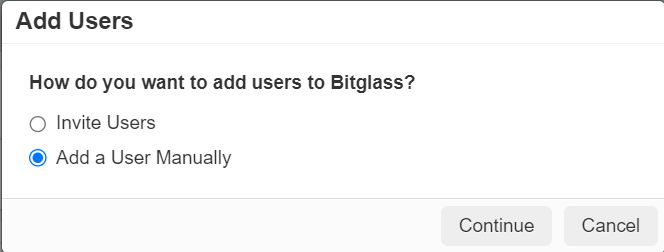
Add Users dialog box opens.
-
Select the one of the following options to create a user:
- Invite Users - To create a user by sending an invitation email with a link
- Add a User Manually - To create a user by manually entering all the required details for the user
-
To create a users by sending an invitation email, follow the below steps:
-
On the Add Users dialog box, select Invite Users option.
-
Click Continue.
Invite Users dialog box appears.
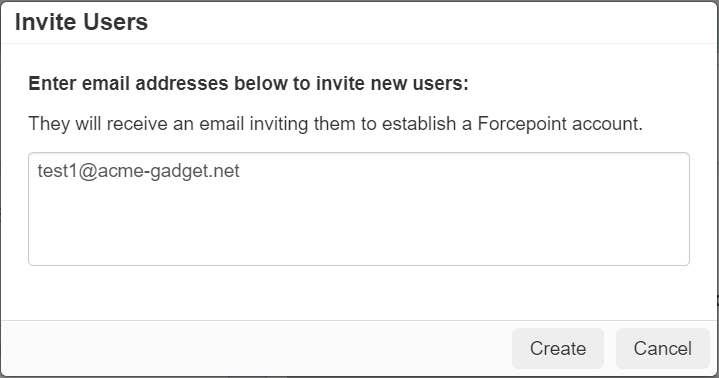
-
To send an invitation email, click Create.
Note: The invitation email is only sent if the user's email domain is configured for Local Authentication.
Invited users' accounts are created and can be viewed under Users section.
When the Admin invite users, Forcepoint Data Security Cloud | SSE sends each user an invitation email with a link that enables them to enter their information
and to set local password.
-
To manually add a user by entering the user details, follow the below steps:
-
On the Add Users dialog box, select Add a User Manually option.
-
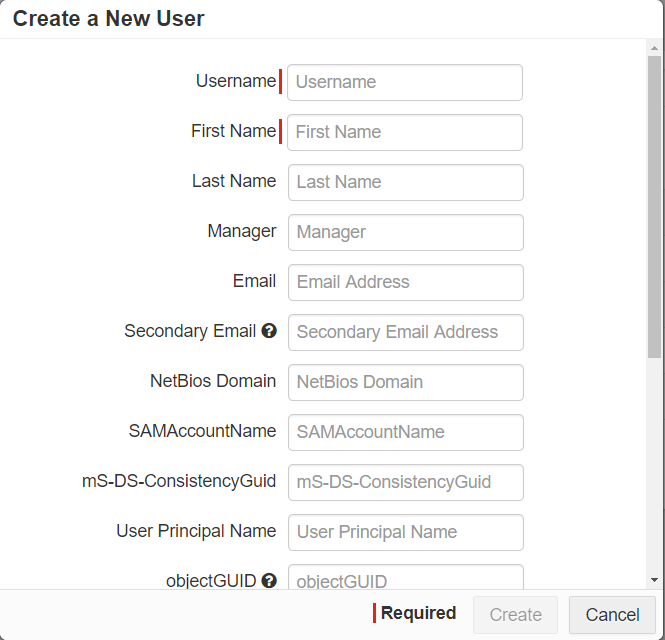
Click Continue.
Create a New User dialog box appears.
-
Enter the either the user's email address or their UPN in Username field.
Note: The domain in their username must belong to the company, that is added to the domain table on the User and Groups page.
-
Enter the First Name of the user.
-
Enter the Secondary Email address.
The user will receive password reset instructions on the Secondary Email address.
-
To set the user's password, select the Set password and activate user check box and then enter the password that the user can use to login to the
account in Set Password field and re-enter the same password in the Confirm Password field.
The user's password should meet the following requirements:
- At least one uppercase letter
- At least one lowercase letter
- At least one number
- At least one special character
- A minimum length of 8 characters
Note: If you want the user to set the login password, unselect the Set password and activate user check box.
-
Enter all other optional fields, if required.
-
To create a user with entered details, click Create.
If you have not selected the
Set password and activate user check box, then the user receives an email from
Forcepoint Data Security Cloud | SSE asking them to establish their password.
The user's password should meet the following requirements:
- At least one uppercase letter
- At least one lowercase letter
- At least one number
- At least one special character
- A minimum length of 8 characters
Created user(s) can be viewed under Users section.
-
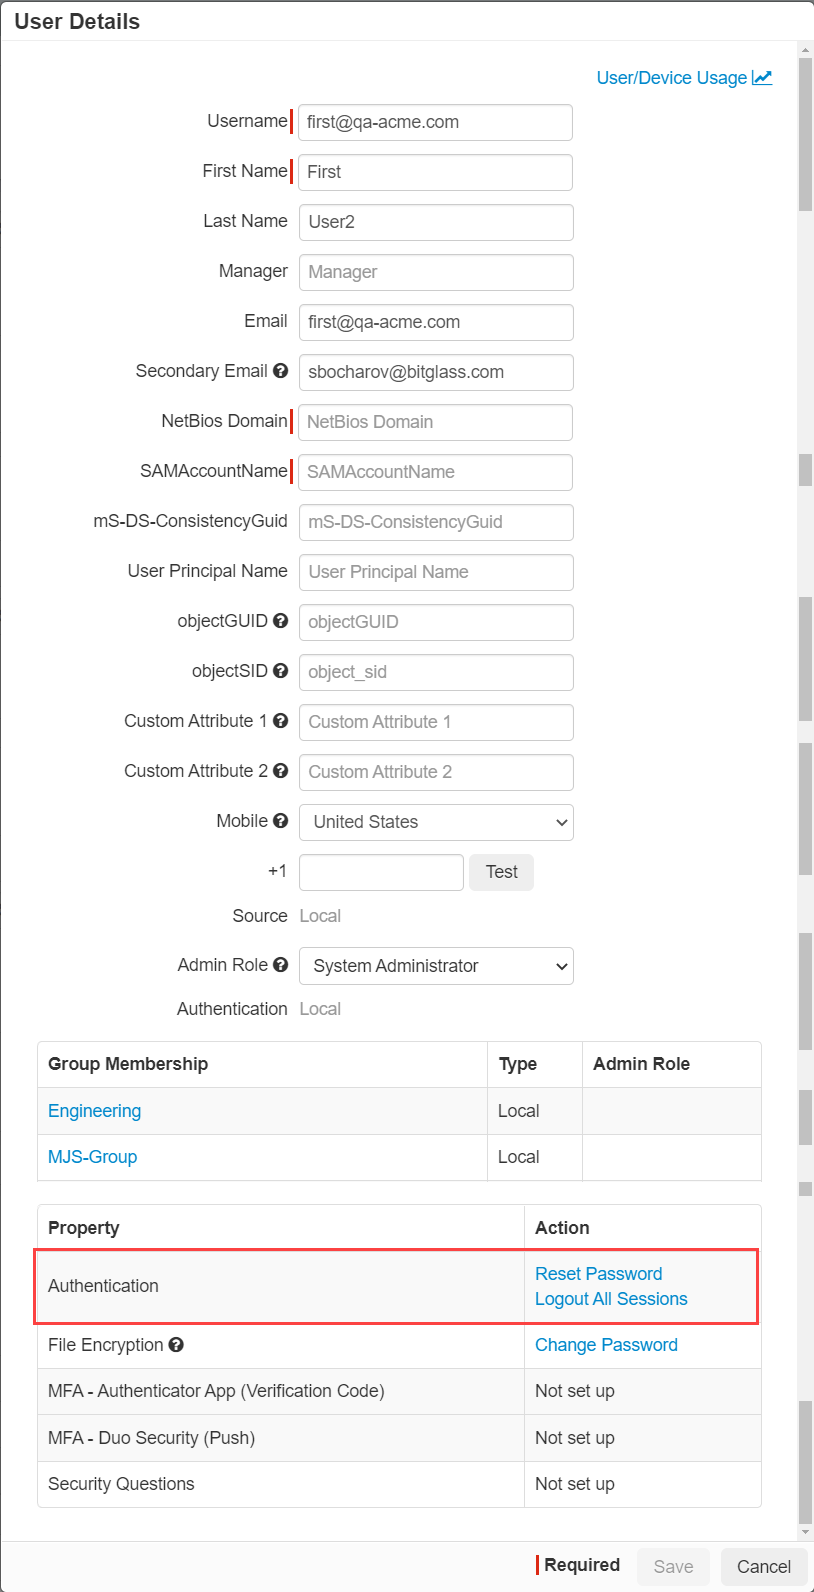
Search the user you just created and click it to edit the user details.
-
Select the applicable admin role you wish to assign to the user from the Admin Role drop-down list.
-
To save the changes, click Save.
Now the user has selected admin role privileges.