Creating a local user group
Admins can assign admin role membership to groups which users can inherit by being members of those groups. However, users can only be assigned a single role membership so admins must be aware when assigning users to groups with admin roles.
Note: If a user is assigned to multiple groups with different admin roles, their profile will display an error due to the admin role conflicts.
Steps
-
To create a local group, click the green plus icon at the top of the Groups section.
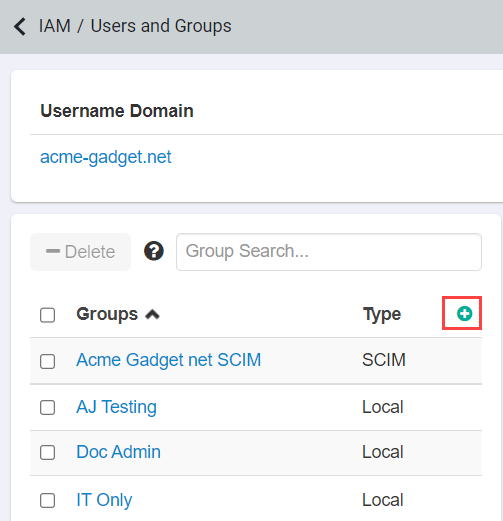
Add Group dialog box opens.

-
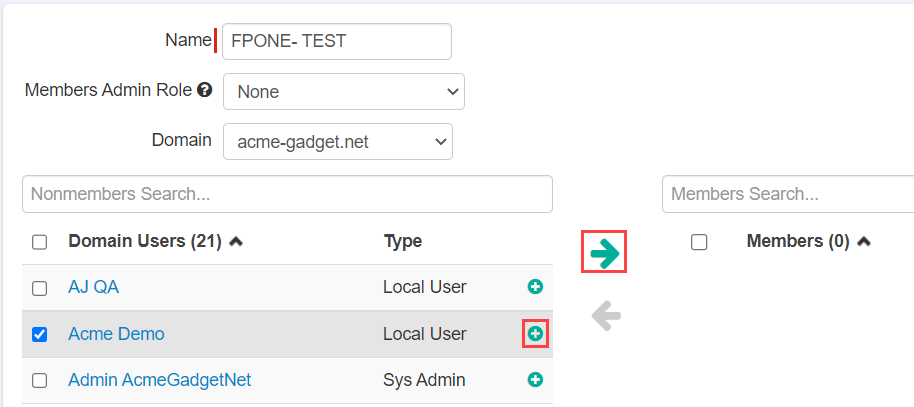
To add users to the group, follow one of way:
- To add individual users to the group, click the green plus icon next to respective user name.
- To add multiple users to the group at once, select the applicable users check boxes and then click the green arrow to move them over to the Member section.
-
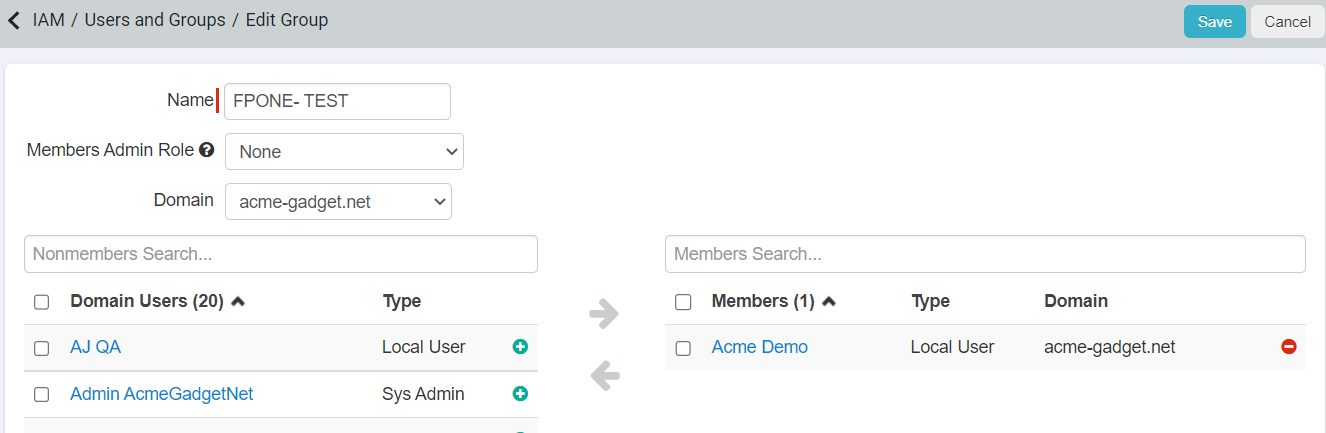
To save the changes, click Save.
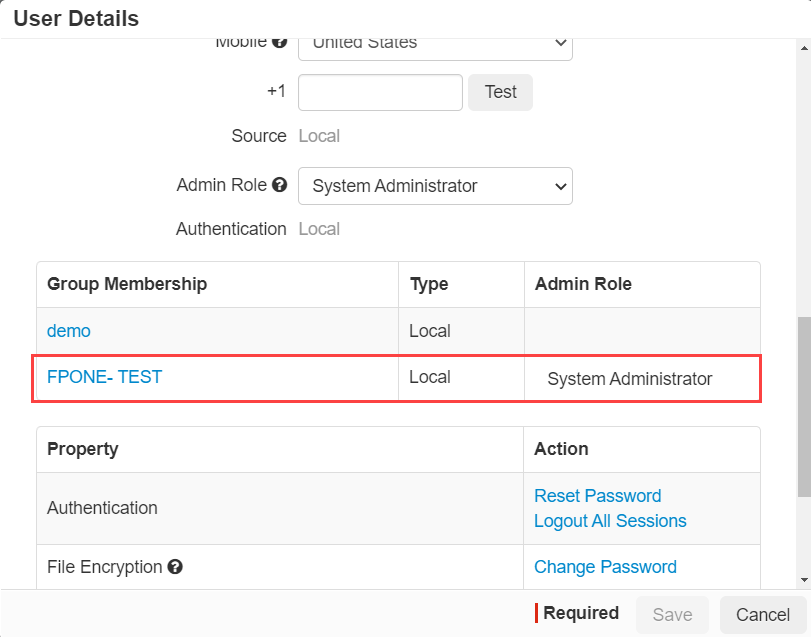
If you go back to the Users and Groups page and select the user in question to view their user details, you will see a new table pop up to identify their Group Membership and the admin role assigned to them based on that membership.