Creating sites with explicit proxy
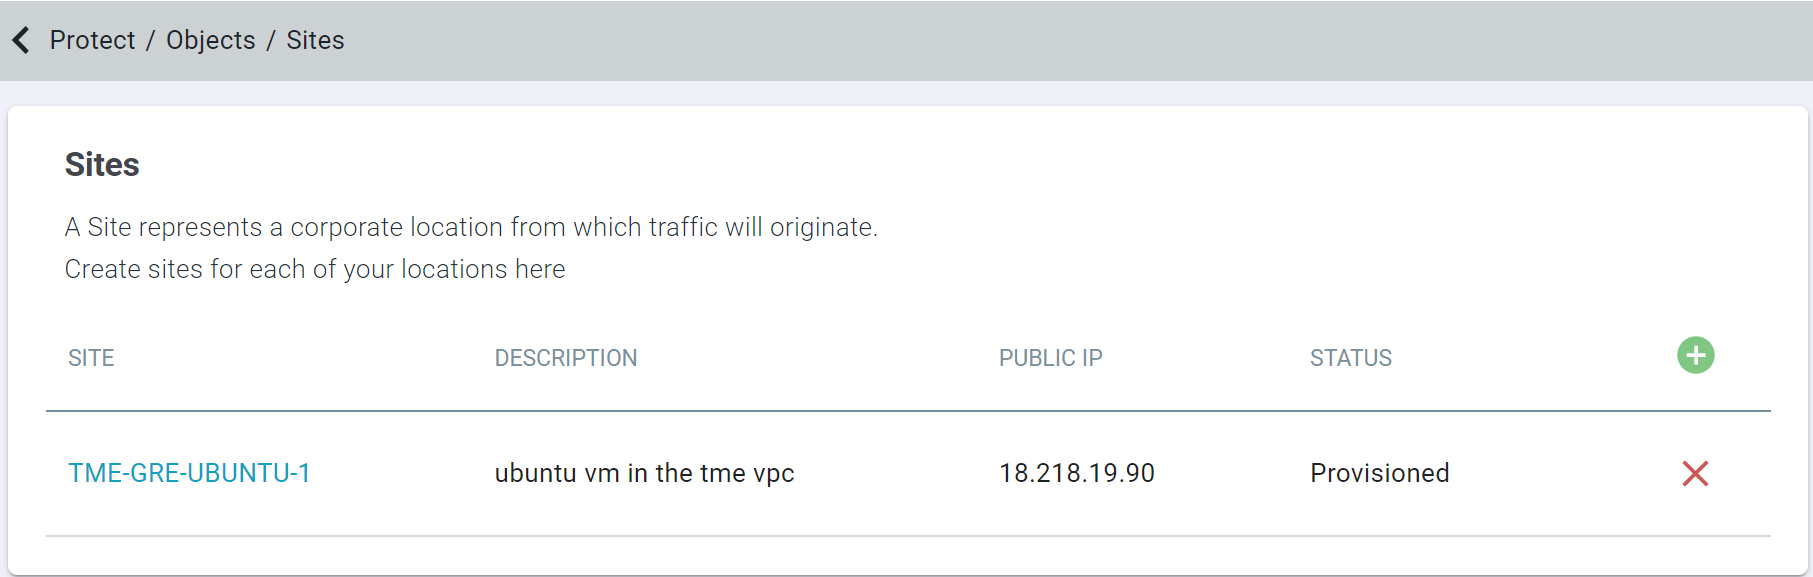
A Site represents a corporate location from which traffic will originate.
Steps
-
On the General tab:
-
Enter a unique Name of the Site.

-
Enter a unique Name of the Site.
-
On the Agent Overrides tab, define what should the SmartEdge agent do when it arrives at a site (office location) that has explicit proxy configured.

Note: If Set PAC is unchecked on the page or on the page, then the user device with the SmartEdge agent will ignore the Agent Override setting and will not set the system proxy.From the Agent Override drop-down, select the desired behavior of the SmartEdge agent 2.1.0 or latest version when it is at the site:
- Do not override (default) - Selecting the Do not override option enables the SmartEdge agent to operate as it does at remote location. To make sure the SmartEdge agent filters the web traffic correctly, you should enable access to port 80 and 443 to the entire internet.
- Do not set PAC - Selecting the Do not set PAC option disables the SmartEdge agent from setting the PAC when at the site so that the Admin can setup their own PAC file using other mechanisms.
-
Chain to Explicit Proxy - Selecting the Chain to Explicit Proxy option enables the SmartEdge agent to enforce SWG policies for filtering and to forward traffic to the Cloud SWG Explicit Proxy. The Cloud SWG Explicit Proxy recognizes that the traffic is from the agent and lets the traffic pass through without enforcing the SWG Content policy for second time. Note that the SWG connection policy is still applied.
You should select this option when you want to interoperate the SmartEdge agent with the Cloud SWG Explicit Proxy and do not want to open up port 80 and 443 to the entire internet
When access to outbound IPs on port 80 and 443 is prohibited (that is you want to only allow access to specific IPs, not the entire internet), access to the following needs to be allowed through the firewall:- All domains going direct in the Explicit Proxy PAC file and the SmartEdge Agent PAC
- Forcepoint Data Security Cloud Bypass Lists for Firewalls and Security Software
Note:- For the older versions of SmartEdge agent (previous to 2.1.0), the SmartEdge agent will behave as if Agent Override is set to Do not override irrespective of what behavior you have selected.
- Available options vary based on the Type selected on the General tab.
Attention: When installing the SmartEdge agent at an explicit proxy site with Agent Override set to Chain to Explicit Proxy, ensure that IaaS Provider IPs is not blocked in the login policy. Otherwise, the end-user will not be able to log into the SmartEdge agent. -
To configure a site with selected information, click OK.
As soon as the Site is created, the status of Site will be Configuring. After some time, the status of the Site gets changes to Provisioned or Failed.
Result
- The first site on your tenant will be available in all regions after 10 minutes for the agent's Chain to Explicit Proxy feature to work.
- If you uninstall the SmartEdge Agent from a user device of the first tenant and install to a user device of a new tenant, then the agent's Chain to Explicit
Proxy feature will be available only after 40 minutes. To reduce this waiting period, follow the recommended steps:
- Uninstall the SmartEdge Agent from a user device of Company A.
- Remove the SmartEdge Agent associated with Company A's Forcepoint Data Security Cloud | SSE.
- Wait at least 11 minutes.
- Install the SmartEdge Agent on a user device of Company B.
When a user access website from the branch office where Cloud SWG Explicit proxy is configured, then web traffic is forwarded to Cloud SWG Explicit Proxy. The Cloud SWG Explicit Proxy filters the web traffic as per the SWG policies configured by their Admin. If website is not blocked by SWG policies, then the Cloud SWG Explicit Proxy sends the request to internet on behalf of end user device.
- For Cloud SWG Explicit Proxy traffic - Explicit Proxy
- For Cloud SWG Transparent Proxy traffic - IPsec or GRE