Adding SCIM application in Okta
You can setup the SCIM API integration with Okta so that admins can provision/deprovision users directly in Okta and have those users automatically created, attributes edited, or disabled within Forcepoint Data Security Cloud | SSE. You will need to create an OAuth connected app in Forcepoint Data Security Cloud | SSE as well as a SCIM application inside of Okta.
Steps
-
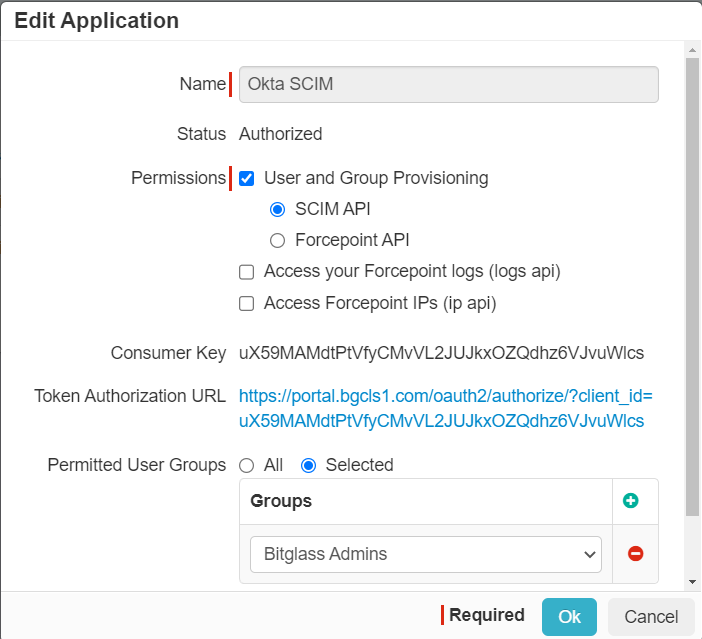
Click the green plus icon to add a new OAuth application.

The Edit Application pop-up appears.
-
Follow the below steps:
-
Click on the Token Authorization URL.

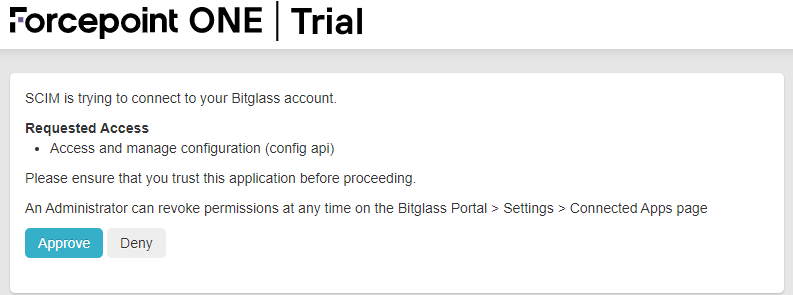
The following page opens asking for your approval.
-
Click Approve to view the access token.

Keep this page open as it is required to enter Access Token in Okta.
-
Click on the Token Authorization URL.
-
Navigate to and then search for SCIM 2.0 Test App (Header Auth).

-
Click the SCIM 2.0 Test App (Header Auth) instance and then click Add.

The Add SCIM 2.0 Test App (Header Auth) page opens.
-
On the General Settings tab, rename the Application Label so it is recognizable and then click Next.

-
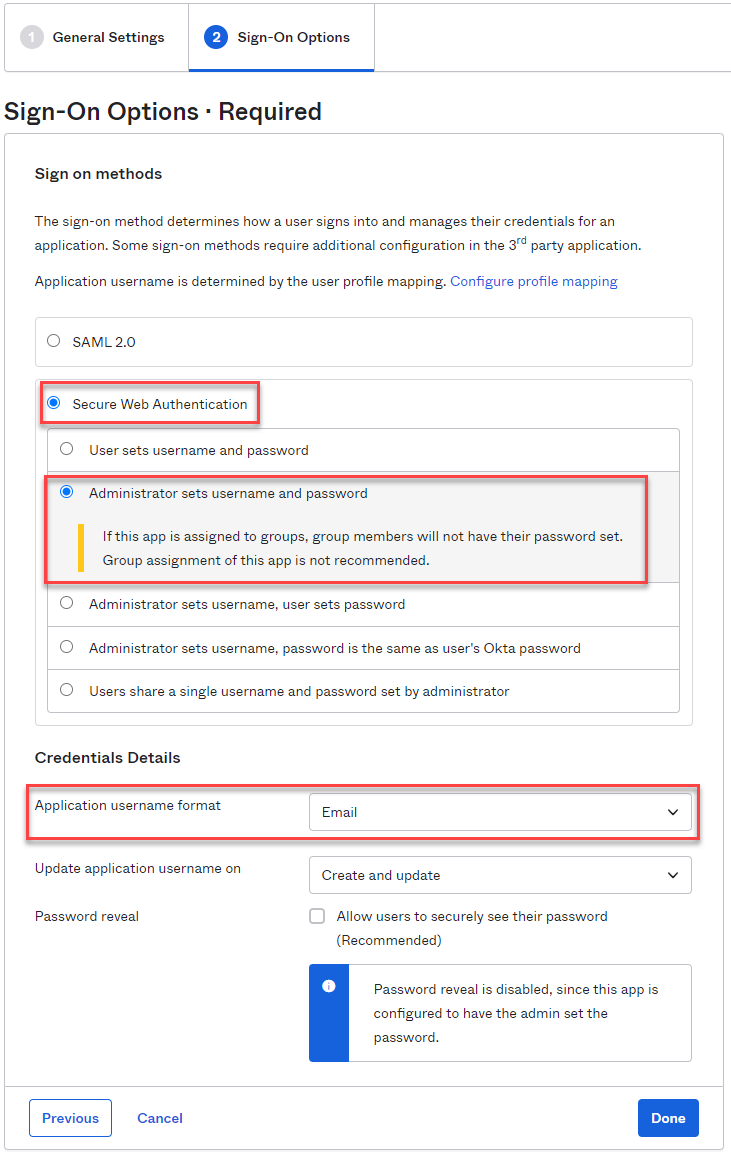
On the Sign-On Options tab, select Secure Web Authentication as the Sign on Method and then select
Administrator sets username and password and Email as the Application username format.
-
On the Provisioning tab, click Configure API Integration.

-
Select the Enable API integration checkbox to display additional options.


-
Click the Edit button and select the options you want to control (Create Users, Update User Attributes, Deactivate Users). After selecting the checkboxes,
click Save.

Note: Forcepoint Data Security Cloud | SSE currently does not support Sync Password. -
In order to provision users into Forcepoint Data Security Cloud | SSE, you can assign
them individually or by group under the Assignments tab. You can also navigate to each individual user or group profile and add the application to them that
way. Doing either of those options will push those users into Forcepoint Data Security Cloud | SSE along with their attributes. This does not push the
group objects themselves. In order to include the group object (the group information in addition to the users), you will need to add those groups to the Push Groups
tab.
-
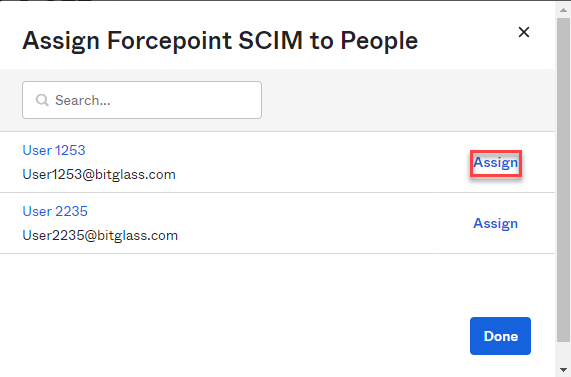
To push/provision users individually through the Assignments tab, start by clicking the Assign drop-down and select
Assign Users. In the new window you can search for and assign the users you want to be provisioned over to Forcepoint Data Security Cloud | SSE and click the Assign
button. Verify the details in pop-up, click Save and Go Back and then click Done. Once a user is assigned to the application,
they will automatically be pushed into Forcepoint Data Security Cloud | SSE
and future changes (or deactivation) to their account in Okta will get pushed to Forcepoint Data Security Cloud | SSE automatically as well.


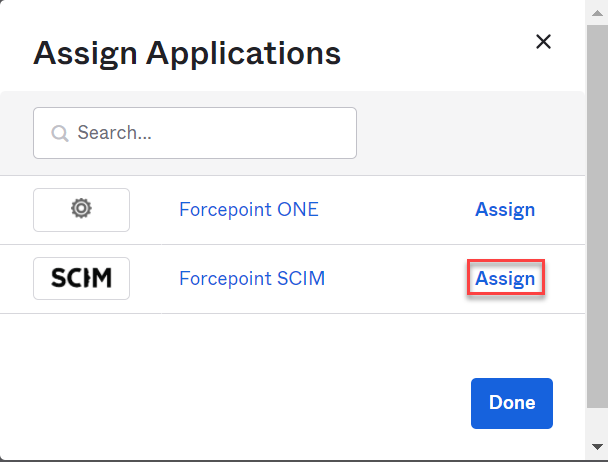
You can also assign users to the application from their user profile. Navigate to and search for/select the user in question. Under the Applications tab, select Assign Applications and then search for the application and click the Assign button next to it. Verify the details in pop-up, click Save and Go Back and then click Done. As above, this will assign the user to the application and automatically push the user to Forcepoint Data Security Cloud | SSE and also push any future changes/edits/deactivations automatically.

-
To push/provision a group of users together, you can assign the Okta group they belong to the application. Similar to above, this can be done from the
Assignments tab in the application and selecting Assign to Groups from the drop-down. Search for the group or groups and
click Assign to add that group to the application. After assigning the all the required groups, click Done.

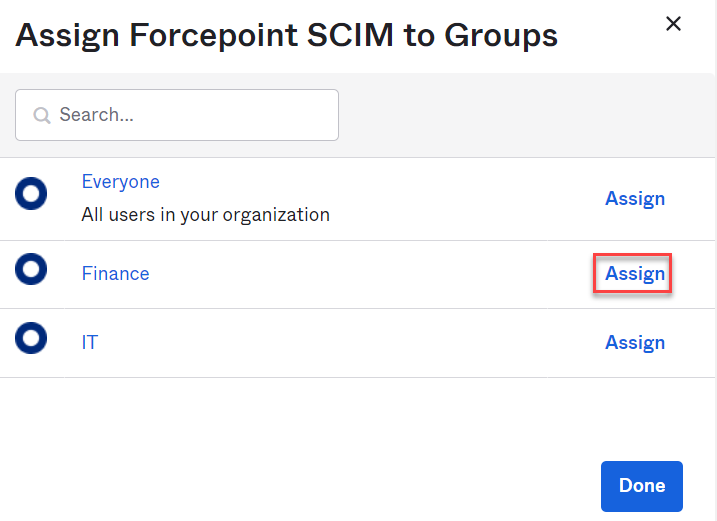
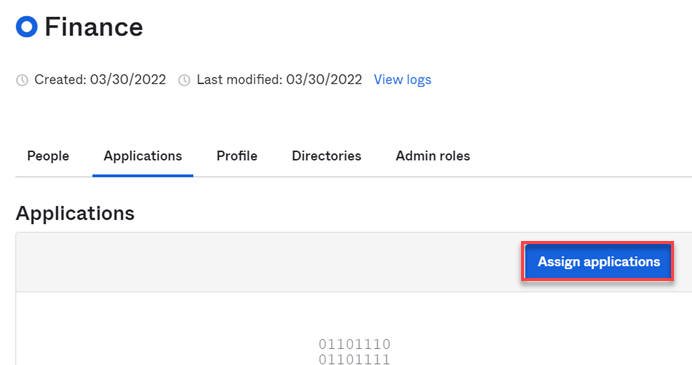
- You can also assign groups to the application from the group profile itself. Navigate to and search for/select the group in question. On the Applications tab, select the Assign applications
button and then search for the application and click the Assign button next to it. After assigning the all the applications to the group,
click Done. As above, this will assign the group to the application and automatically push the users within that group to Forcepoint Data Security Cloud | SSE and also push any future
changes/edits/deactivations automatically.


Note: Again a reminder that adding groups this way will only sync the users over but not the group object itself. If you want the group information synced in addition to the users, you must do the above steps in addition to step C below. - You can also assign groups to the application from the group profile itself. Navigate to and search for/select the group in question. On the Applications tab, select the Assign applications
button and then search for the application and click the Assign button next to it. After assigning the all the applications to the group,
click Done. As above, this will assign the group to the application and automatically push the users within that group to Forcepoint Data Security Cloud | SSE and also push any future
changes/edits/deactivations automatically.
-
To sync over the group object information, you must add those groups to the Push Groups tab in the SCIM application in addition to assigning the
groups to the application as you did above in step a or b. On the Push Groups tab, select the Find groups by name from the
Push Groups drop-down. You can then search for the group(s) you wish to add by name and select it. Leave the Match result and push
action section as is and then click either Save or Save & Add Another if you intend to add more groups.
Once the group is added, the group object will be provisioned into Forcepoint Data Security Cloud | SSE. Admins can choose to manually push these to
Forcepoint Data Security Cloud | SSE, but the push should happen
automatically.


-
To push/provision users individually through the Assignments tab, start by clicking the Assign drop-down and select
Assign Users. In the new window you can search for and assign the users you want to be provisioned over to Forcepoint Data Security Cloud | SSE and click the Assign
button. Verify the details in pop-up, click Save and Go Back and then click Done. Once a user is assigned to the application,
they will automatically be pushed into Forcepoint Data Security Cloud | SSE
and future changes (or deactivation) to their account in Okta will get pushed to Forcepoint Data Security Cloud | SSE automatically as well.