Setting SCIM OAuth
As a first step, you should setup SCIM OAuth to generate access token in Forcepoint Data Security Cloud | SSE.
Steps
-
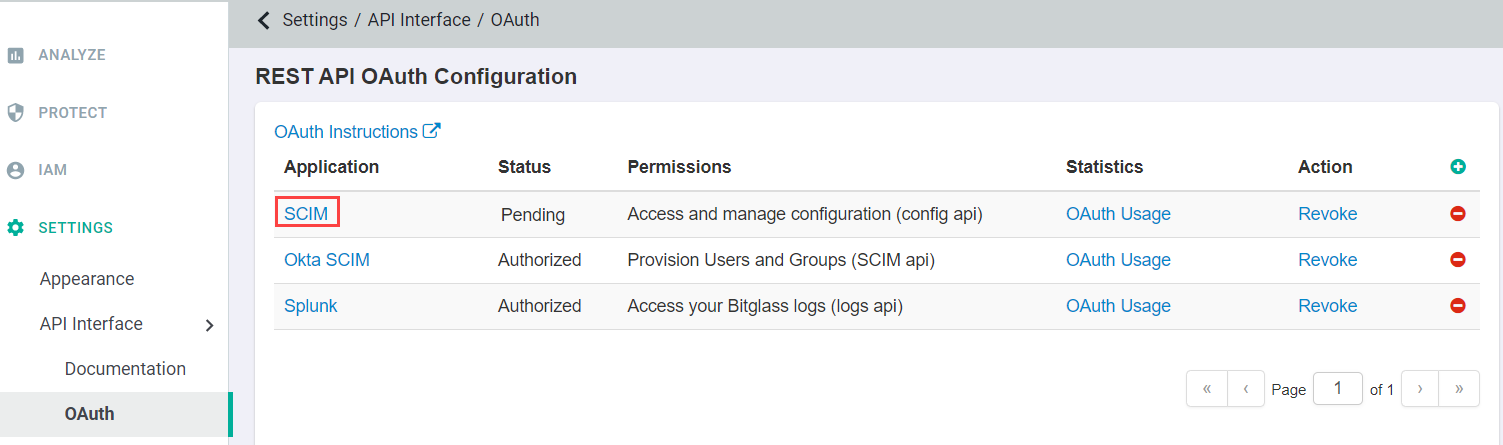
On the REST API OAuth Configuration page, click on the green plus icon to add a new OAuth configuration.

-
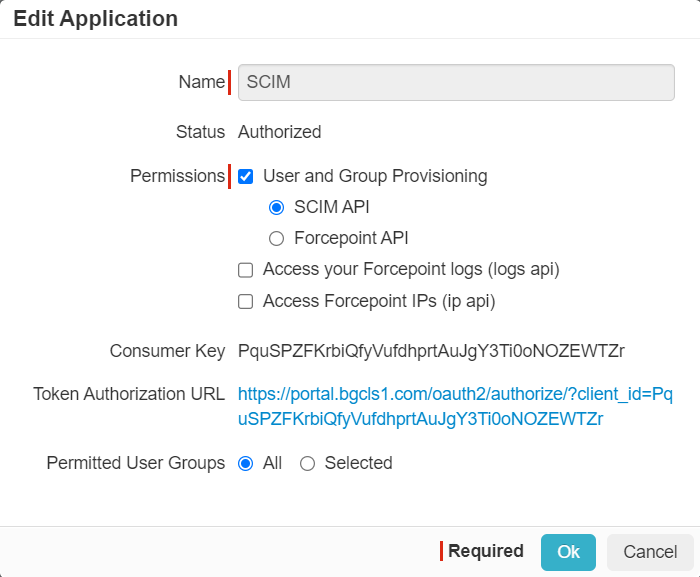
Select User and Group Provisioning checkbox and then select the SCIM API radio button under the Permissions
section.
-
On the REST API OAuth Configuration page, select the SCIM application that you just created to open up the Edit Application dialog
again.
-
Click on the Token Authorization URL to generate the unique OAuth key.
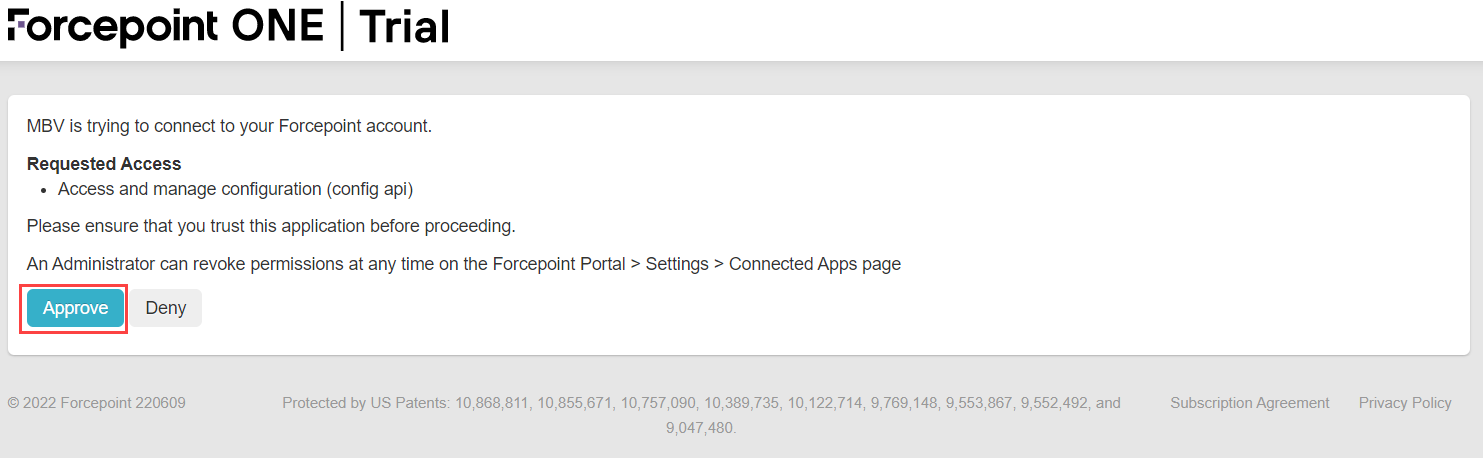
You will be directed to a Forcepoint Data Security Cloud | SSE page requesting access to your SCIM API.
-
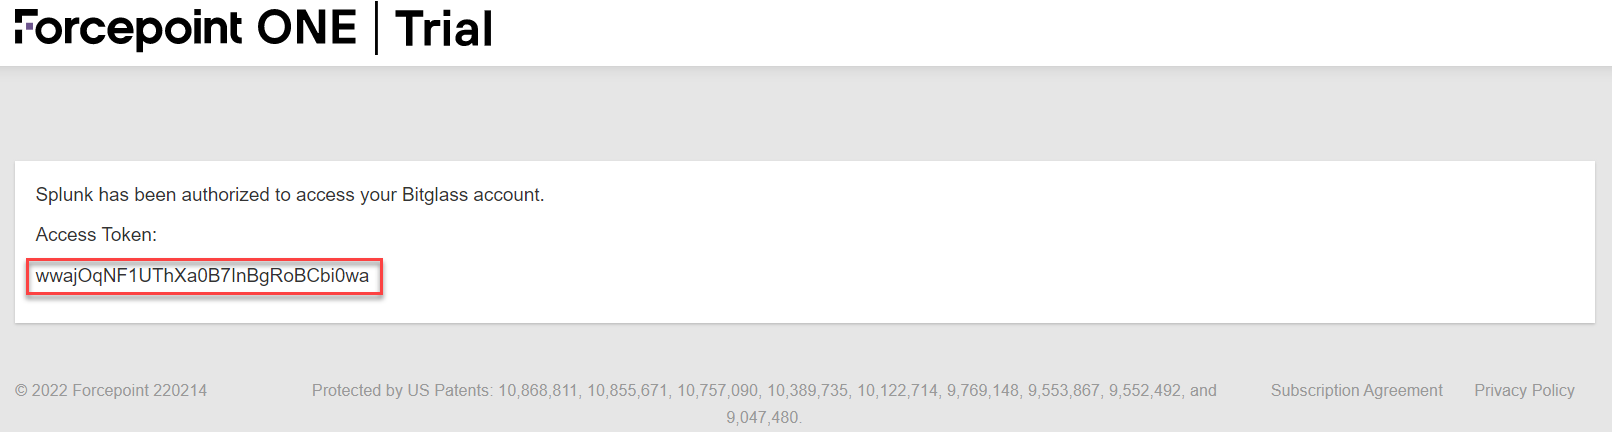
Click Approve at the bottom.
An Access Token will be generated. Copy this token and save for later as this is the only time you can view this token.