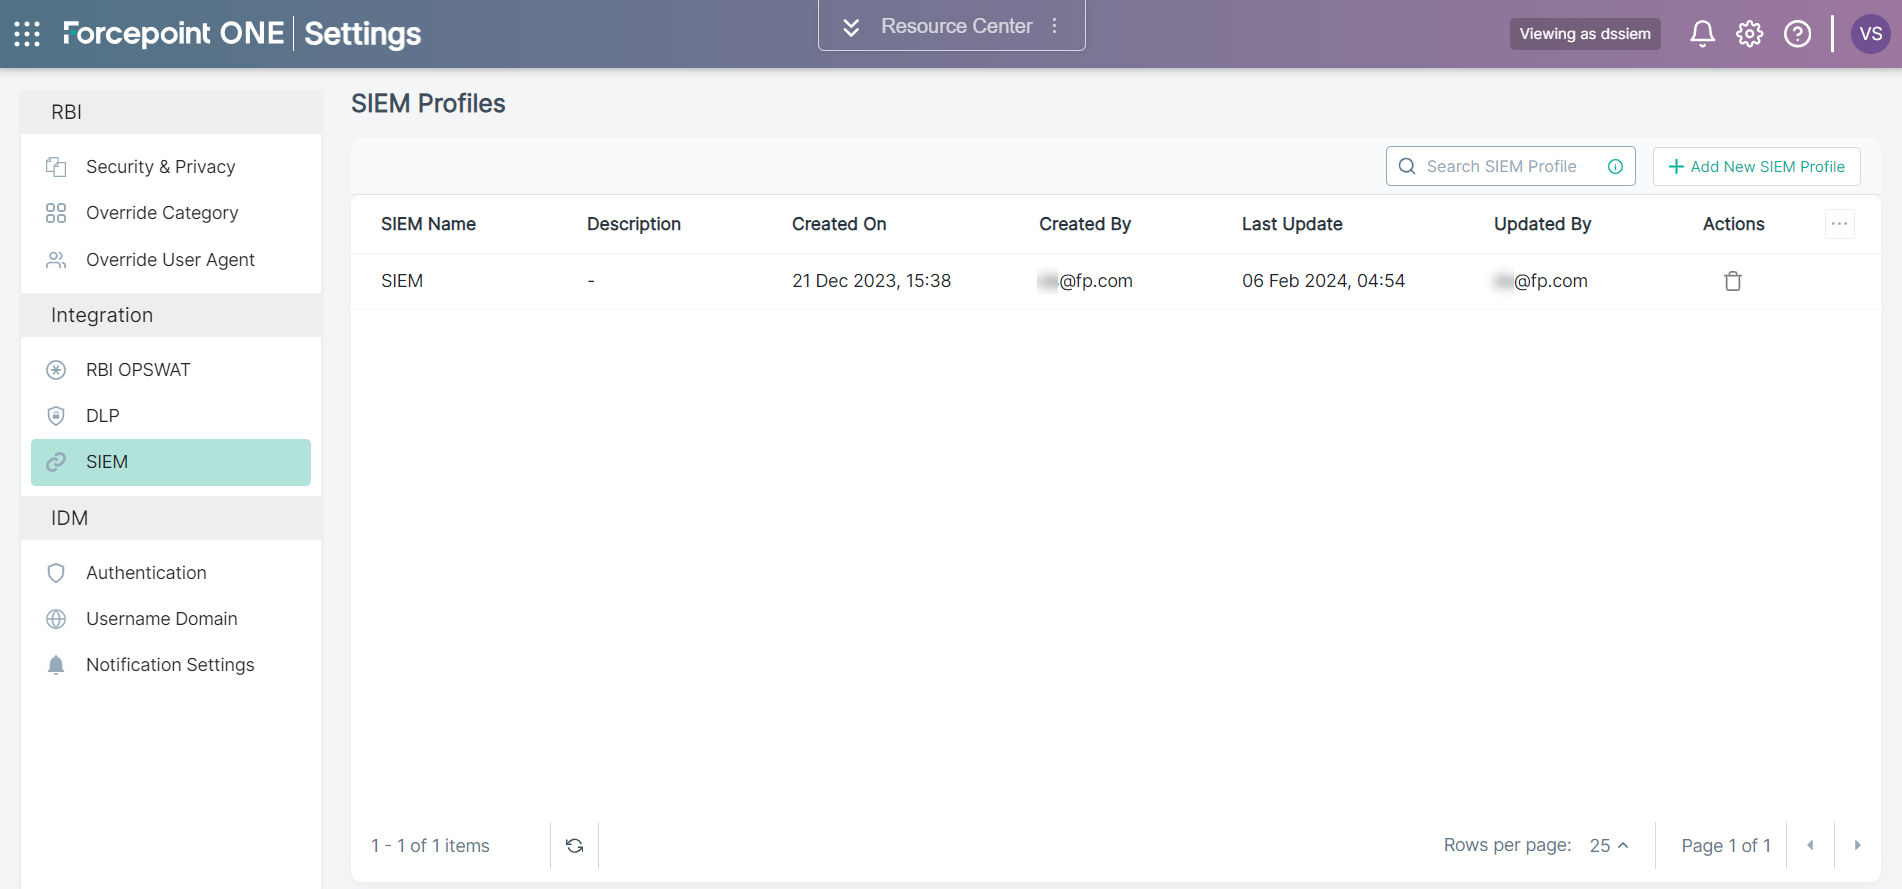
Adding a new SIEM Profile

Create a new profile to connect Forcepoint RBI to a SIEM tool.

Steps

  1. Sign in to Forcepoint ONE Platform.
  2. On the upper-right corner of the page, click the Settings icon.
  3. Navigate to Integration > SIEM.


  4. To add a new SEIM profile, click +Add New Profile.
    The Add SIEM Profile pane opens with the following sections.
    Field Name Description
    Profile Details The fields in this section, allow for setting the name and description that will be used to store the profile on the system.
    Server Connection Details The fields in this section, allow for setting the server connection details for connecting to a SIEM server.
    Log Details The fields in this section, allow for setting the log format and selecting the events that will be included.
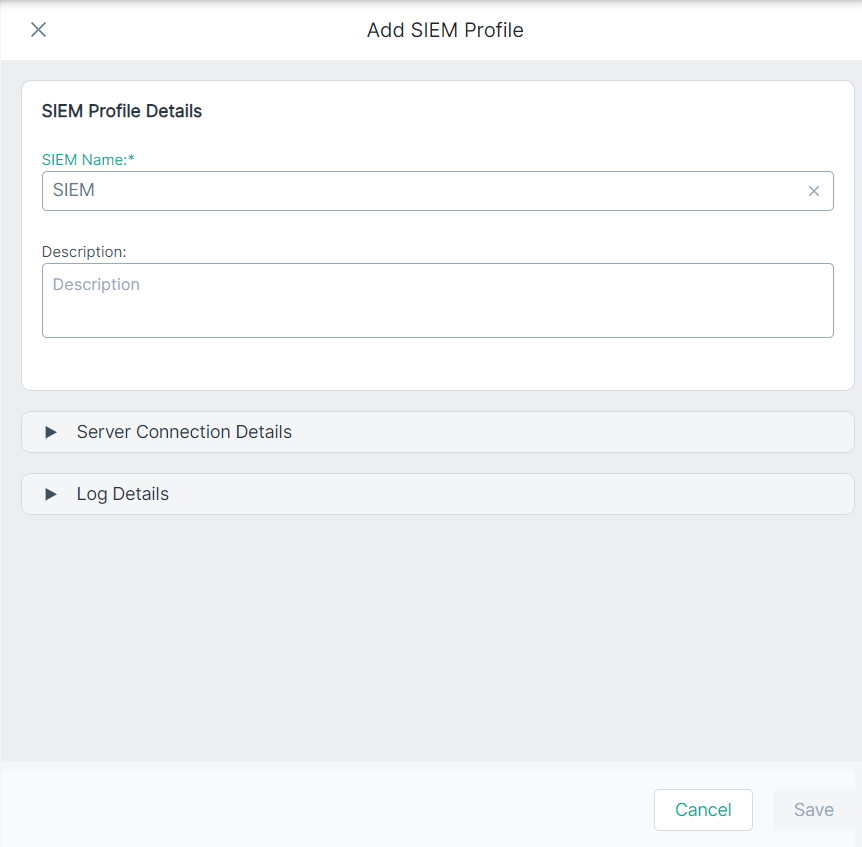
  5. Under SIEM Profile Details section:
    1. Enter the SIEM Name.
      Note: The Name is required. The profile cannot be saved without a name.
    2. Enter short Description of the profile.


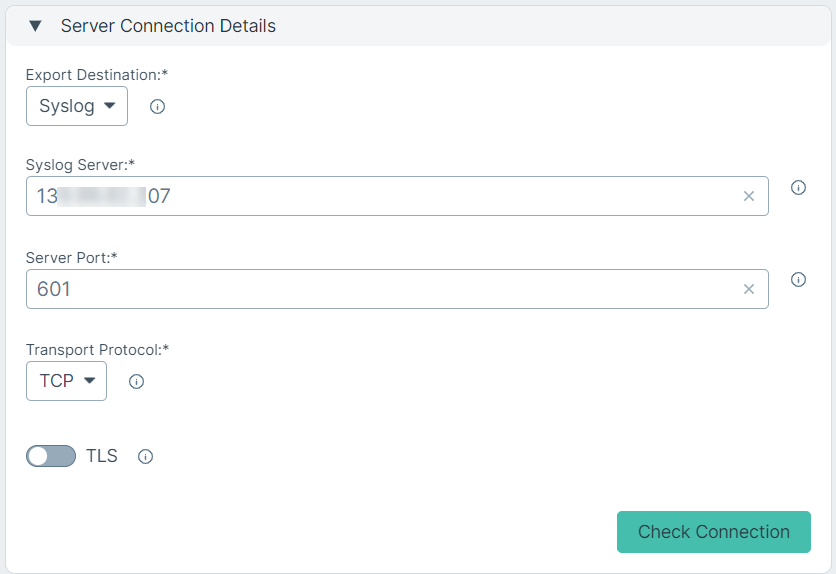
  6. Under Server Connection Details:
    1. For Export Destination, Syslog is the only option and is selected by default.
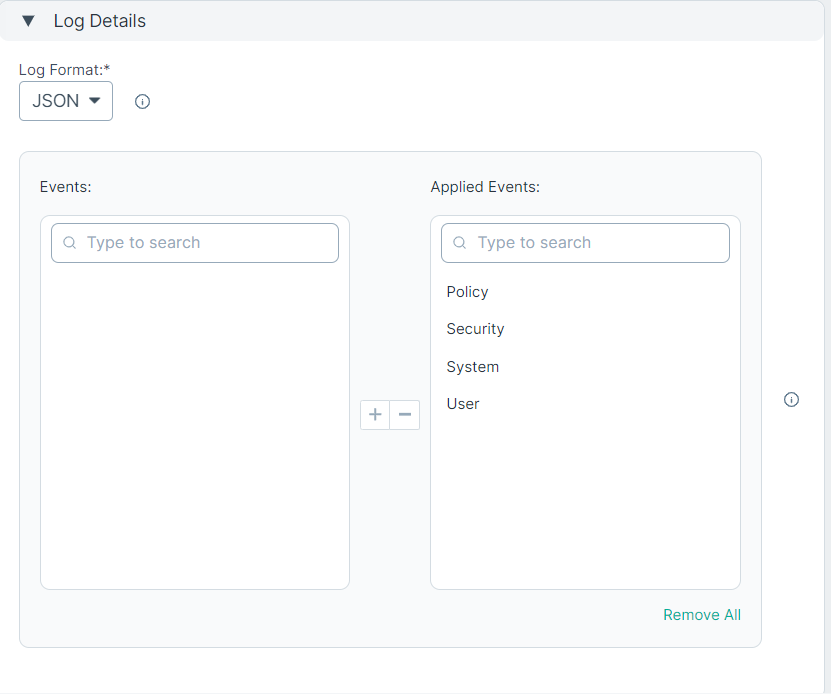

    2. In the Syslog Server field, enter the host name or the IP address of the Syslog server. This field is required.
    3. In the Server Port field, enter the port number of the server. This field is required
    4. Select the Transport Protocol. TCP is selected by default.
      If TCP is selected, you can also enable or disable TLS. If you enable TLS, select the certificates to be used.
    5. Click Check Connection to verify that Forcepoint ONE Platform can connect to the Syslog server.
  7. Under Log Details:
    1. For Log Format, JSON is the only option and is selected by default.


    2. Select the Events that need to be logged.
      You can select one or more types of events and add or remove them from this field.
  8. To create SIEM profile with entered details, click Save.
    The SIEM Profiles page displays the newly created SIEM profile