Configure File Sandboxing settings

Note: You must have the Forcepoint Advanced Malware Detection for Web module to use this feature.
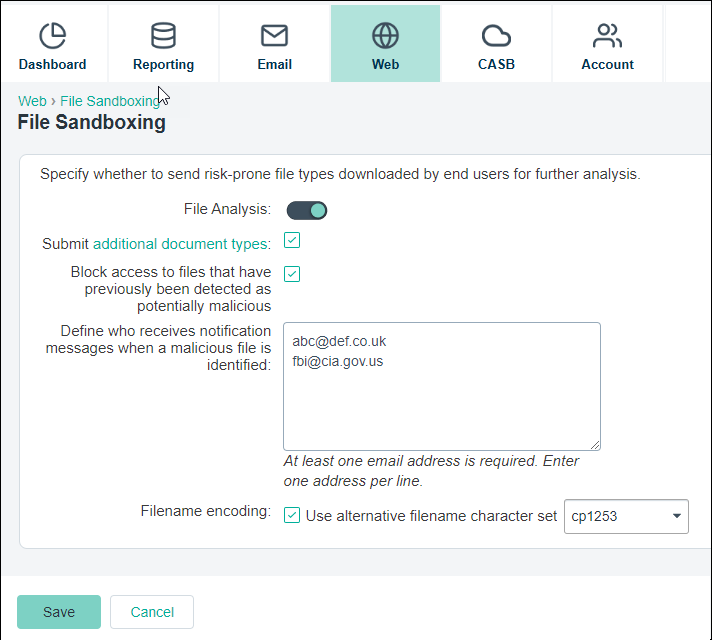
Use the Web > Settings > File Sandboxing page to upload suspicious files to a cloud- hosted sandbox for analysis. The sandbox activates the file, observes the behavior, and compiles a report. If the file is malicious, an email alert is sent to the administrators that you specify, containing summary information and a link to the report.

A file that qualifies for sandboxing:

  • Has been downloaded by an end user.
  • Is not classified as “malicious” in the Forcepoint URL Database
  • Passes all File Type Analysis checks
  • Fits the Security Labs profile for suspicious files
  • Is a supported file type. Executable files are always supported. See Supported file types.
Note: Because the file was not detected as malicious, it was not blocked and has been delivered to the requester.

For file sandboxing to be most effective, you should enable all of the advanced analysis options in your policies. For more information, see Web Content & Security tab.

Steps

  1. File analysis is disabled by default. Select On to send qualified executable files to the cloud-hosted sandbox for analysis.
  2. Select Submit additional document types to send additional supported file types to the sandbox for analysis.
    Note: For clients using Direct Connect Endpoint, the specified file types are uploaded to the File Sandboxing service for traffic only from sites with elevated risk profiles.
  3. Select Block access to files that have previously been detected as potentially malicious to block requests made to files that were previously found to be malicious.
  4. Specify the email address of at least one person in your organization who will receive notifications. This does not have to be a cloud service administrator. If you specify multiple email addresses, ensure you enter one address per line.
  5. Filename encoding can be used so that filenames display properly in Report Center reports. Enable Filename encoding and select the appropriate character set from the drop-down provided.
  6. Click Save.