Performing a synchronization update
Before you begin
To launch the synchronization process:
Steps
-
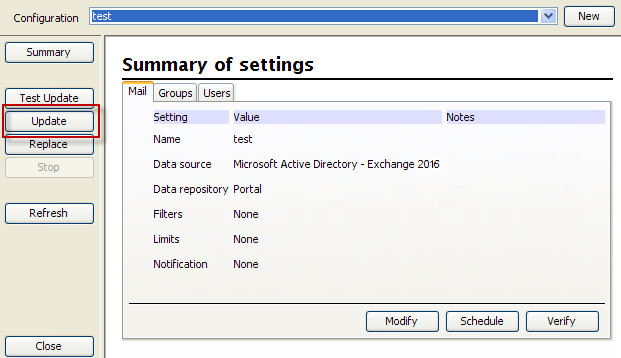
Select your Configuration, then click Update.
Next steps
While the client is querying your LDAP servers, the portal shows a status of “In progress.” Once the extraction is complete and processed, the data is synchronized to the cloud service and the portal status is updated to show the number of amended records.
Once the update is complete, you can click on the Mail , Groups, and Users tabs to view the results. Click on a title bar to sort the list by that field.
To return to the configuration summary, click Summary.