Enabling and disabling ports
Enabling and disabling ports should not be necessary if you plan to use the provided switch configuration tool to configure the switches.
To enable or disable a port:
Steps
-
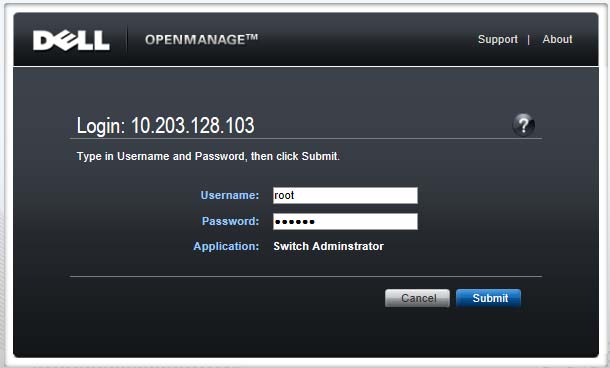
A logon window displays. Log on.
The home screen shows the status of all ports on the switch. A green port is up (enabled), a blue port is down (disabled).
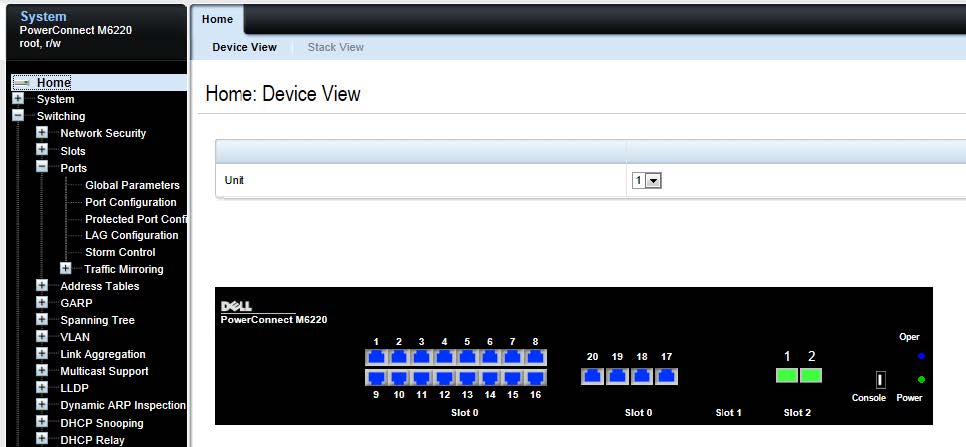
-
To enable or disable a port, click on the green or blue area of the port. This opens the Port Configuration: Detail page.
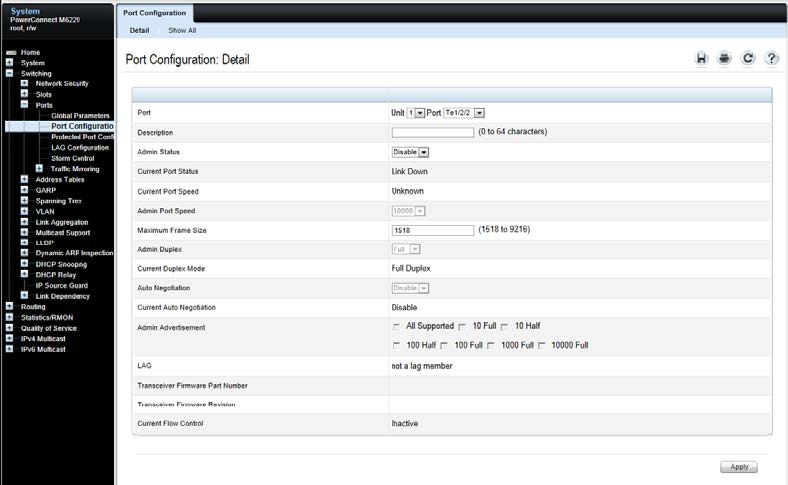
- Confirm that the Port selection is correct. Change to another port if desired.
- Add a description if desired.
- Select Enable or Disable from the Admin Status drop down. This determines if the port is enabled or disabled.
- Examine and adjust other settings as needed and click Apply.Important: The UI may initially indicate that the settings reverted to the previous values. Wait 2 or 3 minutes for the configuration action to complete and then refresh the page.