(Manual) Installing the agent for Cloud DLP
Steps
-
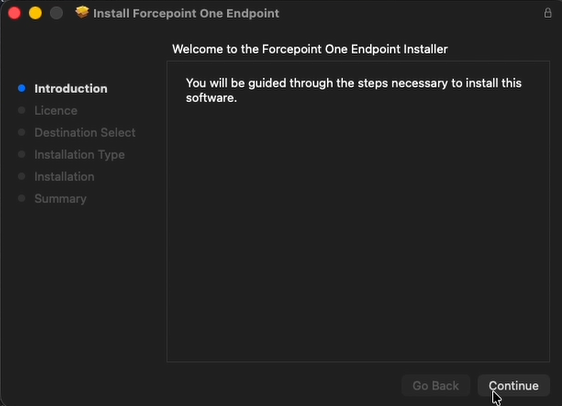
To begin the installation, click Continue.
-
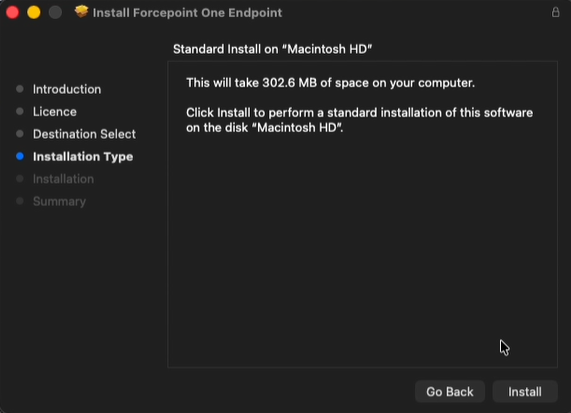
On the next screen, click Install.
-
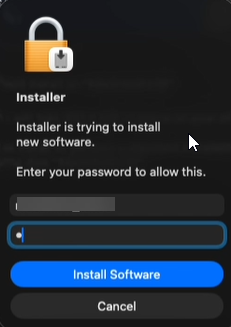
When prompted, enter the admin password and click Install Software:
-
Click Open System Settings on the following window which opens the windows to enable the Network Extensions:
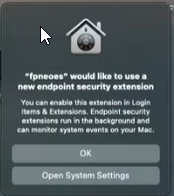
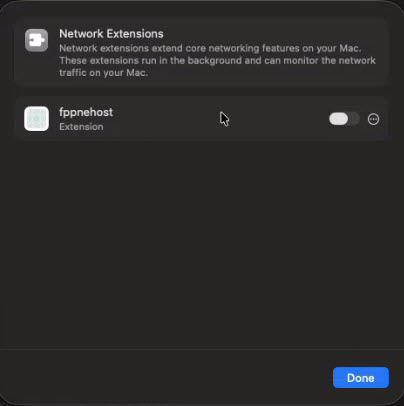 Turn on fppnehost and enter the credentials to enable it.
 -
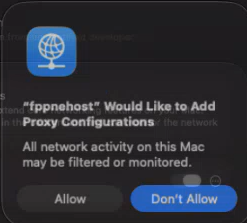
To add proxy configurations, click Allow.
-
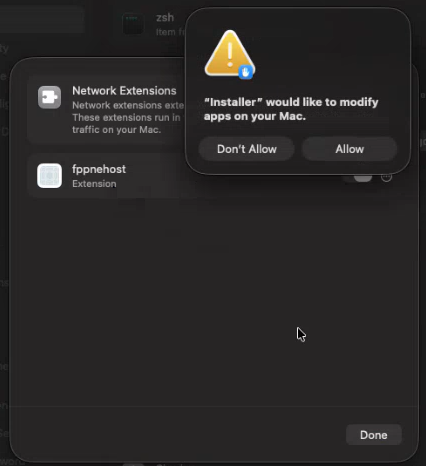
Click Allow to modify apps on your mac and then click Done.
 A message appears to enable full disk access to the required files.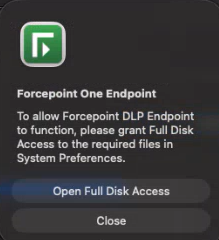
-
On the Full Disk Access tab enable the following applications:
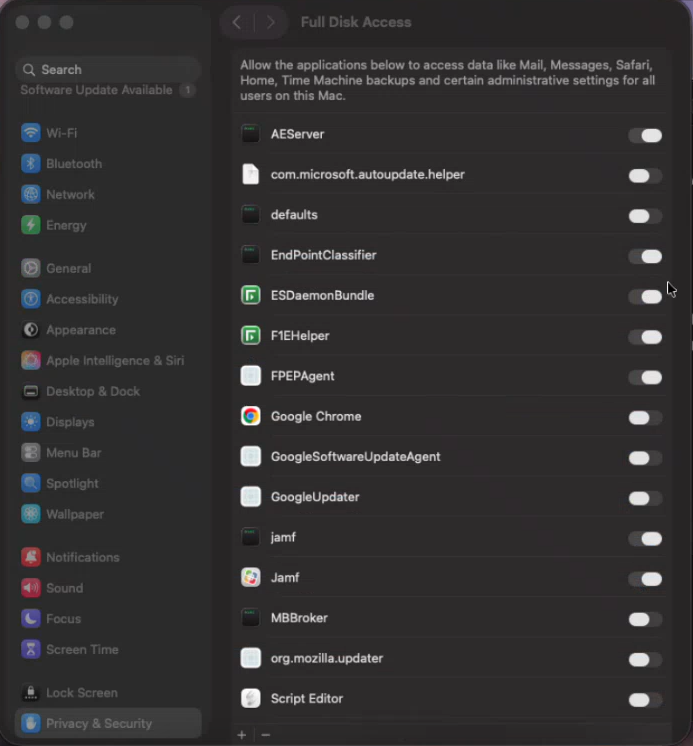
Application Path EndpointClassifier Library/Application Support/Websense Endpoint/EPClassifier/EndPointClassifier ESDaemonBundle Library/Application Support/Websense Endpoint/DLP/ESDaemonBundle.app AEserver System/Library/Frameworks/CoreServices.framework/Versions/A/Frameworks/AE.framework/Versions/A/Support/AEServer FPEPAgent Library/Application Support/Websense Endpoint/Cloud/FPEPAgent F1EHelper Library/Application Support/Websense Endpoint/F1E/F1E Helper.app Websense Endpoint Helper Library/Application Support/Websense Endpoint/DLP/Websense Endpoint Helper.app wsdlpd Library/Application Support/Websense Endpoint/DLP/wsdlpd fpprotectiond Library/Application Support/Websense Endpoint/Cloud/fpprotectiond fpbrokerd Library/Application Support/Websense Endpoint/Cloud/fpbrokerd -
Once the agent is successfully installed, open the Keychain Access application, and trust the localhost certificate:
-
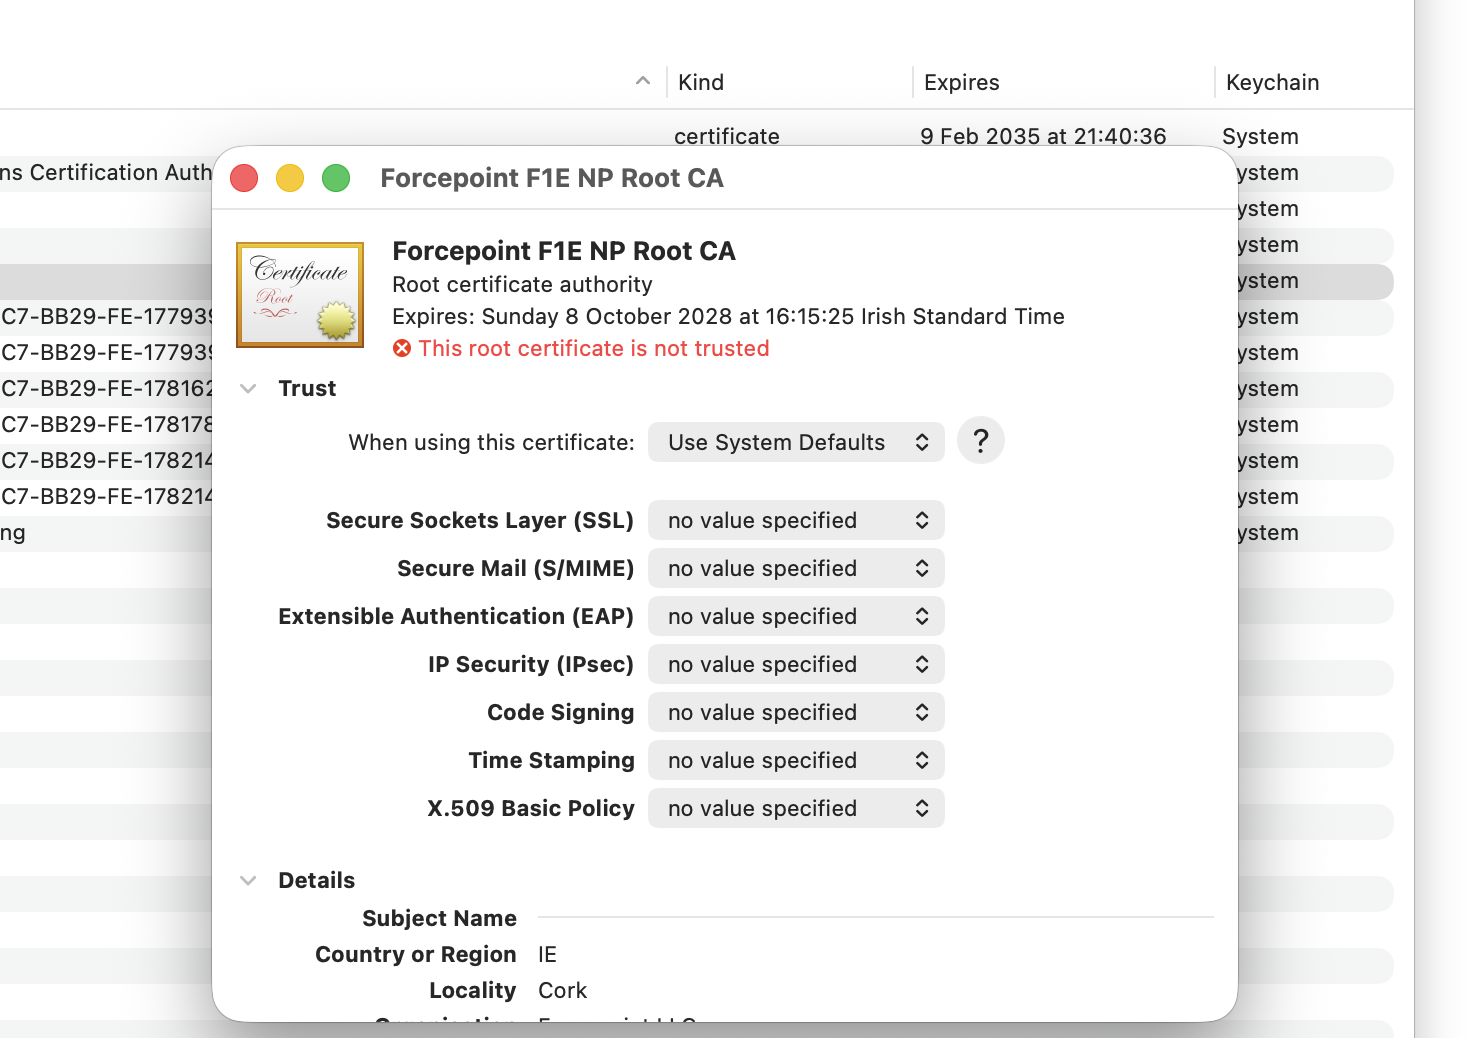
Double-click the localhost certificate, Forcepoint F1E NP Root CA.
-
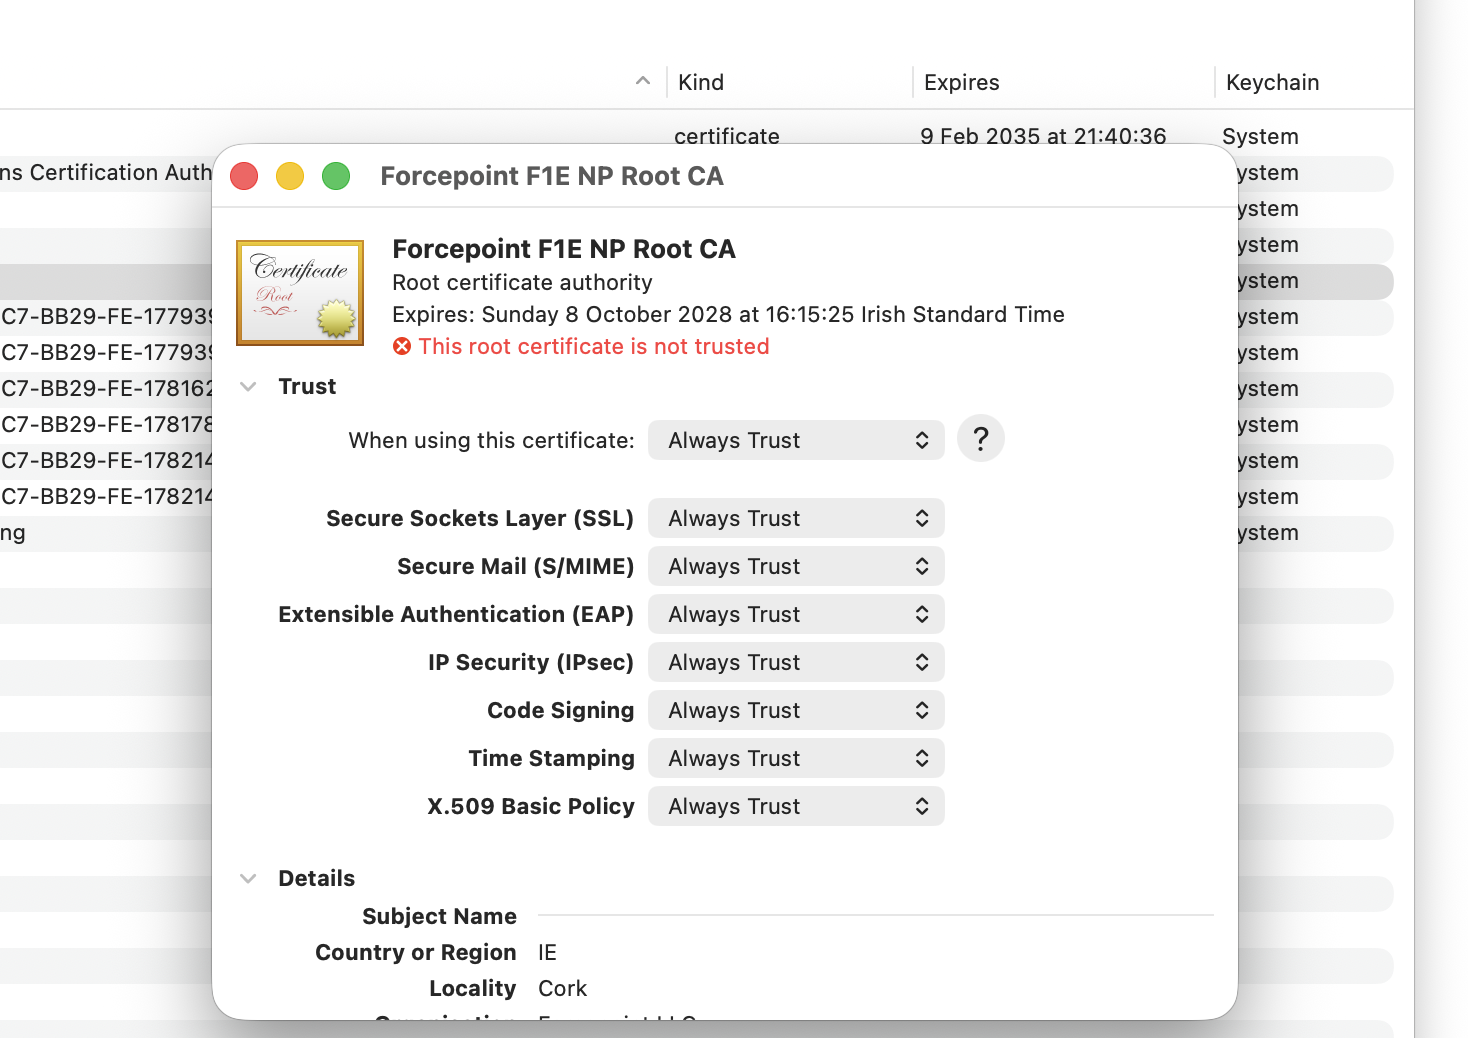
Select Always Trust for all.
-
Double-click the localhost certificate, Forcepoint F1E NP Root CA.