Enabling API scanning for Slack
Slack Enterprise Grid/Select supports the ability to apply DLP actions as part of the API scan as part of a partner-only API option. In order to support this, you are required to first reach out to Slack and have them turn on the Discovery API option before proceeding.
Steps
-
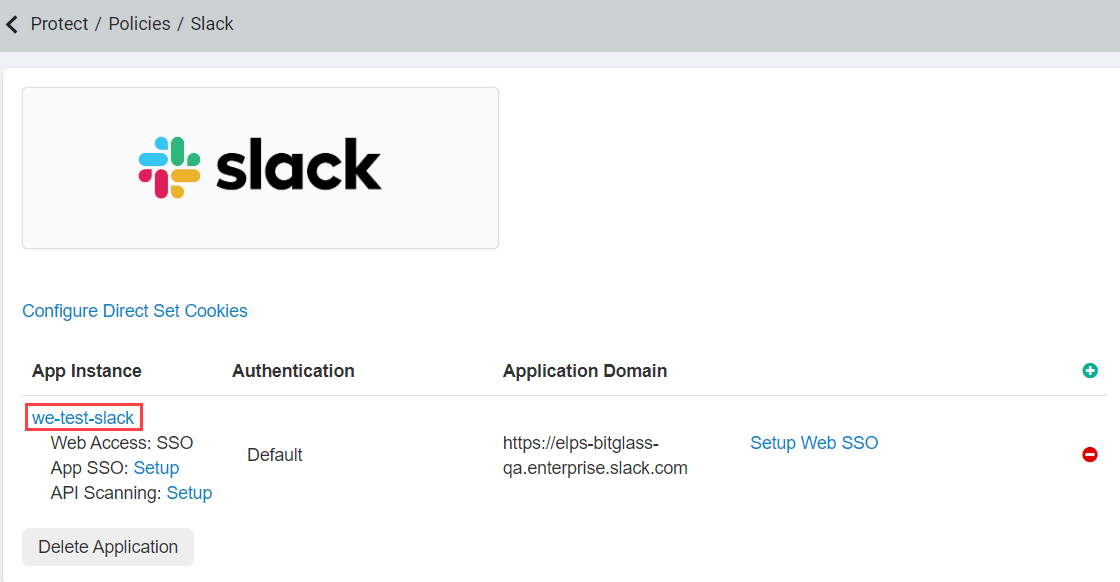
Start on the Protect > Policies page and add Slack via the green plus icon or select Slack from your configured applications if you already have it added. If you are adding slack brand new, skip
down to the first step. If Slack was already added, select the App Instance you wish to enable the API for to open the Slack Instance dialog.
-
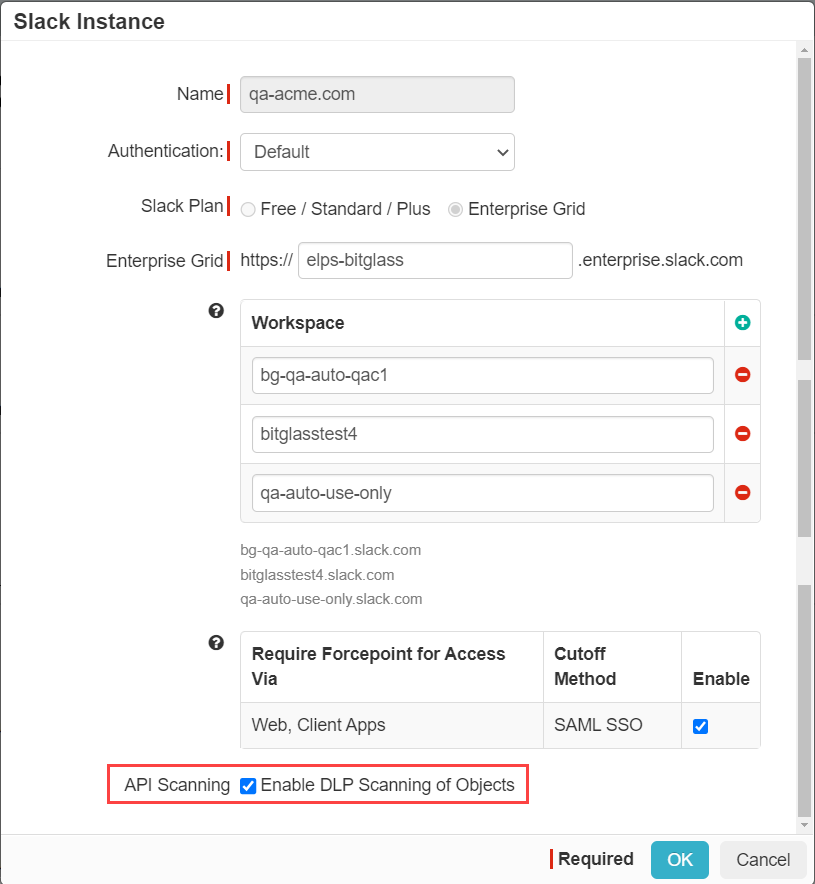
In the Slack Instance dialog make sure you select Enable API scanning at the bottom then select the specific Slack Plan you are using. You will then need to
enter your slack plan URL info and then configure which Workspaces you wish to scan by clicking the green plus icon and entering the info for your workspace.
Once you are done, click Ok in the bottom right of the dialog and then click Save on the settings page to save your changes. If you
are a customer with a Slack Enterprise Select plan, see the note below for a different set of steps for configuration.
-
When you add Slack and select your Slack Plan, any other Slack instances that you add must also be using the same Slack Plan.
Note:The Slack Enterprise Select plan is similar to Enterprise Grid except limited to only one workspace. Setup for customers with Enterprise Select will be a little different so follow the steps below:
- Configure the app instance window in the same way as above by selecting Enterprise Grid for your slack plan and entering you domain
into the Enterprise Grid field.
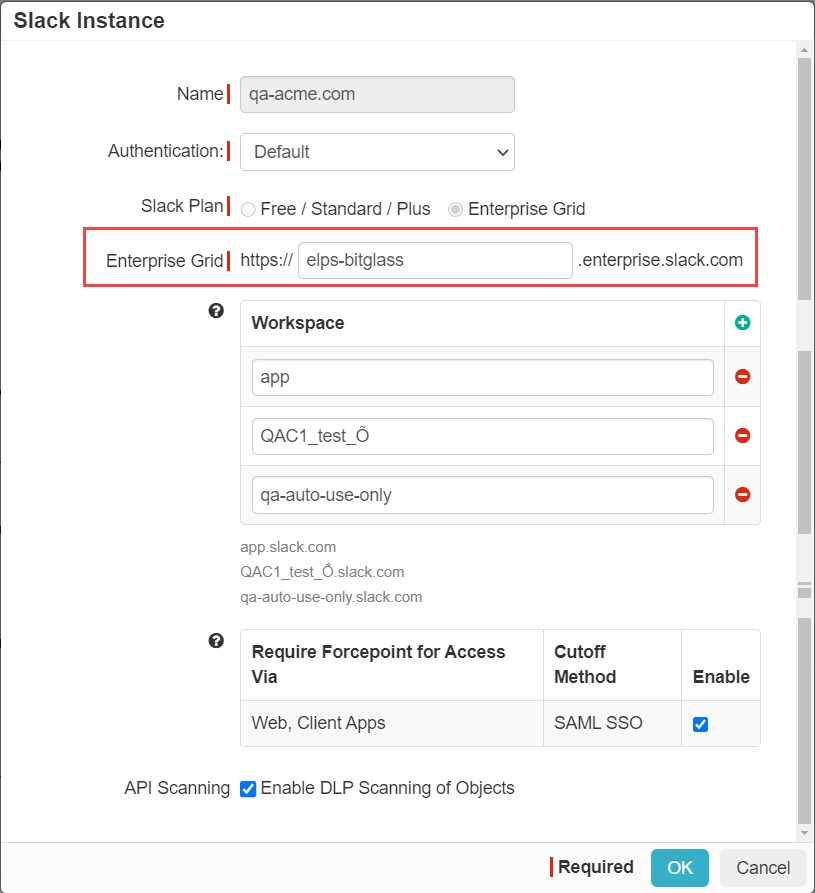
- Once the Slack Instance window is configured, back on the Slack settings page click the App SSO link as we
will need to adjust the configured URLs for your particular Enterprise Select plan.

- Under the 4 URL fields for Single Sign-on, Recipient, Destination, and Entity ID remove .enterprise. The
.enterprise part of the URL is used by Enterprise Grid accounts only, so removing that part of the URL will match your current
Enterprise Select plan URLs.


- Click Save once you have made that change and continue with the rest of the setup and authorization below.
- Configure the app instance window in the same way as above by selecting Enterprise Grid for your slack plan and entering you domain
into the Enterprise Grid field.
-
-
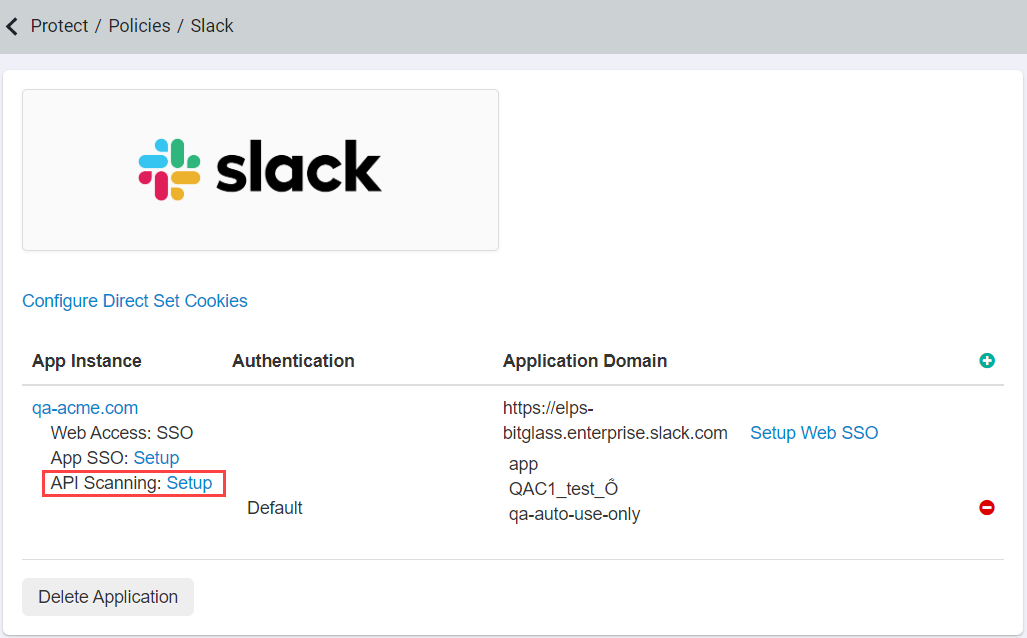
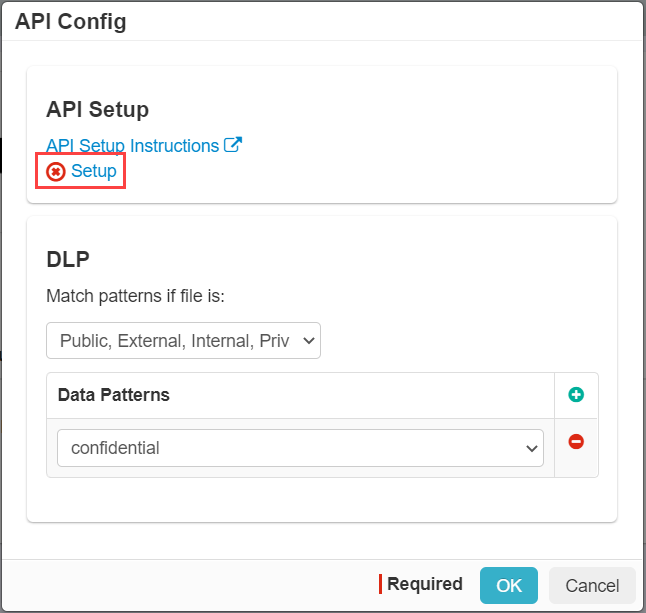
With your settings saved you should now see a API Scanning: Setup option appear below your App Instance. Select Setup to open up the
API Config dialog.
-
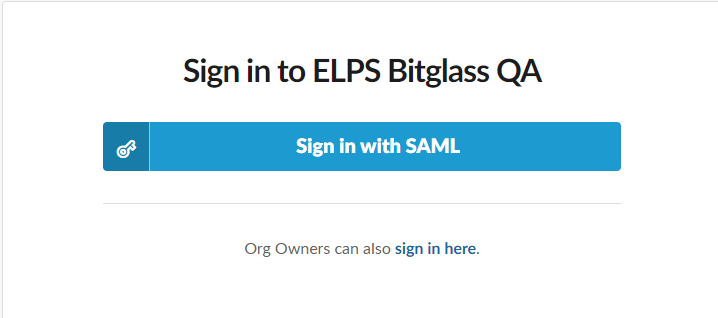
In the API Config dialog, click the Setup button next to the Red X. It will open up a slack window where you will be prompted to
enter your Slack URL. Enter the top level URL in order to provide API authorization for all of the workspaces below it and then sign in with your system admin account or if you are
using an Org Owner account click sign in here for Org Owners.

-
Your Slack license will determine the level of capability Forcepoint Data Security Cloud | SSE will have during the API scan. Enterprise Grid and
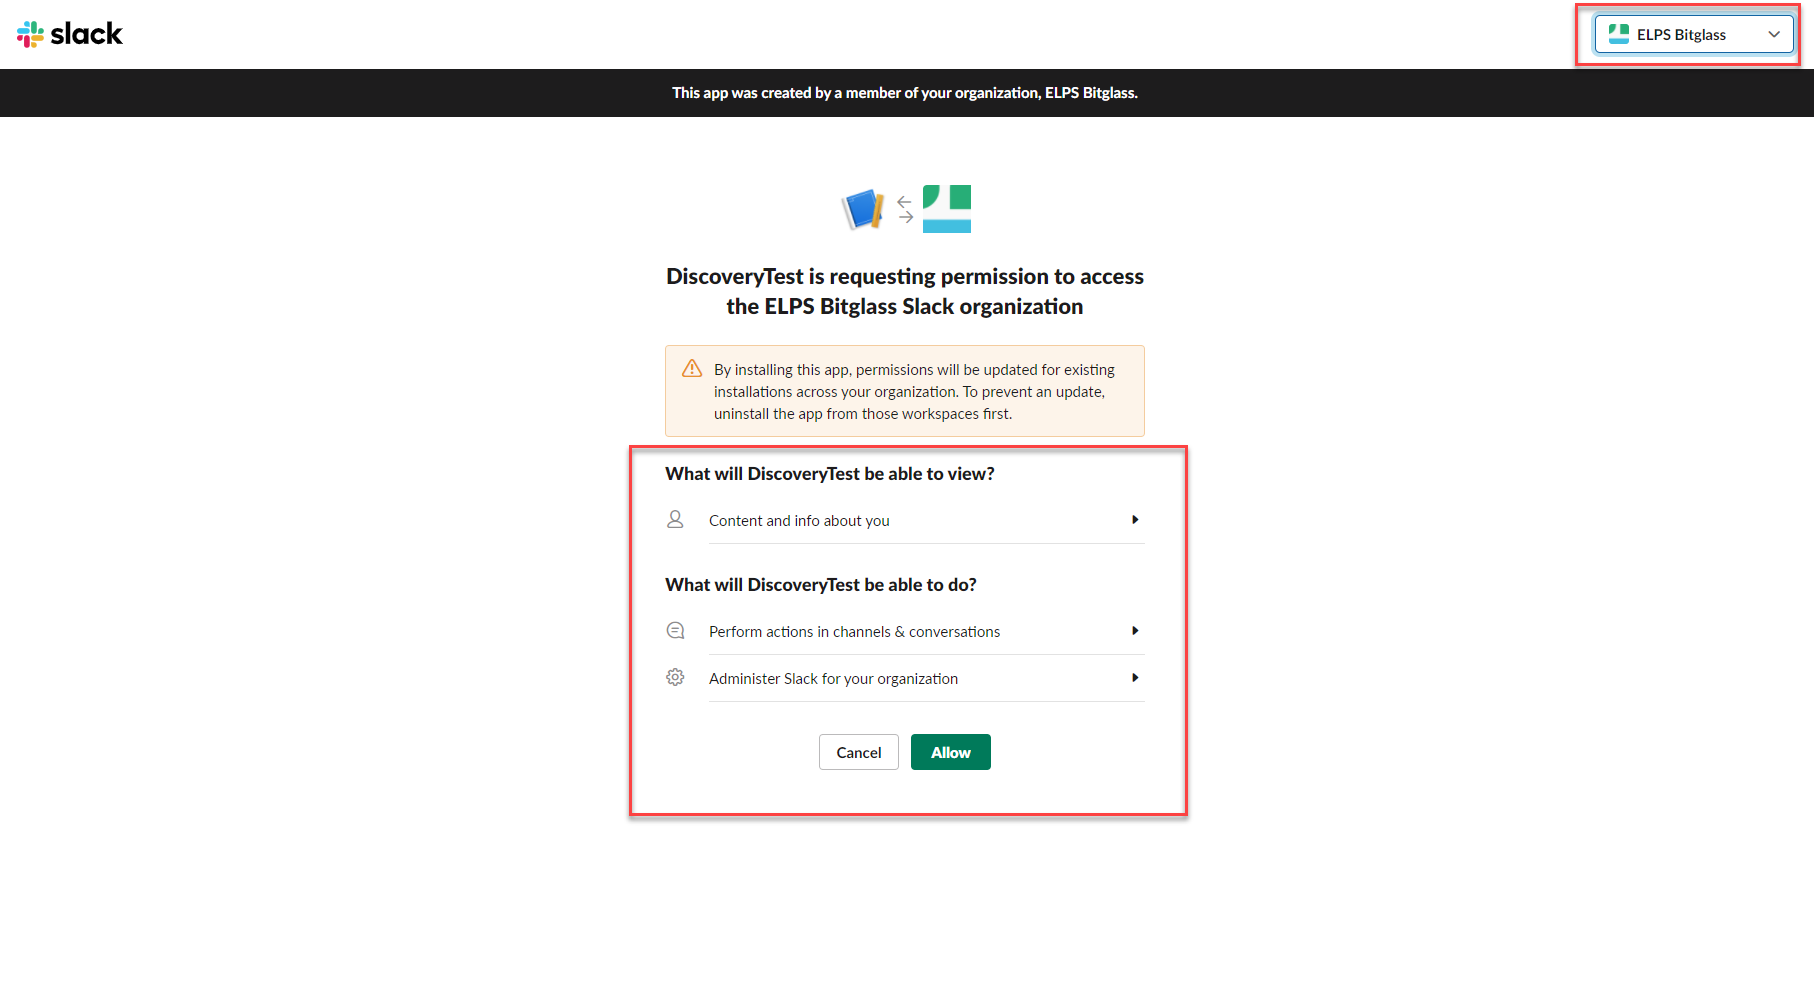
Enterprise Select support scanning for visibility as well as the ability to take DLP actions while Slack Standard only supports scanning for visibility. After logging in you will
be taken to a page listing the permissions being granted. Make sure you are selecting your proper workspace from the top right and then verify permissions and click
Allow.
-
Once you have authenticated you can then set which DLP patterns you are looking for: Sharing status as well as configured Data Patterns. This portion of the configuration is only
for scanning for visibility (which patterns we are looking for in order to surface sensitive data). If you only have the Slack Standard/Plus Plan you are finished with your
setup. If you have Enterprise Grid continue to the next section for policy actions.
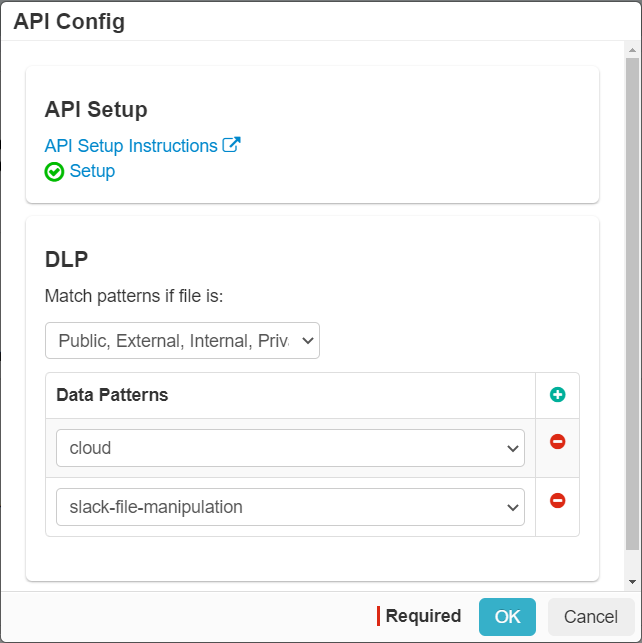 Note: Due to Slack's API we are able to distinguish between the sharing status being internal or external but cannot be granular to identify public/private/etc.