Setting up Bitglass in QRadar App
You will first need to download the Bitglass app from the QRadar app hub and then install the extension into your QRadar setup. Once installed, you can then create an OAuth token in Forcepoint Data Security Cloud | SSE and then configure the setup to start pulling logs.
Steps
-
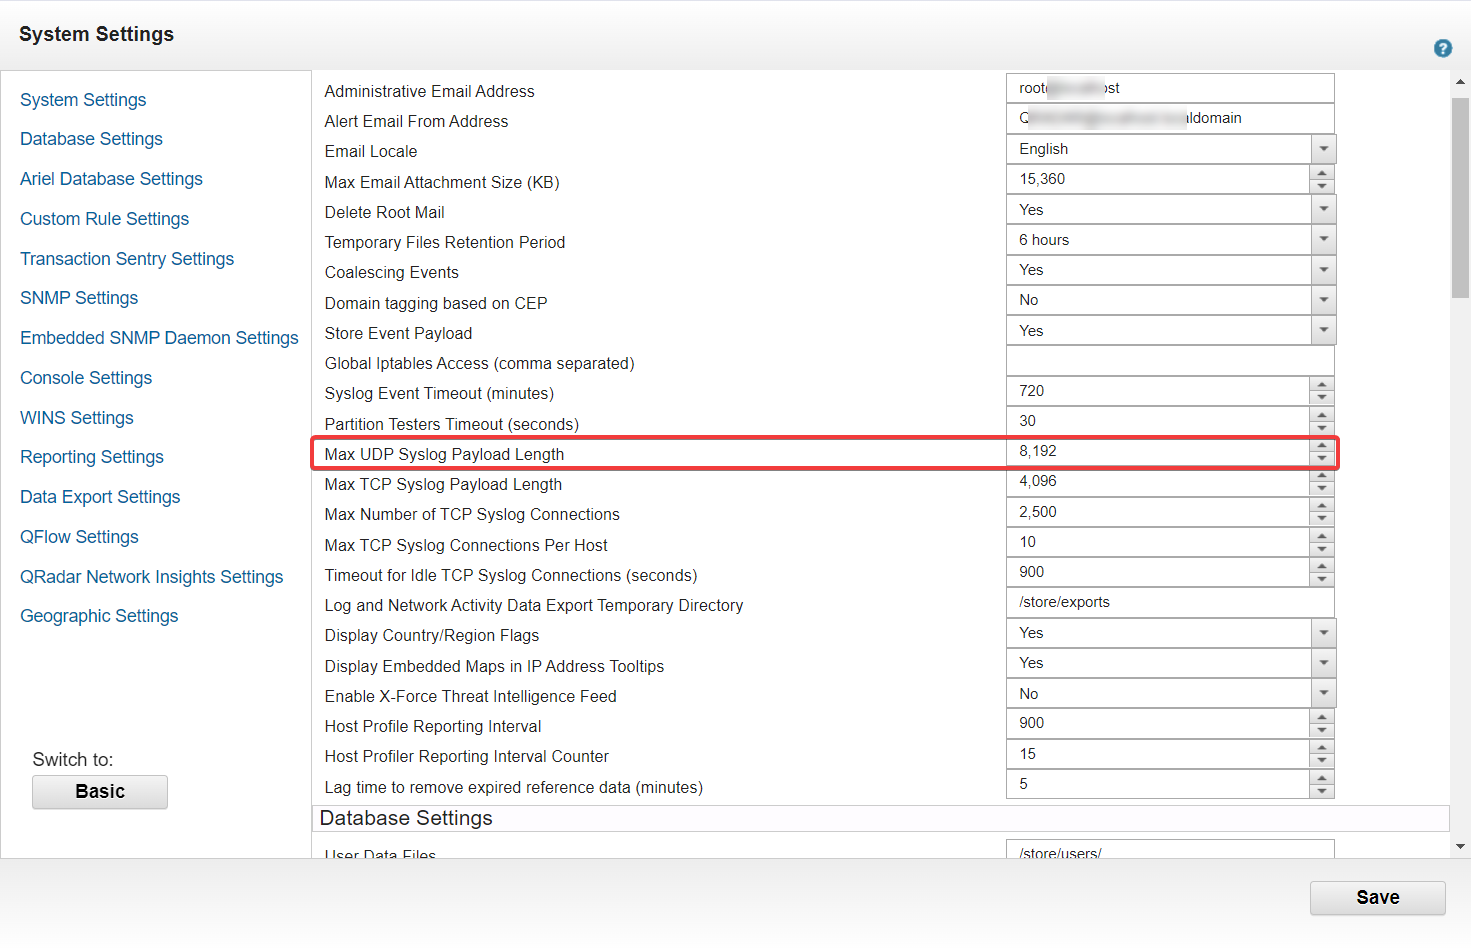
Before starting the Bitglass app installation, you will need to navigate to the QRadar System Settings page and change the Max UDP Syslog Payload Length
field to 8192.
-
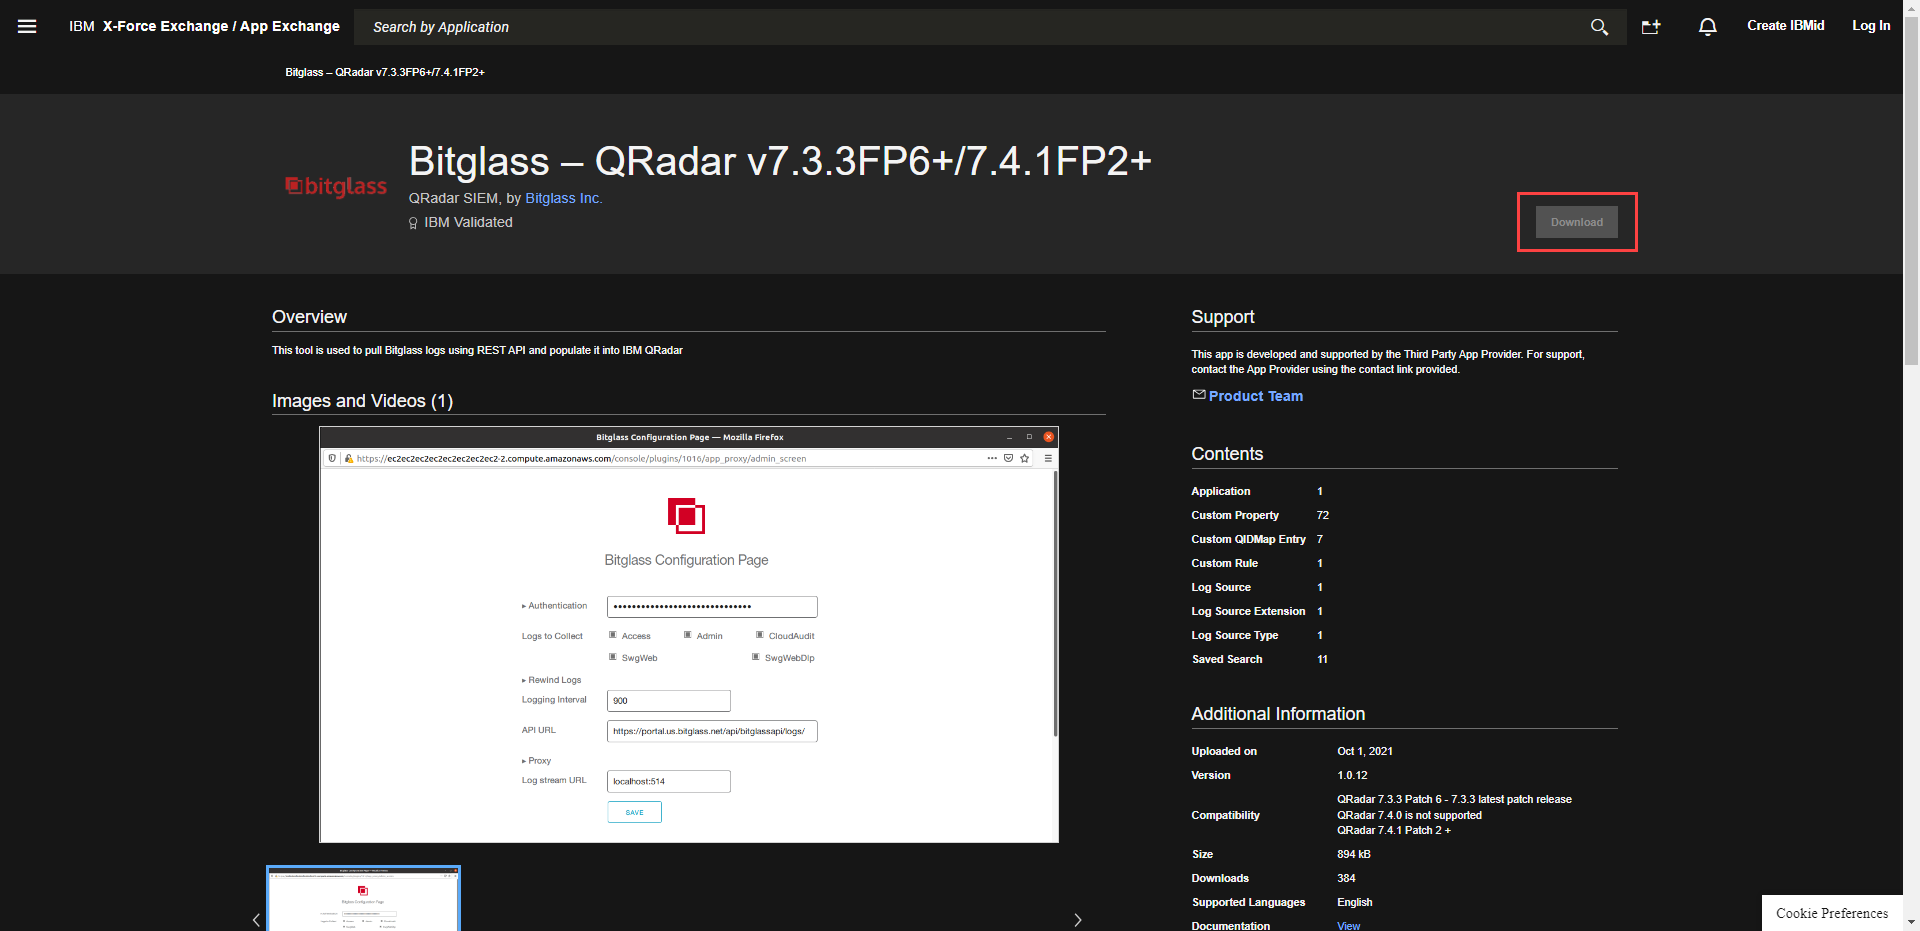
Select Download to download the zip file with the application that you will need to install in your QRadar app.
-
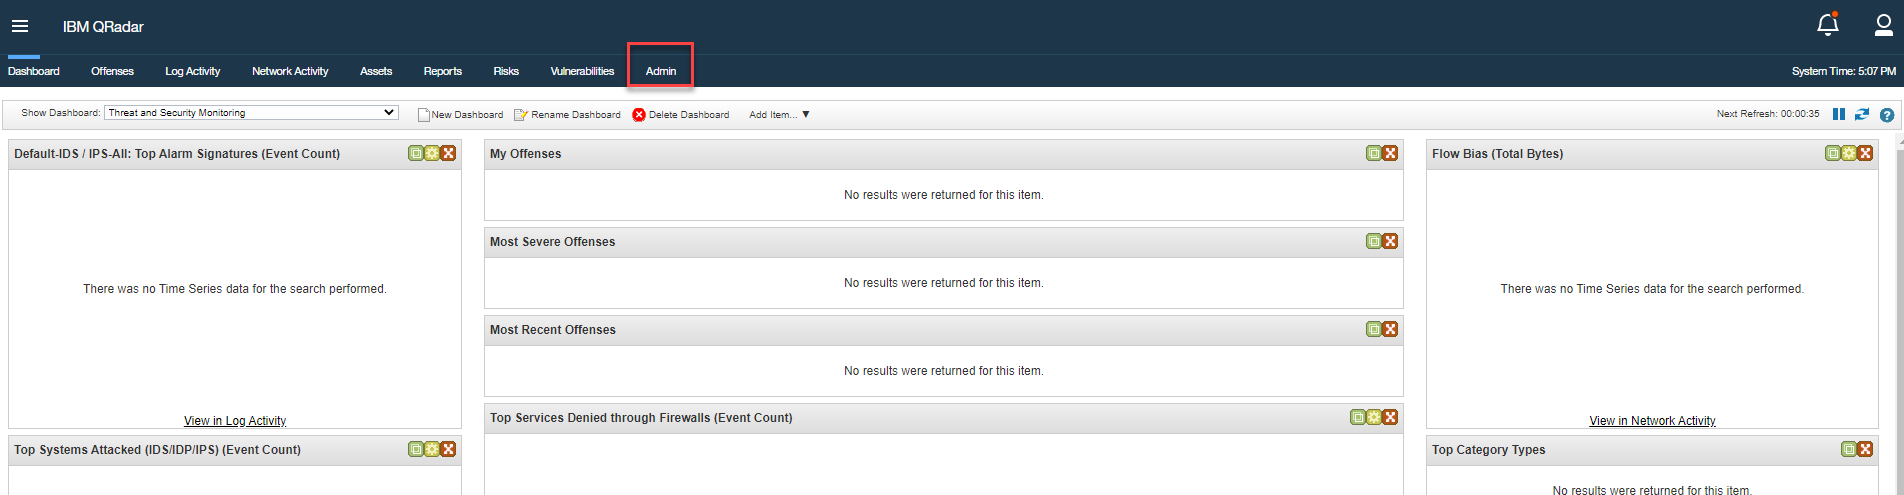
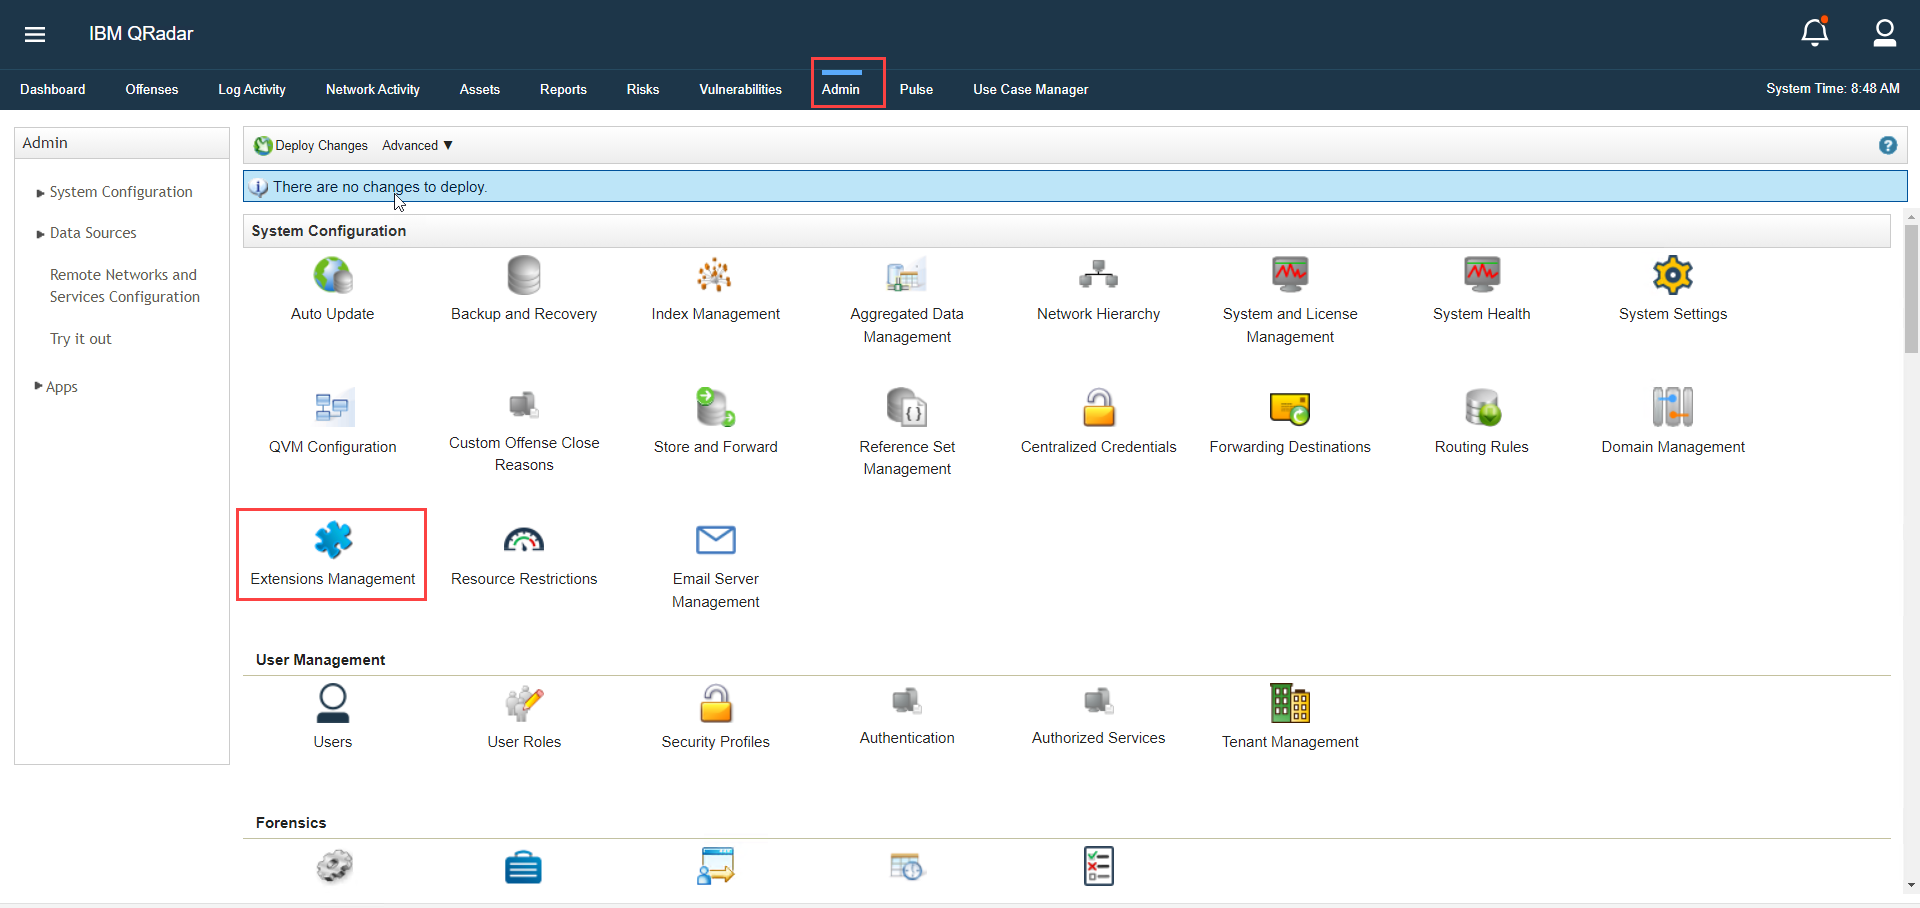
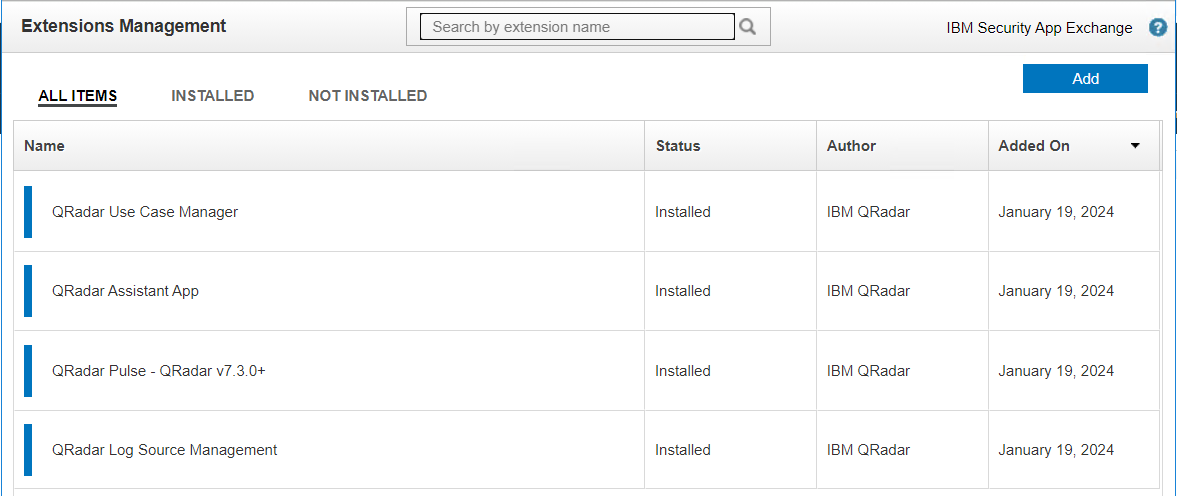
Login to your QRadar instance and select the Admin tab and then click on Extension Management.
-
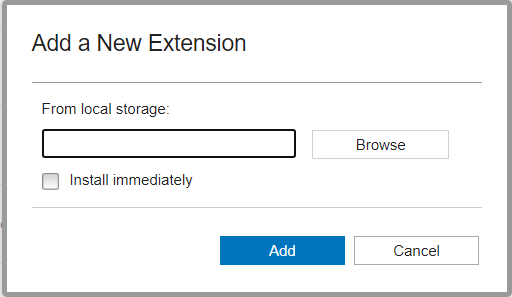
In the Extension Management tab, click on the Add button in the top right. In the new dialog window, browse for the zip file you
downloaded in step 2 and then check the box to install immediately.
-
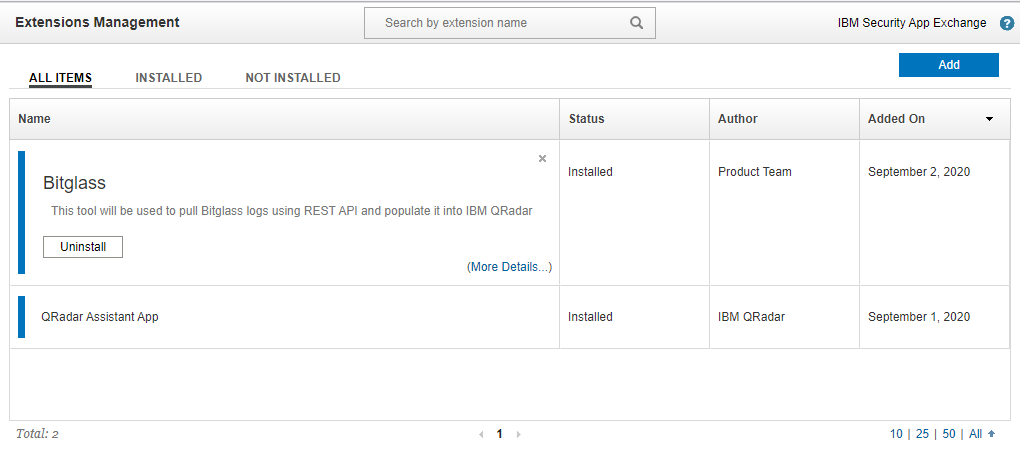
On the next page, you might see a message if you already have items that can be replaced or preserved. Review the table items and select the option that makes sense for your setup
and then click Install at the bottom. Once installed, you will see the Bitglass application appear in the Extension Management
window.

-
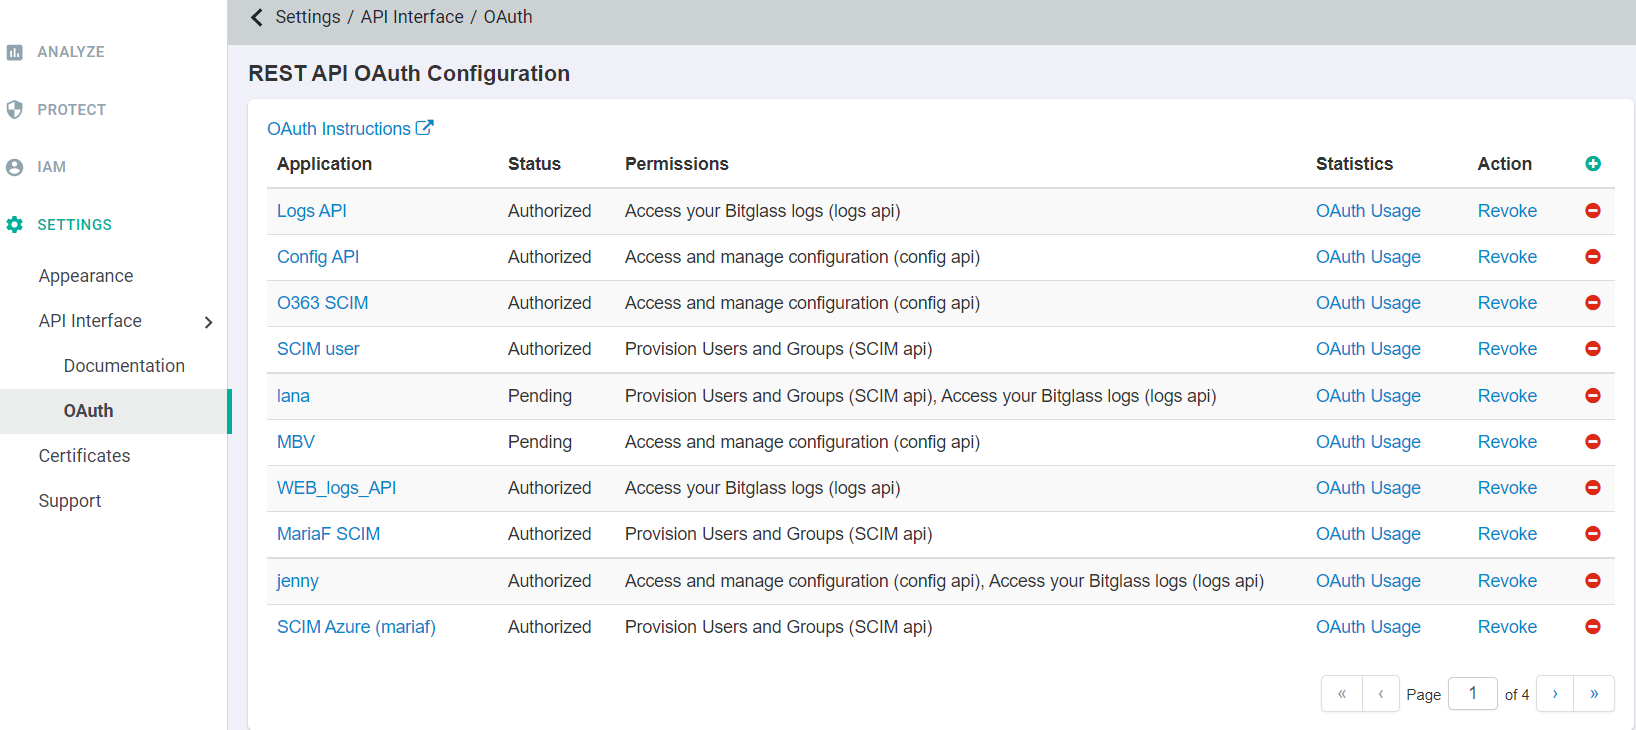
Open a new browser tab or window, login to the Forcepoint Data Security Cloud | SSE
portal and login as your admin account. Navigate to to create a new OAuth token. Click on the green plus icon to create a new token.
-
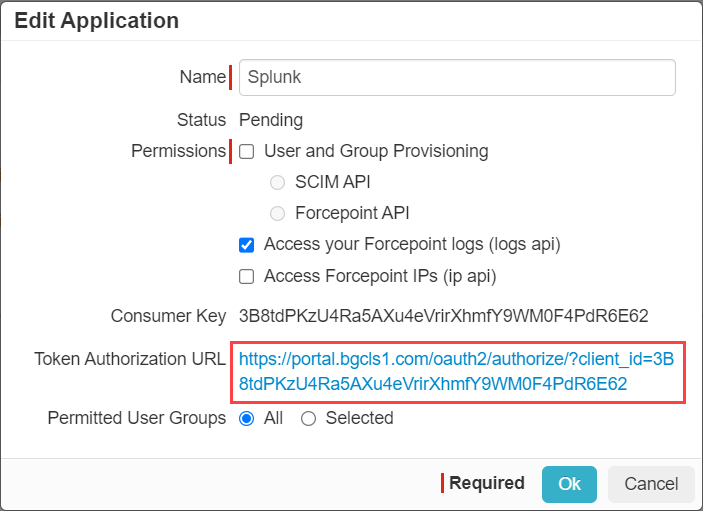
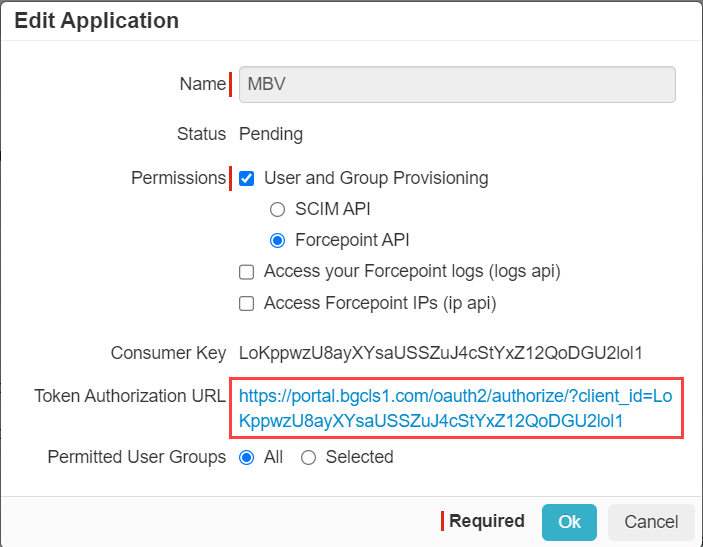
In the Edit Application window, provide a recognizable name and then select the checkbox for Access your Forcepoint logs (logs api)
option. Click Ok at the bottom.
-
Now that the application has been created with pending status, back on the OAuth page, select the app token you just created and then click on the Token Authorization
URL to authorize the app.

-
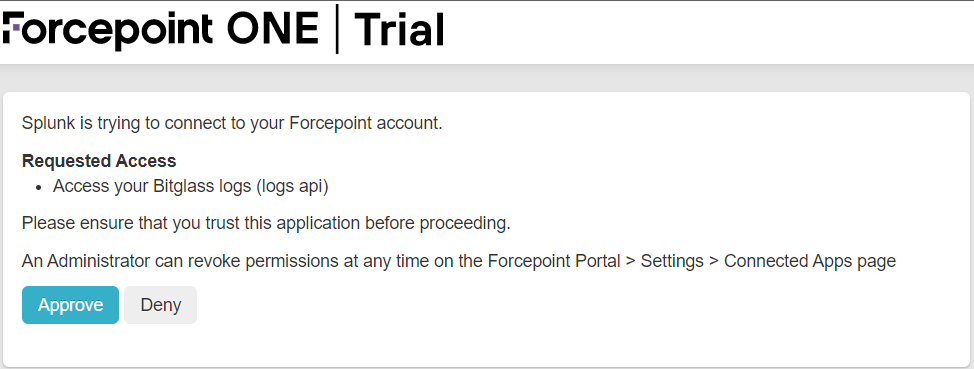
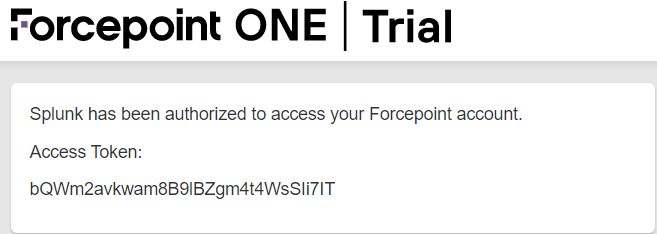
You will be taken to a page to Authorize the app. Once done, you will then see the Access Token you will need for finishing the setup in QRadar. Either
leave this page open or copy the token to be used later in step 11 below.
-
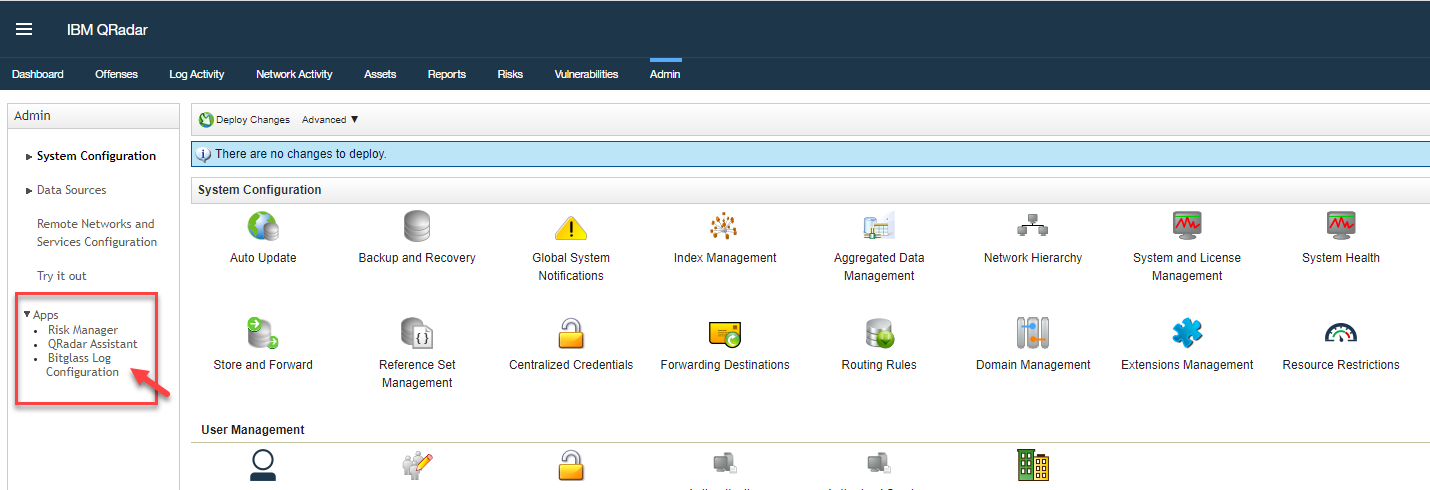
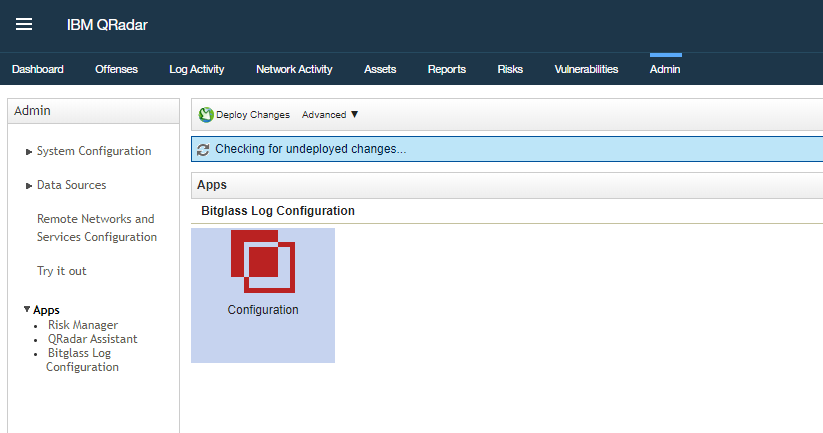
Now switch back to your QRadar app instance and go back to the Admin page and expand the App drop-down in the left column (you might need to refresh the page for the Bitglass app
to appear). Select the Bitglass app and then click on the Configuration option on the next screen.
-
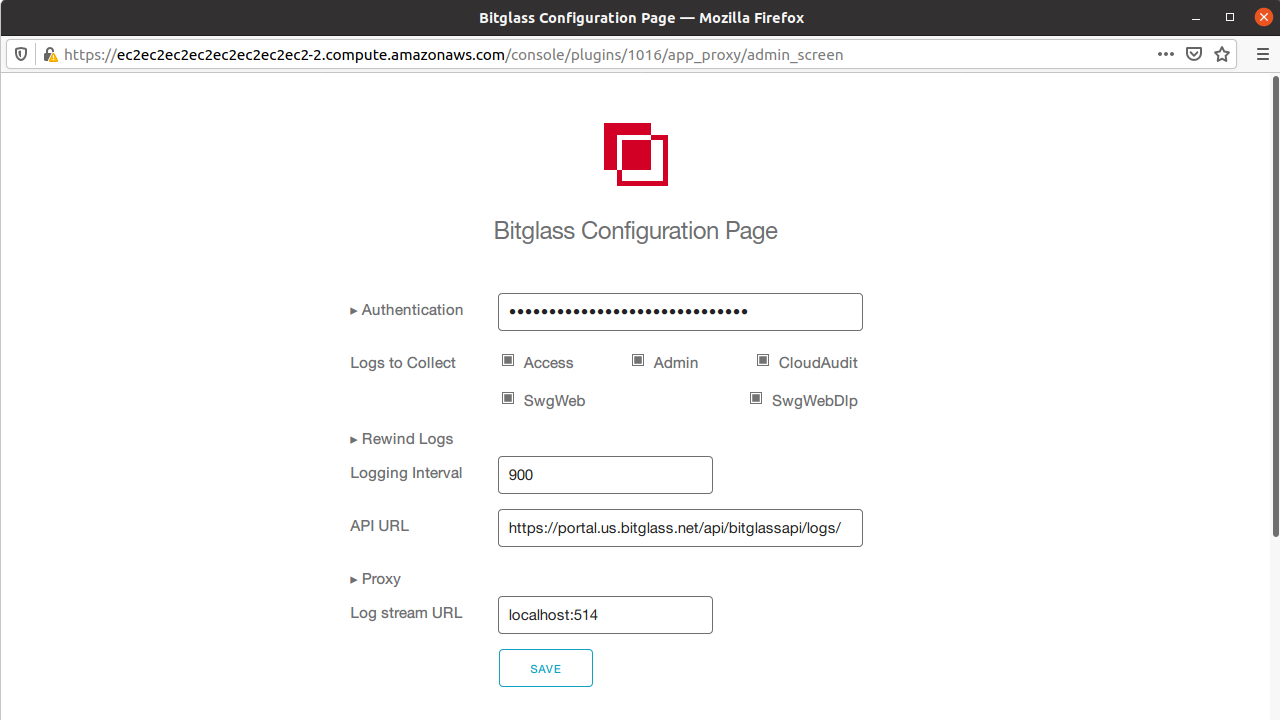
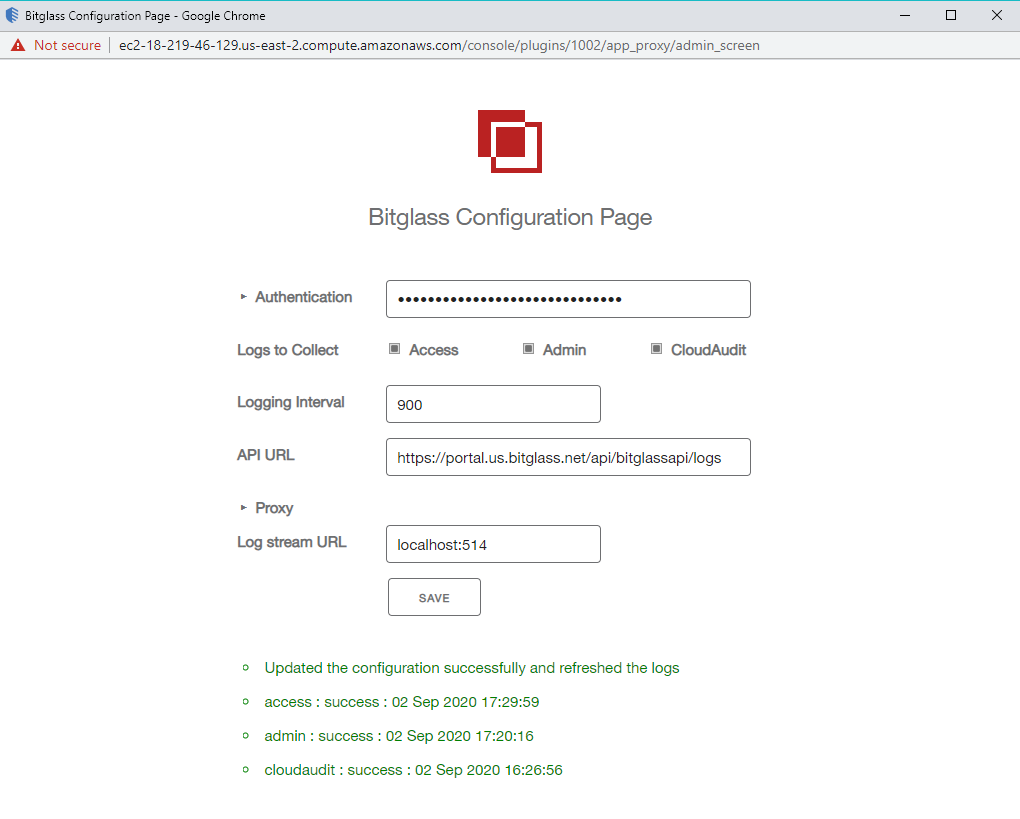
You will be taken to the Bitglass OAuth configuration page.
-
Enter https://portal.bitglass.com/api/bitglassapi/logs in the
API URL field.
Note:
- Bitglass supports 300 API calls within a 24 hour period. This means you should not be setting your interval time to anything below 300 seconds or else you might hit your API call limit and miss logs being pulled over.
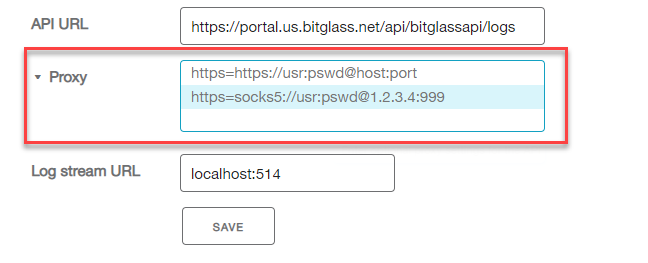
- Customers if using a proxy can configure the proxy information to ensure the logs can be pulled from Bitglass into QRadar.
-
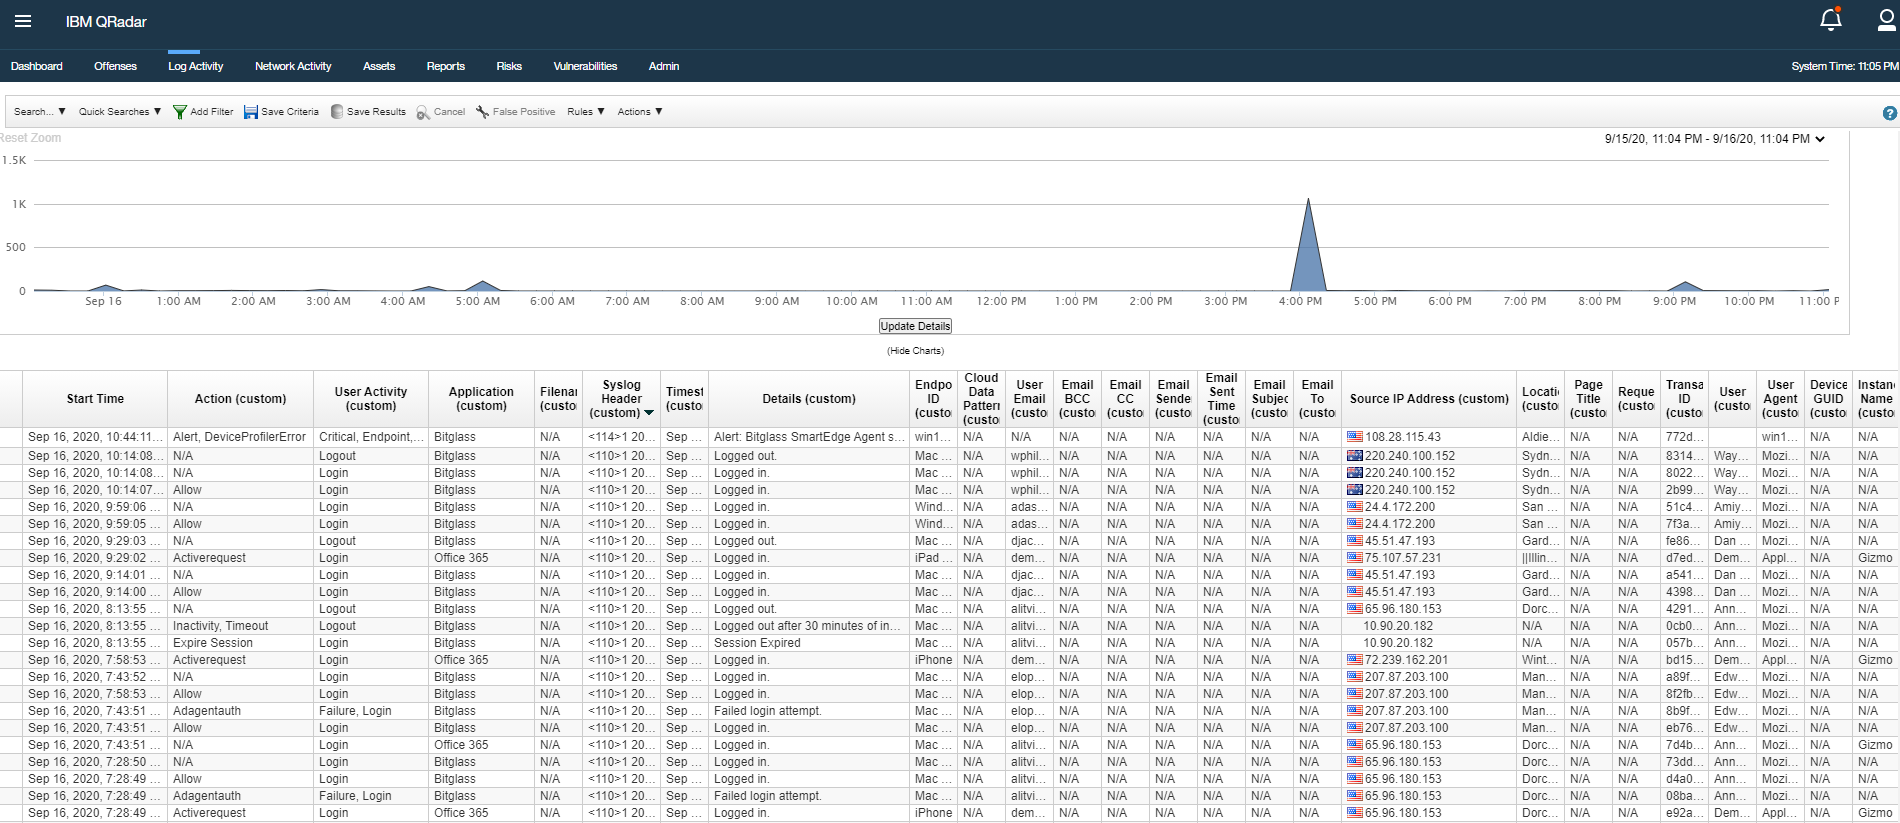
Click Save when you are done and you will see a success message. Give it about 30 or so minutes for logs to be pulled and you can review them.
-
Enter https://portal.bitglass.com/api/bitglassapi/logs in the
API URL field.
Next steps
- Create a new asset and save the required settings OAuth 2 Authentication Token and Bitglass API URL in the Asset Settings tab.
- In the Ingest Settings tab, select the source (events) and enable polling interval or another scheduling option, press Save.
- Do Asset Settings/TEST CONNECTIVITY' and make sure it passes.