Configure Policy-Based VPN elements

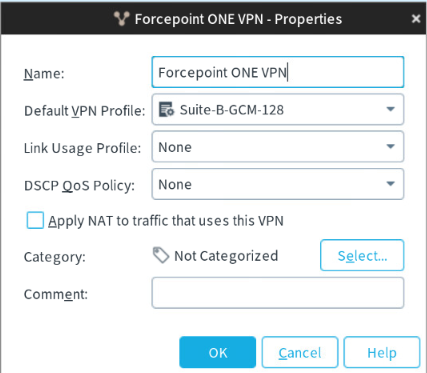
In the Management Client, create a Policy-Based VPN element, and then define the topology and tunnel settings.

Steps

  1. Select Configuration, then browse to SD-WAN.
  2. Browse to Policy-Based VPNs.
  3. Select New > Policy-Based VPN.


  4. In the Name field, enter a descriptive name.
    Example: Forcepoint ONE VPN
  5. Leave other fields as default and click OK.
    The Policy-Based VPN opens for editing.
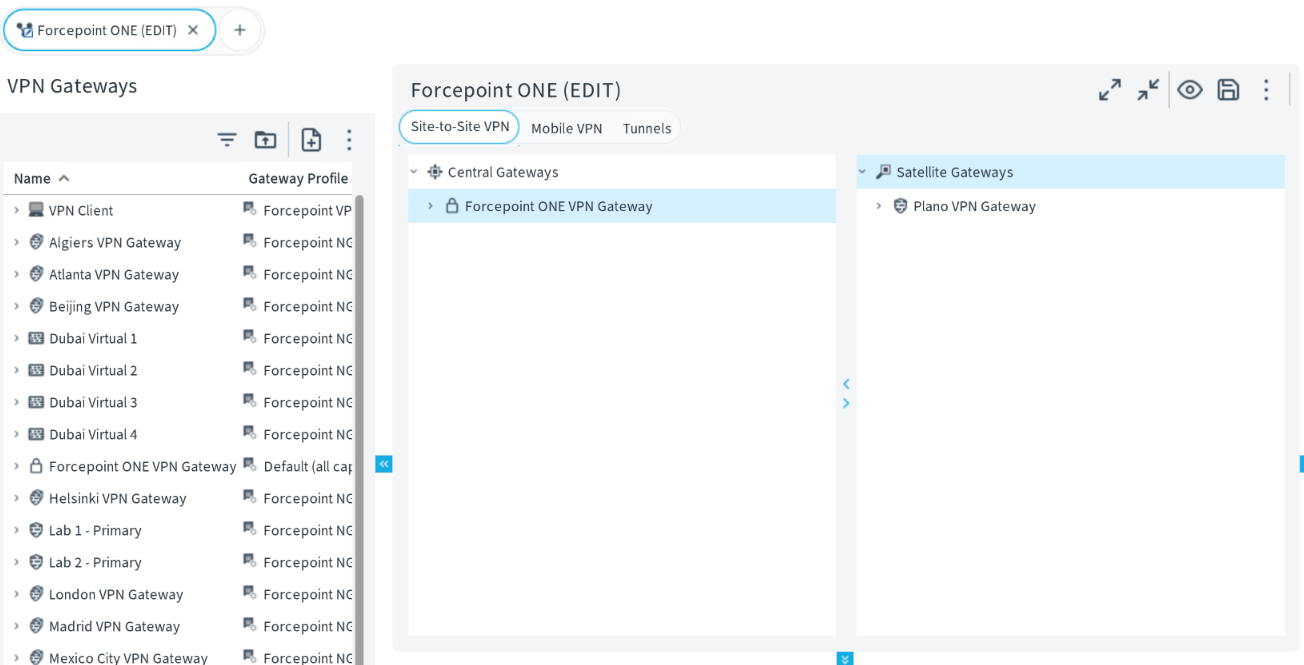
  6. Configure the VPN topology.
    Add the External VPN Gateway element as a central gateway and the VPN Gateway element that represents the NGFW Engine as a satellite gateway.
    1. In the pane on the left, browse to VPN Gateways.


    2. Drag and drop the External VPN Gateway element to the Central Gateways list on the Site-to-Site VPN tab.
      You can also create External VPN Gateway by right-clicking on the Central Gateways area under Site-to-Site VPN tab and then selecting New External VPN Gateway from the drop-down menu.
    3. Drag and drop the VPN Gateway element that represents the NGFW Engine to the Satellite Gateways list on the Site-to-Site VPN tab.
  7. On the Tunnels tab:
    1. Double-click the Key field in Gateway-to-Gateway table.
    2. Enter or paste the pre-shared key from Analyze > Tunnels > Setup Info of the Forcepoint ONE SSE portal.
  8. Click Save to save the changes to the policy-based VPN.

Next steps

On your assigned NGFW Engine acting as Satellite Gateway in the policy-based VPN, verify that your local endpoint IKE ID matches what you configured in the Forcepoint ONE SSE portal under Protect > Objects > Sites > Tunnels tab.