Once you have setup all 3 configurations in PingFed and verified that your connections are successful, then you can connect PingFed to M365.
Steps
-
Open the Active Directory PowerShell and connect to your M365 instance with the Connect-MsolService command and login with your admin account. Then run the
following commands or create a script with the commands and run it altogether:
$certFile = “C:STAR_bitglass-tme_net.crt”$cert = [IO.File]::ReadAllText($certFile)
$cert = $cert.replace(“—–BEGIN CERTIFICATE—–“,””)
$cert = $cert.replace(“—–END CERTIFICATE—–“,””)
$cert = $cert.replace(“`r”,””)
$cert = $cert.replace(“`n”,””)
$domainName = “bitglass-tme.net”
$hostName = “addsping.bitglass-tme.net”
$port = 9031
$pingfederate = “https://${hostName}:$port”
$brandName = “pingfed”
$issuer = “http://bitglass-tme.net/PingFederate”
$spId = “urn:federation:MicrosoftOnline”
$activeLogOn = “$pingfederate/idp/sts.wst”
$logOff = “$pingfederate/idp/prp.wsf”
$metaData = “$pingfederate/pf/sts_mex.ping?PartnerSpId=$spId”
$passiveLogOnPF=”$pingfederate/idp/prp.wsf”
Set-MsolDomainAuthentication -Authentication Federated -DomainName “$domainName” -ActiveLogOnUri  “$activeLogOn” -FederationBrandName “$brandName” -IssuerUri “$issuer”  -LogOffUri “$logOff” -MetadataExchangeUri “$metaData” -PassiveLogOnUri  “$passiveLogOnPF” -SigningCertificate “$cert”
-
Confirm federation was successful by running the Get-MsolDomainFederationSettings command.
-
Now back in PingFed, you can add Microsoft 365 as an SP connection. Back on the management portal homepage, select SP Connections. Then follow the
instructions located here to add Microsoft 365 to PingFed as an SP connection.
-
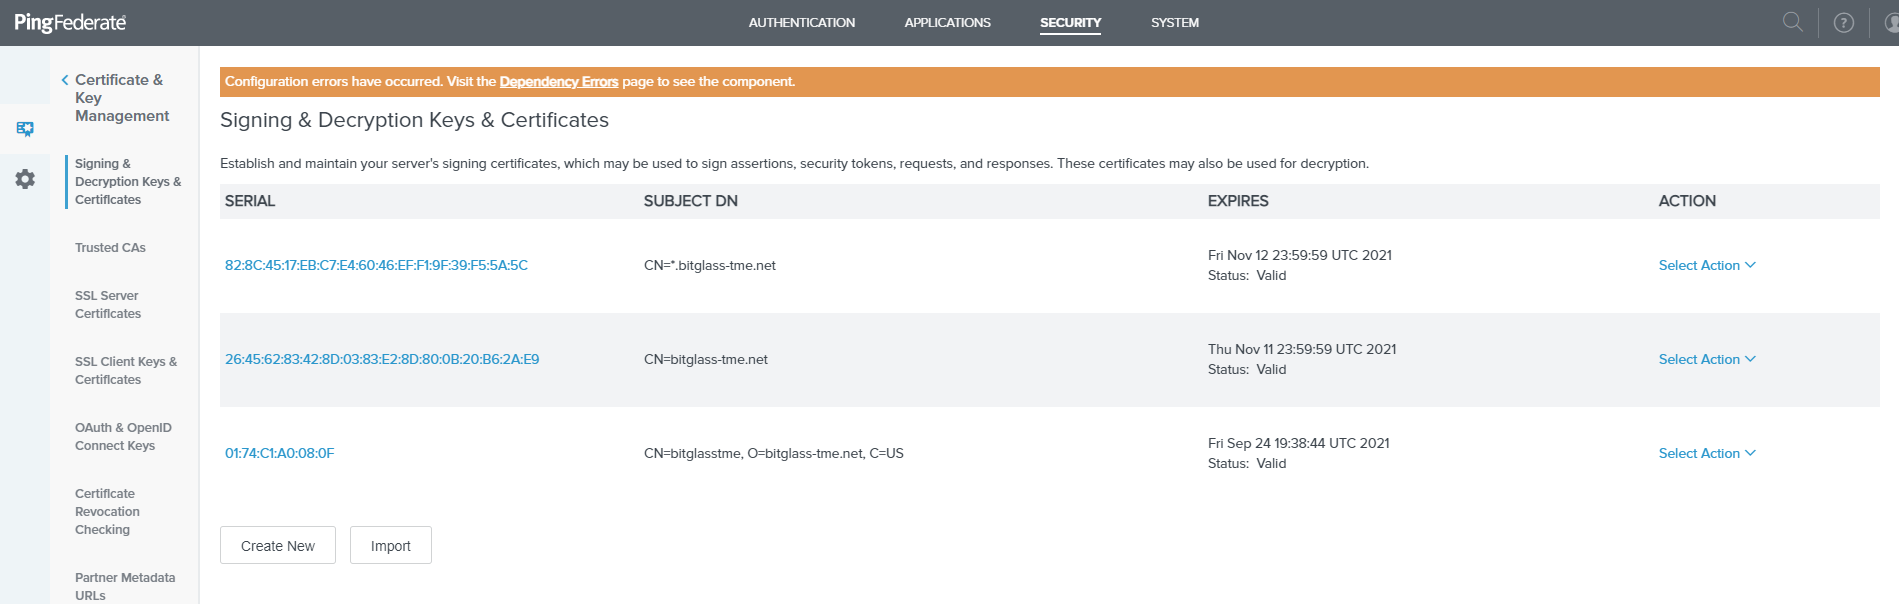
Microsoft 365 and Pingfed require a publicly validated certificate. Ensure you do not use the self-signed certificate. Also, ensure the same certificate is used for the below
PingFed to Forcepoint Data Security Cloud | SSE connection.