Verifying the redirect from Forcepoint Cloud Security Gateway
Verify that the browser session is isolated based on the redirect block page and configured policy.
Steps
-
Verify that the browser session is going through the remote browser:
Secure Streaming
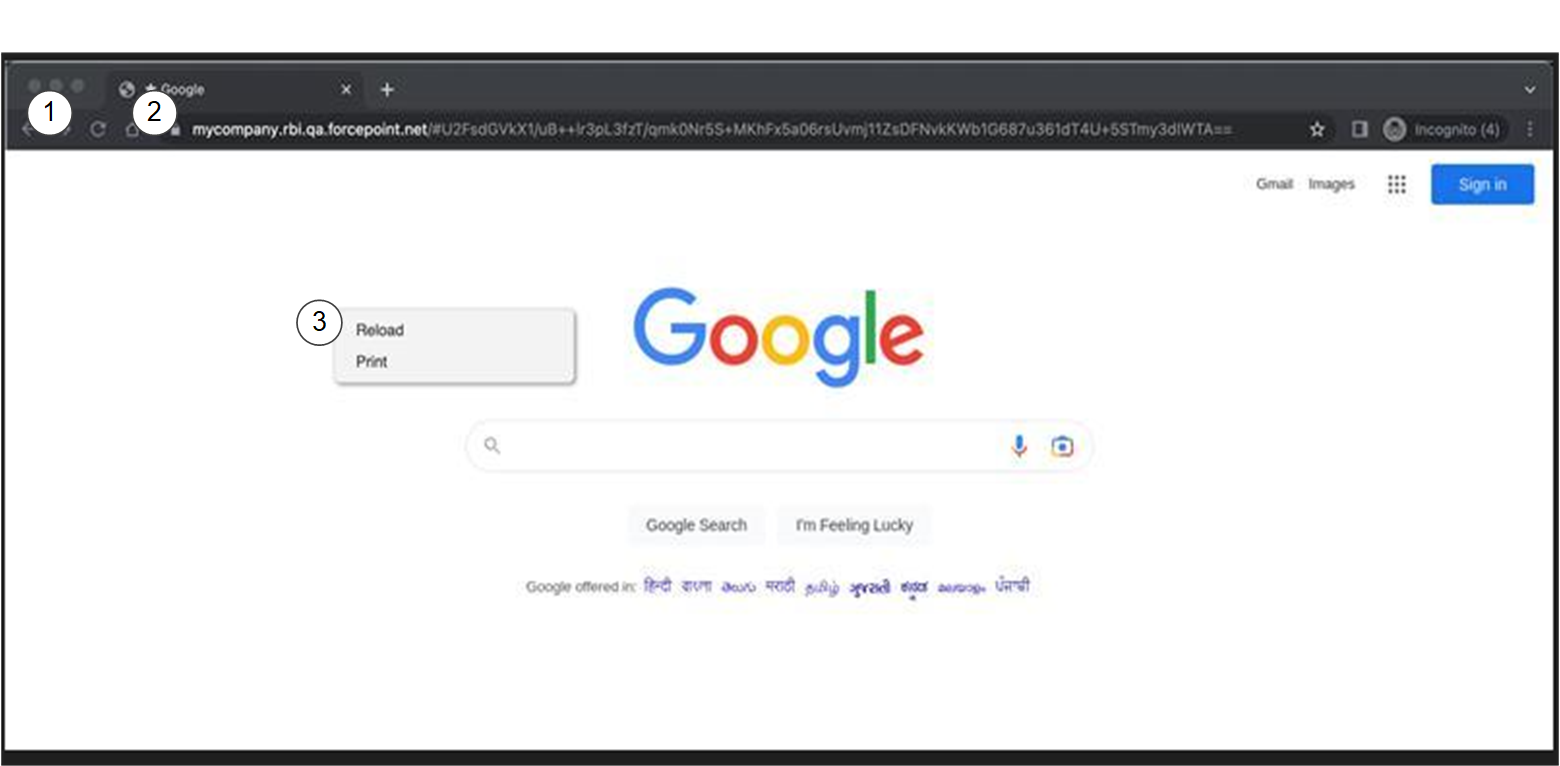
- 1
- Look for the star. The tab header for the webpage will display a star next to the webpage title.
- 2
- The URL appears as
https://<mycompany>.rbi.forcepoint.net/viewer/#<Encrypted Actual URL>. The isolated URL is encrypted to restrict user from manipulating the URL and bypassing any proxy restrictions. For more information, see URL Encryption. - 3
- Check the right-click menu. The right-click menu contains the options for the remote browser only: Reload, Print, and Session Information.
Secure Rendering
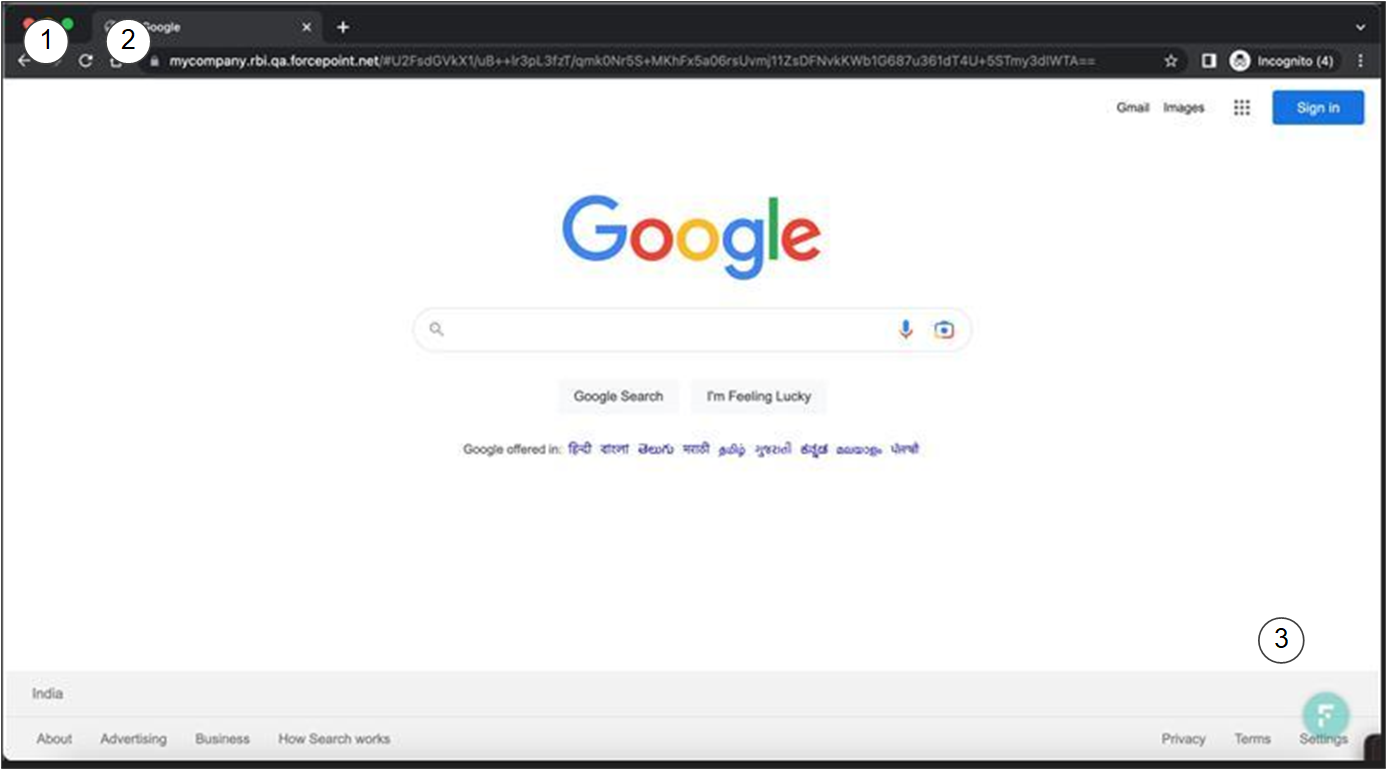
- 1
- Look for the star. The tab header for the webpage will display a star next to the webpage title.
- 2
- The URL appears as
https://<mycompany>.rbi.forcepoint.net/viewer/#<Encrypted Actual URL>. The isolated URL is encrypted to restrict user from manipulating the URL and bypassing any proxy restrictions. For more information, see URL Encryption. - 3
- Check the Forcepoint logo. A Forcepoint logo is visible at the bottom right corner of the browser window. Click this logo to open the menu, then select either URL Information (shows the Domain, URL Threat Score, and Category) or Session Information (shows the Session ID and IP Address).