Saving views
You can save the desired views to display in the Saved Views list in Data Collections.
Steps
-
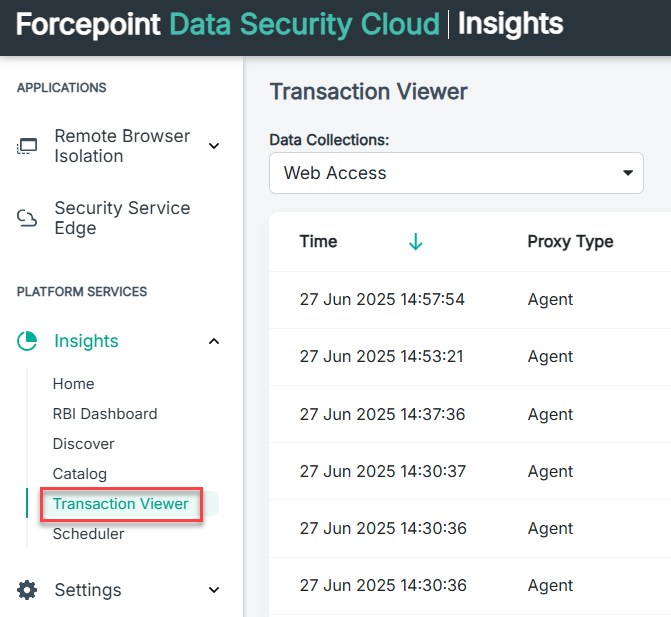
On the left navigation pane, click Transaction Viewer.
-
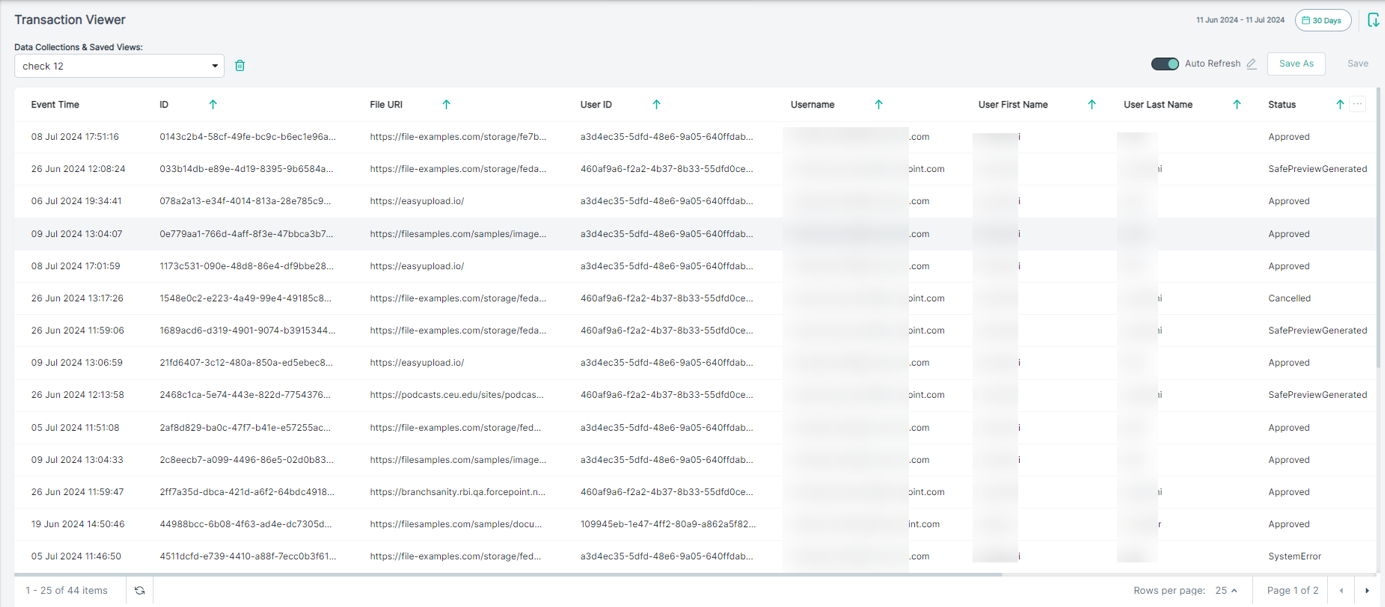
From the Data Collections drop-down, select a view in Open Saved Views or select one of the data collection name.
By default, the details of 25 row entries for a period of 30 days display.
- If required, configure Transaction Viewer to display data in your desired view.
-
To save a new view, do the following:
-
Click Save As.
The Save View dialog opens.
- In Name, enter the name to easily identify your saved view.
- In Description, enter the general purpose of your saved view.
-
Click Create.
The view is saved and the saved name displays in the Saved Items list in Data Collections & Saved Views.
-
Click Save As.
-
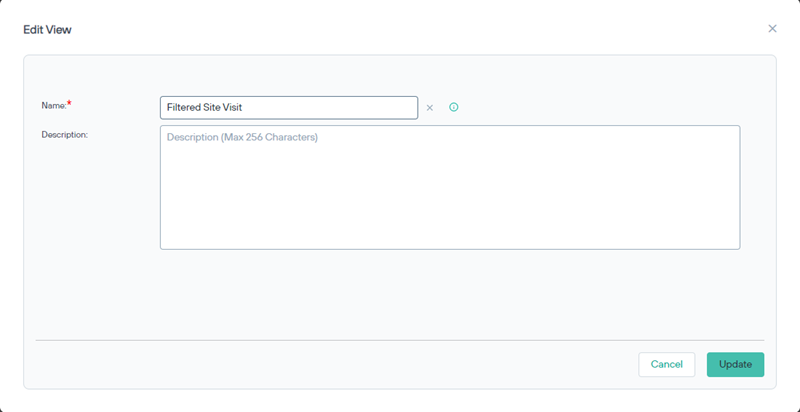
To save a modified saved view, do the following:
-
Click Save.
The Edit View dialog opens.
- In Description, update the general purpose of your saved view.
- In Name, if required update the name to easily identify your saved view.
-
Click Update.
The newly saved name displays in the Saved Views list in Data Collections & Saved Views.
-
Click Save.