Exporting log details in CSV format
In the Transaction Viewer page, you can export the log details of a selected data source in CSV format.
Steps
-
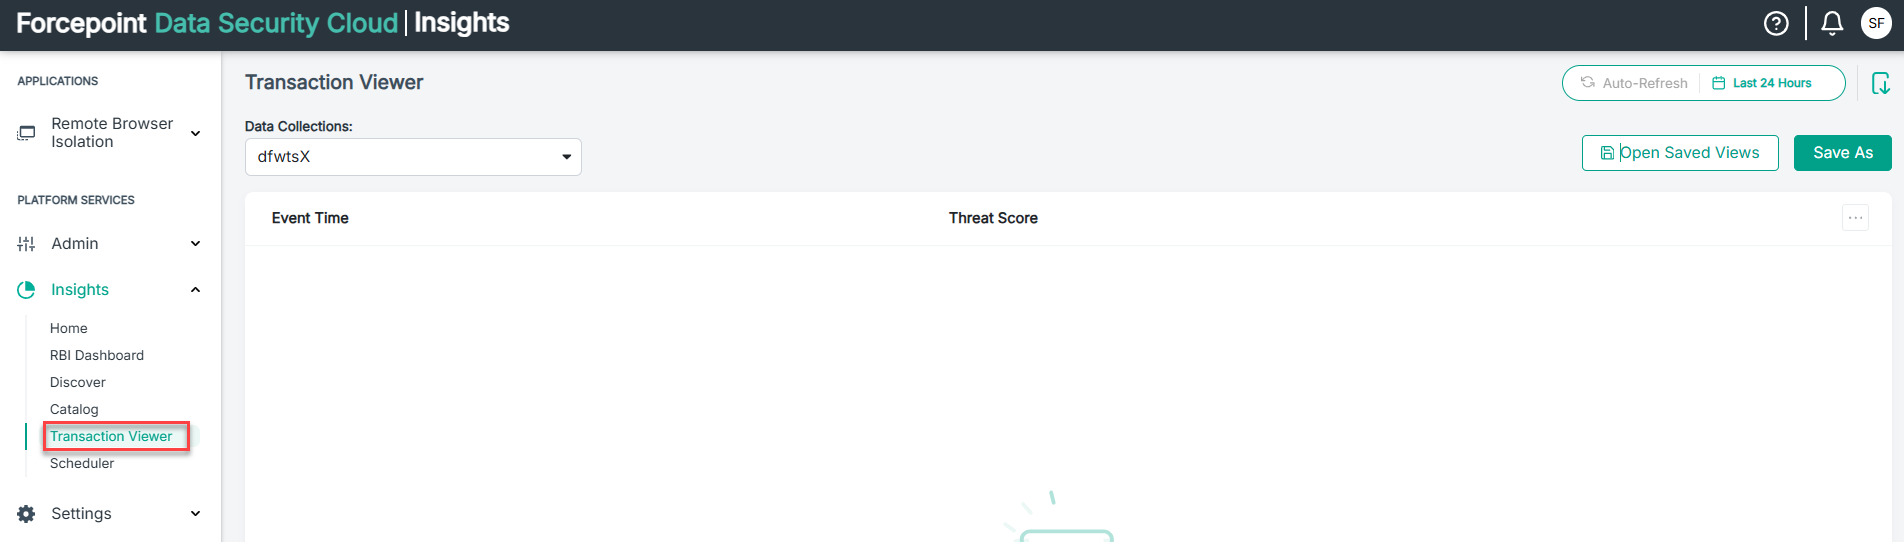
On the left navigation pane, click Transaction Viewer to open the Transaction Viewer page.
-
From the Data Collections drop-down, select one of the data collection to view related logs.
The Data Collections drop-down displays all the data collections for each product enabled on your tenant.
By default, Transaction Viewer displays the details of 25 row entries for a period of 30 days.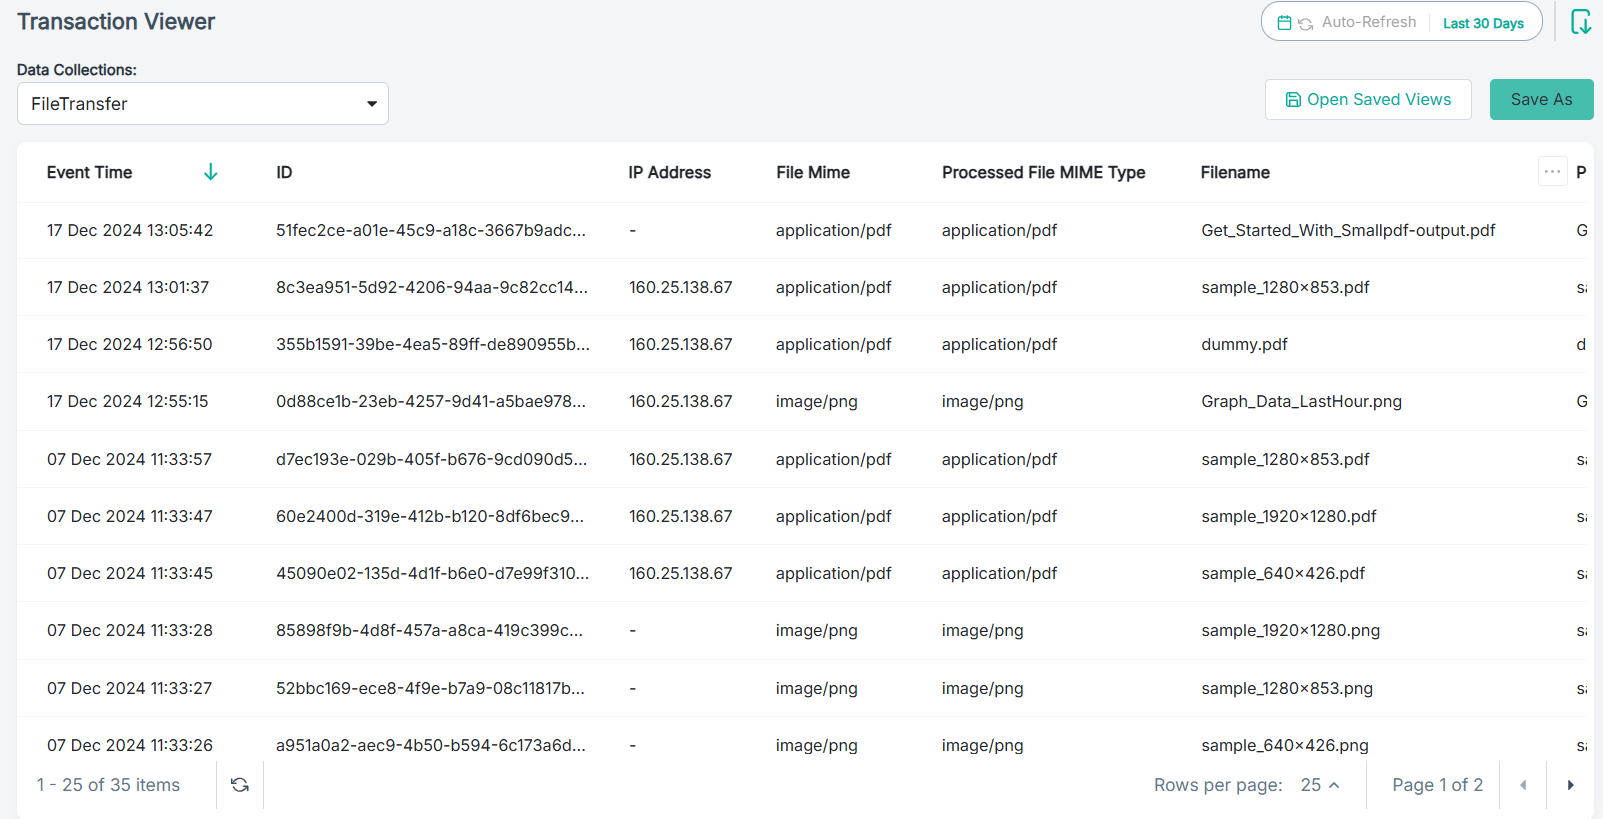
-
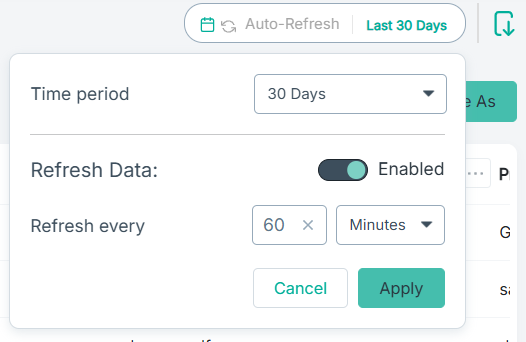
Set the time period for your transaction view:
-
Click the time filter.
The dialog opens.
-
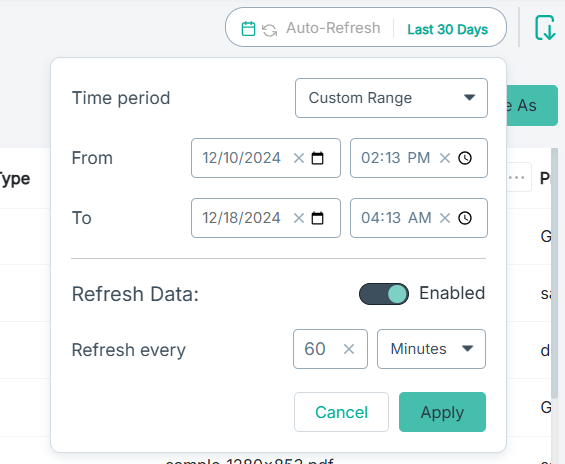
If you have selected the Custom Range option, then:
- To select a From date for your transaction view, enter a date in mm/dd/yyyy format or select the date from the calendar and then click the time icon to select the time range in 12 Hour format.
- To select a To date for your transaction view, enter a date in mm/dd/yyyy format or select the date from the calendar and then click the time icon to select the time range in 12 Hour format.
-
Click the time filter.
-
To filter a column, do the following:
-
Hover your mouse pointer on the required column and then click
 .
.
- Enter the filter name in the Type to search field or select one or more filter names from the drop down.
- Click Apply.
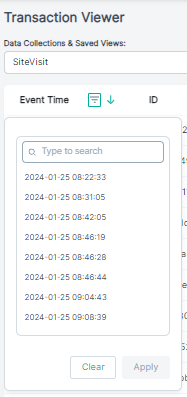
You can click Clear to remove the filter.
-
Hover your mouse pointer on the required column and then click
-
To export the details to CSV format, click
 .
The transaction log details export to your system in CSV format.
.
The transaction log details export to your system in CSV format.