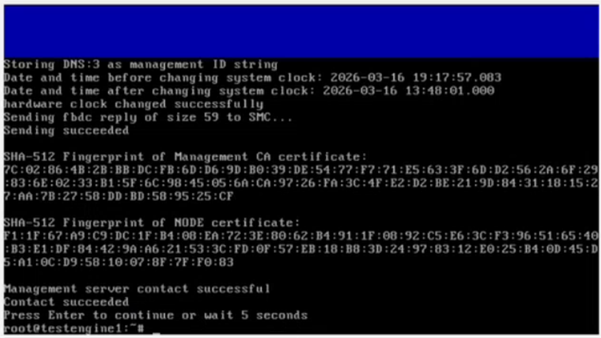
Configuring the Security Engine
Complete the physical setup of the security engine and establish a connection with the SMC cloud service.
Before you begin
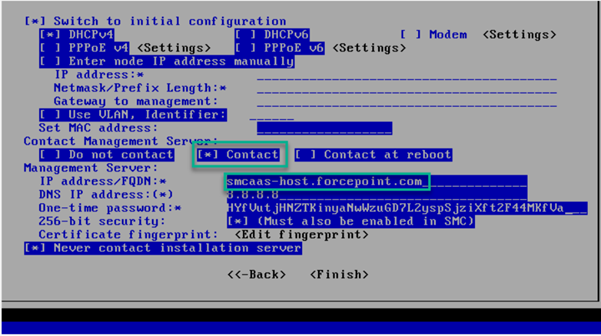
Ensure you have the SMC Cloud Service FQDN, OTP, and Fingerprints from the downloaded engine.cfg file before proceeding.
Steps
-
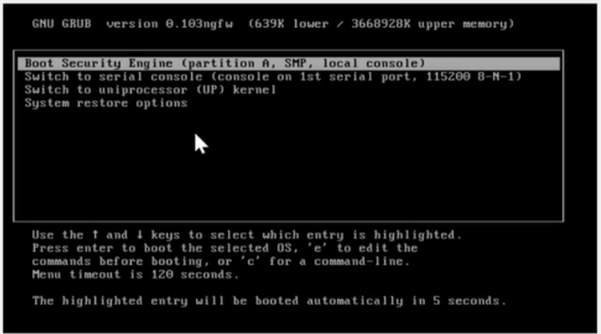
Power on the engine. Under the boot options, select Boot Security Engine (Partition A, SMP, Local Console).
-
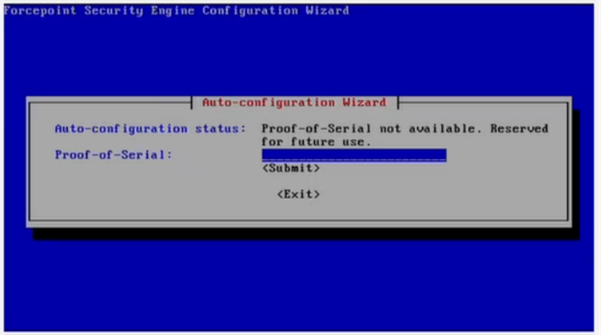
In the Auto-configuration Wizard window, click Exit if you do not have a Proof-of-Serial.
Note: Select the POS option only when using a physical appliance that has POS written in the DMI data from the factory.
-
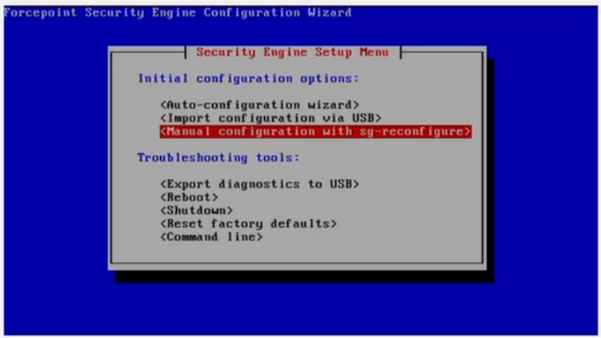
In the Security Engine Setup Menu, select Manual configuration with sg-reconfigure and press Enter.
-
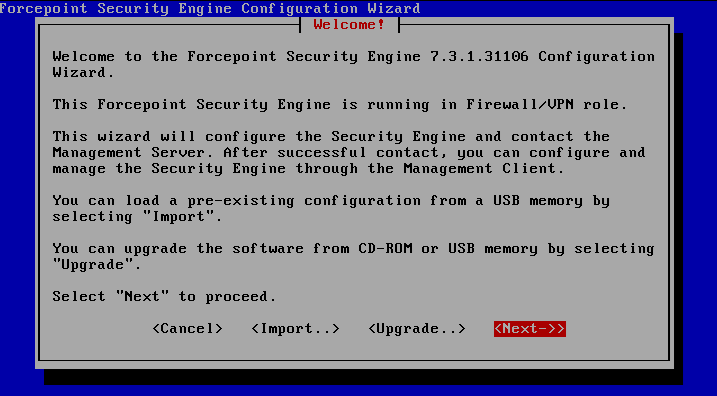
In the Welcome window of the Forcepoint Security Engine Configuration Wizard, click Next.
-
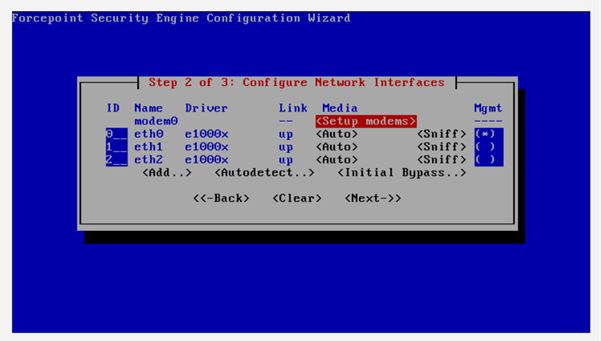
Review the network interface configuration. Confirm that Interface ID 0 is set as the management interface (default) and click Next.
Note: Three interfaces are required for the firewall's DHCP server to bind to a specific interface, enabling the firewall to identify which network segment to listen on and assign IP addresses to. Your setup may look different depending on your hardware architecture.
-
Click Finish.
-
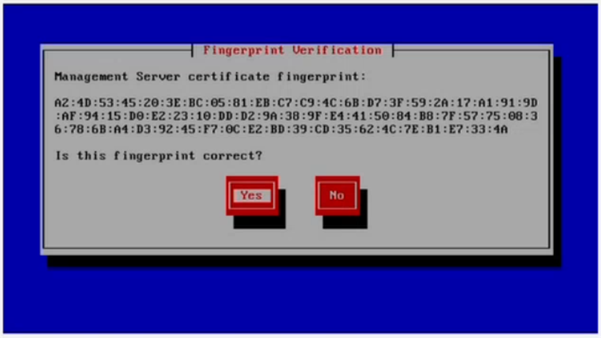
On the Fingerprint Verification screen, verify that the received certificate fingerprint matches the fingerprint in your engine.cfg file, then press Yes to accept the Management Server certificate fingerprint.
-
Confirm that the message Contact succeeded appears.
Note: This may take a few seconds.