Creating AWS roles
You will need to create an AWS Role in order to provide access to the management console when going through Forcepoint Data Security Cloud | SSE.
Steps
-
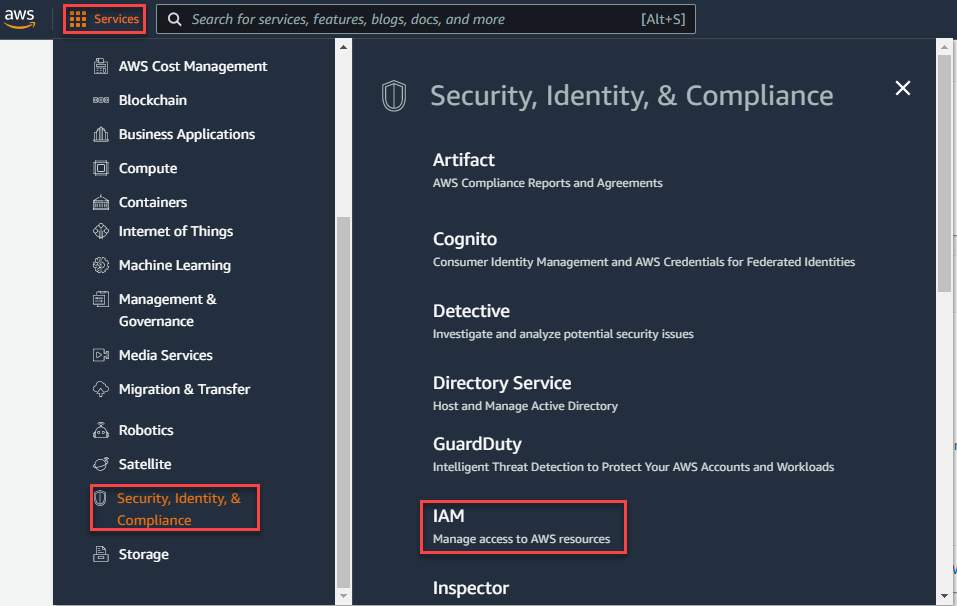
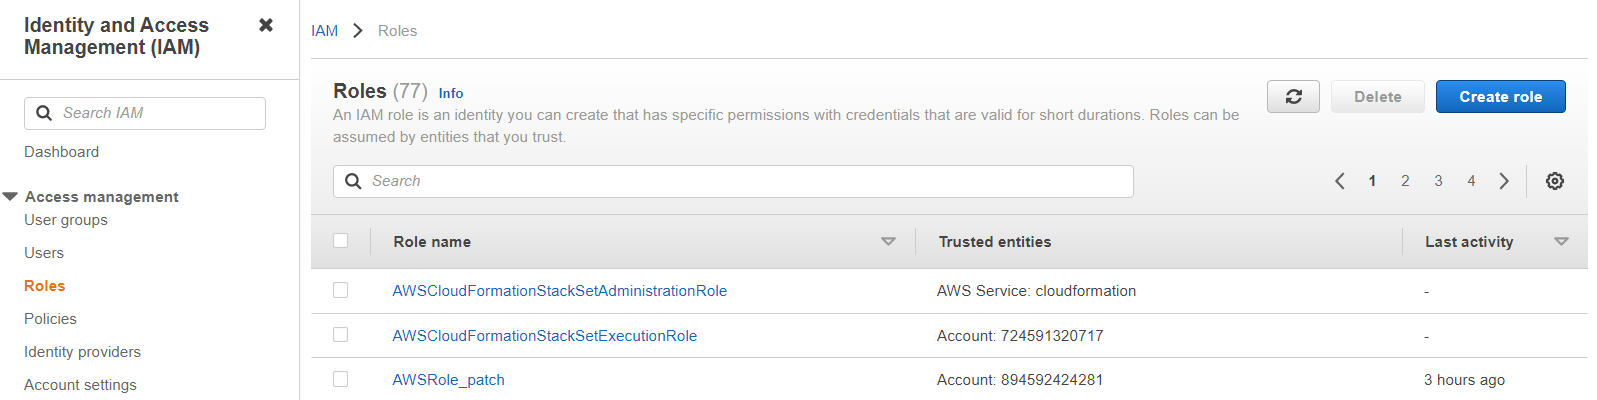
Navigate to the page and further navigate to and then click Create role.
-
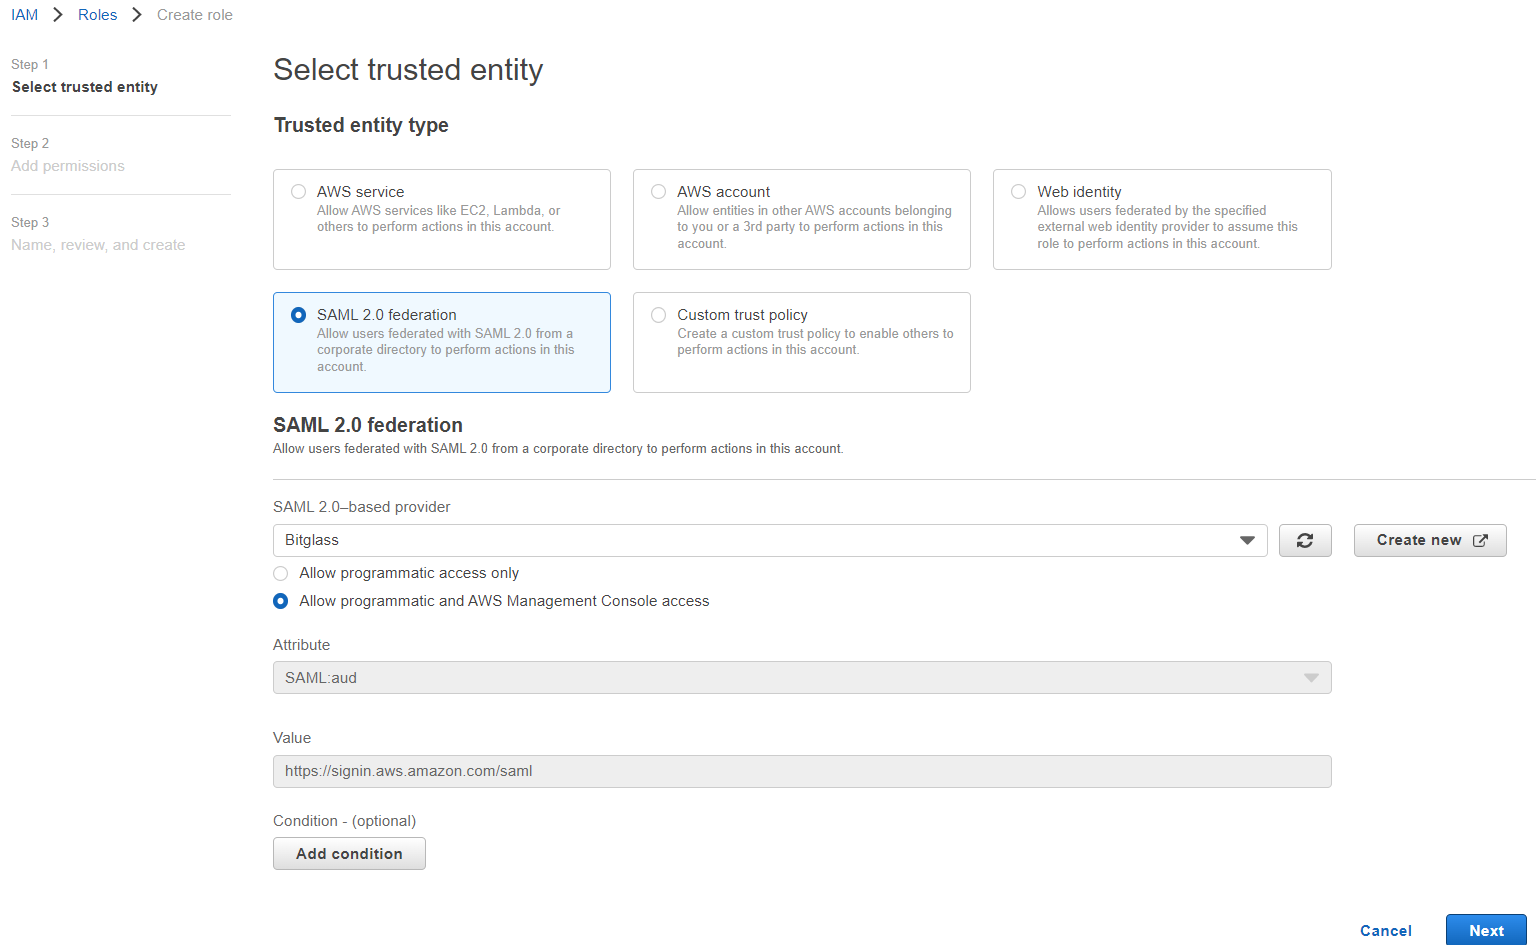
With the SAML Provider selected, check off the Allow programmatic and AWS Management Console access option and you will notice that
the Attribute and Value fields will automatically populate. Leave Condition blank and click Next at the
bottom.
-
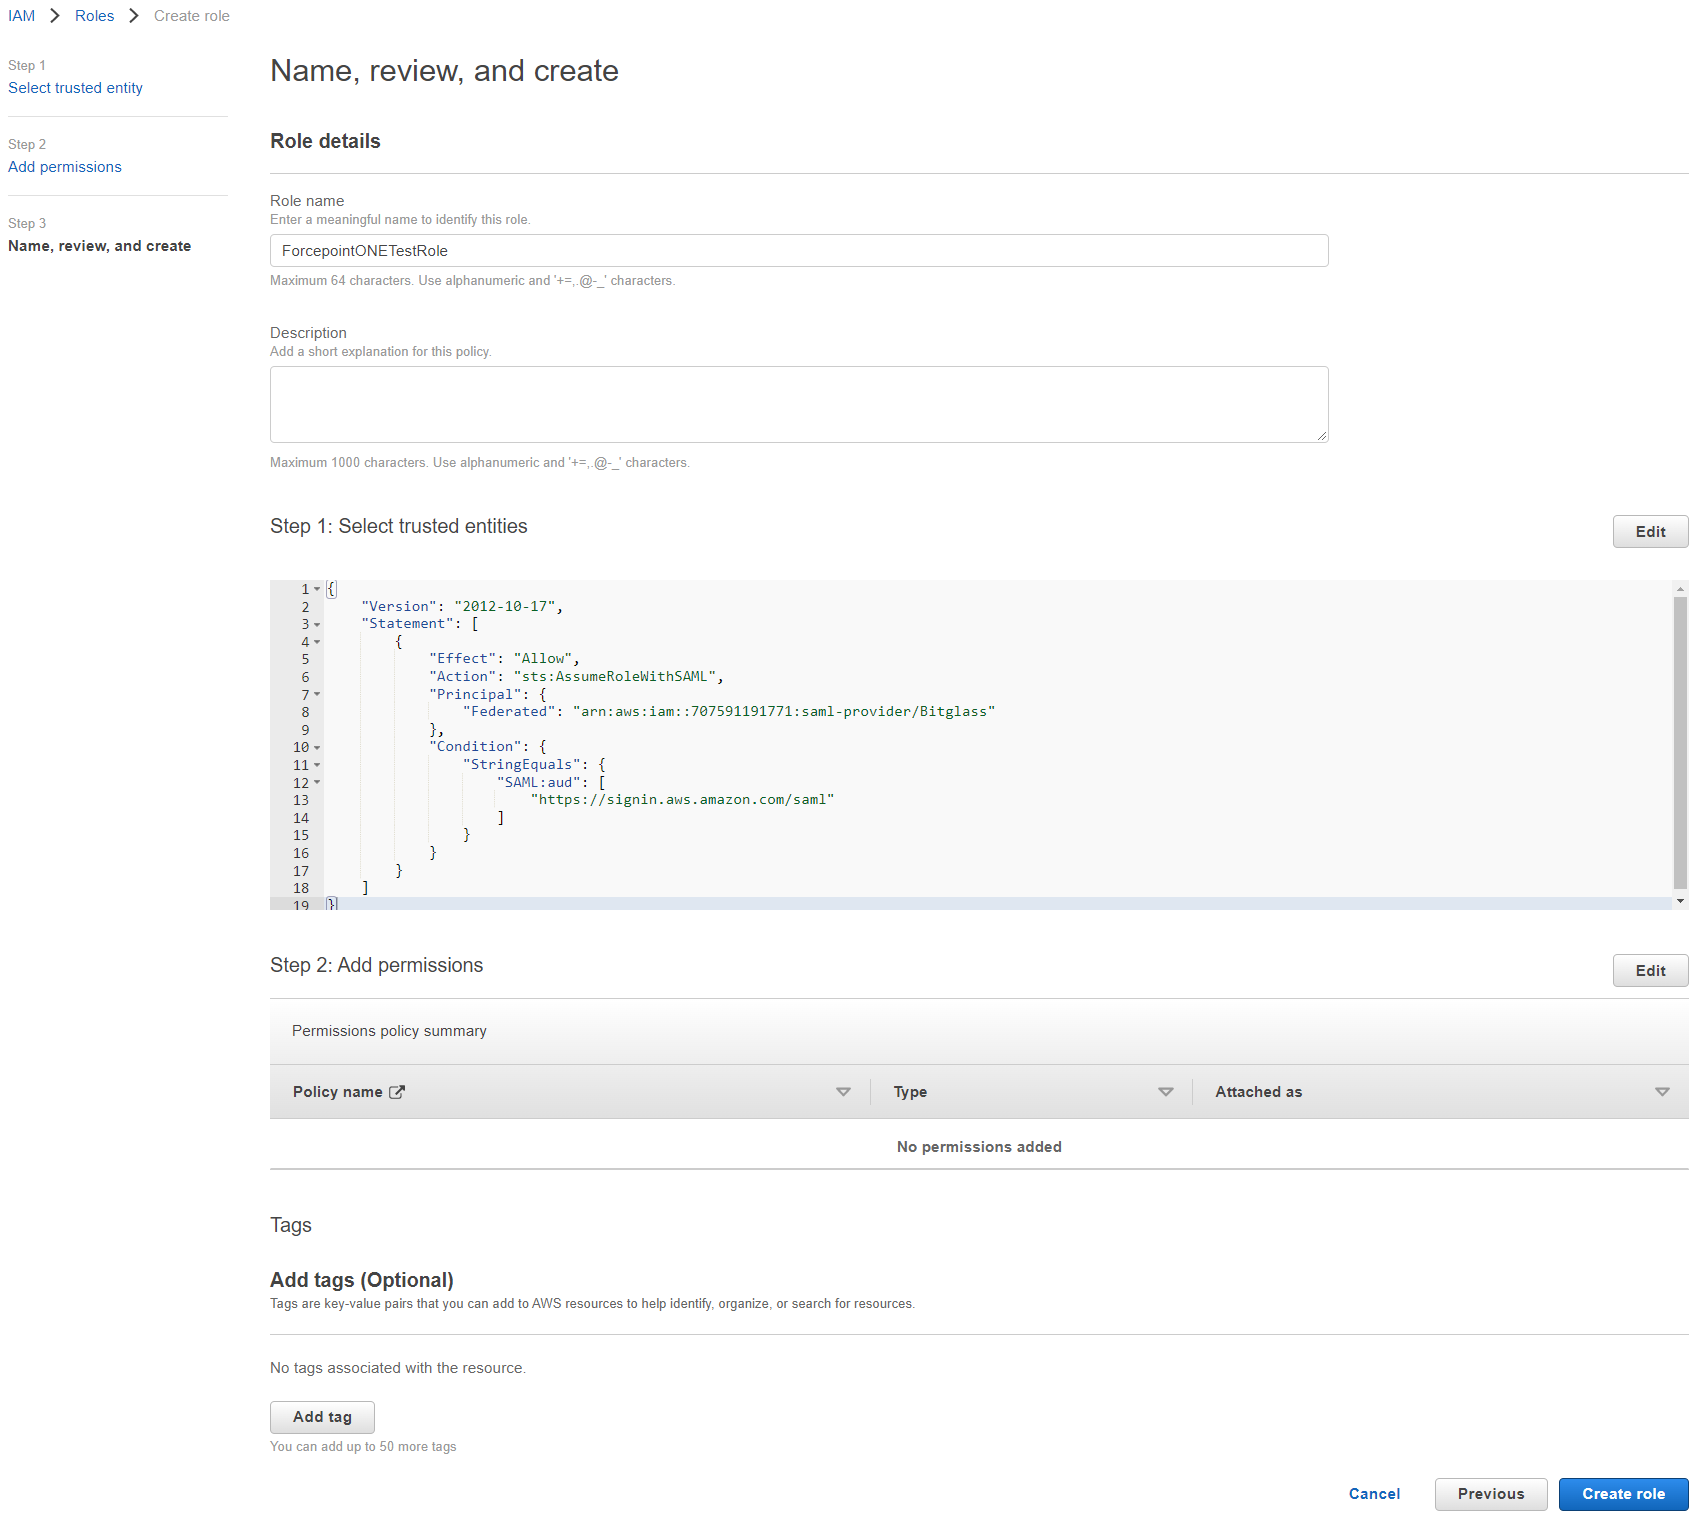
You can choose to grant whatever permissions you want for the role. This role will be used by admins accessing the AWS console via Forcepoint Data Security Cloud | SSE. You can create a role to give them only read access,
full admin permissions, or anything in between. Once you have chosen your permission, click Next then on the next page provide a name (and description
optional) and then click Create Role at the bottom.