Amazon Web Services: Deploying Forcepoint Data Security Cloud | SSE as a SAML IdP
Configuring Amazon Web Services as an IaaS app protected by Forcepoint Data Security Cloud | SSE is similar to the configuration for SaaS apps.
First, when enabling SAML SSO cutoff to force authentication through Forcepoint Data Security Cloud | SSE, AWS SSO requires that several claims be sent via "Attributes" during the authentication process, with two of the attributes being specific to AWS roles. Second, there is no manual way to configure a SAML URL as an IdP in AWS. Instead we provide a downloadable XML config file that you can upload to AWS to setup Forcepoint Data Security Cloud | SSE as the IdP.
Steps
-
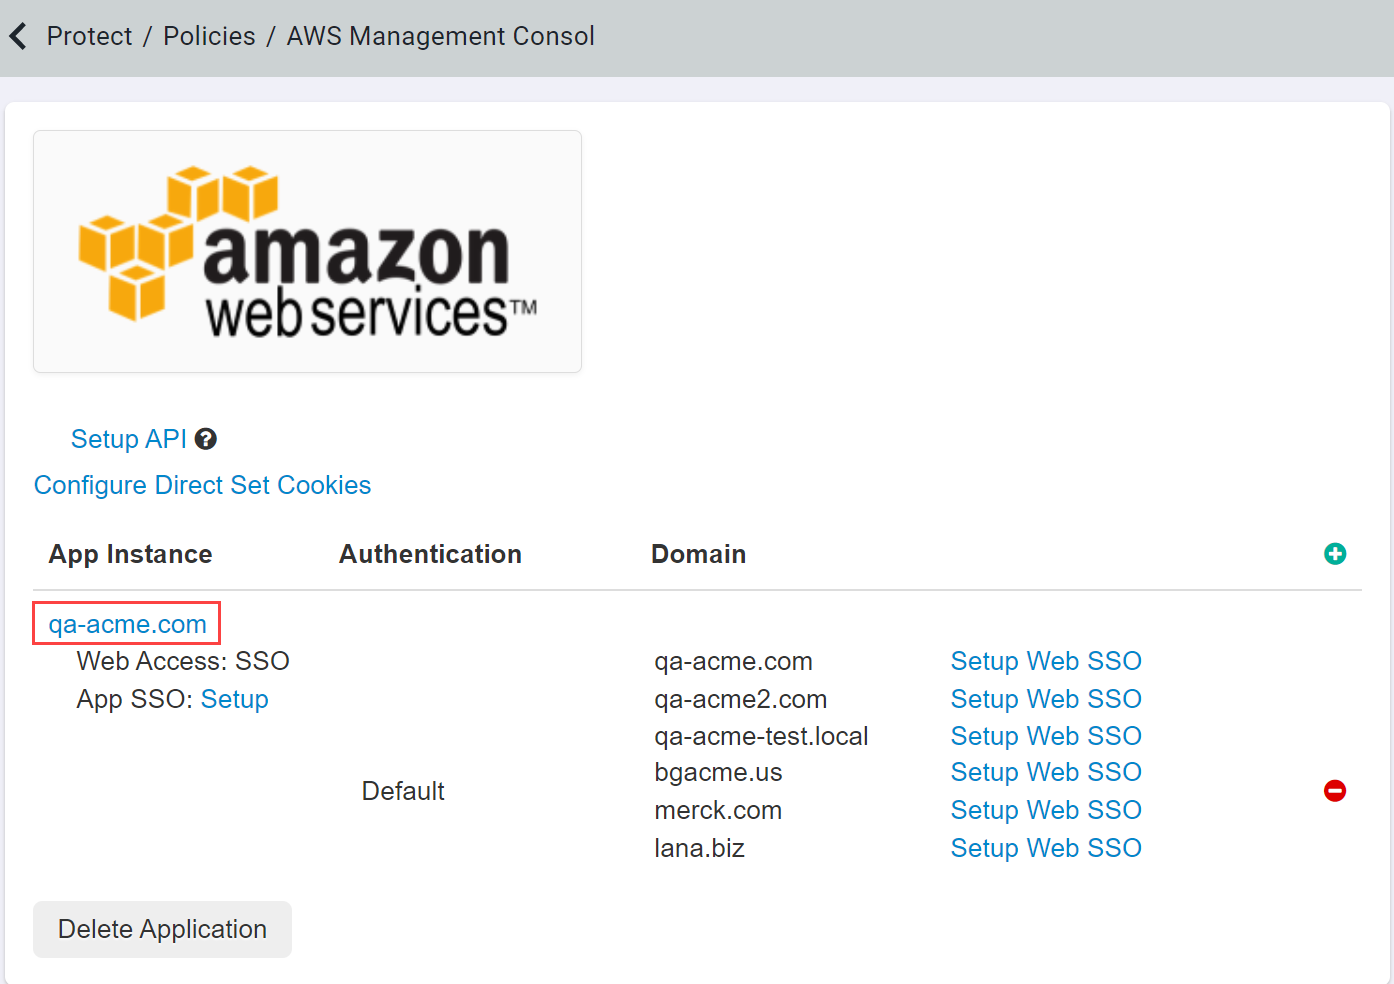
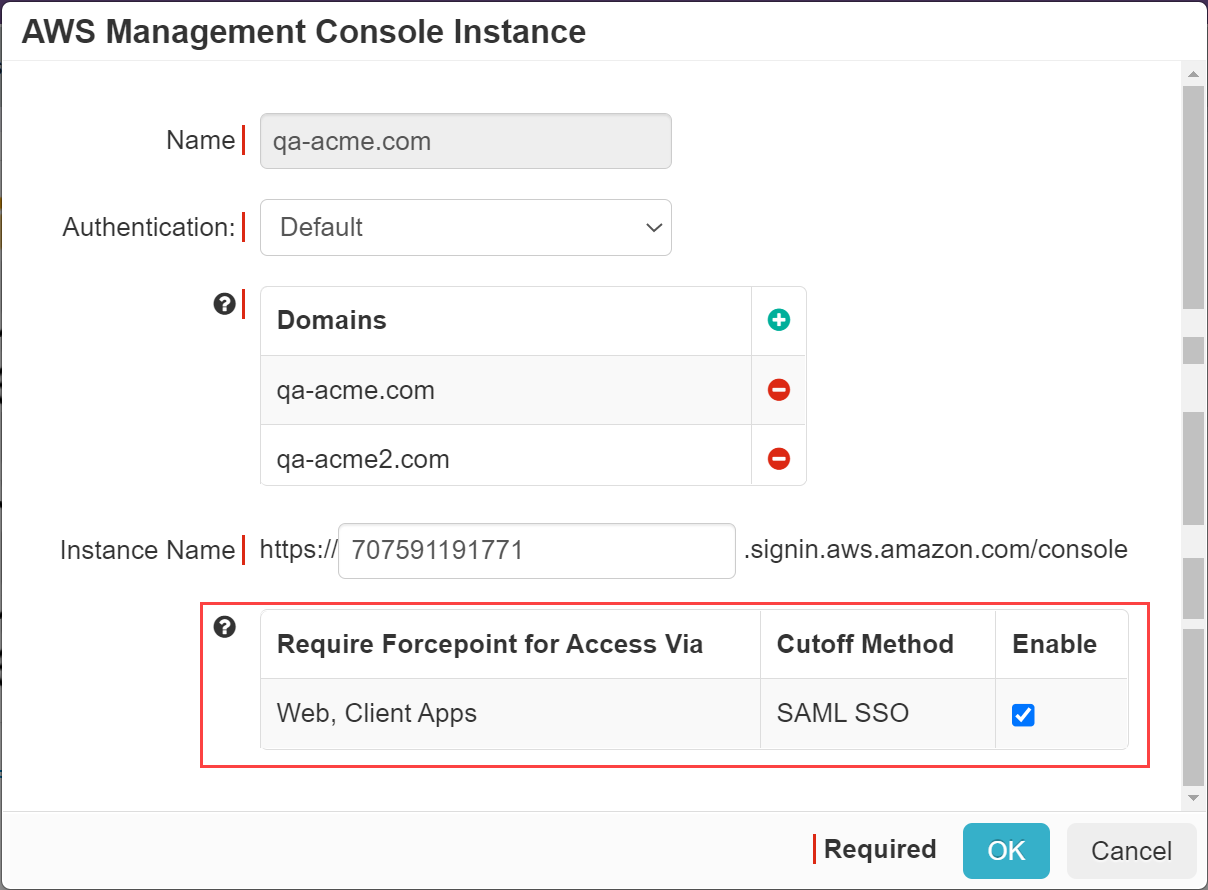
Navigate to your AWS application settings page and select the app instance to open the settings dialog and
Enable SAML SSO.
-
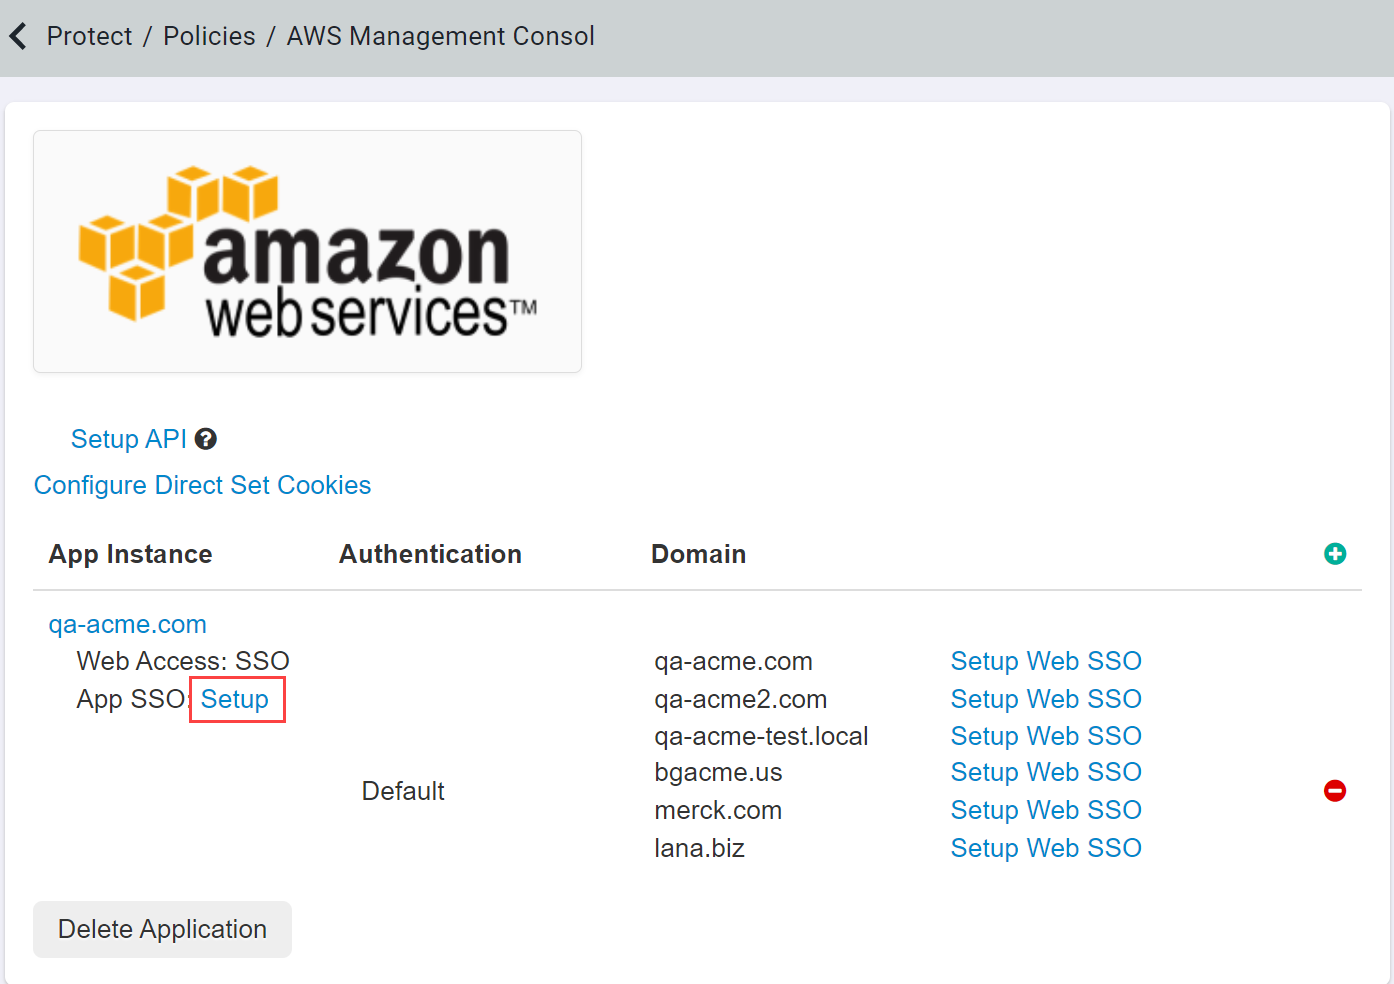
Once Cutoff has been enabled, you will be able to see the App SSO info where you can configure information such as the NameID being sent, the Provider ARN,
as well as any additional attribute statements. On the AWS settings page, select App SSO: Setup and then ensure that you provide the
Provider ARN.
-
The Provider ARN is important and required as it is the SAML Identity provider name to which users will be mapped in AWS.
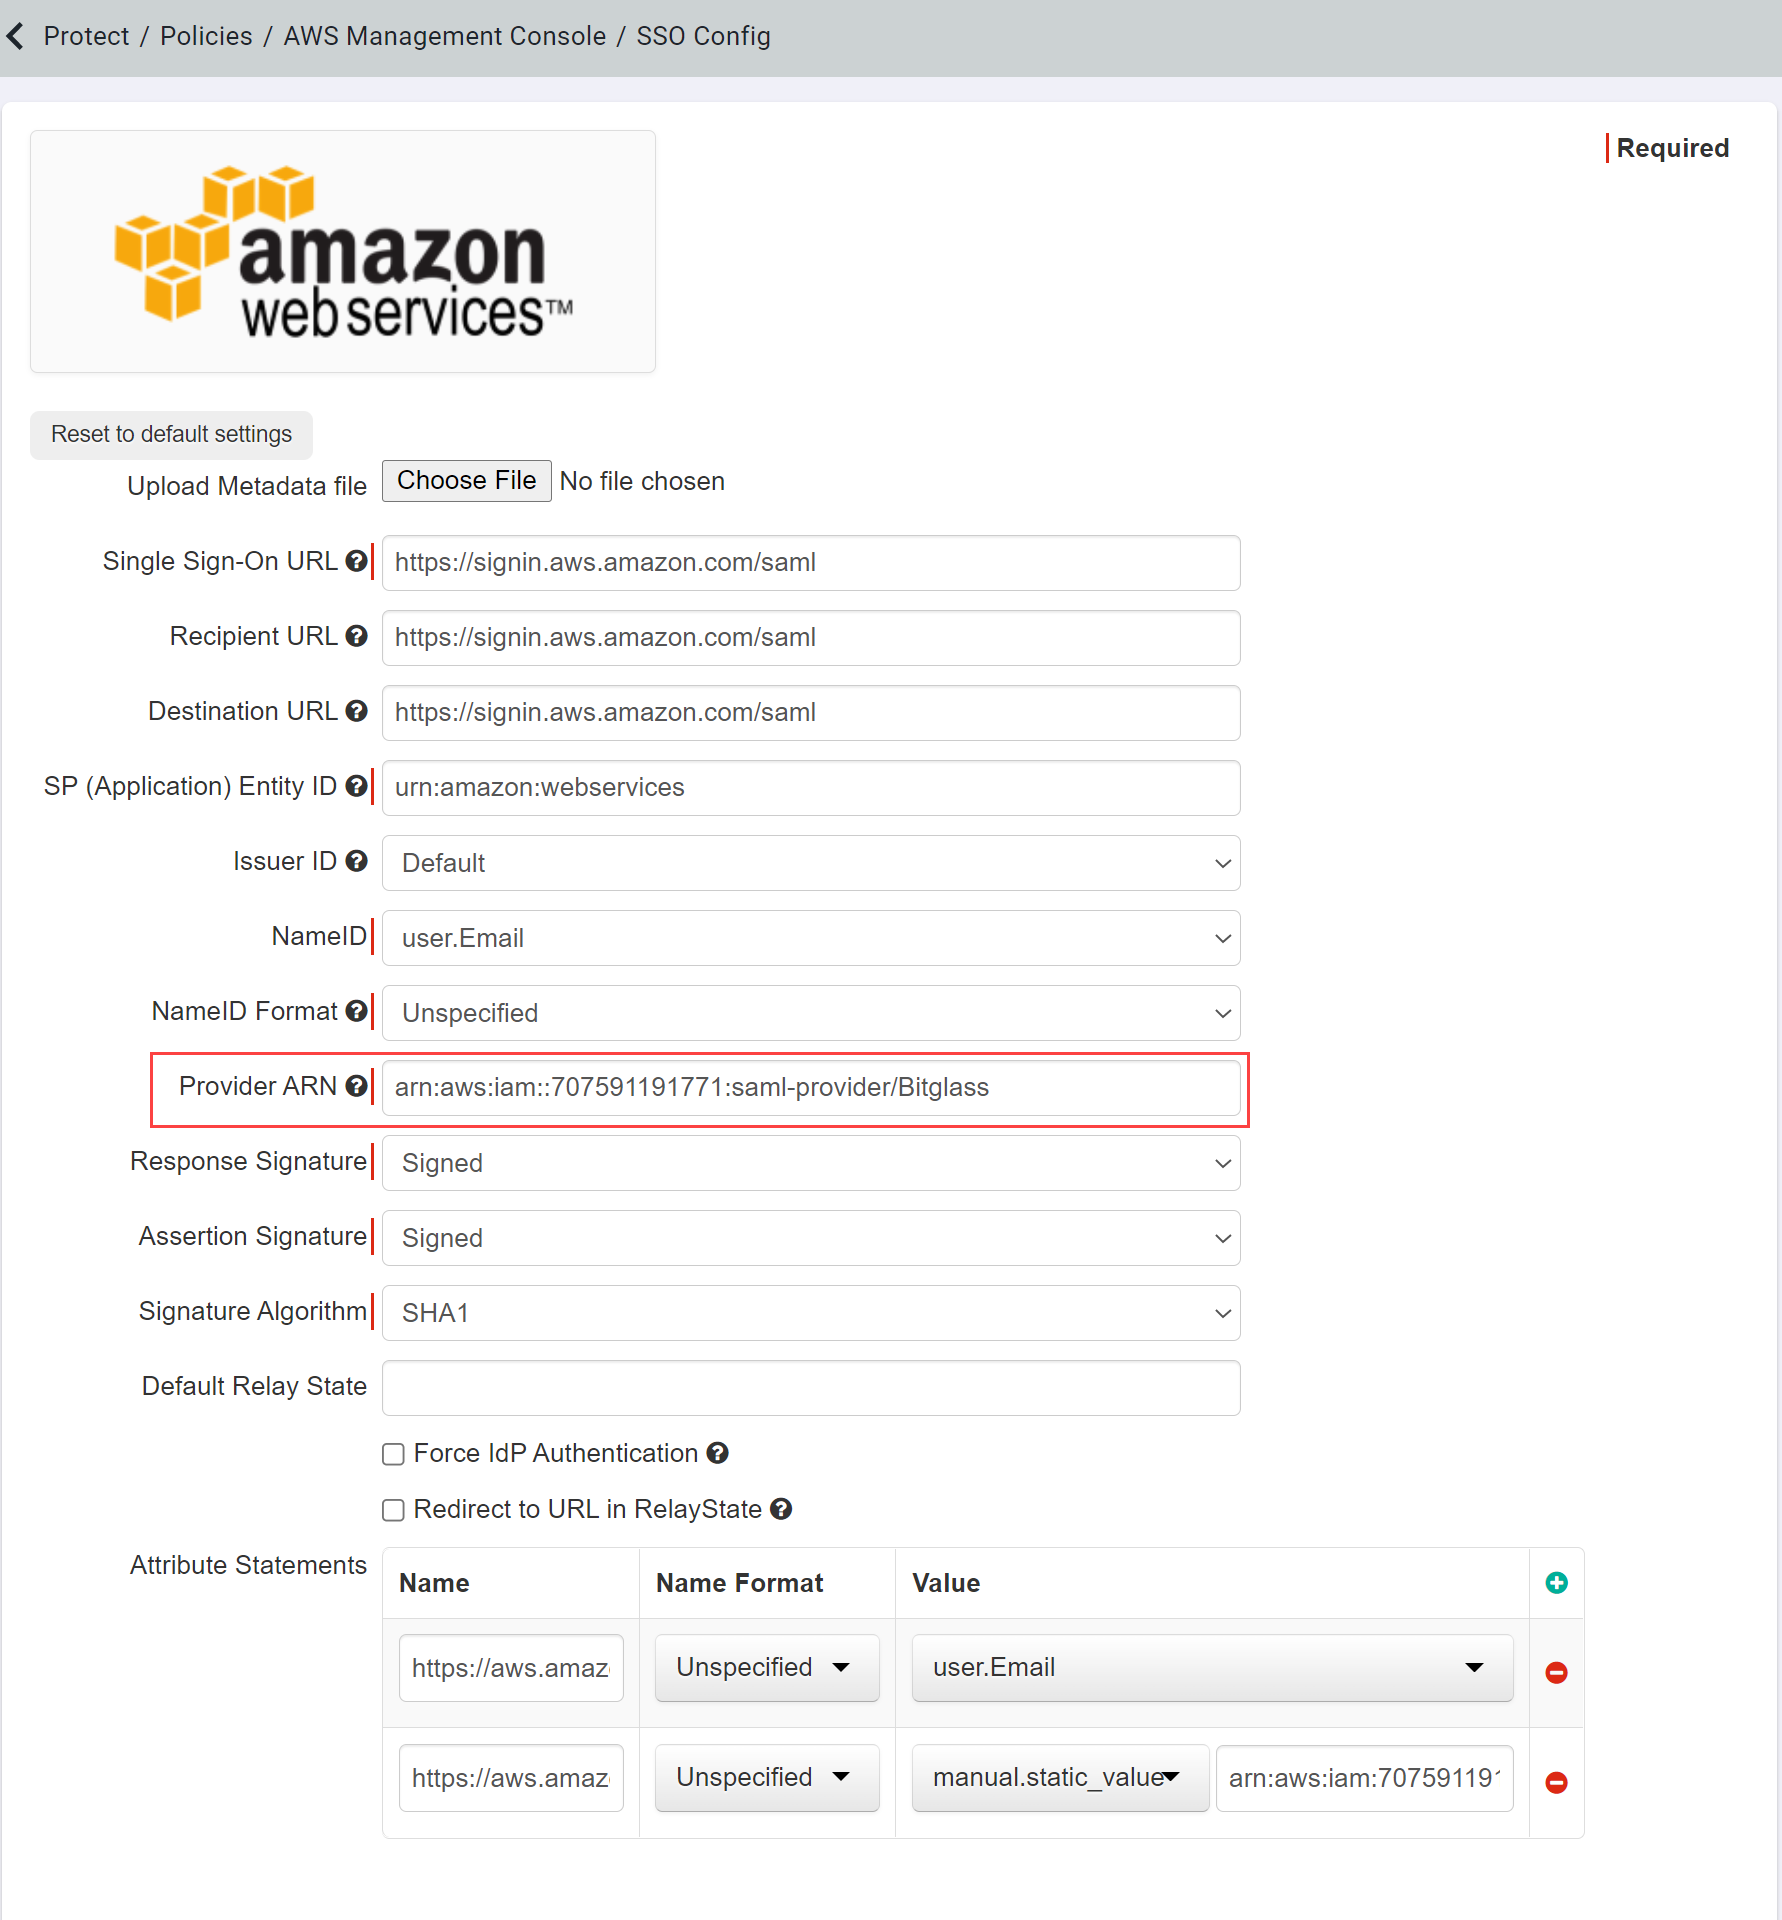 Note: If you leave this field blank, you will see an error when trying to create a Secure Access policy on AWS preventing you from adding any policies.
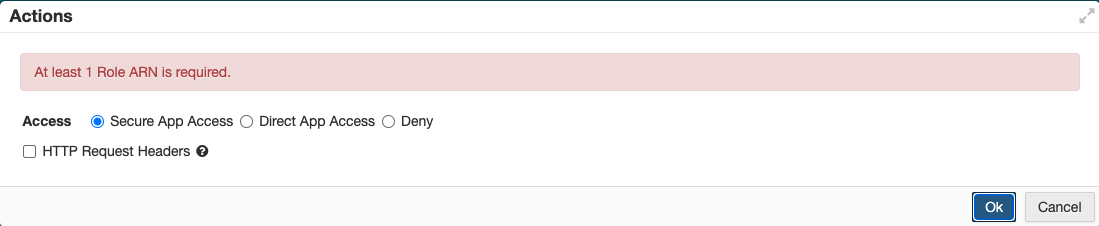
-
The Provider ARN is important and required as it is the SAML Identity provider name to which users will be mapped in AWS.
-
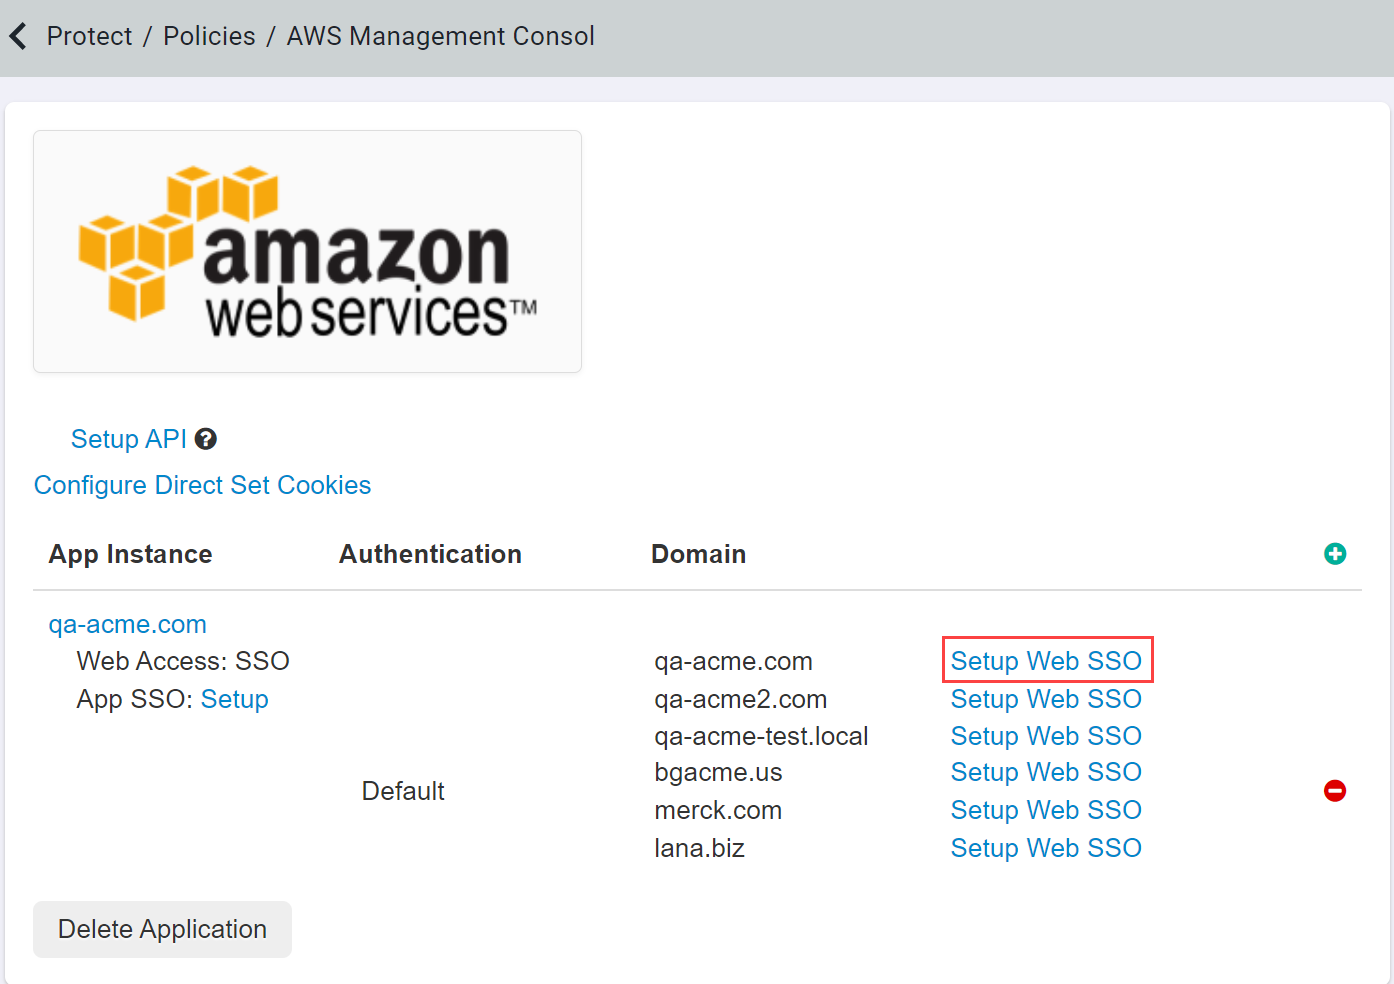
After you have configured the settings, you will need to register Forcepoint Data Security Cloud | SSE as the SAML Identity Provider (IdP) with AWS. AWS does
not support manual configuration of SAML URLs so instead we provide a downloadable config file that you will upload to AWS. Back on the AWS settings page,
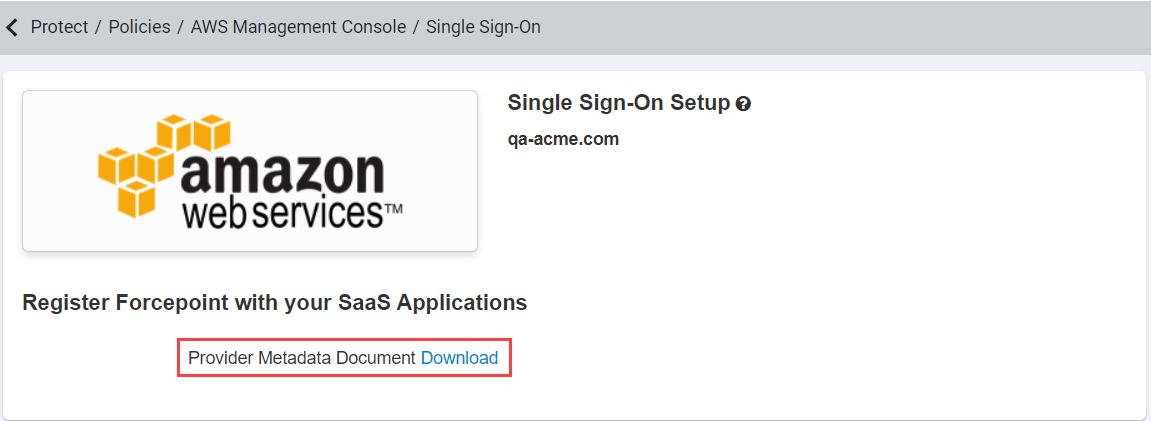
select Setup Web SSO on the desired app instance and click downloadto download the XML config file.
-
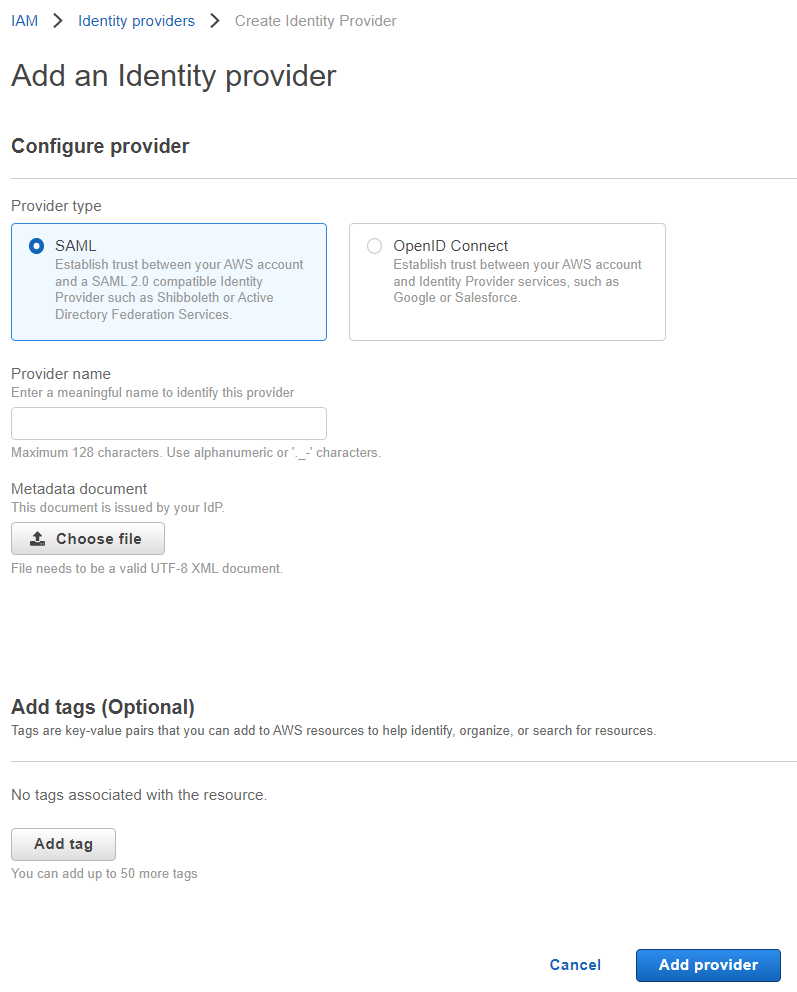
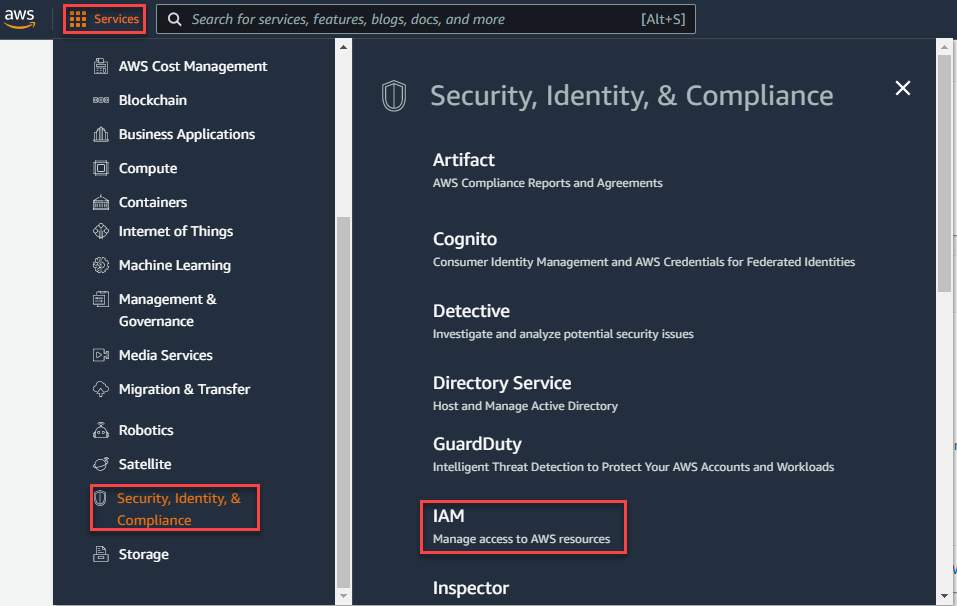
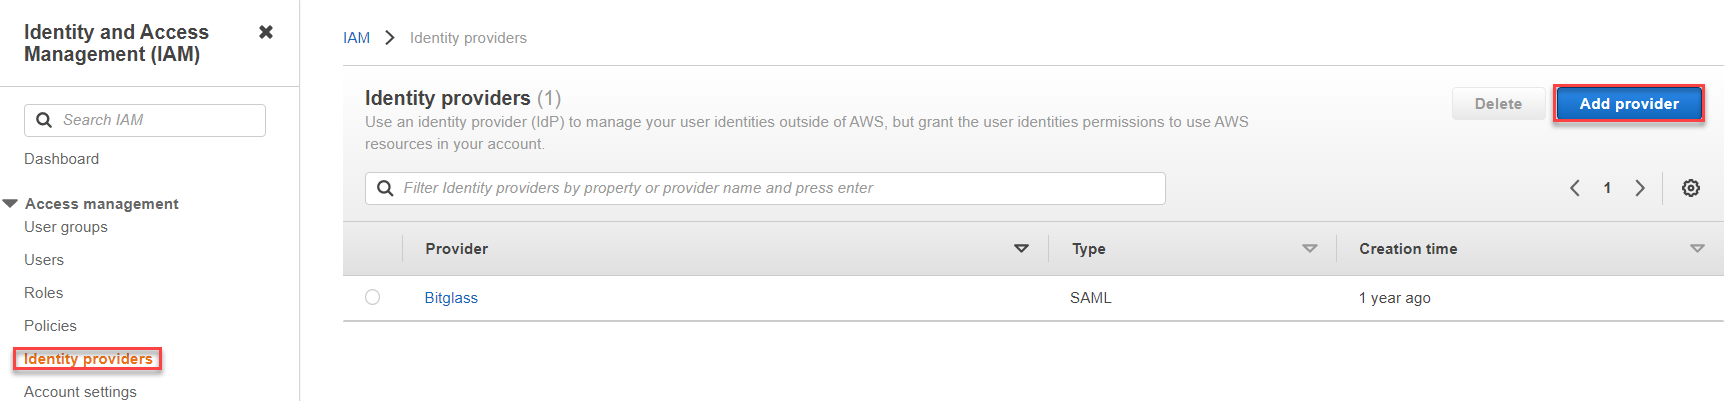
Once downloaded, login to your Amazon AWS console dashboard and navigate to page. On the IAM page, navigate to and then click Add Provider.
-
On the Add an Identity Provider page, select SAML as theProvider Type, enter a name and upload the XML config
file you downloaded above. Click Add Provider.