OneLogin: Configuring Forcepoint Data Security Cloud | SSE as a SAML SP
You can setup OneLogin as an IdP in Forcepoint Data Security Cloud | SSE for authentication.
Before you begin
Note: Forcepoint Data Security Cloud | SSE UI supports UTF-8 characters. However, the SAML
assertion only supports low-ASCII characters as attribute values. If an attribute value contains characters that are not low-ASCII, then SAML sign-in failures occur.
Steps
-
Navigate to .

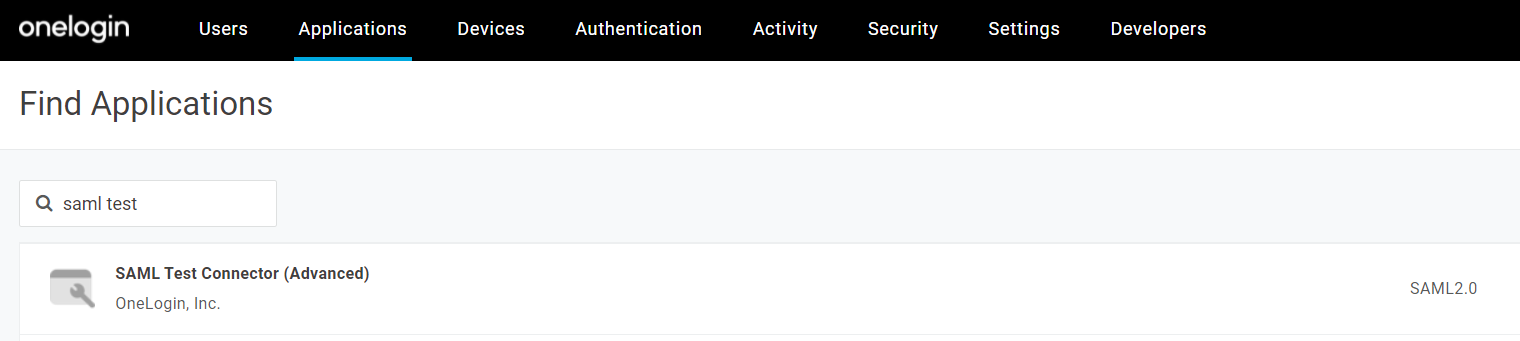
-
Search for SAML Test and select the SAML Test Connector (Advanced).
-
On the next page, provide a name for the app, choose to make the app visible to users logging into the OneLogin portal, upload image icons, and provide a description. Click
Configuration tab on the left and stop here.
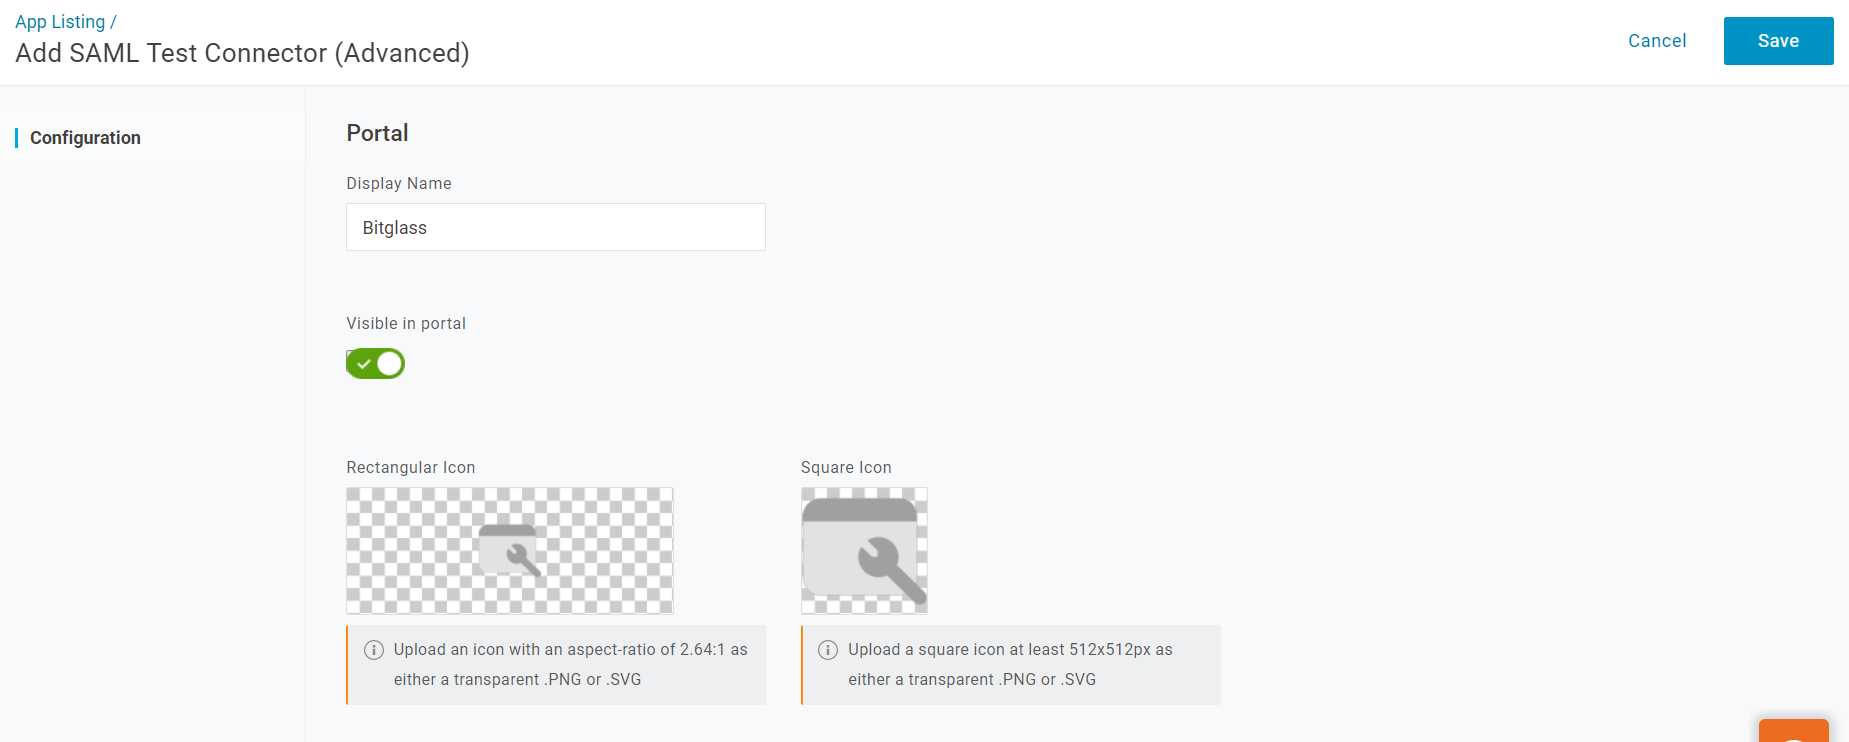
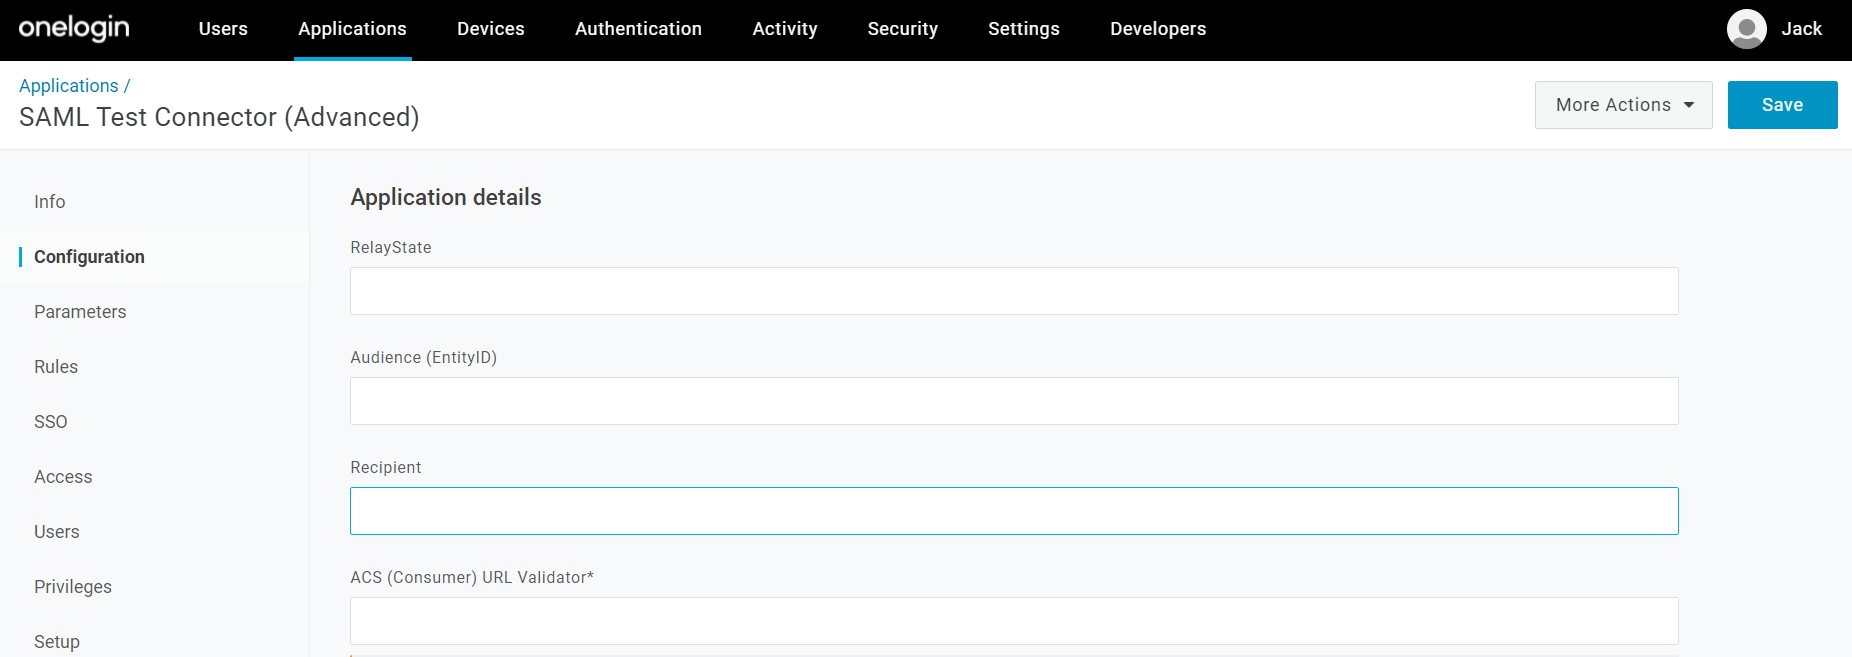
As you need information from Forcepoint Data Security Cloud | SSE to complete the OneLogin configuration, you should keep the OneLogin portal window open.
-
On the new browser window, login to Forcepoint Data Security Cloud | SSE admin portal and
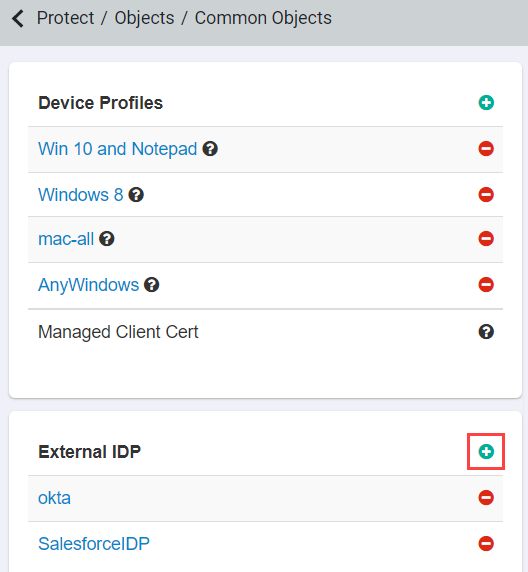
navigate to . Locate the External IdP card and click the green plus icon.
-
On the SAML Authentication page, enter a name for the IdP you are adding and then select OneLogin from the IdP
Type.
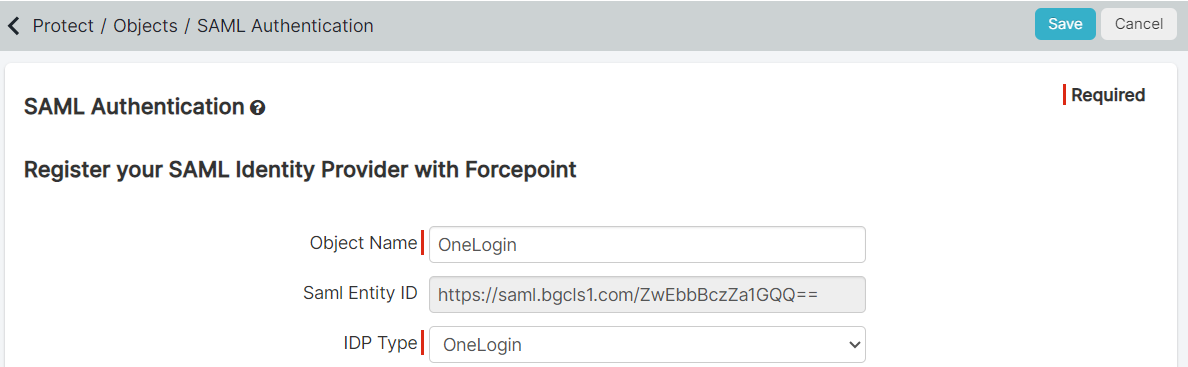
With that information entered, you will need to copy the SAML Entity ID for the OneLogin configuration.
-
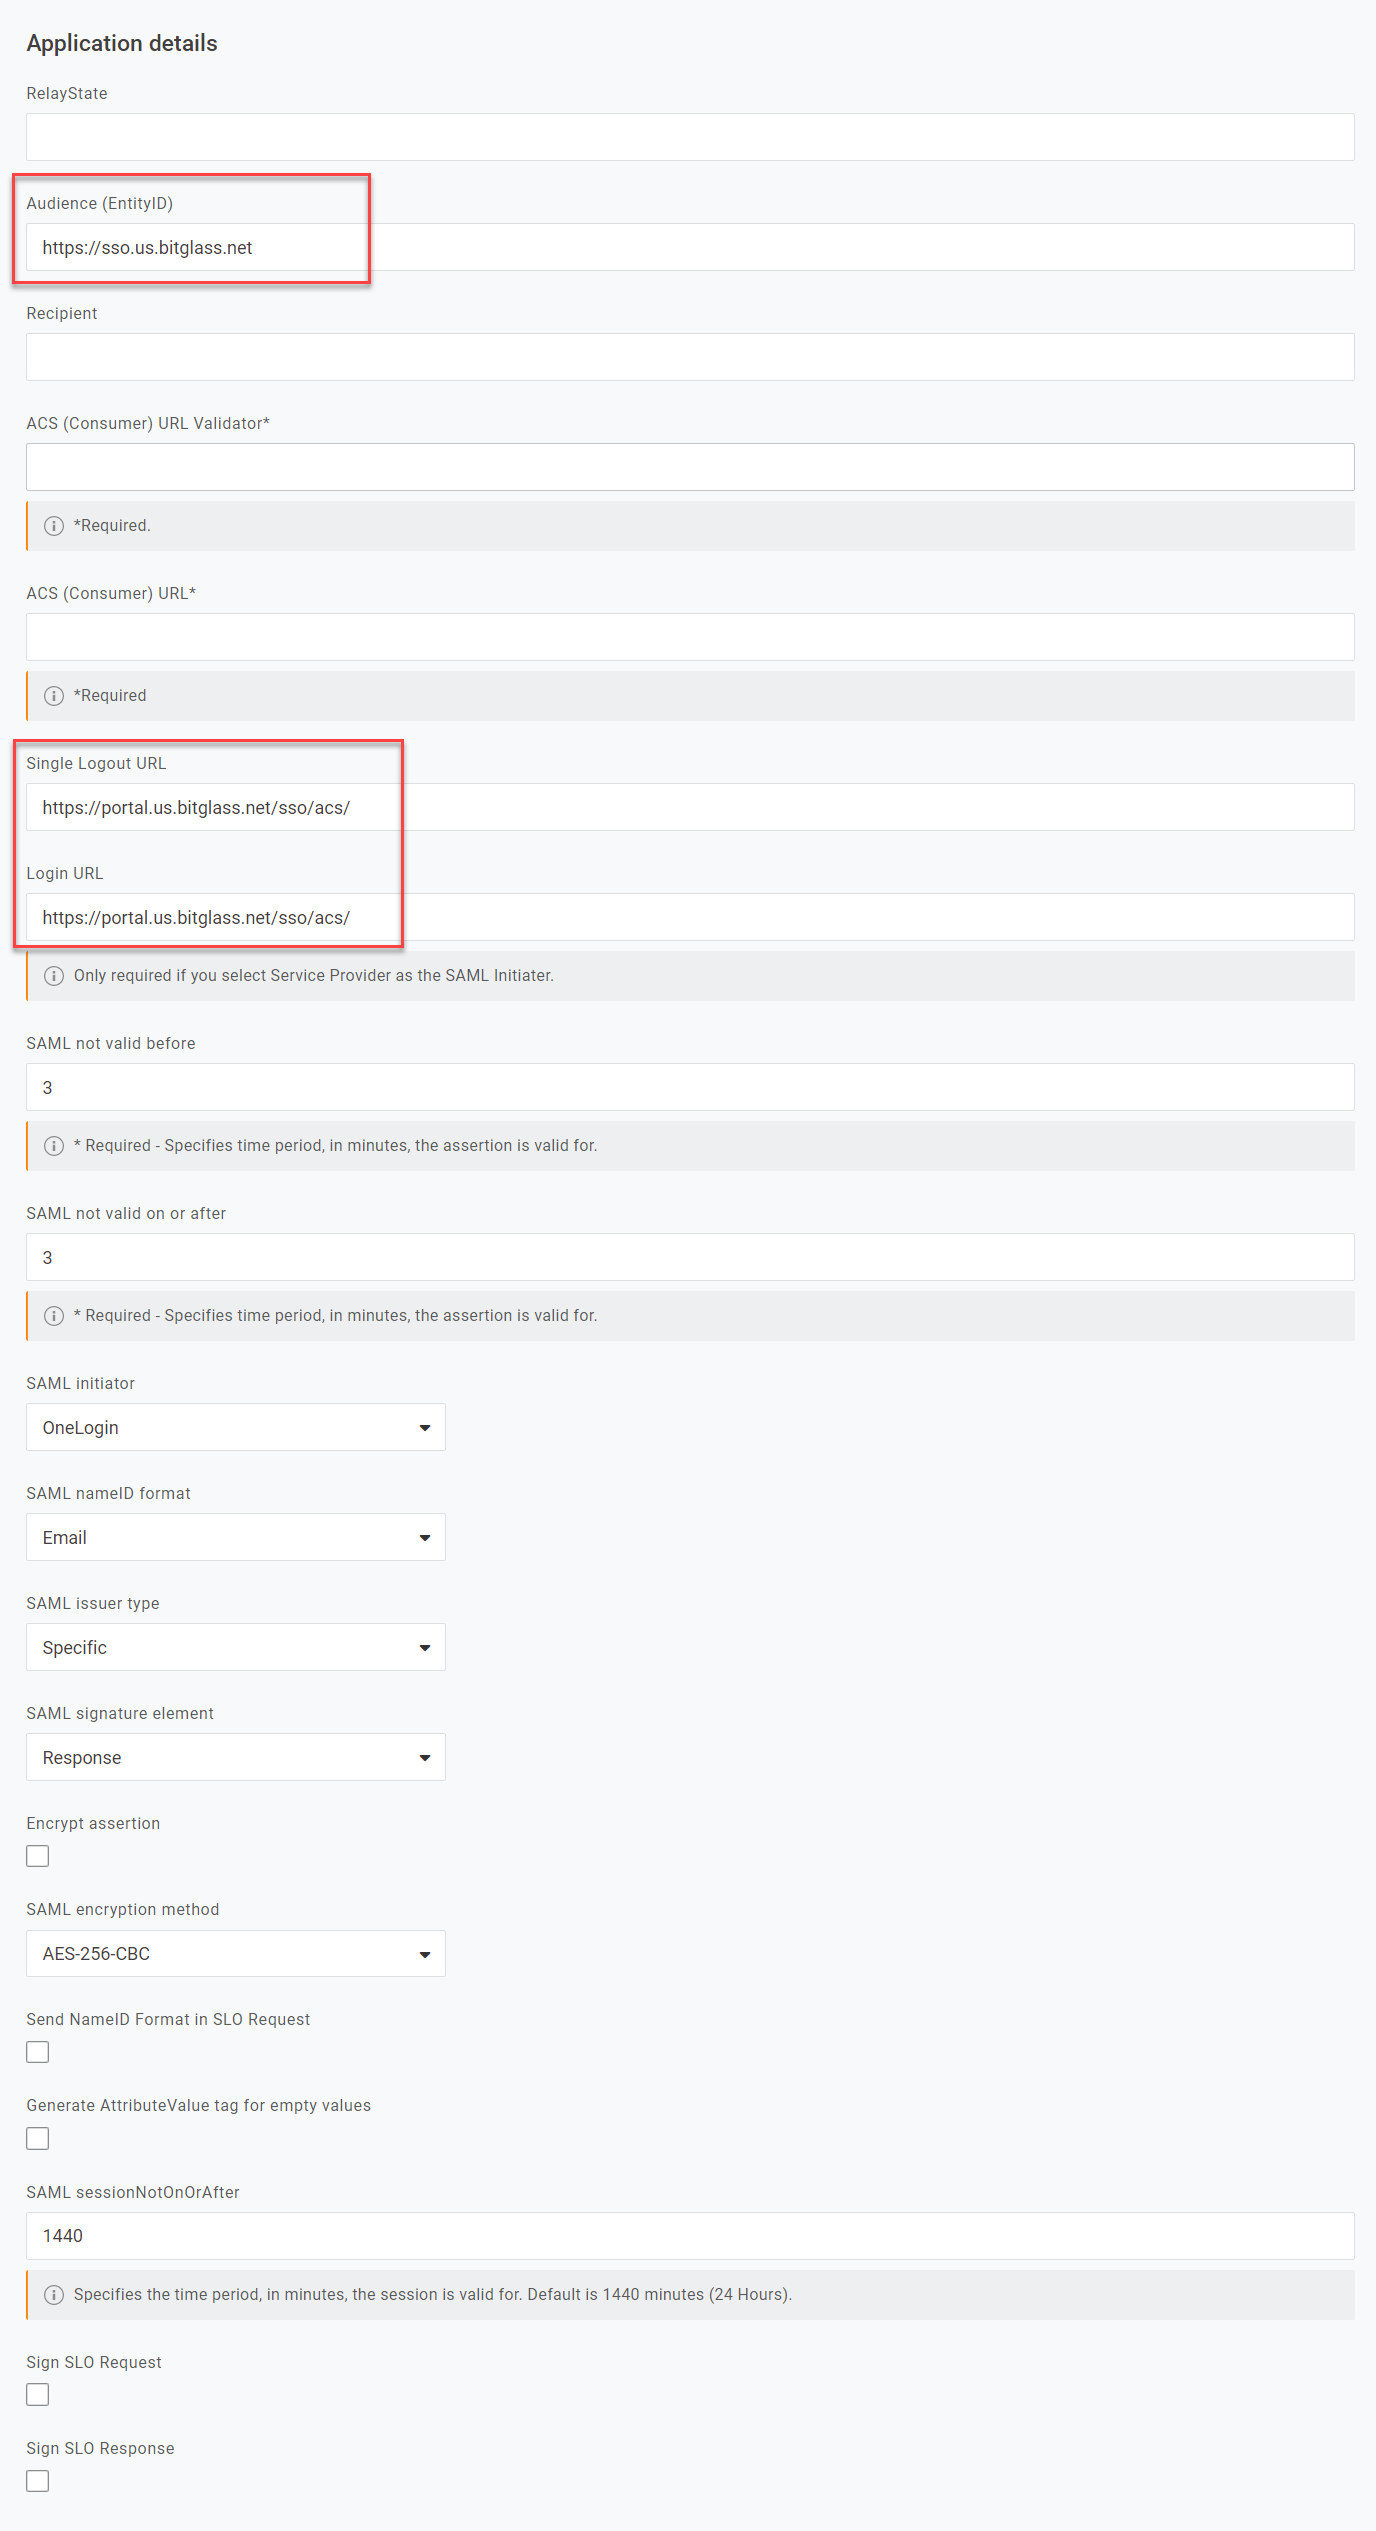
Back on the OneLogin window, copy the SAML Entity ID from the Forcepoint Data Security Cloud | SSE OneLogin configuration page and paste it into the
Audience (Entity ID) field. Scroll down a bit and enter the https://portal.bitglass.com/sso/acs/ URL for both the Single LogoutLogin URL and Login URL.
-
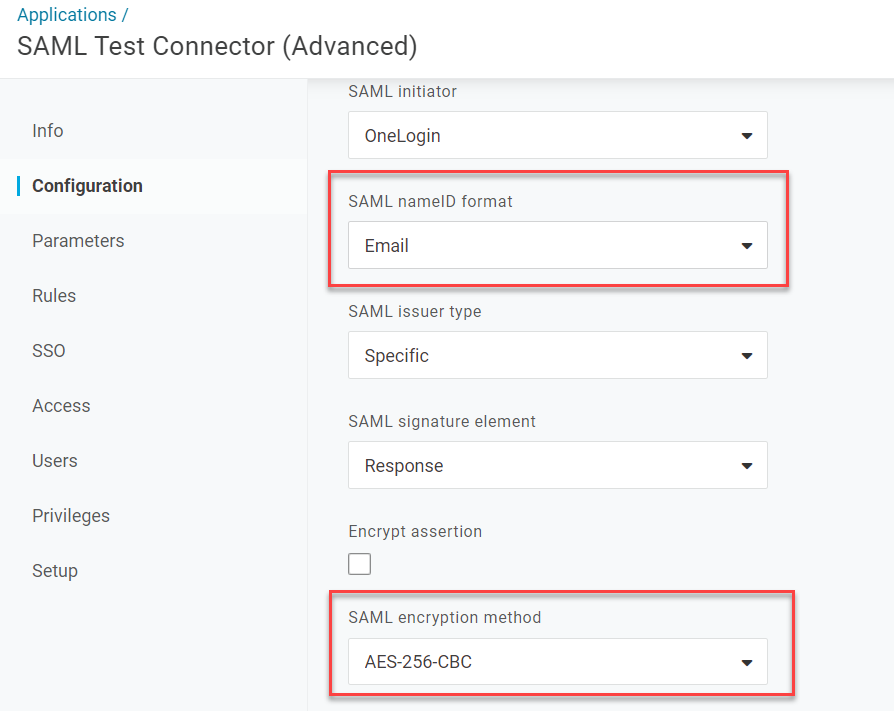
Leave the rest of the configuration as default though make sure that SAML nameID format is set to Email and you can set
SAML encryption method to AES-256-CBC. Once done, click Save at the top right.
-
Click the Parameters tab on the left and verify that NameID is set to Email.

-
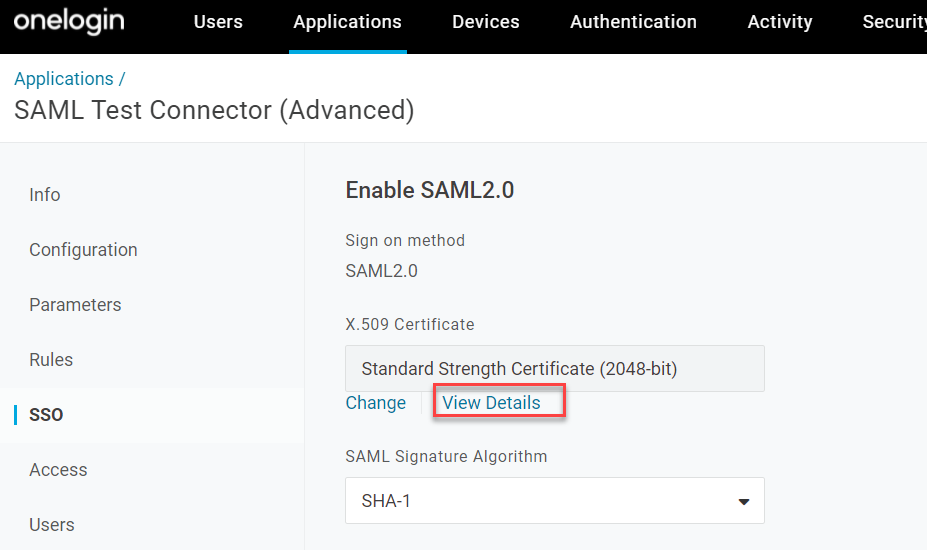
On the SSO tab, you will need all of the information from this page to add to the Forcepoint Data Security Cloud | SSE portal configuration. First you need to view the
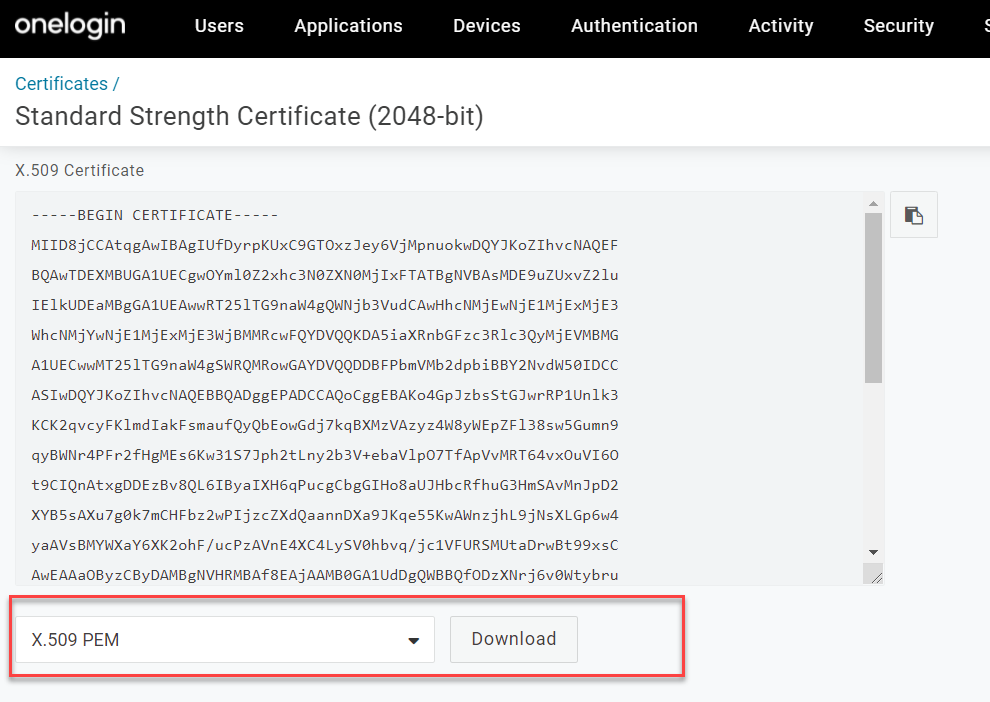
certificate in more detail to download it (recommend opening it in a new tab as OneLogin makes it difficult to back out of that page). Make sure the format is X.509
PEM and download.
-
Back on the SSO page, scroll down as you will need to copy over the field information into Forcepoint Data Security Cloud | SSE.
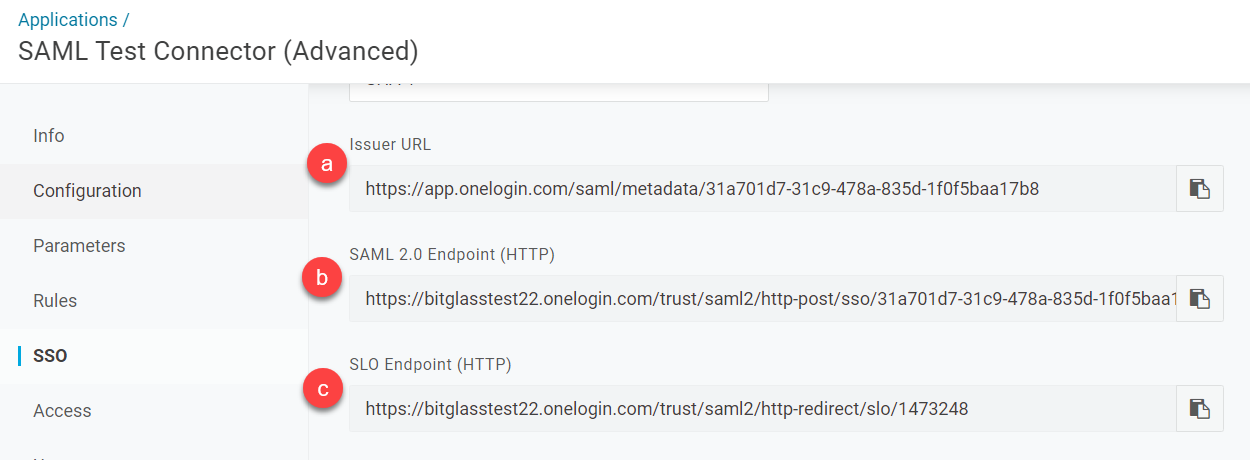
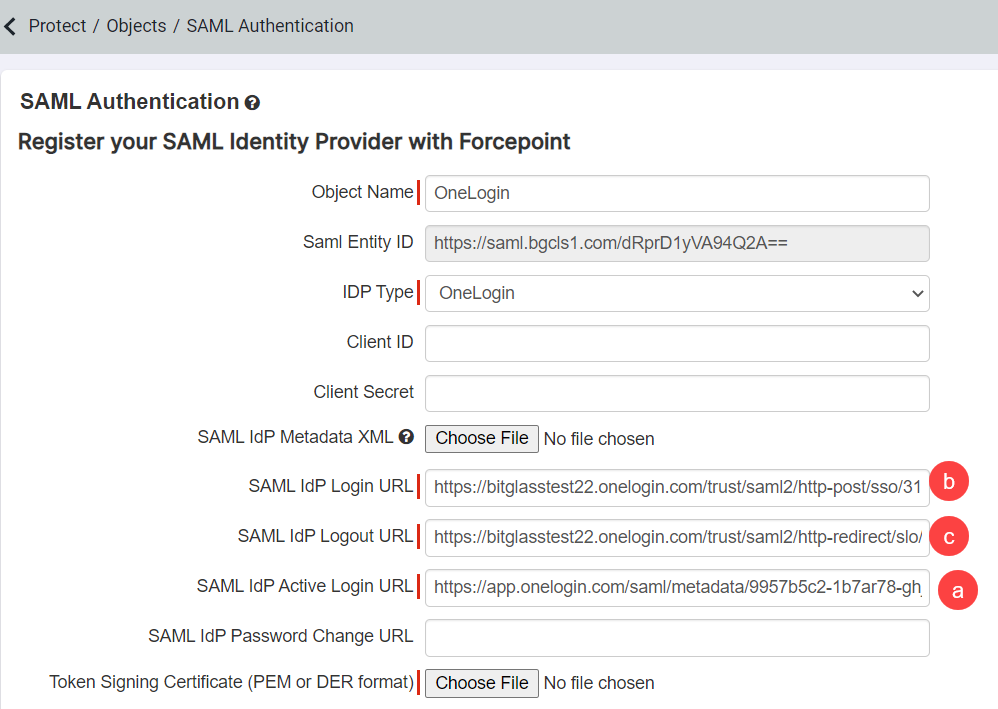
- Copy Issuer URL to SAML IdP Active Login URL
- Copy SAML 2.0 Endpoint (HTTP) to SAML IdP Login URL
- Copy SLO Endpoint (HTTP) to SAML IdP Logout URL
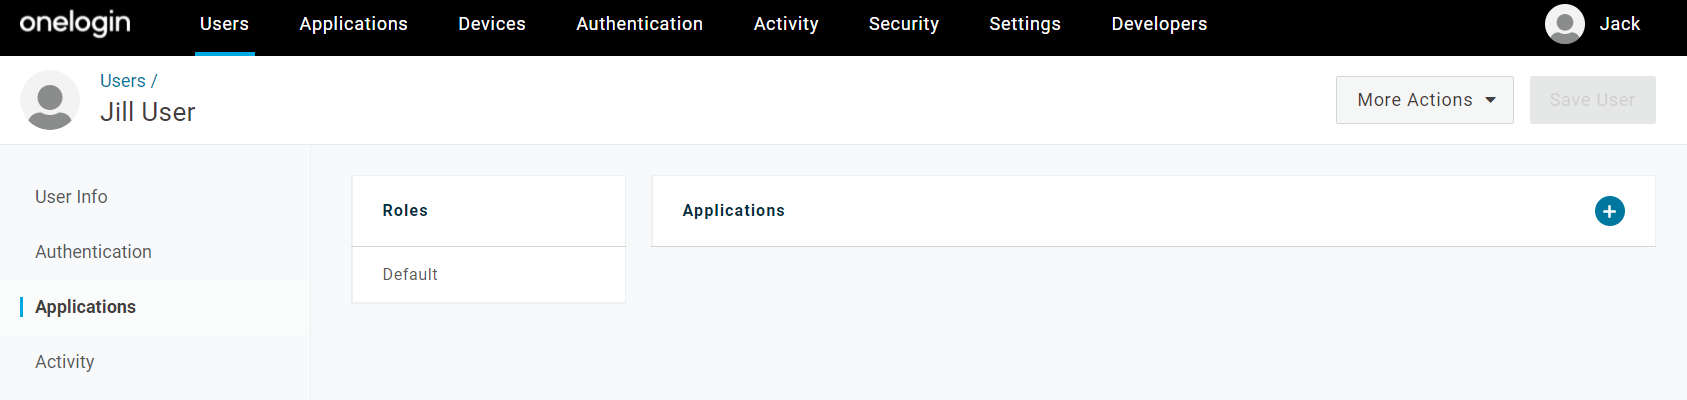
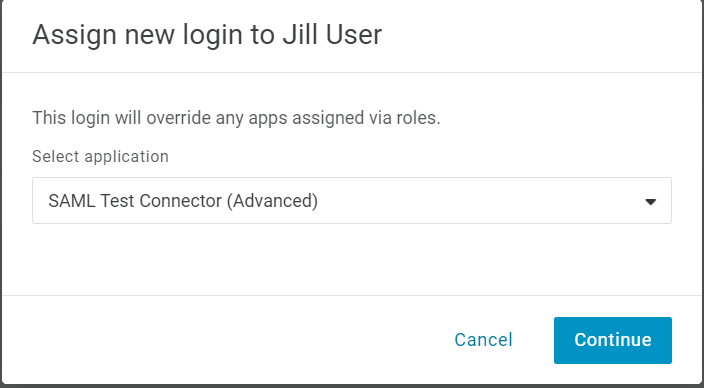
-
The last thing you should do is add users to the app. You can do so by going to your user/group info and adding them individually or as groups to the application you just
created.