Configuring login policies
The Forcepoint Data Security Cloud | SSE Login Policy allows admins to apply global login policies to their users across all protected cloud applications contextually based on a number of variables such as user group, device, location and behavior.
The Forcepoint Data Security Cloud | SSE login policies are grouped by the action you are taking and can be added one by one to the app tile.
There are a total of 4 primary actions:
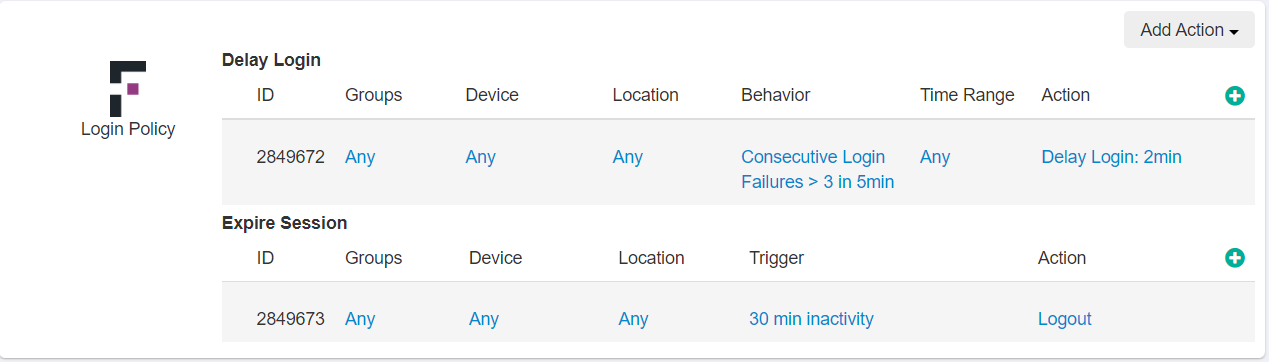
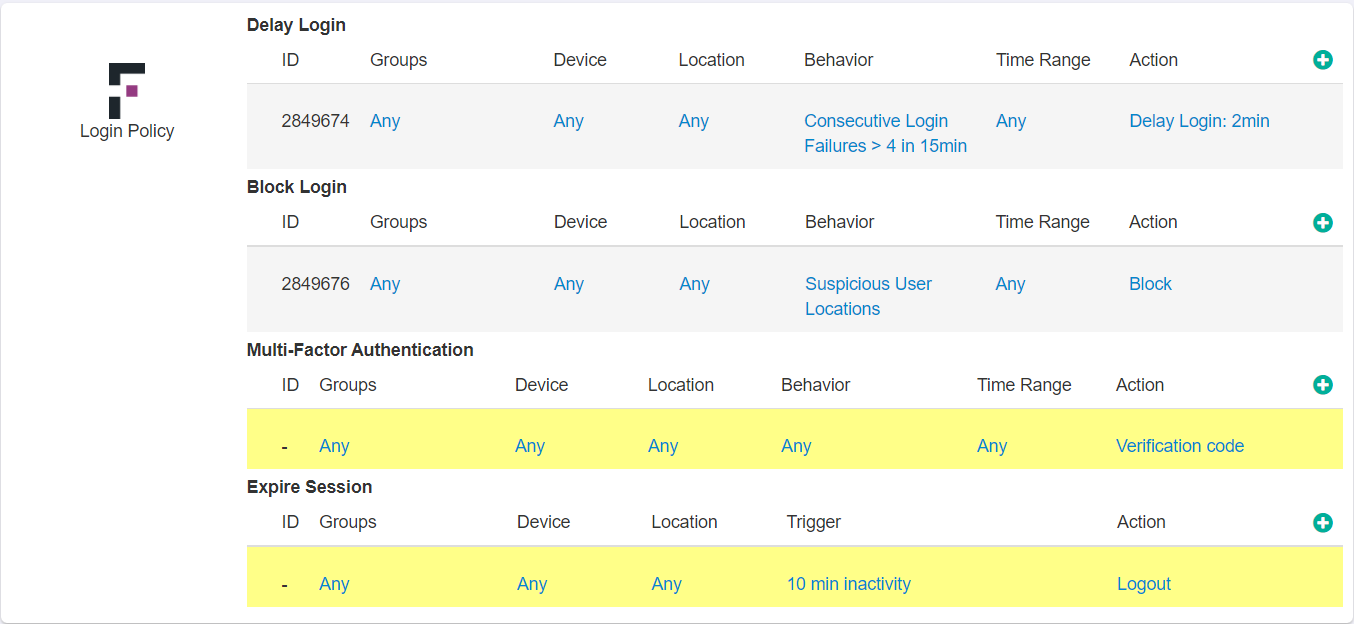
- Delay Login: Delay a users login for a specified amount of time based on the context and behavior (failing login attempts)
- Block Login: Block logins to applications entirely. Usually blocking users from risky locations or time based for contractors (not allowing access outside of work hours).
- Multi-Factor Authentication: Enforce an MFA check after a user authenticates before granting access.
- Expire Session: Expire a users session forcing them to re-authenticate such as after a certain period of inactivity.
By default the Login Policy tile will be empty and you will need to click the drop-down to add a specific action. Once added, you can then modify and configure the policy controls for when that action is applied.

Forcepoint Data Security Cloud | SSE strongly recommends configuring Two-Factor Authentication for accounts that are active user accounts in protected applications as well as being a role admin inside of the Forcepoint Data Security Cloud | SSE admin portal.
Each of the four actions can be applied contextually based on the configured variables (groups, device, location, behavior, time range and Action). Behavior options will differ depending on the action, while the other four column variables are the same regardless of action.
After adding one or more actions from the drop-down, you can now configure the variables for when those actions are triggered. Configuring groups, devices and locations is very similar to how you would configure them for any of your other application policies.
- Groups: Add the specific group(s) that you wish the action to apply to.
- Device: Specify which devices the action applies to. Can be any to include all devices (including unmanaged devices) or can specify certain actions for managed devices or negate actions on managed devices (MFA for all users unless they are on a managed device).
- Location: Apply specific actions when a user is accessing from certain locations. Can restrict or block users entirely from unsafe or untrusted locations.
- Behavior: A unique behavior at login that will trigger the policy action. See below as behavior triggers will differ by the action being taken.
- Time Range: Schedule a specific time range (days of the week or workday hours) for when the action will apply. Most commonly used to prevent users (especially contractors) from having accessing beyond work hours.
- Action: Select the action to be taken when a policy is met.