Modifying schedules
You can update the existing schedules from your Scheduler.
Steps
-
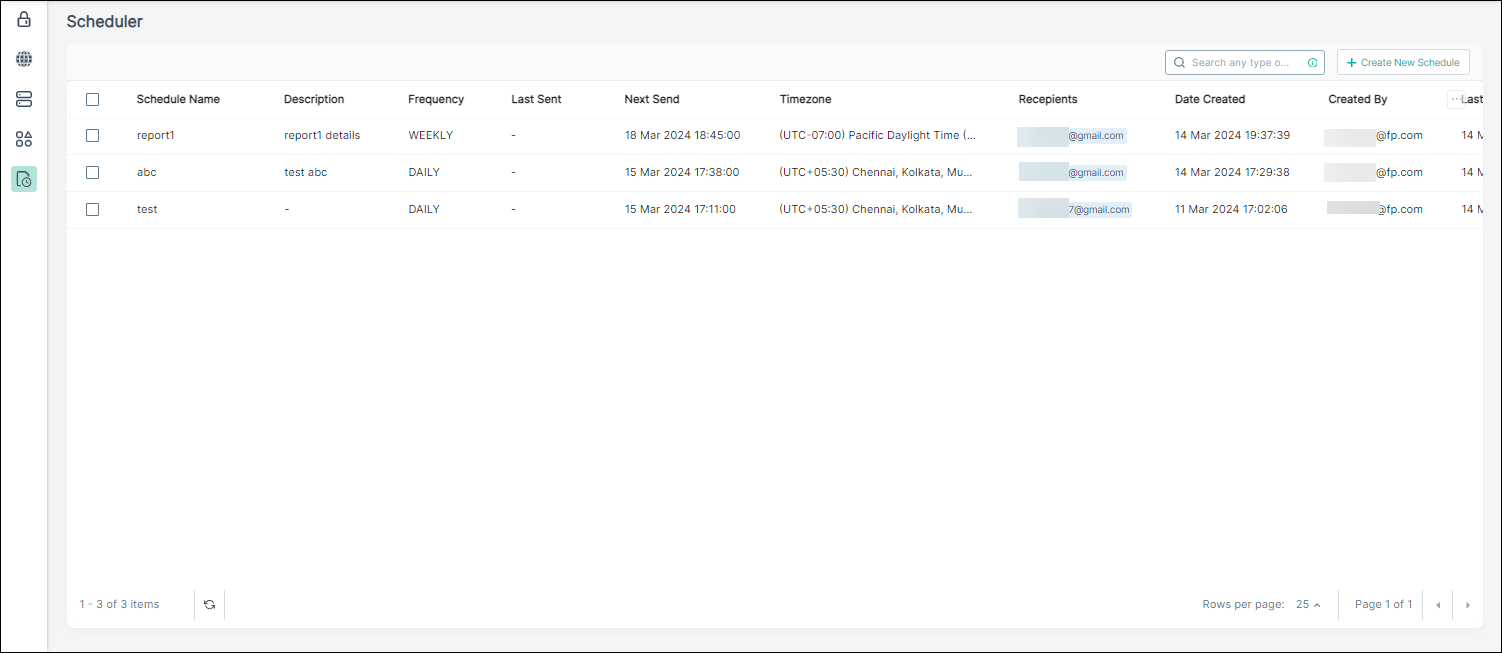
On the left pane, click the
 icon to open the Scheduler page.
-
Click the schedule you want to update.
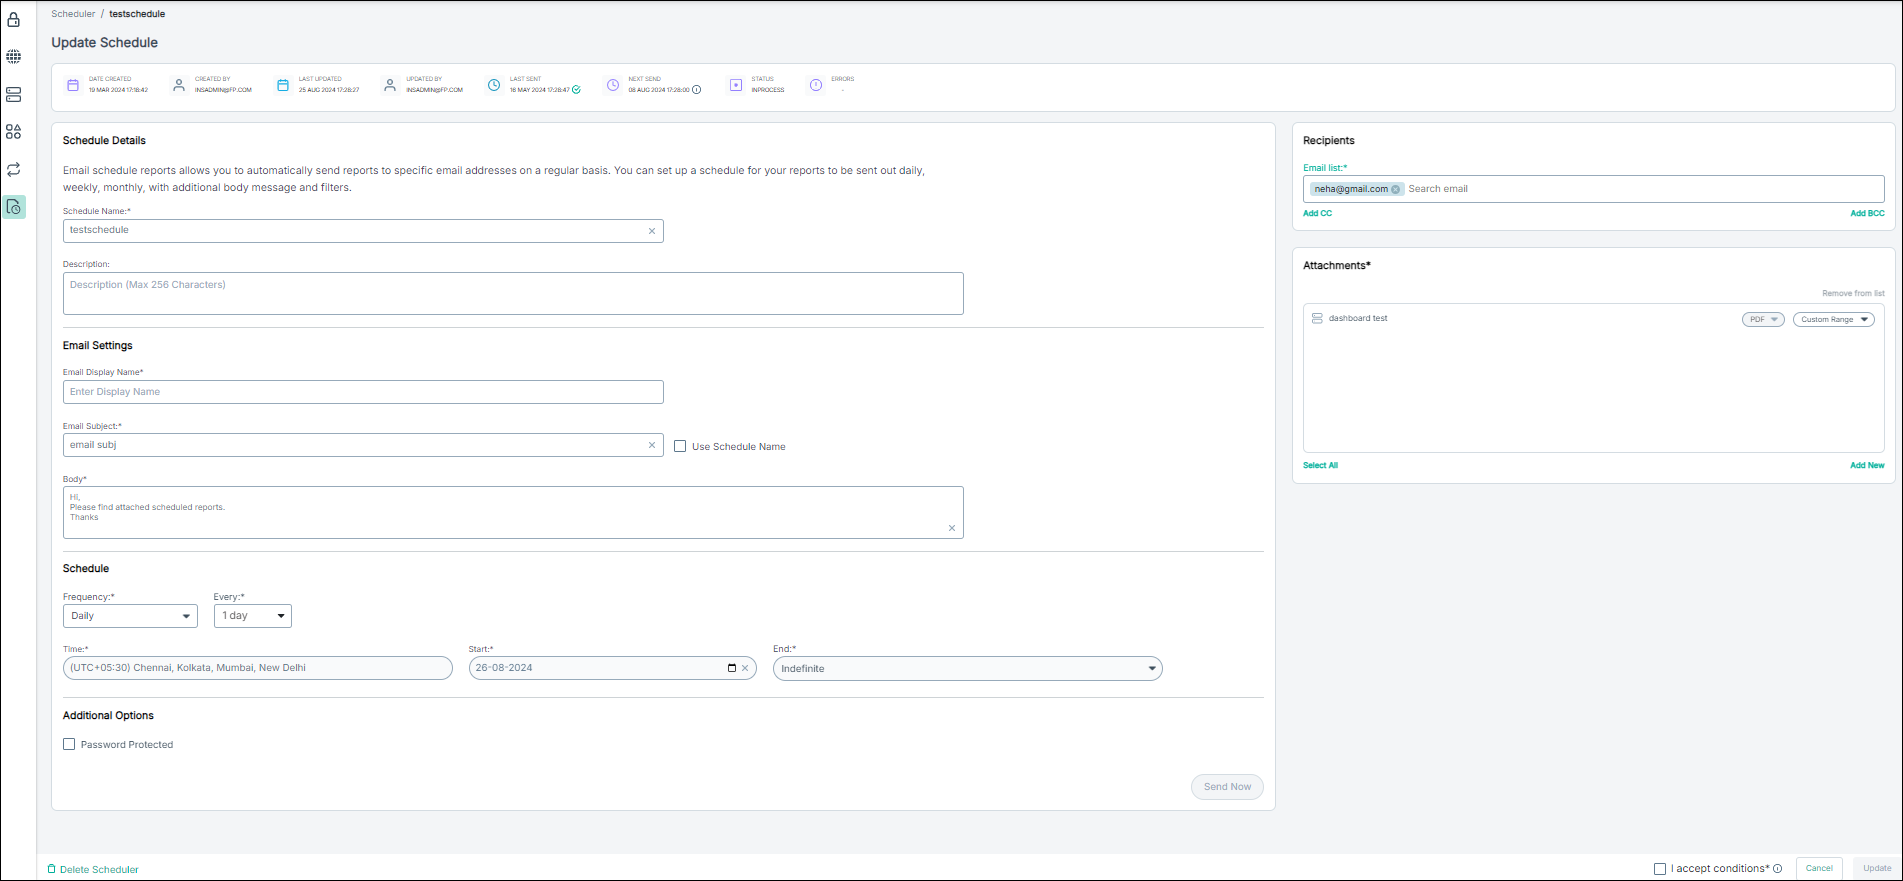
The Update Schedule view opens.
-
If required, do one or more of the following:
-
In Recipients, add or delete the report recipients.
Note: For an invalid recipient email address, email delivery fails.

-
In Additional Options, modify the password or clear the Password Protected option.
You can hover over the information
 icon to view the password setting rules.Note: Password Protected is enabled only for attachments in PDF format. While sending reports through email, multiple attachments are zipped together, and the password is applied to the zip file.
-
In Recipients, add or delete the report recipients.