Selecting attachments

You can send dashboards or widgets as attachments in your schedule.

Steps

  1. Open the Create Schedule view.
  2. In Attachments, click Add New.
    The Add attachments view opens.
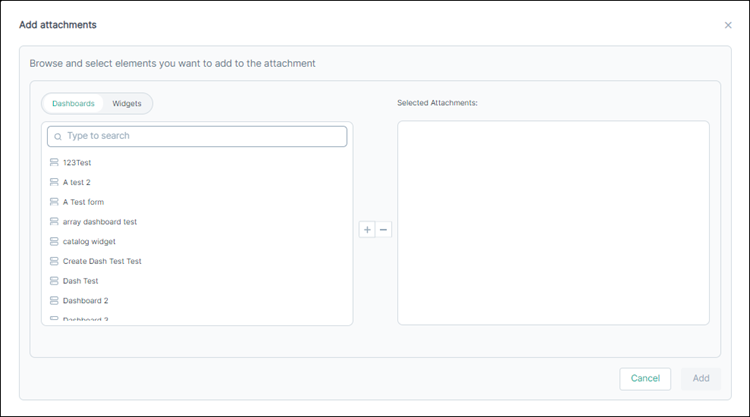
  3. To select attachments, click Dashboards, or Widgets.
  4. Select the required elements from the list or enter an element name in Type to search, and then select from the search results.

    In the Dashboards list, you can select elements from the custom and predefined dashboards. In the Widgets list, you can select available widget elements.

    Note: You can select a maximum of ten attachments.
  5. To move the element to the Selected Attachments section, click .
  6. To remove an element from the Selected Attachments section, click .
  7. Click Add.
    The selected attachments appear in the Attachments section.

  8. For an attachment to display data from a specific time period, click the time frame, and then select one of the following:
    • Last Hour
    • Last 24 Hours
    • 7 Days
    • 14 Days
    • 30 Days
    • 45 Days
    • 60 Days
    • Custom Range
      Note: By default, 30 Days is the selected time frame for an attachment.
  9. If an attachment is widget or report, click the document type, and then select PDF or CSV as the output type.
    If an attachment is dashboard the output type will be PDF only.
  10. To remove attachments, select the attachments, and then click Remove from list.
  11. To remove all attachments, click Select All, and then click Remove from list.