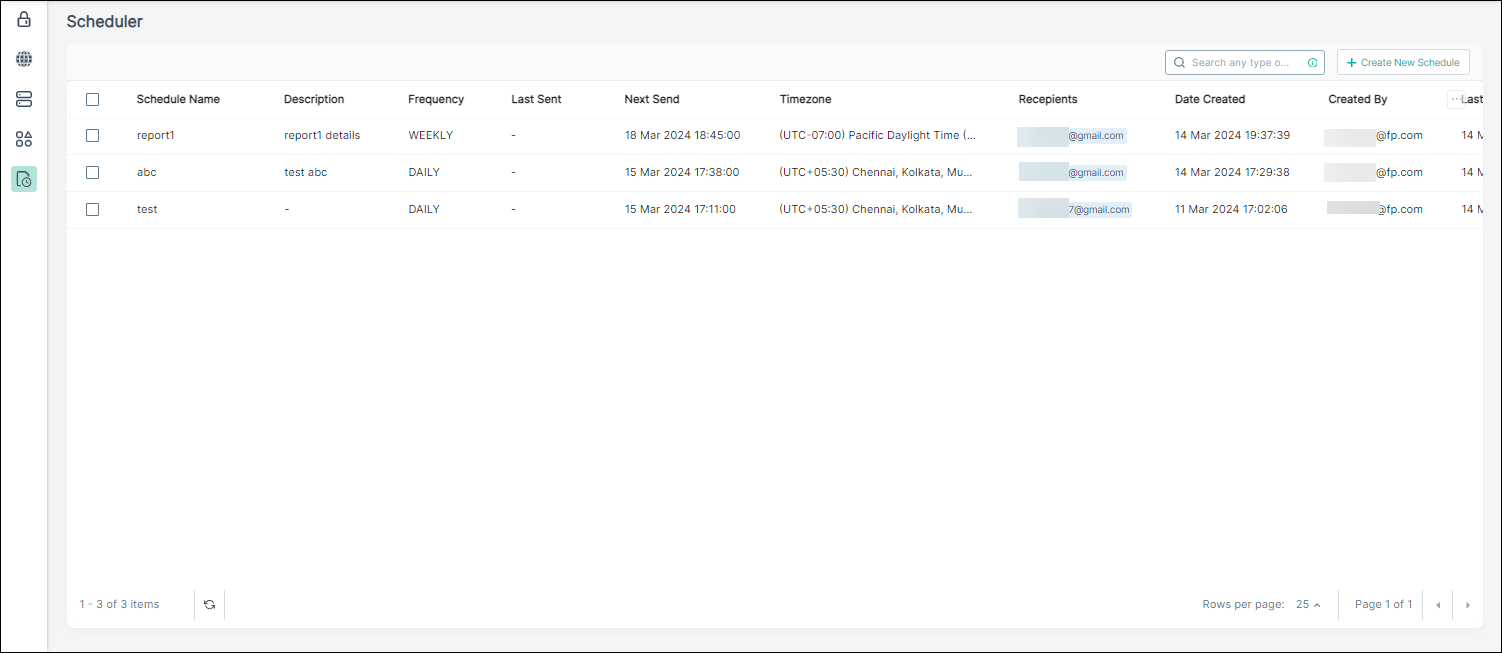
Creating schedules
You can create schedules for sending reports of dashboards, dashboard groups, or widgets to specific email addresses.
Note: In Scheduler, each tenant can create a maximum of twenty schedules.
Steps
-
On the left pane, click the
 icon to open the Scheduler page.
-
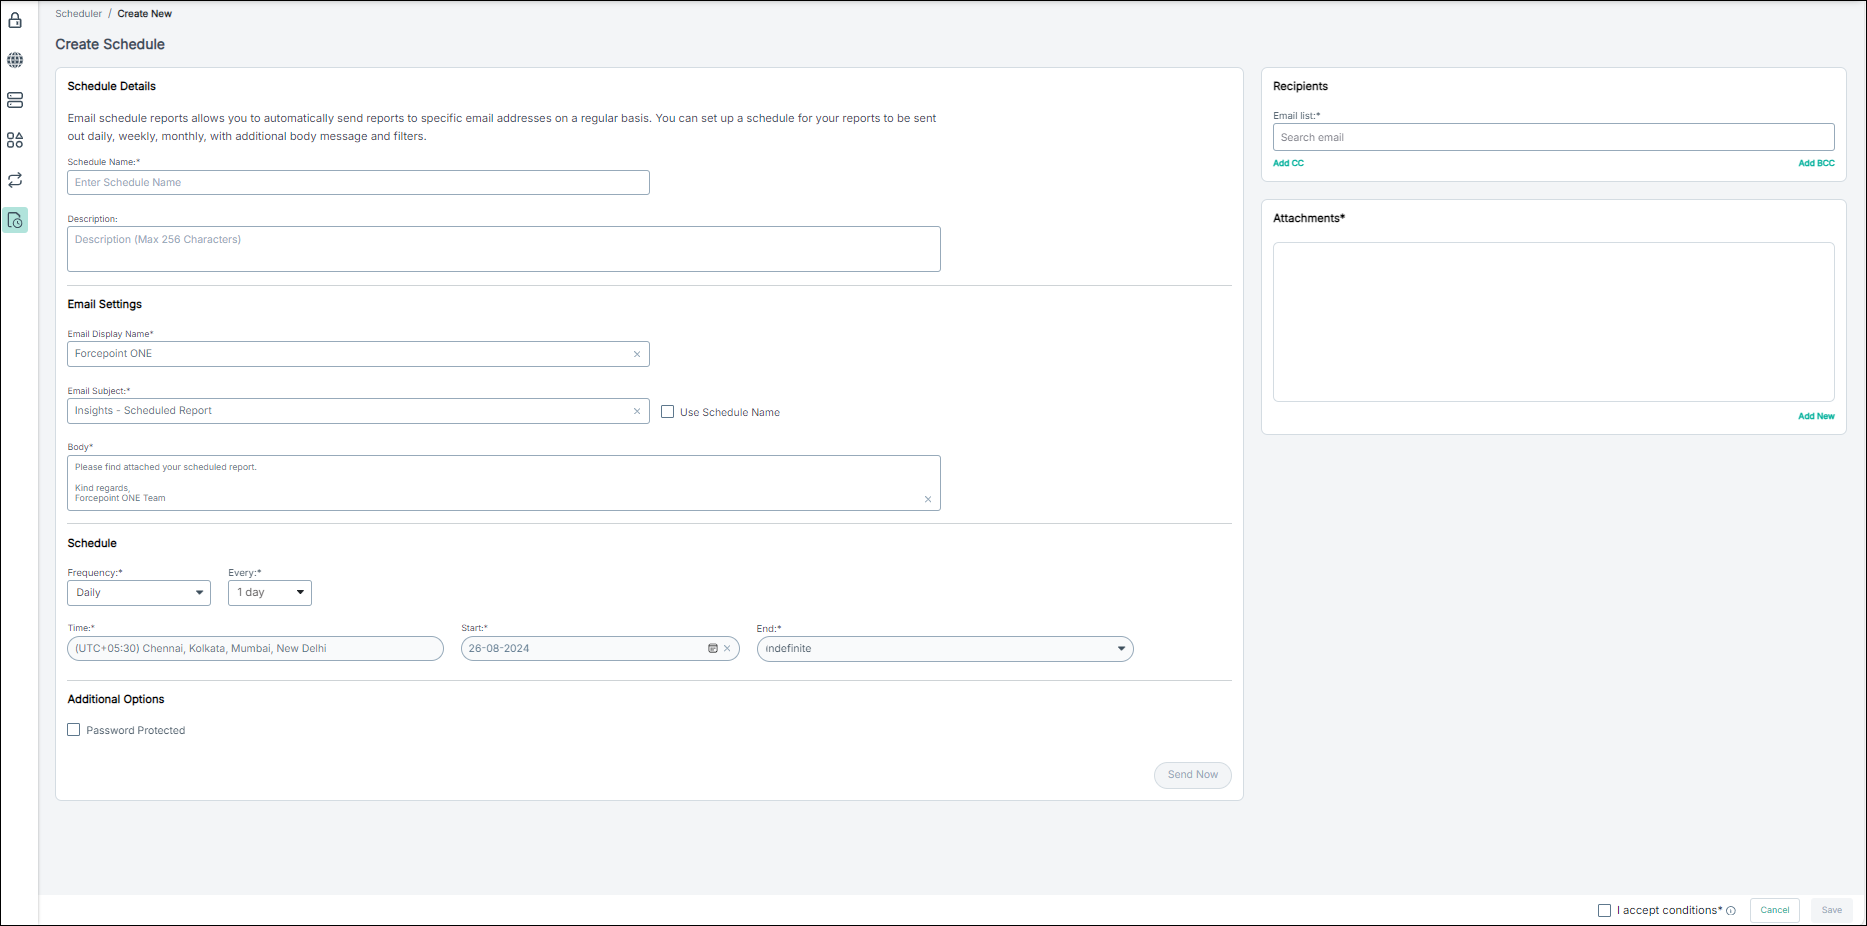
To create a new schedule, select Create New Schedule.
The Create Schedule page opens.
-
In Additional Options, select Password Protected, and enter a strong password to secure the report.
You can hover over the information
 icon to view the password setting rules.Note: For password-protected schedules, if there is a single attachment, the password protection is applied only to PDFs, not to CSV files. If the schedule has multiple attachments, all attachments are grouped into an archive, and the password is applied to the archive.