Configuring Okta to support Forcepoint Data Security Cloud | SSE as SAML SP
You can configure Okta to support Forcepoint Data Security Cloud | SSE as a SAML Service Provider. You should add Forcepoint Data Security Cloud | SSE as an application inside of Okta and then configure Okta as the external IdP inside of Forcepoint Data Security Cloud | SSE.
Before you begin
Steps
-
In the Admin Console, navigate to and then click Browse App Catalog.
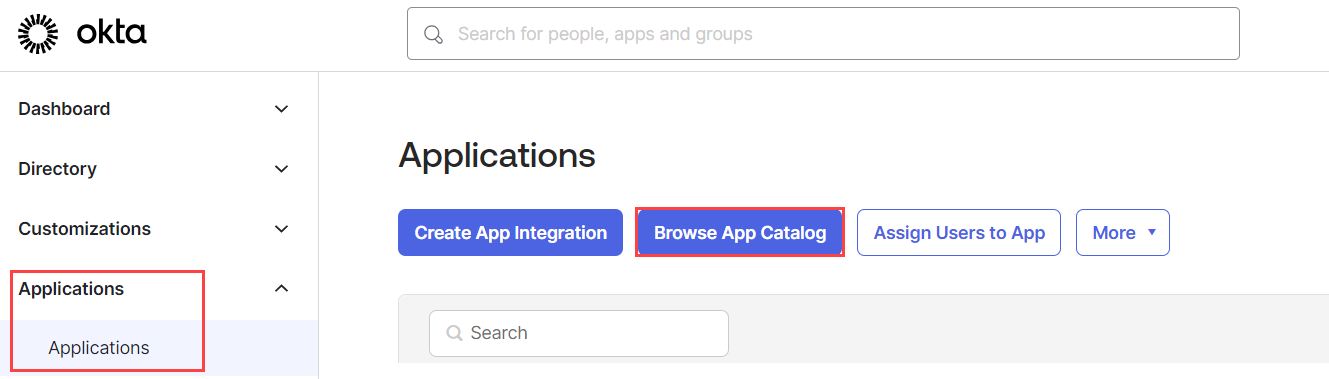
The Browse App Integration Catalog page opens displaying the all the featured integrations.
-
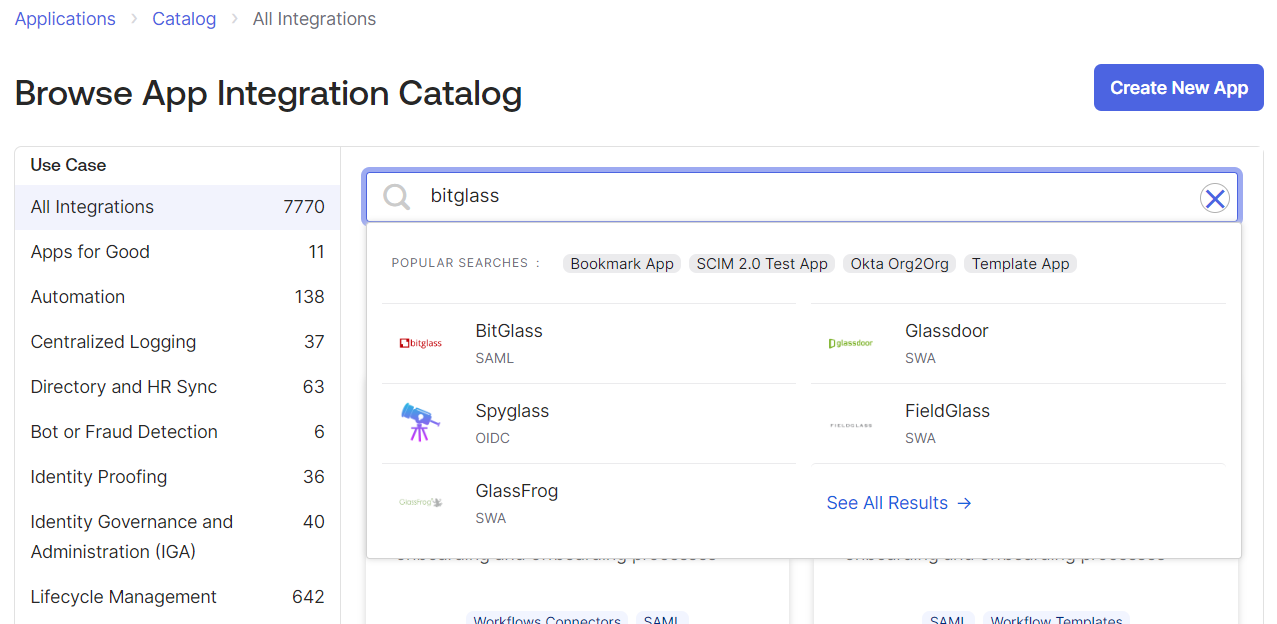
In the search field, enter Bitglass to search for the Forcepoint Data Security Cloud | SSE application.
-
Click the BitGlass from the search results and click Add Integration.
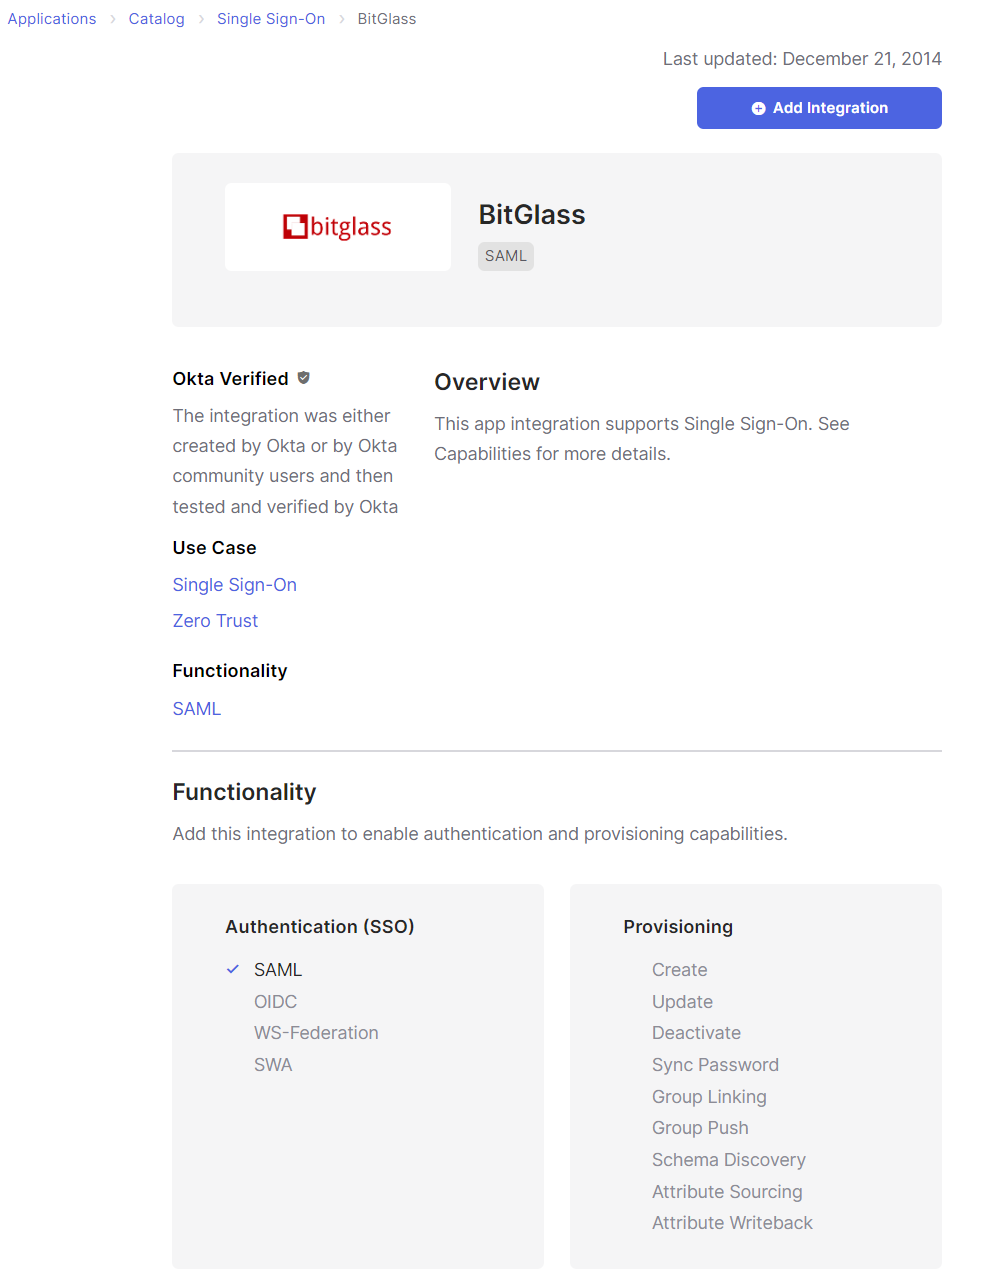
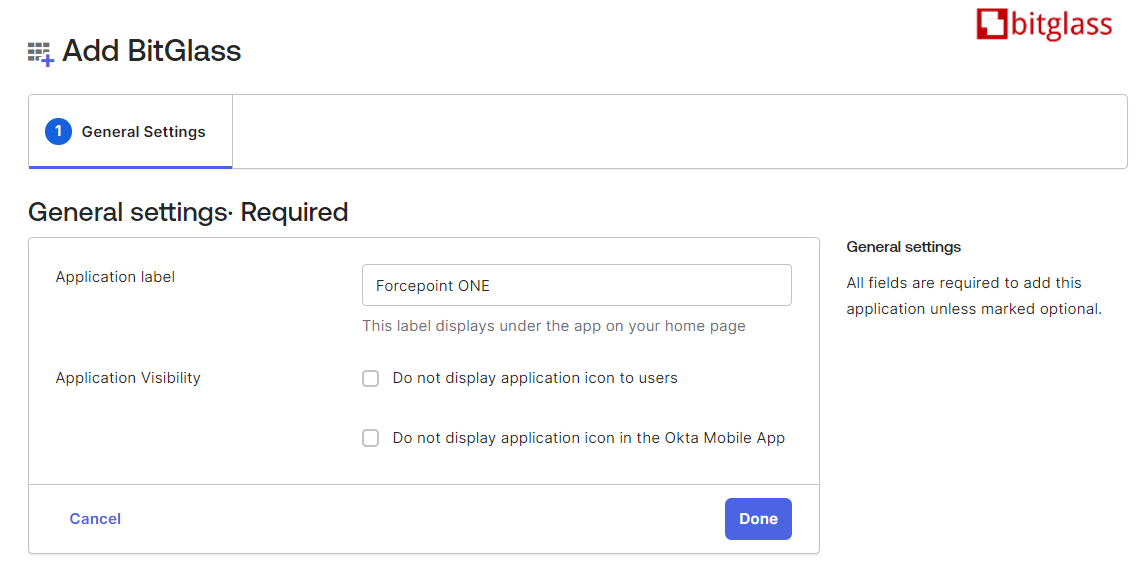
The General Settings page opens.
-
On the General Settings page, enter the Application Label for how Forcepoint Data Security Cloud | SSE should be displayed
for users and click Done to move on to the next step.
-
Okta redirects you to assign the application to the appropriate Users.
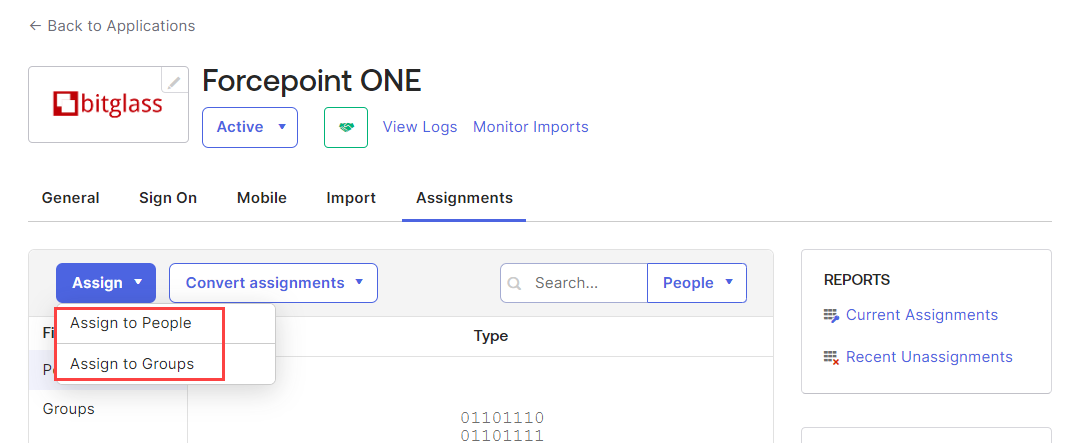
You can create Users and groups in Okta by navigating to respectively.
-
Enter bg_portal_login in the Default Relay State field and click the Save button.
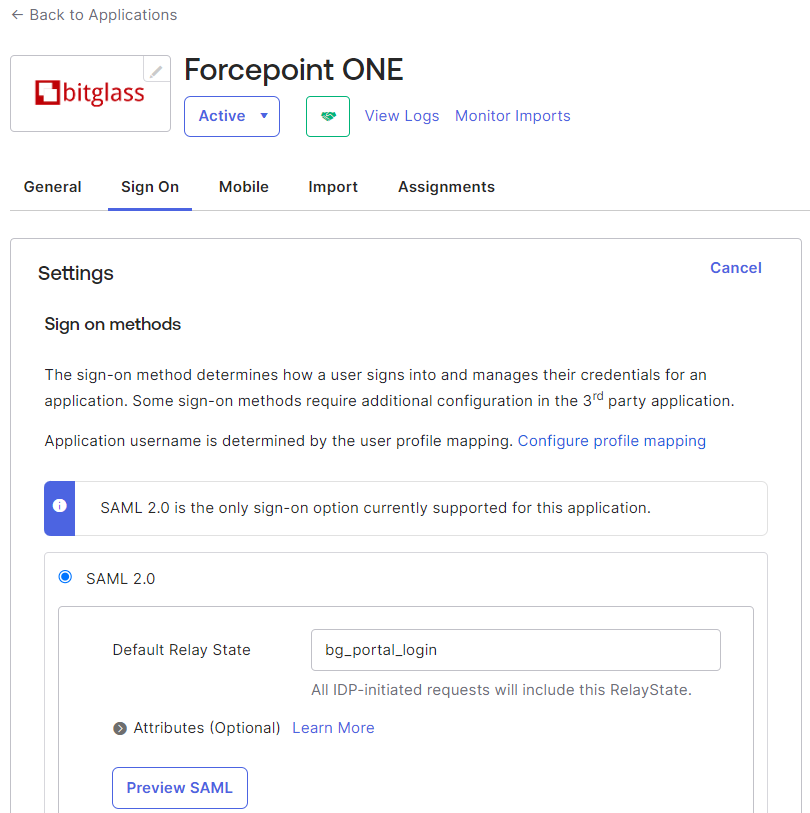
Note: You may also specify a continue URL in the Default Relay State if you wish to direct the SSO users directly into an app after clicking the Forcepoint Data Security Cloud | SSE button in Okta. The Forcepoint Data Security Cloud | SSE icon can be changed to the app icon in Okta and can used for a single app. To learn about setting up the Default Relay State, refer to the Advanced IdP Settings. -
Navigate to and then click View SAML Setup Instructions.
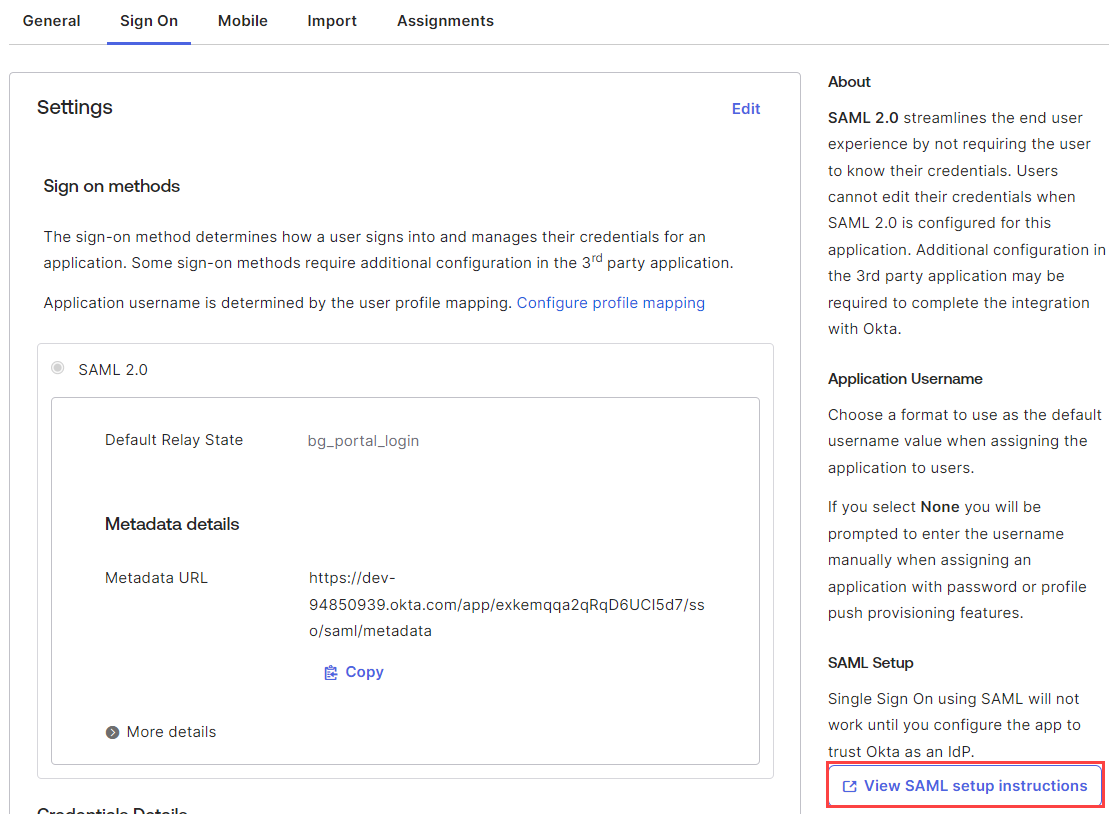
A new browser window opens displaying the SAML settings, which are used in Forcepoint Data Security Cloud | SSE setup later.
-
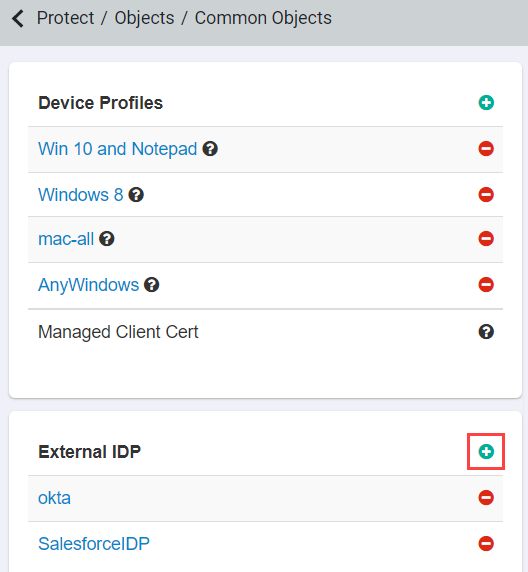
Log into the Forcepoint Data Security Cloud | SSE portal as an admin, navigate to and scroll down. Locate the External IdP card and click the green plus icon to add a new IdP.
-
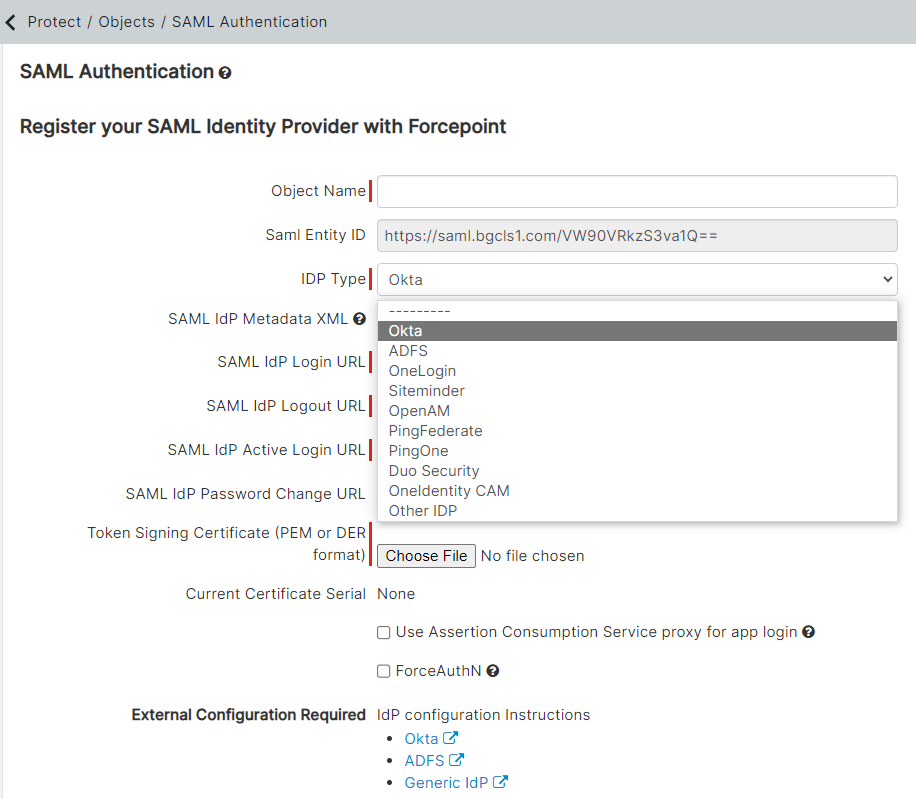
On the SAML Authentication page, enter an Object Name to recognize the IdP and then select Okta as the
IDP Type.
-
Copy the following details from the Okta Setup Instructions (Step 9) and paste those details into the respective Forcepoint Data Security Cloud | SSE fields.
-
Download the Token Signing Certificate by clicking the Token Signing Certificate link from Okta setup page and then upload the
token signing certificate to the Forcepoint Data Security Cloud | SSE portal under the Token Signing Certificate field.

-
Download the Token Signing Certificate by clicking the Token Signing Certificate link from Okta setup page and then upload the
token signing certificate to the Forcepoint Data Security Cloud | SSE portal under the Token Signing Certificate field.
-
Once you are done, click Save at the top to save the new IdP object.
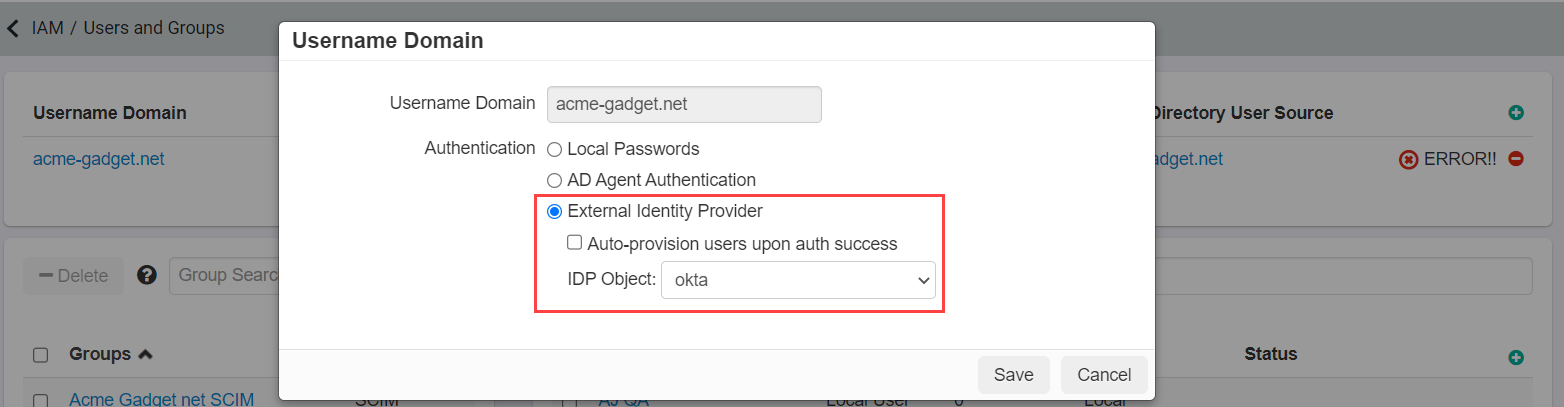
If you only have one IdP object configured, that object will be used by default for your domain on the Users and Groups page. If you have more than one IdP, you will need to choose which one is used by default under the domain options or by app instance.
- To setup the default IdP for the domain, navigate to the page and select your email domain to open up the options dialog. Make sure that External Identity Provider is selected and then select
your IDP object you just created from the drop-down.
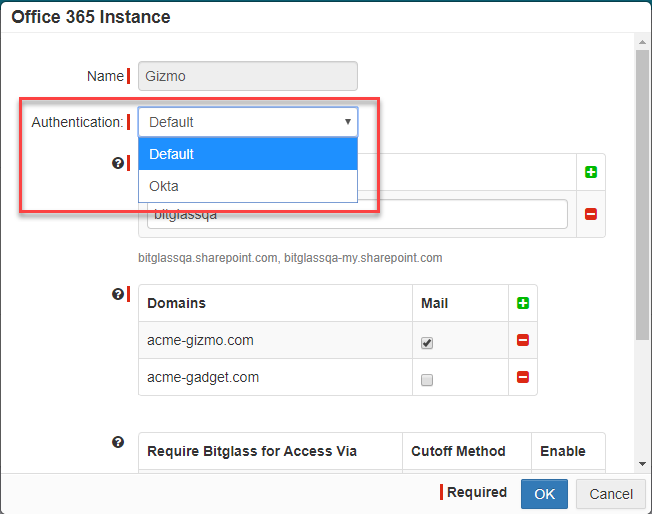
- If you wish to configure IdP individually per app instance, navigate to the page and select your application that you wish to make changes to. On the application's settings page, select the app instance and in the new dialog select
the IdP you just created from the Authentication drop-down.
- To setup the default IdP for the domain, navigate to the page and select your email domain to open up the options dialog. Make sure that External Identity Provider is selected and then select
your IDP object you just created from the drop-down.
-
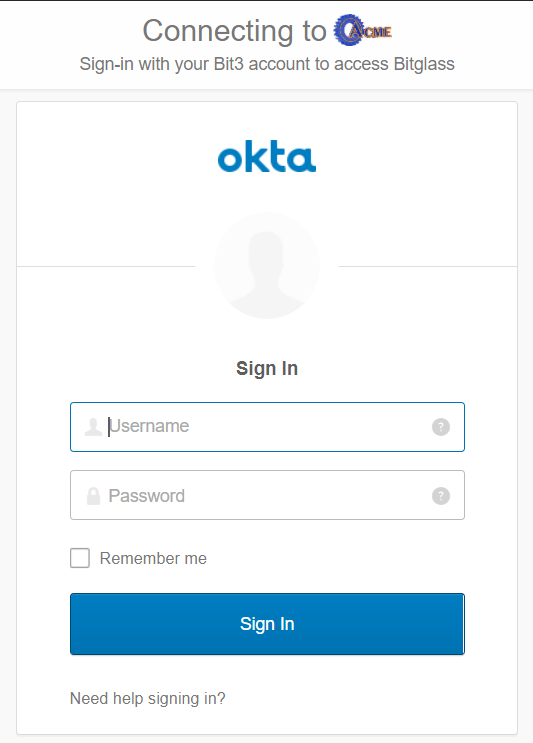
Test the configuration by opening a new browser window (or incognito window) and attempt to login to https://portal.bitglass.com as one of the Okta assigned
users. You should be redirected to the Okta login page where you need to enter credentials before being redirected back to the Forcepoint Data Security Cloud | SSE
portal.