Log Export QRadar App
Forcepoint Insights provides a QRadar extension on IBM Application Exchange for easily integrating with Forcepoint Data Cloud Insight's Export API for pulling Forcepoint Data Security Cloud logs across multiple licensed Products
Attention: For SSE SWG logs only non-allowed logs will be pulled. Follow the steps mentioned below to configure App in QRadar.
Prerequisites
- Tenant must be registered on the platform and have access to the tenant portal.
- Tenant must have an API Key generated on the Platform UI.
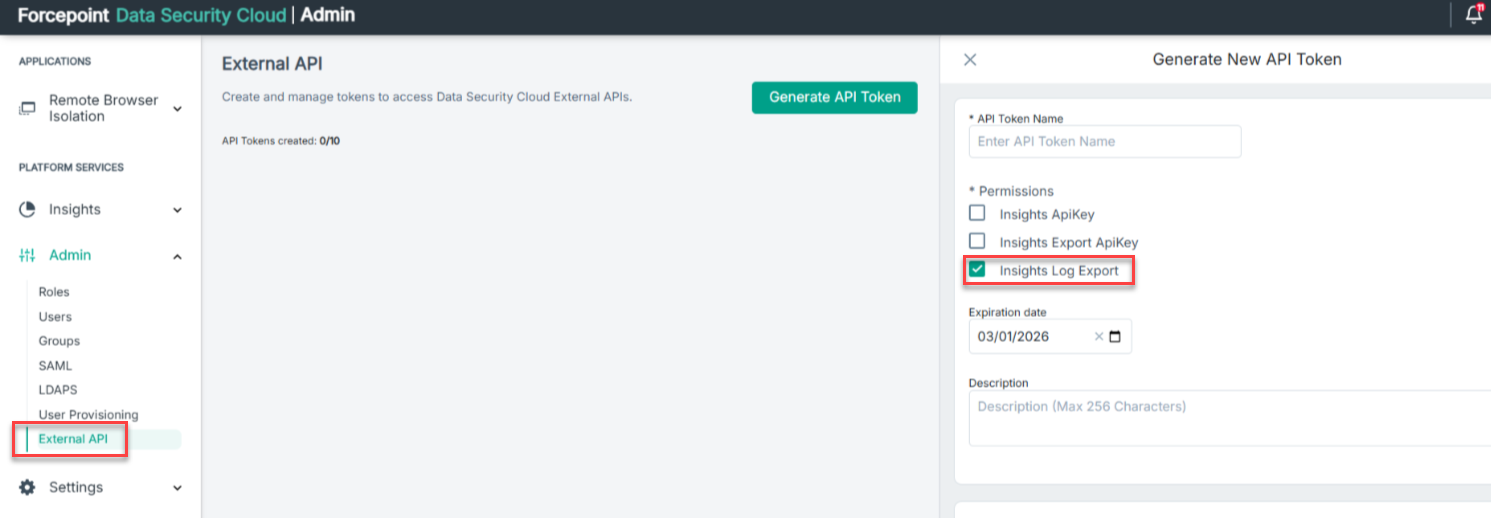 Important: Ensure to select the Insights Log Export checkbox.
For more details refer to this link
- Increase QRadar Syslog Max Log Size to at least 16384.
To Increase the Log Size in QRadar refer below steps.
- Login to the QRadar Console as an administrator.
- From the Admin tab, click .
- Key in 16384 in the Max UDP Syslog Payload Length field and click Save.
- From the Admin tab, click Deploy Changes.
Steps to pull logs on your QRadar Instances
- On a new browser tab or window, login to your QRadar instance.
- On the QRadar homepage, click on .
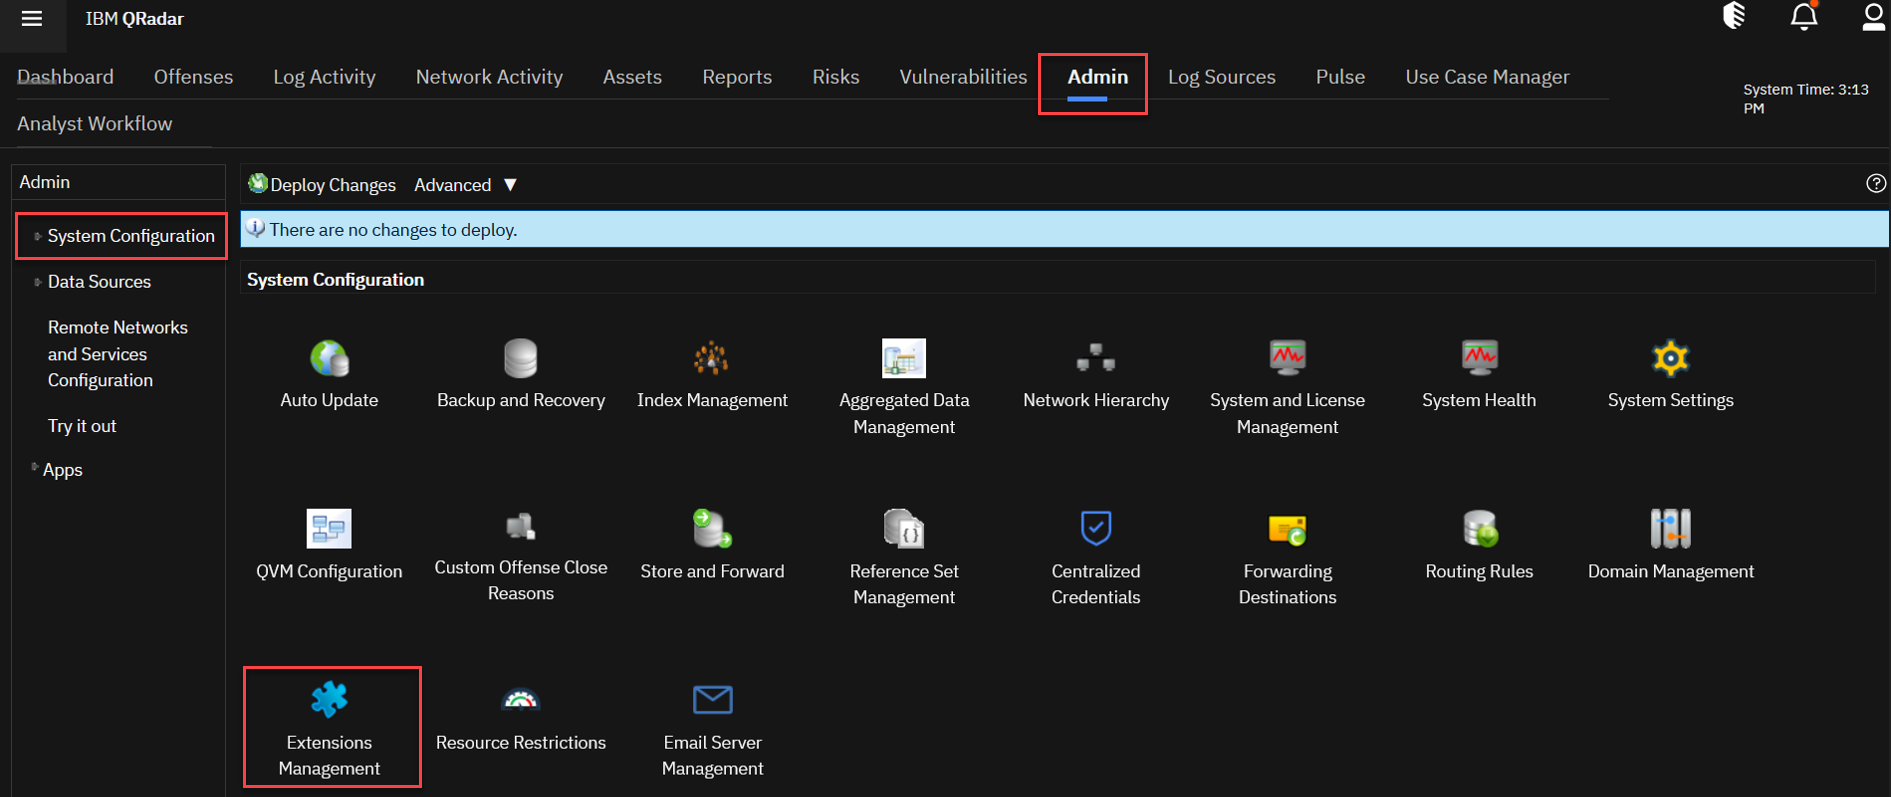
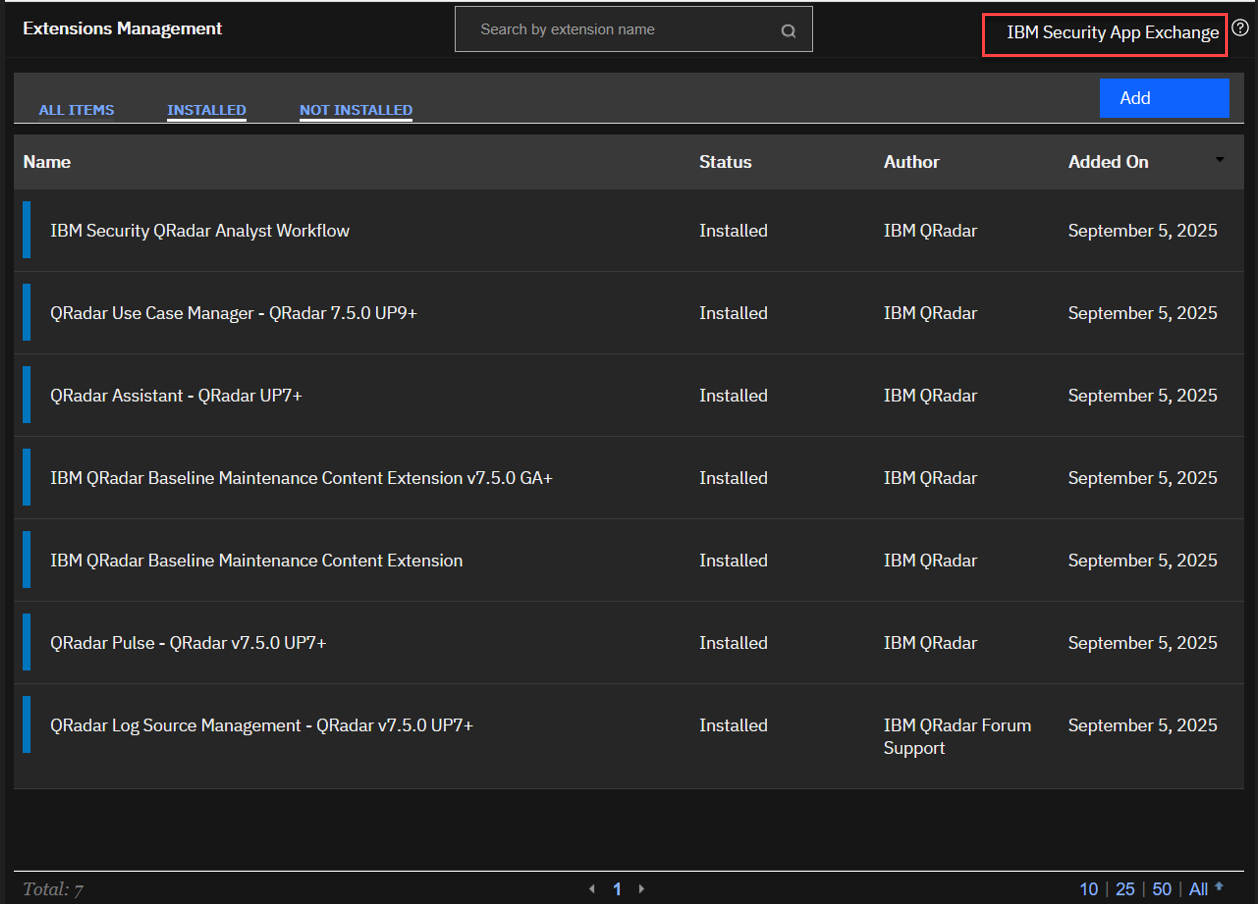
- In the Extensions Management window, click IBM Security App Exchange on the top right corner.
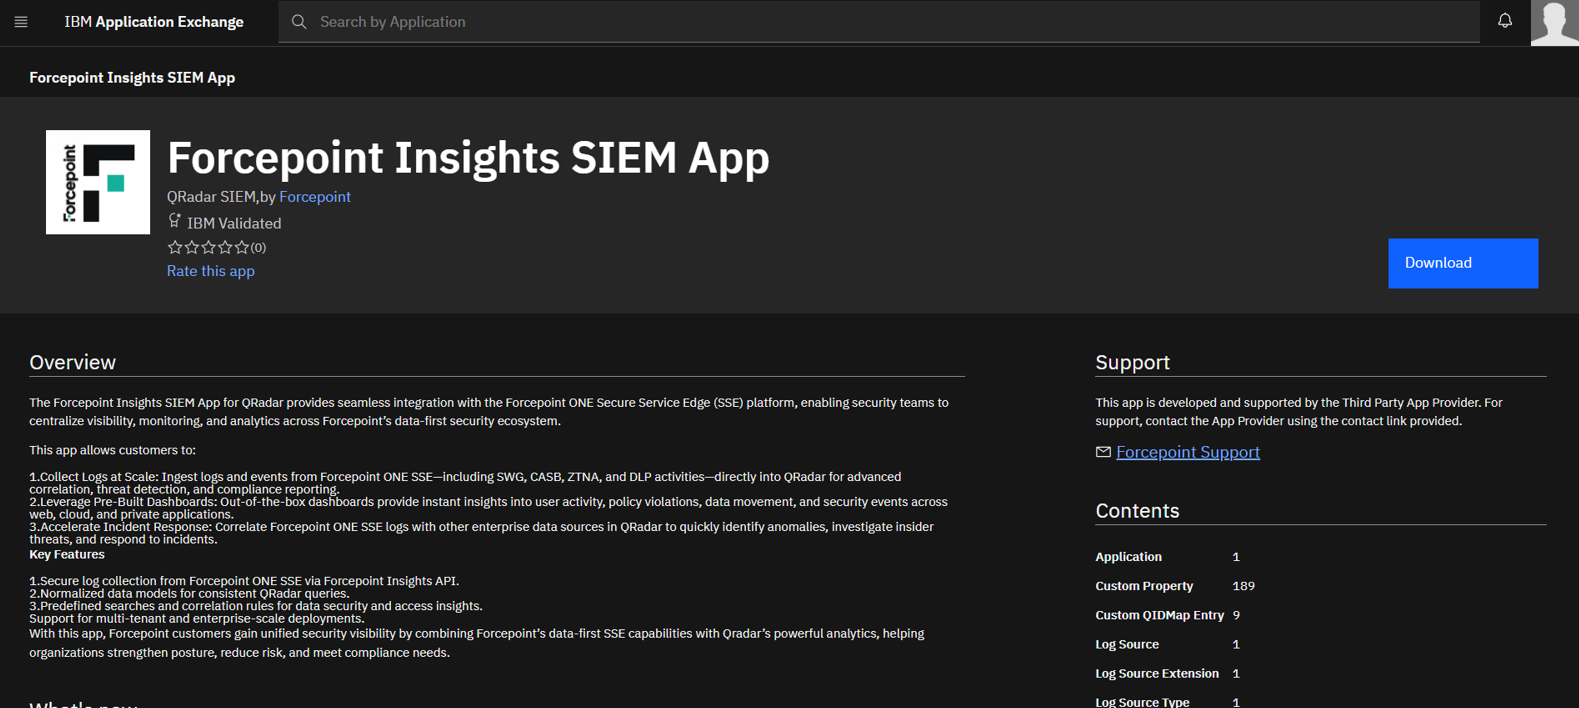
- Log in to the IBM Security App Exchange and in the search tab key in Forcepoint Insights SIEM App and press enter.
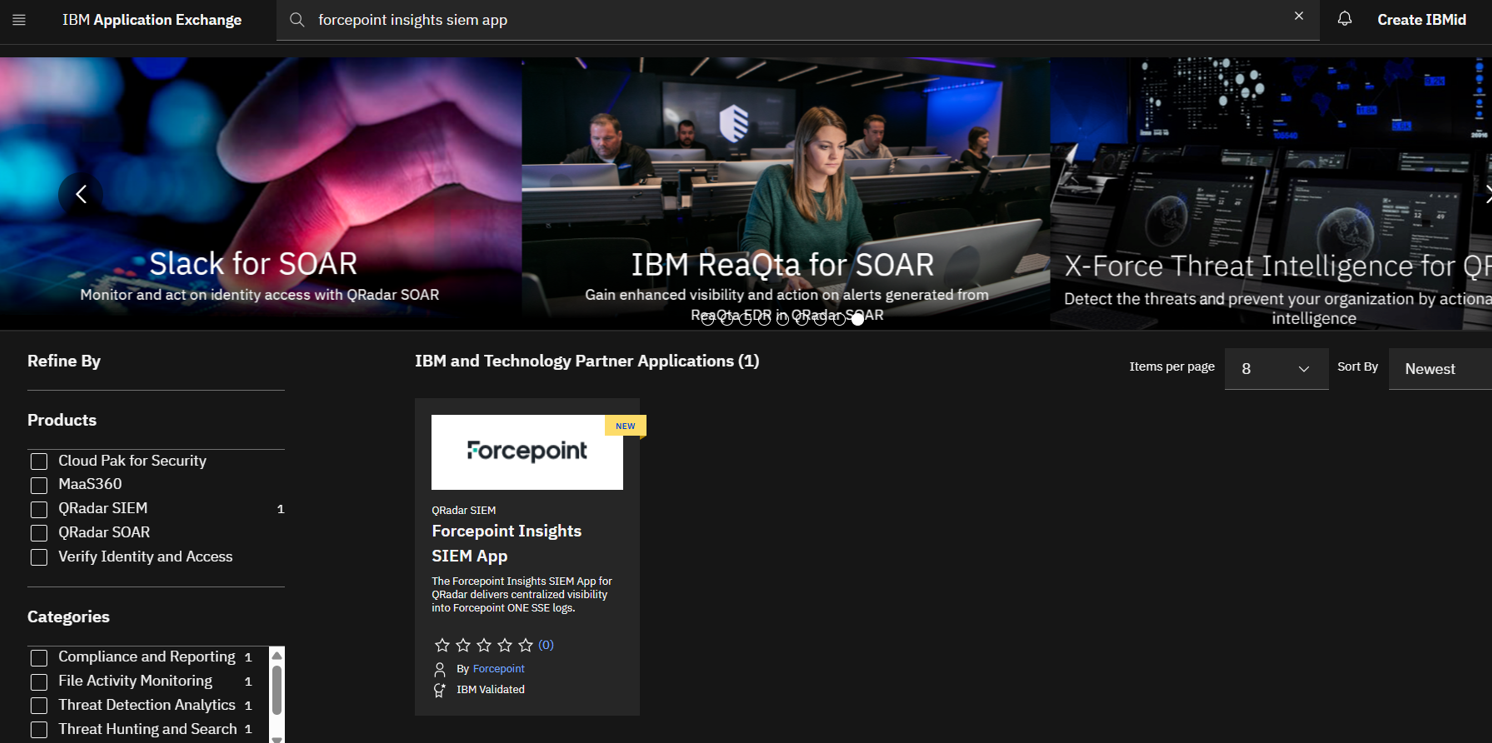
- Click on the Forcepoint Insights SIEM App and click
Download to start downloading the ZIP file.
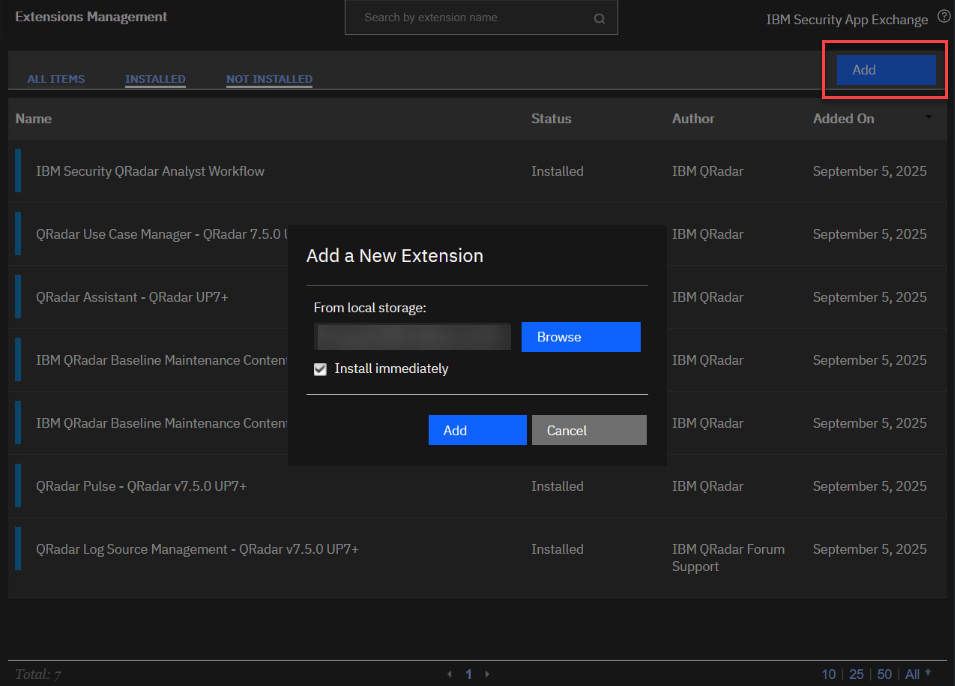
- Go to Extensions Management page and click Add button on top right corner. Select Install immediately and click
Browse. Select the ZIP file downloaded in the above step and click Add button.
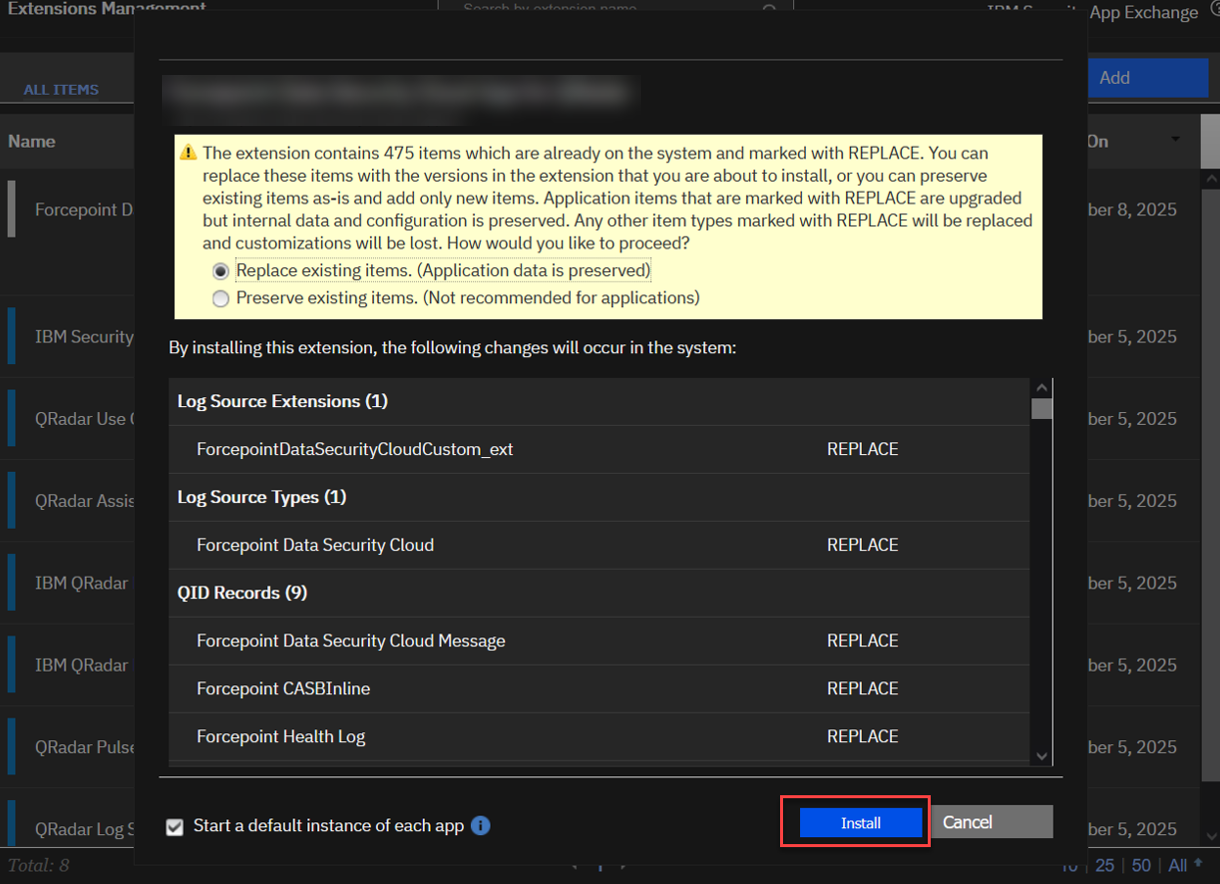
- Click Install button at the bottom.
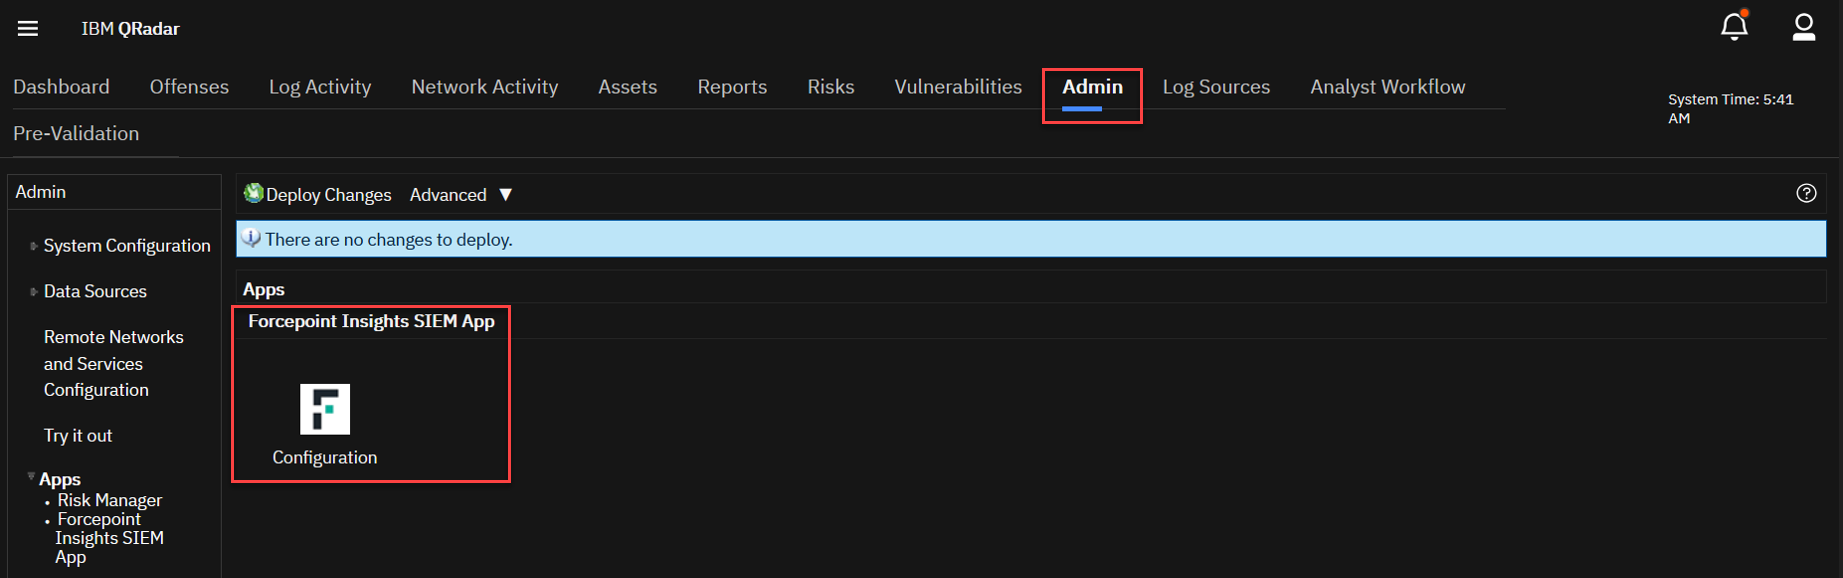
- Once installation is completed go back to your QRadar console and refresh the page and click Admin tab. Select the Forcepoint Data Security Cloud App
Log Configuration from Apps and click Configuration.
- Fill out the fields on the Forcepoint Insights SIEM App page.
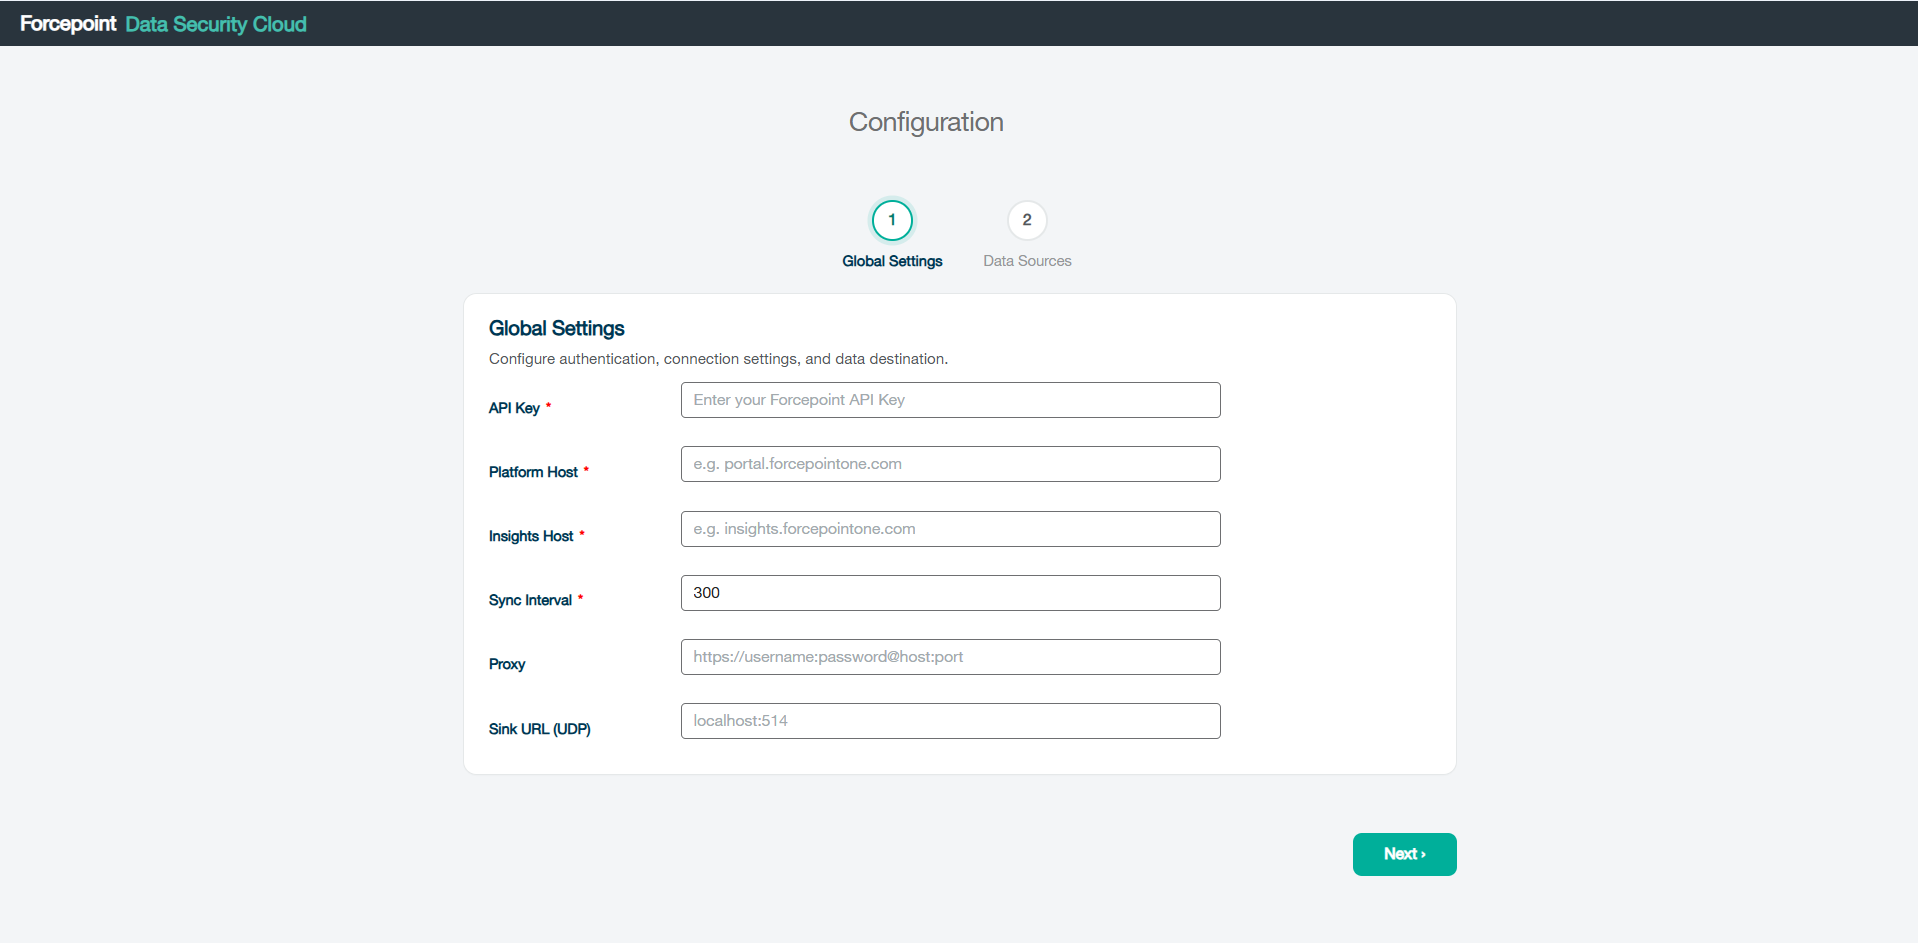
- API Key: Enter the Tenant API Key.
- Platform Host: Enter the Platform Host. For example: portal.forcepointone.com
- Insights Host: Enter the Insights Host. For example: <tenanthost>.insights.forcepointone.com
- Sync Interval: Specify the interval (between 150 and 3600 seconds) at which you want the data to be exported.Note: If the sync interval is set below 300 seconds, please contact the Forcepoint Support Team to address potential rate-limiting issues.
- Proxy (Optional): Leave this field blank unless you need to route API calls through a proxy. If so, provide the required proxy details here. It should be in format: http://username:password@host:port
- Sink URL (UDP) (Optional): Specify this if you want to forward the logs to external Syslog server. This should be in format :
<Host>:<Port>
Once all configurations are complete, click Next.
- Select Data Sources
On clicking Next, the app validates your API Key and fetches the available Products logs based on your tenant's license.
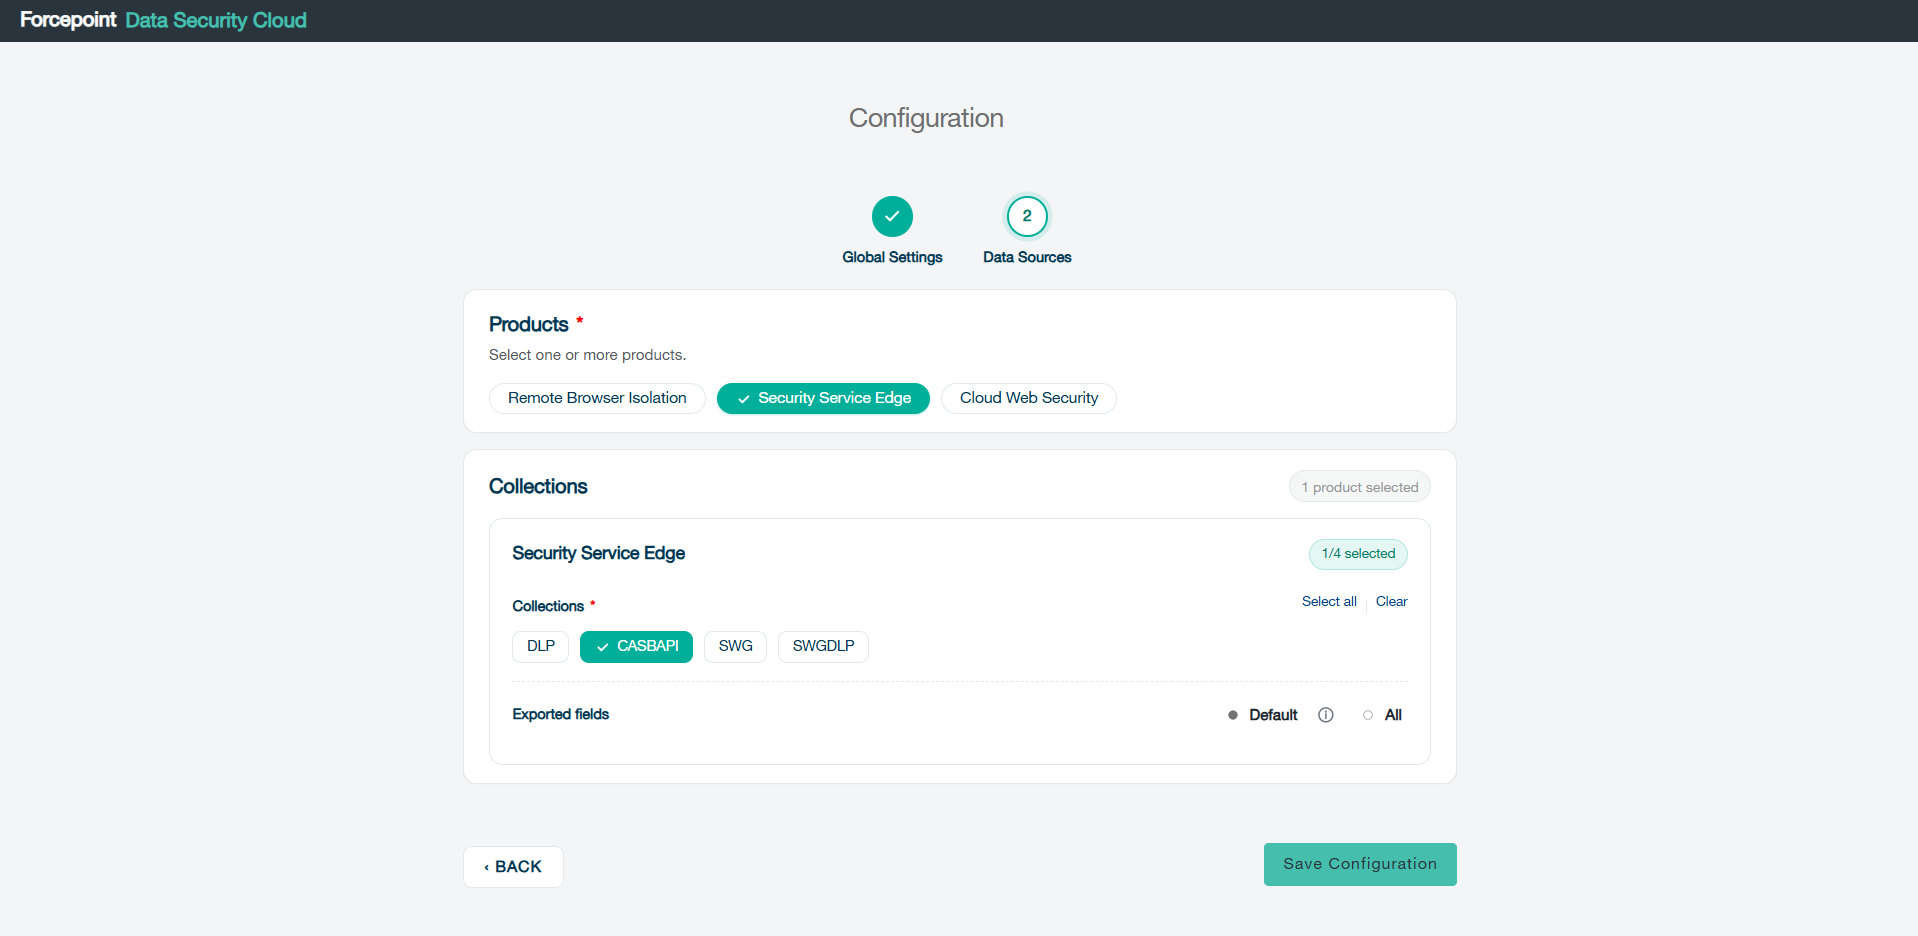
- Products: Select one or more product for which you want to export data.
- Collections: For each selected Products, select one or more collections from which you want to export data.
- Exported Fields: For each selected Products select the type of fields you want to export.
- Default Fields: Choose this option to export only the default fields. For detailed information about the default fields available for collections, refer to this document.
- All Fields: Select this option to export all available fields from the collections.Note: The extension includes a predefined set of custom properties, which is documented here. To add any additional custom properties, refer to QRadar Custom Properties
- Once all configurations are complete, click Save Configuration to apply the changes.
- To view logs, click . From Parameter dropdown, select Log Source Type and in the Value field choose Forcepoint Insights, and click Add Filter in the popup.